This site is supported by our readers. We may earn a commission, at no cost to you, if you purchase through links.
 Want to sew foolproof hems with coverstitching? This specialized machine secures stretchy seams with a Professional, Ready-to-Wear Finish.
Prep your fabric by ironing, cutting clean edges, and clipping curves. Select quality thread and adjust tensions for balanced stitches.
Guide your fabric along the seam guide, tweaking the differential feed to prevent stretching. Having issues? Check needle, adjust tension, or increase presser foot pressure.
Master coverstitch techniques like hemming knits with double needles or wovens using fusible interfacing.
Elevate your sewing with decorative threads and embellished hems—and discover the secrets of flawless coverstitched finishes.
Table Of Contents
Key Takeaways
- Prepping your fabric like a pro sets the stage for foolproof coverstitching. Iron those wrinkles out, clip those curves – it’s seam-stitching surgery!
- Adjusting tensions is a delicate dance. Too tight? Thread tantrums. Too loose? Loops and ladders galore! But once you find that sweet spot, it’s coverstitching heaven.
- Mastering the knack of guiding your fabric is the key to flawless hems. Imagine yourself a skillful gondolier, gracefully steering your garment under the rhythmic whir of the coverstitch needle.
- When tunneling or skipped stitches strike, don’t let them ruin your sewing mojo! A little troubleshooting tango – adjusting tensions, checking needles – and you’ll be waltzing with perfect stitches again.
Coverstitch Basics
You’re ready to sew professional-looking hems with your coverstitch machine!
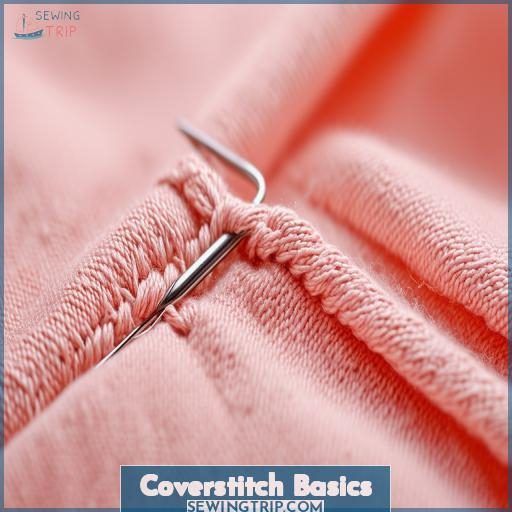
These specialized machines use a combination of needle threads and a looper thread to create a tubular, stitched hem. Unlike a sewing machine, the coverstitch creates a stretchy, seam-like stitch perfect for knits.
Key components include the coverstitch feet, which guide the fabric; coverstitch thread designed for stretchy seams; and coverstitch needles with specialized eyes and grooves.
Proper tension settings and presser foot pressure are essential for flawless stitches.
With practice, you’ll master the art of the coverstitch seam, giving your garments that professional, ready-to-wear finish.
Preparing for Coverstitching
To achieve professional-looking hems with your coverstitch machine, you’ll need to prepare your fabric properly and select the right thread. Proper machine setup is also essential, ensuring your coverstitch machine is threaded correctly and tension is adjusted appropriately for your fabric.
Fabric Preparation
Fabric preparation is key for professional-looking coverstitched hems. You’ll want to:
- Iron the fabric to remove wrinkles and creases
- Use a rotary cutter for clean, even edges
- Clip seams at curves to ease hemming
- Check for consistent fabric width along the hem
- Consider the fabric’s stretch and stability
Properly prepping your fabric sets you up for foolproof coverstitching every time.
Thread Selection
With quality thread, your coverstitch seams will look superb.
Choose the right thread type and size for your fabric weight – polyester threads work well for stretchy knits.
Match colors perfectly, testing on fabric scraps first.
Check your manual for ideal thread tension and stitch length settings.
When securing seam ends, straight stitch over them with a sewing machine for a neat finish.
Machine Setup
Setting up your coverstitch is essential. Refer to the manual for appropriate thread tension, needle type, and presser foot pressure. Adjust stitch length and differential feed according to your fabric. A shorter stitch length and higher differential feed prevent puckering on knits. Experiment with hemming scraps or a curtain rod before starting projects. Mastering machine settings guarantees foolproof, professional-looking hems.
Stitching the Hem
To achieve professional-looking hems with your coverstitch machine, pay close attention to your stitch settings and make adjustments as needed for different fabric types. Proper fabric guiding and securing the stitches at the beginning and end are also essential steps that will guarantee your hems remain intact and stretchy.
Stitch Settings
Set your coverstitch machine for pristine stitch quality with these tips:
- Adjust tension settings for balanced, even stitches.
- Tweak the differential feed to prevent stretching.
- Choose the right needle size for your fabric weight.
- Mind your seam allowances – stitch precision matters.
Dial in your settings before you begin coverstitching for flawless, professional hems every time.
Guiding the Fabric
Keeping your seam aligned is essential. Guide the fabric edge along the seam guide, being mindful of needle placement. Adjust the differential feed and presser foot pressure for ideal tension—no ripples or stretching! Knits require extra care to avoid hem curtains. Use clips or a stylus to smoothly feed the fabric through.
Securing the Stitches
You’ve mastered the art of guiding fabric, now secure those stitches! Without securing, your gorgeous coverstitched hems will unravel in no time. Deftly handle bobbin threads, securing knots tightly – the key to seam strength. Master manual and machine securing methods, ensuring adequate thread chain length. With practiced precision, your hems will withstand life’s daily demands, elevating your sewing skills.
Troubleshooting Coverstitch Issues
You want your coverstitch hems to look professional and polished. If you experience issues like skipped stitches, tunneling, or thread breakage, there are troubleshooting steps you can take to get perfect results.
Skipped Stitches
If your coverstitch machine starts skipping stitches, don’t panic! First, check your needle—a bent or dull one is often the culprit. Adjust the top and bottom thread tensions; they may need tweaking. And remember to use quality thread—it makes a world of difference. With a little troubleshooting, you’ll be back to flawless coverstitching in no time.
Tunneling
Tunneling’ refers to the looping thread failing to catch the fabric’s edge, creating unsightly tunnels. You can prevent this by:
- Adjusting needle and top thread tension
- Increasing presser foot pressure
- Shortening stitch length
- Ensuring smooth fabric feeding
With practice, you’ll master preventing tunneling for perfect, professional hems.
Thread Breakage
Breaking threads can ruin your coverstitch hem. Don’t let it stress you out – here’s how to tackle it:
| Issue | Cause | Solution |
|---|---|---|
| Top thread breaks | Tension too tight | Loosen top tension |
| Bobbin thread breaks | Bobbin area debris | Clean bobbin area |
| Both threads break | Dull needle | Replace needle |
Take a breath, adjust the tension or change the needle, and you’re back in business!
Coverstitching Techniques
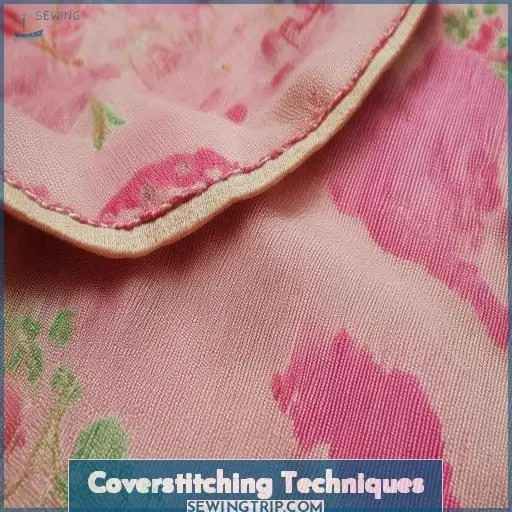
Achieve versatile and professional-looking hems with your coverstitch machine. Whether working with knits, wovens, or seeking decorative effects, mastering the correct techniques guarantees stunning results every time.
Hemming Knits
Hemming knits with a coverstitch machine is a game-changer. Start by stabilizing the hem edge with knit interfacing, using double-needle coverstitching for a professional look. When hemming curves, use:
- A flexible presser foot
- Shorter stitch length
- Steam to shape the curve
Master hemming curves and the blind coverstitch for narrow hems to level up your knit garment finishes.
Hemming Wovens
Hemming wovens with a coverstitch machine takes finesse, but you’ve got this! First, apply fusible knit interfacing to the hem area – this tames fraying and adds stretch. Then, mark and press the hem allowance upwards. Adjust your stitch length shorter and tension tighter to accommodate the woven fibers. With practice, you’ll master that crisp, professional finish.
| Triumph! | Woven Hems | Mastered |
|---|---|---|
| Pristine | Polished | Perfected |
| Gratifying | Conquered | Elevated |
| Victorious | Accomplished | Flawless |
Decorative Stitches
You can get creative with coverstitch embellishments, adding eye-catching flair. Experiment with decorative threads, stitch variations, and hemline embellishments for unique designs. Transform simple seams into stylish statements with imaginative techniques. Release your creativity and elevate basic garments into fashion-forward pieces. Mastering coverstitch embellishments opens doors to personalized, one-of-a-kind creations.
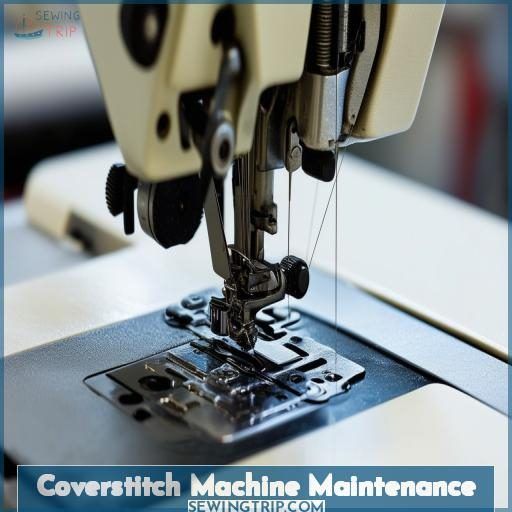
Coverstitch Machine Maintenance
To keep your coverstitch machine in top condition, regularly clean and oil its moving parts as recommended by the manufacturer. Replacing dull or damaged needles is also essential for achieving perfect, skip-free stitches on every project.
Cleaning
Keep your coverstitch machine running smoothly with proper cleaning. After each use, remove any lint and threads from the tension discs and feed dogs. Use a small brush and coverstitch machine lint brush to reach tight spaces. Regularly changing your needles also prevents skipped stitches from built-up lint and oils.
Oiling
Want your coverstitch machine running smoothly? Oiling is key. Neglecting this simple task leads to frustrating issues. Imagine this:
- Squeaking and sticking from dry parts
- Premature wearing of components
- Tension going haywire
- Seams bunching and skipping stitches
Oiling keeps everything gliding nicely. Set a reminder to oil regularly for fuss-free coverstitching.
Needle Replacement
After keeping your coverstitch in pristine condition, it’s time to replace those needles. Don’t let dull or damaged needles ruin your hems – check them regularly. Consider trying different needle types and brands to find the perfect match for your projects. Keep a stash on hand for easy swaps, and store extras properly to maximize needle life.
Frequently Asked Questions (FAQs)
How to coverstitch a hem?
Use a coverstitch to dance over fabric edges, securing stretchy hems. Simply guide the garment under the presser foot, aligning the hem allowance along the needles’ path for a polished, professional finish.
How to do an invisible stitch hem?
To master the invisible stitch, baste your hem first. Use lightweight thread and catch just a thread or two on each side – it’ll vanish! With practice, you’ll nail this pro technique for flawless hems.
How do you sew a perfect hem?
Master perfect hems through preparation and precision. Ensure even fabric edges, secure folds, guide fabric smoothly, and sew slowly and evenly for professional results. With practice, you’ll achieve beautiful, durable hems every time.
How to prevent tunneling coverstitch?
Let’s investigate a foolproof trick to prevent tunneling: pinch the seam opening as you go. By gently squeezing the fabric edges together, you’ll avoid those pesky thread tunnels ruining your coverstitch hem. Mastering this simple technique guarantees professional results every time.
Can coverstitch machines sew through multiple fabric layers?
Yes, coverstitch machines can stitch through multiple fabric layers. The powerful compound feed system easily handles thick seams and hems, making it ideal for enhancing garment durability. Just adjust tension settings for suitable results on thicker materials.
What types of needles are recommended for coverstitching?
For coverstitching, you’ll want to use stretch needles or ballpoint needles. These specialty needles are designed to move flexibly through knit fabrics, preventing skipped stitches and fabric damage. Always check your machine’s manual for the recommended needle type and size.
How often should coverstitch machine timing be adjusted?
Like a talented dance partner, your coverstitch machine’s timing requires occasional fine-tuning to maintain its graceful rhythm. Most experts recommend a timing check every couple of garment projects for ideal results.
What differential feed settings work best for stretchy fabrics?
For stretchy knits, increase differential feed slightly above This allows the bottom feed dogs to pull more fabric, preventing wavy or stretched hems. Experiment with 1-2 settings to find the sweet spot that keeps stitches flat and even.
Conclusion
Coverstitch machines now account for over 30% of home sewing sales, reflecting their growing popularity. Master the art of sew foolproof hems with coverstitching, achieving professional results effortlessly. With proper preparation, tension adjustments, and guided fabric feeding, you’ll create flawless stretchy seams and decorative finishes. Elevate your sewing skills by conquering this specialized technique for a polished, ready-to-wear look.
- stitchers-source.com

