This site is supported by our readers. We may earn a commission, at no cost to you, if you purchase through links.
When cutting, use a rotary cutter for precision and mark notches clearly. Construct seams using stretch stitches and finish them with a serger for durability.
Pay special attention to the neckband, ensuring it’s snug and well-attached. Use a twin needle for hems to maintain stretch.
Don’t forget finishing touches like pockets or embroidery to make your sweatshirt unique.
With these pro tips, you’ll be well on your way to crafting comfort like a seasoned pro.
Table Of Contents
Key Takeaways
- Fabric is the foundation of your sweatshirt empire! Choose wisely, young Padawan – a cotton blend with just the right stretch will be your comfy ticket to success.
- Your rotary cutter is mightier than the sword (or scissors). Wield it with precision to cut pattern pieces that fit together like peanut butter and jelly.
- Stretch stitches and sergers are your new BFFs. They’ll keep your seams strong enough to withstand even the most vigorous Netflix binge-watching sessions.
- The devil’s in the details, so don’t skimp on those finishing touches! A well-attached neckband and perfectly pressed hem can turn your sweatshirt from "meh" to "marvelous" faster than you can say "hand me that twin needle.
Choosing the Right Sweatshirt Fabric
When choosing fabric for your sweatshirt, you’ll need to [WORDS TO FIND AND REPLACE] account for three key factors: fabric composition, weight and stretch, and care instructions. These elements will determine the comfort, durability, and ease of maintenance of your finished garment.
Fabric Composition
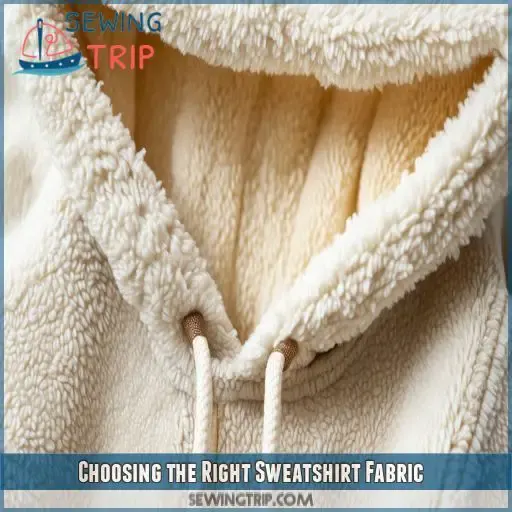
When selecting fabric for your sweatshirt, consider the composition carefully. Cotton blends reign supreme, offering comfort and durability. Look for fabrics with a high cotton content, usually mixed with polyester or spandex for added stretch.
While 100% cotton is cozy, it’s prone to shrinkage. Synthetic blends can be more affordable and easier to care for, but may sacrifice that classic sweatshirt feel.
Choose wisely to strike the perfect balance between comfort, cost, and longevity.
Fabric Weight and Stretch
When choosing your sweatshirt fabric, consider both weight and stretch.
You’ll want a medium to heavy weight fabric for that cozy feel, typically around 250-400 GSM. Fleece or French terry are popular choices.
Check the stretch percentage – aim for at least 20-30% in both directions.
Fabric Care Instructions
When selecting your sweatshirt fabric, don’t overlook the care instructions. They’re your roadmap to maintaining that cozy feel.
Check the label for washing and drying guidelines – some fabrics may shrink or fade if not handled properly.
Consider your lifestyle: do you need easy-care, machine-washable options? Or are you willing to hand-wash for that perfect fabric?
Preparing the Sweatshirt Pattern
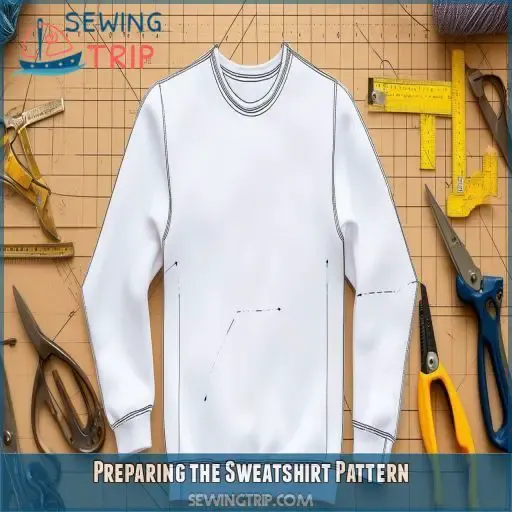
To prepare your sweatshirt pattern, you’ll need to select a suitable design and make any necessary adjustments for a perfect fit. Once you’ve finalized your pattern, carefully cut out the pieces, ensuring accuracy for smooth assembly later on.
Selecting a Pattern
When selecting a pattern for your sweatshirt, you’ve got options. Ready-made patterns like the ‘Marie’ dress can be adapted, or you can create one from scratch using tutorials.
Consider your skill level and desired fit. Look for patterns with clear instructions and size ranges that match your measurements.
Don’t shy away from customizing – it’s your chance to craft a sweatshirt that’s uniquely you.
Adjusting the Pattern
Now that you’ve chosen your pattern, it’s time to fine-tune it. Pattern alteration is key to achieving the perfect fit.
Take your measurements and compare them to the pattern’s size chart. Adjust the length, width, or sleeve length as needed. Don’t forget to consider pattern matching for prints.
For a unique touch, try pattern hacks like adding a hoodie or modifying the neckband, cuffs, or hem band.
Cutting the Pattern Pieces
Now that you’ve adjusted your pattern, it’s time to cut those pieces. Grab your rotary cutter and get ready for precision!
Lay out your fabric, ensuring it’s smooth and wrinkle-free. Carefully place your pattern pieces, following the grain line.
Mark seam allowances and notches clearly – these details are critical for accurate sewing.
Take your time cutting; remember, a well-cut sweatshirt is halfway to perfection!
Cutting the Sweatshirt Fabric
Now that you’ve prepared your pattern, it’s time to cut your sweatshirt fabric with precision. You’ll learn how to lay out your pattern pieces efficiently, use a rotary cutter for clean edges, and mark essential notches and seam allowances for accurate assembly.
Laying Out the Pattern Pieces
Now that your pattern’s ready, it’s time to lay it out. Align your fabric carefully, matching grainlines for a professional finish. Consider placement to maximize fabric efficiency.
Pay attention to shoulder, side, and sleeve seams. If you’re planning embroidery, mark areas for stabilizers and hoops.
Cutting With a Rotary Cutter
Now that you’ve laid out your pattern pieces, it’s time to cut your fabric with precision. Grab your rotary cutter and let’s get started. This tool will give you clean, accurate cuts that’ll elevate your sweatshirt’s professional look.
Here’s why a rotary cutter is your new best friend:
- Guarantees straight, precise lines
- Cuts multiple layers at once
- Reduces hand fatigue compared to scissors
Marking Notches and Seam Allowances
Now that you’ve cut your fabric, it’s time to mark notches and seam allowances for pattern accuracy. Use tailor’s chalk or fabric markers to transfer these essential guides.
Notch the edges at key points to help ensure proper fabric alignment during sewing.
Don’t cut corners on measuring techniques here – precision is key for professional results.
Sewing the Sweatshirt Seams
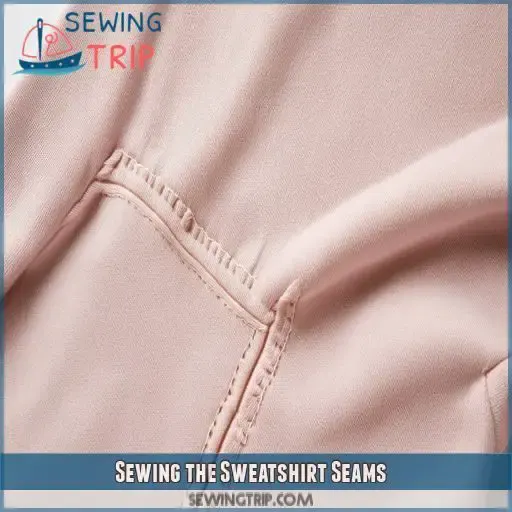
When sewing your sweatshirt seams, you’ll want to use a stretch stitch to guarantee durability and flexibility. After stitching, press your seams open and finish them with a serger for a clean, professional look that’ll prevent fraying and add structure to your garment.
Using a Stretch Stitch
When sewing your sweatshirt seams, a stretch stitch is essential for durability and comfort. Here’s how to master it:
- Choose the right needle size for your fabric type (e.g., 80/12 for French terry).
- Set your machine to a zigzag or stretch stitch, adjusting width and tension for your fabric.
- Test on a scrap piece, ensuring the stitch stretches without breaking or leaving loose threads.
Master this technique, and you’ll be well on your way to creating a professional-looking sweatshirt!
Pressing Seams Open
After using a stretch stitch, it’s time to press those seams open. This step is essential for a professional finish and enhanced seam strength. Grab your iron and press firmly, focusing on the seam allowance. Here’s a quick guide:
| Step | Action | Tip |
|---|---|---|
| 1 | Set iron temp | Test on scrap fabric |
| 2 | Press seam flat | Use seam roll for curves |
| 3 | Open seam | Finger-press first |
Finishing Seams With a Serger
Now it’s time to give your sweatshirt a professional edge with a serger. This powerhouse machine will finish your seams in a snap, preventing fraying and adding durability.
Adjust your serger’s settings for the perfect stitch, balancing thread tension and selecting the right needle. Remember, different fabrics may require tweaks, so test on scraps first.
You’ll be amazed at how a simple serged seam can elevate your sweatshirt’s quality!
Attaching the Neckband
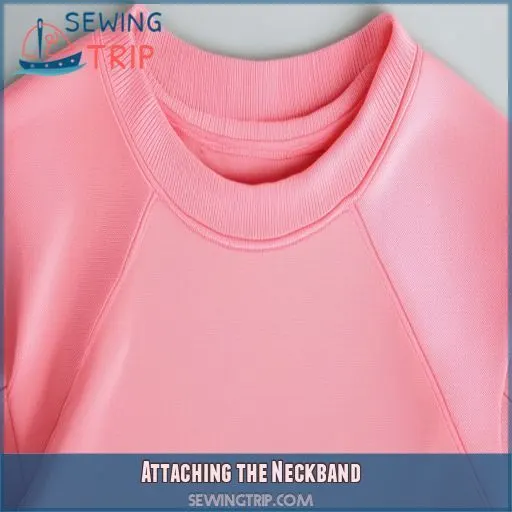
To attach the neckband to your sweatshirt, you’ll first need to cut and sew the neckband piece accurately. Once prepared, you’ll carefully stretch and attach the neckband to the sweatshirt’s neckline, ensuring a snug and professional finish.
Cutting the Neckband
Now that you’ve sewn the main seams, it’s time to tackle the neckband. This important step will give your sweatshirt a polished look and guarantee comfort. Here’s how to cut the perfect neckband:
- Calculate the length: Measure 70-75% of your neckline circumference.
- Determine width: Aim for 2.5 cm folded, plus seam allowances.
- Cut with precision: Use a rotary cutter for clean edges.
- Mark notches: Indicate mid-back, shoulders, and mid-front for easy alignment.
Sewing the Neckband Seam
Now that you’ve cut your neckband, it’s time to sew it into a loop.
Determine the ideal neckband width and stretch for your sweatshirt.
Join the short ends, aligning the edges carefully. Use a serger or stretch stitch to secure the seam, ensuring it can withstand pulling.
Press the seam open to reduce bulk.
This step preps your neckband for smooth attachment to the sweatshirt’s neckline.
Attaching the Neckband to the Sweatshirt
Now that you’ve sewn the neckband seam, it’s time to attach it to your sweatshirt. The key is getting the stretch just right.
Start by pinning the neckband to the sweatshirt’s neckline, aligning the seams. As you sew, gently stretch the neckband to fit the neckline.
Use a stretch stitch for flexibility and durability.
Hemming the Sweatshirt
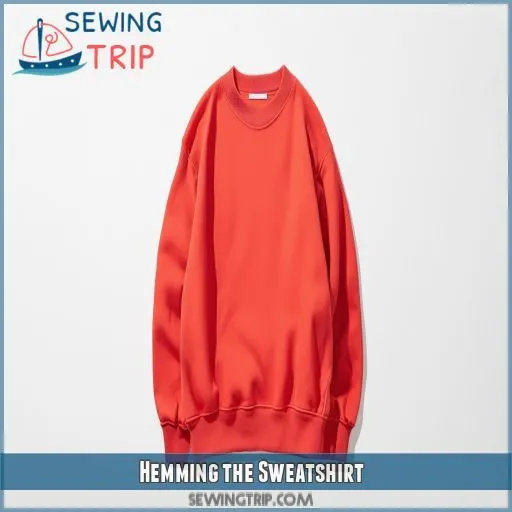
To achieve a professional finish on your sweatshirt, you’ll need to hem it properly using a few key techniques. Let’s explore how to turn under the hem, use a twin needle for a stretchy and durable finish, and press the hem for a crisp, polished look.
Turning Under the Hem
Now that you’ve attached the neckband, it’s time to turn your attention to the hem. Hemming your sweatshirt is essential for a polished appearance and durability. When working with stretch fabric, you’ll need to use specific hemming techniques to maintain flexibility. Here’s how to turn under the hem:
- Measure and mark your hem allowance
- Press the hem up evenly
- Pin or use wonder tape to secure the hem in place
Using a Twin Needle
Ready to give your sweatshirt a professional finish? Grab a twin needle and let’s embark on this journey.
Choose the right needle size for your fabric and adjust your stitch tension carefully. Different fabrics may require specific settings, so don’t be afraid to experiment.
Popular twin needle brands like Schmetz or Organ offer various options. Remember, your serger settings might need tweaking too.
With practice, you’ll master this technique in no time!
Pressing the Hem
After mastering the twin needle technique, it’s time to give your sweatshirt a refined finish by pressing the hem. This vital step guarantees your creation looks professional and feels comfortable. Here’s what you’ll need:
- Pressing equipment: Iron and ironing board
- Iron temperature: Set for your fabric type
- Hem width: Typically 1-1.5 inches
- Thread type: Match to your fabric
- Stitch length: Slightly longer than normal
Adding Special Details
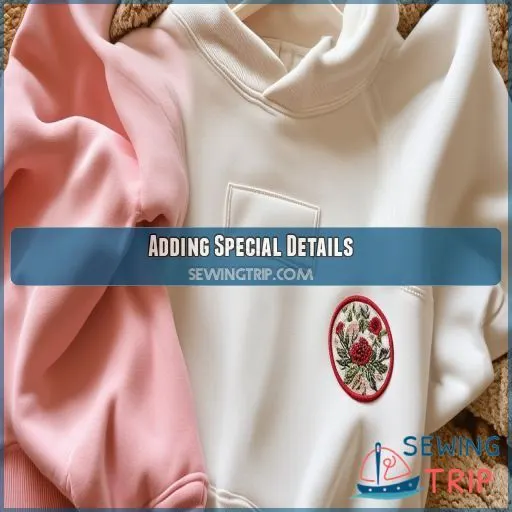
Now that you’ve mastered the basics of sweatshirt construction, it’s time to add some personal flair to your creation. You can elevate your sweatshirt with appliqué or embroidery for a unique look, incorporate functional elements like pockets or zippers, or add adjustable features such as drawstrings or toggles.
Appliqué or Embroidery
Now that you’ve hemmed your sweatshirt, it’s time to add some personality with appliqué or embroidery.
Choose eye-catching appliqué designs or embroidery motifs that complement your style. Consider the sweatshirt’s color when selecting fabric embellishments and thread choices.
Carefully plan your pattern placement for a balanced look.
These fabric additions not only showcase your creativity but also elevate your sweatshirt from basic to customized.
Pockets or Zippers
Elevate your sweatshirt with pockets or zippers for added functionality and style. Consider these pro tips:
- Choose pocket placement carefully for comfort and aesthetics
- Select a zipper style that complements your sweatshirt design
- Determine appropriate pocket size based on intended use
- Pick the right zipper length and color for a seamless look
Measure twice, cut once, and you’ll master these details like a pro. Remember, precise stitching is key to achieving that polished, store-bought finish.
Drawstrings or Toggles
After adding pockets or zippers, you might want to think about drawstrings or toggles for a finishing touch. These elements can add both style and functionality to your sweatshirt. Here’s a quick guide to help you choose:
| Element | Pros | Cons |
|---|---|---|
| Cord end | Durable, adjustable | Can be bulky |
| Tassel end | Decorative, unique | May fray over time |
| Shoelace | Readily available, versatile | Less formal look |
| Elastic | Comfortable, flexible | May lose elasticity |
| Satin ribbon | Elegant, smooth | Requires careful handling |
Choose wisely to elevate your sweatshirt’s design!
Frequently Asked Questions (FAQs)
How to make sweatshirts look professional?
You’ll elevate your sweatshirts by using high-quality fabrics, adding ribbed cuffs and waistbands, and incorporating professional finishes. Focus on clean topstitching, reinforced seams, and well-fitted patterns. Don’t forget stylish details like zippers or embroidery for that extra polish.
What is the best stitch for sewing sweatshirts?
Ever wondered what makes a sweatshirt look polished? For the best results, use a stretch stitch or narrow zigzag. You’ll want to match your thread to the fabric and use a ballpoint needle. Don’t forget to test on scraps first!
What needle do you use for sweatshirt fabric?
For sweatshirt fabric, you’ll want to use a ballpoint or jersey needle. These needles have rounded tips that slip between fabric fibers, preventing snags and holes. Choose a size 80/12 for medium-weight sweatshirt material.
What is the seam allowance for a hoodie?
You’ll typically use a 3/8" (1 cm) seam allowance for hoodies. It’s enough to secure seams without adding bulk. If you’re using a serger, you might go with 1/4" (6 mm) for a cleaner finish.
Are sweatshirts easy to sew?
Contrary to popular belief, sweatshirts aren’t always easy to sew. You’ll face challenges with stretchy fabrics and specialized techniques. However, with practice and the right tools, you can master this cozy garment. Start simple and build your skills gradually.
Can you sew a sweatshirt on a sewing machine?
Yes, you can sew a sweatshirt on a regular sewing machine. You’ll need the right needles and stitches for knit fabric. With practice, you’ll master techniques like attaching ribbing and creating a professional finish.
What is a good sweatshirt sewing pattern?
You’ll be blown away by the endless possibilities! For a stellar sweatshirt pattern, check out the ‘Marie’ dress pattern or create your own using simple pattern drawing tutorials. Ready-made patterns are also great options for beginners.
How do you sew a sweatshirt ribbing?
To sew sweatshirt ribbing, cut a band slightly shorter than the opening’s circumference. Fold it in half, pin to the garment’s right side, and stretch while sewing. Press the seam upward and topstitch for a professional finish.
How do you sew a stitch sisters Sweatshirt?
Like a puzzle coming together, you’ll sew a Stitch Sisters Sweatshirt with precision. Cut your fabric, assemble the pieces, attach the ribbing, and finish with topstitching. Don’t forget to press seams and use a stretch stitch for best results.
How do you sew a sweatshirt cuff?
You’ll need to cut your cuff fabric, fold it in half, and sew the short ends together. Attach it to the sleeve by aligning raw edges, pinning, and stitching. Remember to stretch the cuff slightly while sewing.
How do I choose the right thread for sweatshirt fabric?
A stitch in time saves nine." Choose thread that matches your sweatshirt fabric’s weight and stretch. For most sweatshirts, use polyester or polyester-cotton blend thread. It’s durable and can handle the stress of stretchy fabrics.
Can I use interfacing on sweatshirt knit fabrics?
You can use interfacing on sweatshirt knits, but choose lightweight, fusible options. Apply it selectively to areas needing structure, like necklines or plackets. Test on scraps first to confirm it doesn’t affect the fabric’s stretch or drape.
Whats the best way to press seams on sweatshirts?
You’ve just pressed a seam and it’s perfect! For sweatshirts, use a pressing cloth and low heat. Press seams open on a tailor’s ham, then topstitch for a professional finish. Don’t over-press to avoid flattening the fabric’s texture.
How do I prevent logo prints from cracking when washing?
To prevent logo cracks, pre-wash your garment inside out in cold water. Use a gentle cycle and avoid high heat when drying. Apply a heat press cover sheet when ironing, and consider using crack-resistant ink for printing.
What needle type is best for sewing thick sweatshirt material?
Like a sturdy needle threading through layers of fabric, you’ll want a heavyweight needle for thick sweatshirt material. Use a size 100/16 or 110/18 needle. They’re designed to punch through hefty fabrics without breaking or skipping stitches.
Conclusion
As you stand back and admire your newly sewn sweatshirt, you’ll see how professional techniques have elevated your craft.
By focusing on fabric selection, precise cutting, and expert construction methods, you’ve created a garment that rivals store-bought alternatives.
With practice, you’ll refine your skills and develop your unique style.

