This site is supported by our readers. We may earn a commission, at no cost to you, if you purchase through links.
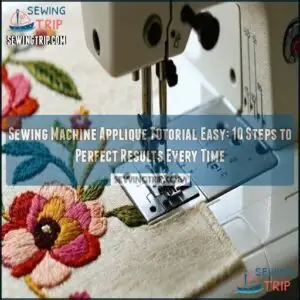
Iron the web onto the back of your applique piece, peel off the paper, and press it onto your base fabric—be sure it’s exactly where you want it!
Use a straight or zigzag stitch to sew around the edges, keeping your stitches even. A stabilizer underneath prevents puckering.
Want extra flair? Add decorative stitching or layer designs. It’s easier than it looks, and mistakes just add charm—your fabric tells a story.
Ready to master this? Let’s stitch it up!
Table Of Contents
Key Takeaways
- Use fusible web to secure your applique pieces and prevent fraying while stitching.
- Choose stabilizers to keep your fabric steady and avoid puckering during sewing.
- Experiment with straight, zigzag, or decorative stitches to enhance your applique designs.
- Plan and layer your designs carefully for a clean, professional finish.
Sewing Machine Applique Basics
You’ll find that machine appliqué is just fancy talk for sewing cute fabric shapes onto your projects, and it’s way easier than it looks.
Machine applique turns simple fabric shapes into charming designs, making every project uniquely personal and surprisingly easy to create.
With your regular sewing machine and a few simple supplies, you can transform plain items into personalized treasures that’ll have friends asking "where did you buy that?
Choosing The Right Fabric
Nearly every fabric can work for applique, but some choices make your life easier.
Cotton fabrics are perfect for beginners since they don’t stretch or fray much. You can find a wide variety of cotton options available.
Consider fabric weight—lightweight materials are simpler to maneuver under your sewing machine. When selecting colors, think about how they’ll pop against your base fabric.
Remember that knit vs. woven makes a difference too. Pre-wash fabrics to prevent unexpected shrinkage after you’ve completed your beautiful applique project.
Essential Tools and Supplies
Now that you’ve picked your fabric, let’s gather your tool kit! You’ll need sharp fabric scissors or a rotary cutter for clean edges.
Don’t forget fusible web like Thermoweb Heat N Bond or Pellons Wonder Under to keep everything in place. Add stabilizer options to prevent puckering, quality thread that matches or contrasts with your design, and of course, your trusty sewing machine.
To guarantee accurate fabric placement, consider using transparent rulers for pattern alignment. Think of these supplies as your appliqué dream team!
Understanding Applique Techniques
How do applique techniques differ for various projects? Understanding these differences will save you hours of frustration later!
When tackling machine applique techniques, remember these basics:
- Simple designs work best for beginners—save those intricate patterns for later
- Proper stabilizer usage prevents puckering and distortion
- Stitch selection depends on your desired edge finish
- Thread choices should complement both your fabric combinations and design complexity
You’ll be creating professional-looking appliques before you know it, and mastering these techniques will help you achieve a desired edge finish with the right thread choices.
Applique Techniques and Stitches
You’ll find that choosing the right stitch can transform your applique project from amateur to amazing.
Whether you’re stitching letters on a baby blanket or adding whimsical shapes to a tote bag, these five essential techniques will help you create professional-looking results every time, with the right approach to stitching.
Straight Stitch Applique
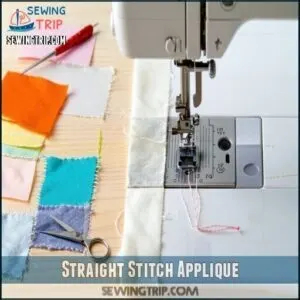
With straight stitch applique, you’ll achieve a charming raw edge look that creates beautiful fraying effects after washing.
Simply stitch 1/8" from the edge of your fabric pieces using your sewing machine’s basic straight stitch. It’s perfect for beginner projects using simple shapes on cotton fabrics.
Understanding freezer paper appliqué can further enhance precision in your designs. You’ll love how this applique technique adds texture while keeping your sewing machine applique tutorial easy to follow.
Zigzag Stitch Applique
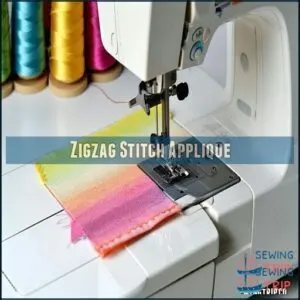
With zigzag stitch applique, adjust your sewing machine’s stitch width and length for neat edges.
It’s great for lettering applique and curve stitching, especially on kids’ clothes.
Use tension adjustments for balanced sewing machine stitches.
This applique tutorial makes stitching easy—practice steady hands and smooth turns.
Zigzag stitching adds durability and flair to your designs while staying beginner-friendly!
Fussy Cut Applique
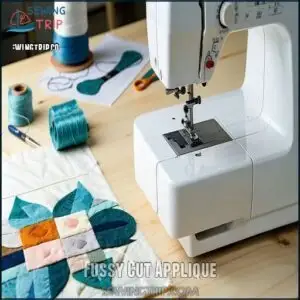
Ever wondered how to elevate your designs? Fussy cut applique is all about precision! Carefully select fabric patterns, match designs painstakingly, and cut intricacies like a pro.
Use invisible thread for seamless stitching on your sewing machine. This easy applique technique guarantees perfect design placement and pattern matching.
Using templates helps achieve perfectly placed prints in applique embroidery. Follow this applique tutorial for professional-looking results every time.
Simple sewing techniques, stunning outcomes!
Reverse Applique
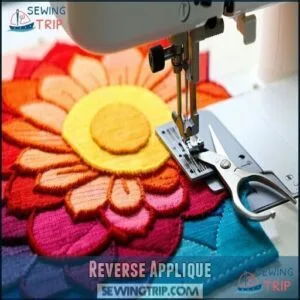
Reverse applique gives a creative twist by layering fabrics for stunning effects.
You’ll stitch a design, cut through the top layer, and reveal the underneath for beautiful contrasts.
Try bold fabric combinations to enhance complexity. Clean cutting techniques matter—sharp scissors are your best friend!
Experiment with stitch variations for edges. This reverse applique tutorial reveals unique, layered designs using dynamic sewing techniques to create stunning effects.
Decorative Stitch Applique
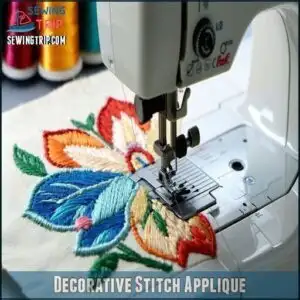
Decorative stitch applique brings flair to sewing machine projects.
Choose fun thread colors and experiment with stitch density for standout designs.
Stabilizer use keeps patterns crisp, while a proper needle type guarantees clean finishes.
Test applique stitches on scrap first; it’s like stretching before a workout.
These sewing machine techniques transform simple designs into eye-catching creations that’ll wow every time!
Preparing Applique Designs
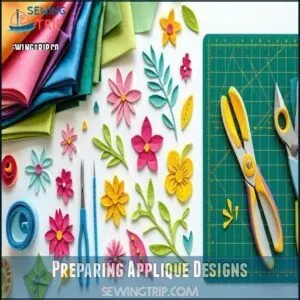
Getting your applique design ready is all about clean cuts and proper placement.
With a little patience and the right tools, you’ll have your pieces prepped and ready to shine in no time!
Tracing and Cutting Designs
Start with your template. Template tracing guarantees accuracy, so flip your design if it has specific orientations like letters—don’t skip this! Trace neatly onto the adhesive’s paper side using a pencil.
For fabric cutting, sharp scissors or a rotary cutter are your best friends. Cut carefully to reduce fabric waste and preserve clean edges.
Precise designs will elevate your applique, whether it’s a simple heart or a playful dinosaur!
Using Iron-on Adhesive
Using iron-on adhesive keeps fabric applique secure and hassle-free.
To prep, grab a top-quality product like Thermoweb Heat N Bond. Check the adhesive’s fabric compatibility before starting.
For a permanent bond:
- Follow iron settings: Too hot melts adhesive; too cool won’t stick.
- Smooth bubbles: Troubleshooting bubbles? Press firmly, but don’t rub.
- Layer right: Adhesive shiny side down on fabric.
Consider different types of adhesive for various fabrics. It’s a simple fusible applique method with flawless results!
Placing Applique Pieces
After preparing the adhesive, focus on precise placement to guarantee your design orientation is spot on.
Arrange each fabric applique piece on the background fabric like setting puzzle pieces—check, adjust, smile.
Confirm adhesive strength by ironing twice; count to ten while pressing. Use pins for tricky spots if needed.
A neat setup helps innovation shine and avoids frustration later.
Action Tips
Step-by-Step Applique Process
You’re ready to bring your applique designs to life, step by step. Follow along as you iron, cut, and stitch your way to a clean, professional-looking finish!
Applique transforms fabric into art—iron, cut, stitch, and watch your designs come alive with creativity and flair!
Ironing and Cutting Fabric
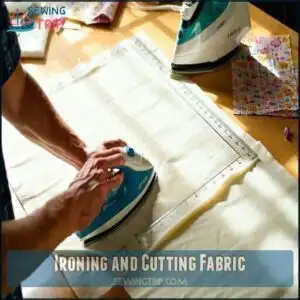
A sharp eye and steady hands make fabric preparation a breeze.
Place your fabric wrong side up, apply Thermoweb Heat N Bond or Steam A Seam adhesive, and iron carefully. Keep the iron temperature steady—hot, but not scorching.
Follow your template, cutting with precision. Remember, clean edges matter!
Dab humorously: “No finger peeling,” use a pin instead. A few thoughtful steps lay your applique’s perfect foundation.
Placing Stabilizer and Sewing
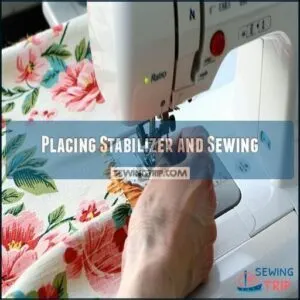
Lay the stabilizer, matching its size to the applique area, under your fabric.
Pin it snugly to keep everything steady while stitching. Use a sewing machine with proper thread tension and a sharp needle selected for your fabric type.
Try different Stitching Techniques, like zigzag or straight, depending on your design. This sewing technique guide recommends lightweight stabilizers for easier maneuverability, making sewing tutorials like this a breeze.
Secure those seams confidently.
Securing Applique With Stitching
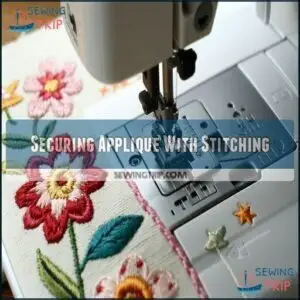
Start by setting the stitch length and thread tension for your machine applique. Use a straight stitch, satin stitch applique, or blanket stitch applique to secure edges.
Gently guide the fabric, pausing at corners to use proper cornering techniques. Securing starts and ends with a few backstitches keeps everything tidy.
Decorative stitch applique can add flair if desired. Fusible web application can help to secure pieces before stitching.
Test your needle type on scrap fabric for smooth stitches every time, ensuring a proper cornering technique and using the right thread tension for the best results.
Tips for Successful Applique
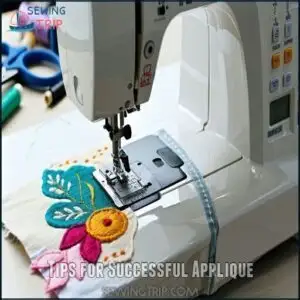
Getting applique just right isn’t hard if you know a few tricks to keep things smooth and stress-free.
From picking the best thread to stopping your fabric from fraying, these tips will help you avoid common hiccups and enjoy the process.
Choosing The Right Thread and Needle
Your thread and needle choices can make or break your applique results.
Match the thread weight and needle type to your fabric compatibility for smoother stitches. For a satin stitch or embroidery threads, opt for needles with larger eyes to reduce shredding.
Always check your sewing machine manual to avoid surprises. Selecting the correct sewing machine needles is essential for the best results.
- Try these tips:
- Use universal needles for most projects.
- Color-match thread for seamless designs.
- Specialty threads need slower stitching.
Managing Fabric Fraying and Stretching
To avoid fabric fraying, use Edge Finishing techniques like zigzag stitches or pinking shears.
Interfacing Usage and Stabilizer Types help prevent stretch, especially on tricky fabric layers.
Adjust Stitch Density for tighter edges on fabric applique designs and applique for quilts.
Choose smooth, stable Fabric Selection like cotton or felt for less hassle.
Treating fabrics carefully means your applique will shine without the drama—no tears, just cheers!
Troubleshooting Common Issues
Struggling with fabric bunching or puckering fabric? Check your sewing machine settings—tight tension or loose stitches can wreak havoc.
Skipped stitches might mean a dull needle, so swap it out. Needle breaking? Slow down and use the right size.
Adhesive residue sticking up your project? A damp cloth helps clean it off. Incorrect stabilizer choice can also cause alignment problems.
Mastering applique is about troubleshooting patiently; sewing machine tips and adjustments save your stitches every time, with the right technique!
Advanced Applique Techniques
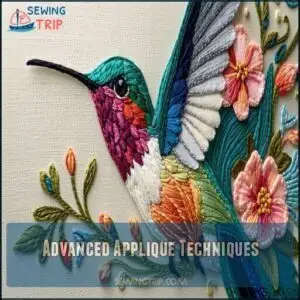
You’re ready to take your applique skills to the next level by layering designs and playing with textures.
Don’t worry—it’s easier than it sounds, and the results will look stunning!
Layering and Combining Designs
Layering and combining designs brings your applique projects to life! Think of it as crafting a mini-story with fabric—lively color palettes, texture mixing, and dimensional applique make magic.
- Combine easy applique patterns like florals layered over geometric shapes.
- Use storytelling designs with overlapping elements, like a sun peeking over a hill.
- Play with fabric stitching to create shadows or depth in your sewing machine applique.
It’s creativity stitched together!
Using Different Fabric Types and Textures
Mixing fabric combinations can make your applique pop! Try lightweight cotton for easy sewing or upcycled fabrics for a creative twist.
Texture contrast, like pairing smooth satin with rough linen, brings depth. Knit applique works great, but stabilize it to prevent stretching.
A sewing machine handles fabric embellishment like a pro. Follow this sewing techniques guide to explore fabric weight, ensuring each design feels fresh, unique, and perfectly stitched, with a focus on making your applique pop!
Creating Complex Scenes and Patterns
Creating complex scenes with machine applique starts with careful planning. Use color palettes to bring your vision to life. Let storytelling applique shine by arranging elements creatively.
Follow these steps:
- Sketch your design first.
- Balance color and pattern repeats for harmony.
- Use dimensional applique for texture and depth.
- Layer fabrics for a bold, realistic effect.
- Experiment with sewing machine techniques for unique details.
Frequently Asked Questions (FAQs)
How do I clean applique after stitching?
Did you know proper care extends applique life by 50%?
Wash gently with cold water, mild detergent, and no bleach.
Air dry or use low heat.
Protect edges by washing in a laundry bag.
Can applique be done on non-fabric surfaces?
Yes, you can!
Applique works on surfaces like wood, canvas, and even paper.
Use fabric glue or fusible web instead of stitching for smooth adhesion.
Just make certain the base material can handle heat or glue properly.
What are creative ideas for applique projects?
It’s funny how a scrap can spark an idea!
Applique adds flair to tote bags, quilts, or baby blankets.
Personalize T-shirts, create animal pillows, or jazz up curtains—all unique and handmade treasures!
How do I make applique edges last longer?
Use a zigzag stitch or satin stitch to seal fabric edges, preventing fraying.
Stabilizers add structure, and fusible web secures edges.
Wash fabric gently—skip hot water to keep your applique looking sharp longer.
Can applique be done without a sewing machine?
Applique without a sewing machine is like painting with fabric—use iron-on adhesives or fabric glue for no-sew designs.
It’s perfect for quick projects, just make certain edges are sealed properly to prevent fraying over time, and ensure a proper finish.
Conclusion
Think of sewing machine applique like painting with fabric—it’s all about creativity and control.
With the steps covered in this sewing machine applique tutorial, easy designs can transform into crisp, professional-quality pieces.
Just prep your fabric, use the right stitch, and don’t skip the stabilizer.
Practice makes perfect, so embrace those “oops” moments as part of the process.
Whether it’s straight stitching or decorative flair, you’re ready to create designs that pop with personality!
- https://www.pinterest.com/pin/195273333830484754
- https://www.connectingthreads.com/tutorials/Needle_Turn_Applique_Stitch__D56.html
- https://www.joann.com/pellon-805-wonder-under-interfacing-by-the-bolt/13188735.html?q=SUGGESTION-Pellon%20805%20Wonder-Under%2C%20White%2C%2017%22%20x%2010yd%20bolt
- https://www.designsbyjuju.com/blog/fussy-cutting-applique-easy-using-template/?srsltid=AfmBOorrUcJE1cDneU4lfYAm-YDI4Jh91Qc8QoDq133A-GBvwkfTPJDB
- https://www.shinyhappyworld.com/2016/09/fussy-cutting-broderie-perse-fancy-applique-tutorial.html

