This site is supported by our readers. We may earn a commission, at no cost to you, if you purchase through links.
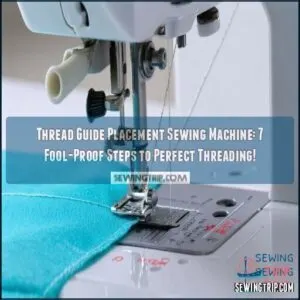
Start at the spool pin, then navigate through the upper thread guides (usually numbered), pass through the tension discs, and engage the take-up lever.
Next, direct the thread through the lower guides above the needle. Thread the needle from front to back.
The thread guide placement on your sewing machine creates the proper tension needed for even stitches. Think of it as a roadmap—miss one checkpoint and your stitching journey hits a detour.
Mastering this path prevents those frustrating thread nests lurking beneath your fabric.
Table Of Contents
Key Takeaways
- Thread guides are strategically placed components that control your thread’s path from spool to needle, ensuring proper tension and preventing tangles that can ruin your projects.
- You’ll need to follow the numbered guide path on your machine exactly—starting at the spool pin, through tension discs, engaging the take-up lever, and finally threading the needle from front to back.
- Your machine’s thread path is typically marked with arrows or diagrams; following these precisely will prevent frustrating thread nests underneath your fabric and guarantee smooth stitching.
- You can troubleshoot most threading issues by checking for proper guide alignment, keeping guides clean from lint buildup, using quality thread, and making small tension adjustments when necessary.
Thread Guide Basics
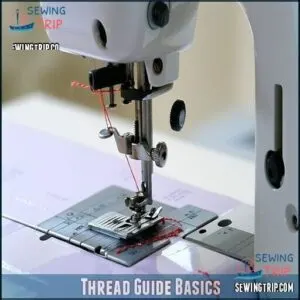
You’ll find thread guides positioned at strategic points along your sewing machine to control the thread’s path from spool to needle.
Thread guides are your sewing machine’s silent navigators, guiding every stitch from start to finish.
These small metal or plastic components direct your thread through the machine properly, ensuring smooth tension and preventing those frustrating tangles that can ruin your sewing projects.
Thread guides are key to sewing machine functionality.
Thread Guide Functions
Thread guides serve several essential functions in your sewing machine.
They guarantee tension consistency throughout the stitching process while preventing snags that can ruin your project.
Properly placed thread guides control thread delivery from spool to needle, directly impacting stitch quality.
Whether made of metal or plastic, each guide material serves a specific purpose in directing your thread’s path.
Without these small but mighty components, your machine simply couldn’t function properly!
Thread Guide Types
Now that you understand the function of thread guides, let’s explore the various types you’ll encounter on your sewing machine.
The thread path includes several critical guide styles that work together to guarantee smooth stitching.
- Spool pin guides hold thread spools horizontally or vertically, determining initial thread release
- Tension discs control thread tightness for balanced stitches
- Take-up lever guides create consistent thread loops
Additional guides direct your thread around machine components, preventing tangles during sewing.
You’ll find these built into the thread guide placement throughout your machine.
Importance of Thread Guides
You mightn’t give thread guides much thought, but they’re the unsung heroes of your sewing machine.
Without proper thread guide placement, your project could quickly unravel.
| Function | Benefit | Impact |
|---|---|---|
| Thread Control | Prevents Snags | Smooth operation |
| Tension Consistency | Even thread path | Professional finish |
| Upper/Lower Balance | Proper thread feeding | Reduced breakage |
Well-positioned guides guarantee superior machine performance and exceptional stitch quality every time, ensuring a professional finish.
Sewing Machine Parts
You’ll find the spool pin, take-up lever, and tension discs are the key components for proper thread path placement on your sewing machine.
Understanding these parts will help you avoid thread snarls and breaks, making your sewing projects run smoothly.
Spool Pin Placement
Now that you know what thread guides do, let’s set up your thread correctly from the start.
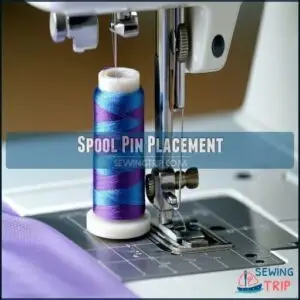
The spool pin holds your thread in place on your sewing machine.
Position your spool so thread unwinds counter-clockwise on vertical pins and from the top on horizontal pins.
Always use the right spool cap size to keep your thread from jumping off during sewing.
Take-Up Lever Role
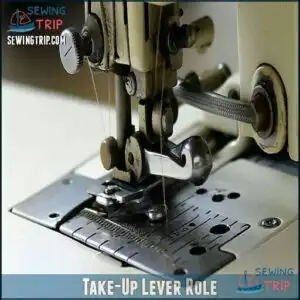
The take-up lever serves as your sewing machine’s critical timing mechanism, creating the perfect dance between threads for proper stitch formation.
Your thread must engage correctly with this component for successful sewing:
- Creates necessary thread slack during needle descent
- Pulls upper thread tight after bobbin thread capture
- Maintains proper tension balance throughout stitching
- Controls thread delivery timing essential for perfect stitch formation
Skipping this step during threading guarantees tangled results!
The importance of proper threading cannot be overstated, as it directly affects the quality of your sewn work, and the take-up lever plays a crucial role in this process, ensuring a proper stitch.
Tension Discs Adjustment
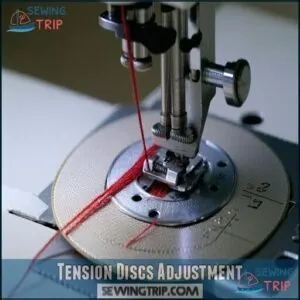
After mastering the take-up lever, your next focus is the tension discs adjustment—the heart of stitch quality.
These discs control pressure on your thread, creating perfectly balanced stitches. Proper tension disc assembly guarantees correct stitch formation and tension balance.
| Tension Setting | Fabric Type | Thread Weight |
|---|---|---|
| 2-3 | Delicate/Sheer | Fine/Light |
| 4-5 | Medium Weight | All-Purpose |
| 6-8 | Heavy/Denim | Heavy Duty |
Turn the dial clockwise to increase tension or counterclockwise to decrease it. Remember, your presser foot must be down when adjusting for proper engagement.
Threading Process Steps
You’ll follow a specific path through your sewing machine, guiding thread from the spool pin through tension discs and the take-up lever before reaching the needle’s eye.
Once you’ve properly threaded both upper and lower sections, your machine will create balanced stitches that won’t unravel or bunch up, ensuring a professional finish with properly threaded sections.
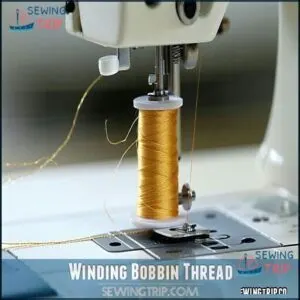
Winding Bobbin Thread
Winding bobbin thread properly is the foundation of successful sewing.
Begin by placing your thread spool on the pin and guiding thread through the bobbin winding tension disc. Insert thread through the bobbin hole, wrap it several times, then place it on the winding pin.
Control winding speed for even thread distribution, stopping when the bobbin is nearly full. Automated options, such as those found at Automated options, can streamline this process.
Different bobbin material types affect tension, so check your machine’s recommendations for the best results and to ensure proper tension control.
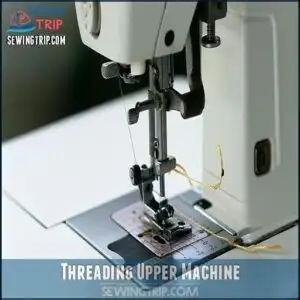
Threading Upper Machine
Threading the upper machine is your path to tension balance success.
Start with proper spool placement on the pin, ensuring it unwinds smoothly. Guide the sewing machine thread through the upper thread guide, around tension discs, and into the take-up lever.
Continue following your sewing machine threading guide down to the needle. The correct setup of the upper thread guide is essential for smooth operation.
Thread the needle from front to back, leaving a 4-inch tail.
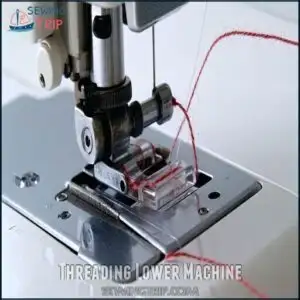
Threading Lower Machine
The bobbin chamber dance begins after you’ve mastered upper threading.
Start by winding your bobbin properly, ensuring thread wraps evenly. Insert the wound bobbin into its case following your machine’s thread direction arrows.
Pull the thread through the tension slot, leaving a short tail. Rotate the handwheel toward you to catch the lower thread.
Proper bobbin threading prevents frustrating tension issues later, which is crucial for a smooth threading process.
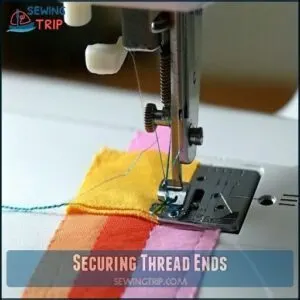
Securing Thread Ends
The final two thread tails need proper securing to prevent unraveling.
Pull both upper and bobbin thread ends under the presser foot, leaving a 3-4 inch thread tail length.
Start your first stitch using the backstitching method, or try simple knotting techniques for extra security.
To confirm your seams are secure, consider how to finish off sewing.
After completing your seam, use thread snipping tools to trim excess thread loops while maintaining thread smoothness and fiber integrity.
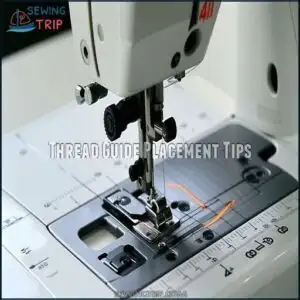
Thread Guide Placement Tips
You’ll find your sewing machine’s thread guides marked with small arrows or diagrams that show the correct path for smooth operation.
Following these marked paths precisely will prevent frustrating thread tangles and guarantee proper tension for professional-looking stitches.
Checking Machine Diagrams
Now that you’ve mastered the threading process, it’s time to decode your sewing machine’s roadmap.
Your machine likely has threading diagrams printed directly on its body, which are visual guides that illustrate the exact thread path from spool to needle with helpful arrows showing the correct order.
Different models have unique diagram layouts, so always refer to your specific sewing machine manual for proper thread guide placement.
Using Thread Guide Arrows
Built into most sewing machines, those tiny arrows serve as your personal threading GPS.
You’ll find these markings near thread guides, indicating the direction your thread should travel.
Don’t ignore their importance – following arrows precisely prevents tension problems and guarantees proper stitch formation.
If arrows are missing or worn, consult your sewing machine threading diagram for guidance on correct thread placement.
Avoiding Thread Tangles
The secret to tangle-free sewing lies in proper thread guide placement.
Always use high-quality thread and confirm correct needle insertion.
Keep your machine’s guide paths clean with regular maintenance.
When threading, maintain gentle tension on the thread and follow the guides precisely.
Run at slow speeds until you’re confident.
Proper lubrication of moving parts will also prevent thread breakage and guarantee smooth threading.
Storing thread properly helps in thread tangling prevention to achieve smooth threading and prevent thread breakage.
Adjusting Thread Tension
With thread tangles under control, proper thread tension is your next focus.
Check your tension disks frequently as they control how tightly your thread feeds through the machine.
For perfect stitch quality, adjust thread tension settings based on your fabric compatibility and thread weight.
If your top stitches look loose, increase upper tension slightly. If bottom threads show on top, decrease tension.
Understanding thread tension products can further enhance your sewing precision. Remember, small adjustments make big differences in your sewing results.
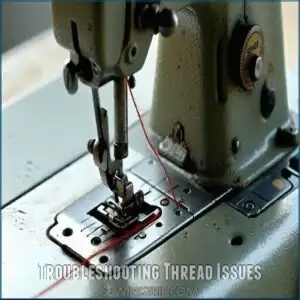
Troubleshooting Thread Issues
You’ll quickly identify and fix common thread problems when you understand the relationship between thread guides and tension.
Even the most experienced sewers encounter thread issues, but with proper guide placement and regular maintenance, you can prevent most thread breakage and tangling.
Common Threading Mistakes
Now that you know how to check those diagrams and follow thread guide arrows, let’s look at where things tend to go wrong.
Many sewers make the mistake of skipping guides during sewing machine threading steps, which can lead to broken thread and frustrating starts.
Wrong spool placement, incorrect tension settings, and threading the needle in the wrong direction are common culprits behind these issues.
Never thread with your machine turned on—it’s a safety hazard and can cause problems during the sewing process, including frustrating starts.
Thread Breakage Solutions
When thread keeps breaking mid-project, you’re facing one of the most frustrating sewing machine threading problems.
First, rethread your machine completely with the presser foot raised. Check your needle size matches both your fabric choice and thread quality.
Adjust thread tension settings gradually until balanced. Replace inferior thread with quality options.
Regular machine maintenance prevents many tension problems before they start, and using quality options for thread can make a significant difference.
Thread Tangle Prevention
When your machine starts creating bird’s nests of thread underneath your fabric, prevention is key.
Keep your thread guides clean from lint buildup, maintain proper tension settings, and verify that your needle is inserted correctly.
Always check that your bobbin is wound evenly and seated properly, as regular guide maintenance prevents those frustrating tangles that make you want to abandon sewing projects entirely.
Maintaining Thread Quality
Preserve your thread quality to prevent machine mishaps and maintain smooth sewing sessions. Your thread’s condition directly impacts stitch quality and tension adjustment success.
Here’s how to maintain superior thread performance:
- Store threads away from direct sunlight to extend thread lifespan
- Match fiber content to your project needs for consistent results
- Consider quality brands that provide better thread lubrication
- Clean your thread guides regularly to prevent dust buildup
To guarantee smooth operation, remember to address any thread tension issues and maintain smooth sewing sessions with proper tension adjustment.
Frequently Asked Questions (FAQs)
Can thread guides wear out over time?
Nearly 70% of sewing machine issues stem from worn components.
Yes, your thread guides can wear out, creating grooves from friction that affect tension.
You’ll need to replace them when thread doesn’t flow smoothly anymore.
How to retrofit missing thread guides?
You can create DIY thread guides using small eyelet screws, bent paperclips, or sewing machine-safe adhesive hooks.
Position them along the original thread path, ensuring they’re smooth to prevent thread snags or tension issues.
Do computerized machines need different guide threading?
Computerized machines follow similar threading principles as mechanical ones, but you’ll need to follow your specific model’s guidance.
Many computerized models have numbered path indicators and automatic needle threaders for convenience.
Thread guide spacing affects stitch quality?
Yes, thread guide spacing directly impacts your stitch quality.
Improper spacing can cause tension issues, leading to uneven stitches or thread breakage.
Regular maintenance guarantees guides remain properly aligned for consistent results.
Are aftermarket thread guides compatible with machines?
Most aftermarket thread guides will work with your machine if they match your model’s specifications.
You’ll need to check compatibility with your specific brand and make certain they’re properly installed to maintain tension balance.
Conclusion
Ultimately, proper thread guide placement on your sewing machine is like the backbone of successful sewing—it supports everything you create.
You’ll avoid frustrating thread nests and tension problems when you follow your machine’s threading path precisely.
Remember to consult your manual when in doubt, and practice makes perfect!
Soon, you’ll thread your machine with your eyes closed, and those perfect stitches will become your new normal.
Happy sewing!

