This site is supported by our readers. We may earn a commission, at no cost to you, if you purchase through links.
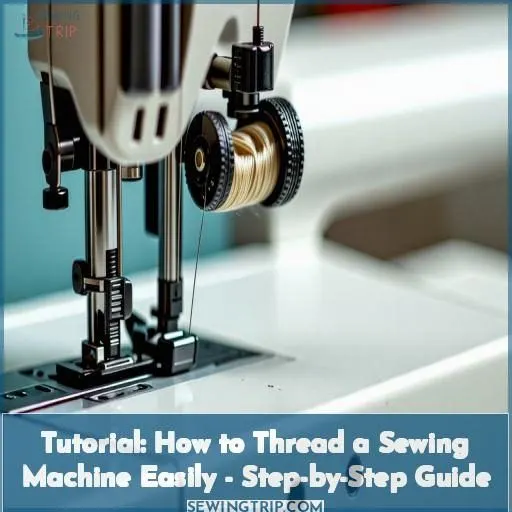 Threading a sewing machine might seem intimidating, but this tutorial will make it effortless.
First, set up the machine by placing the spool on the pin, winding the bobbin, and inserting it into the compartment.
Next, thread the top by guiding the thread through the tension discs and around the takeup lever before passing it through the needle.
Then, open the bobbin compartment, place the bobbin, and catch the thread with the handwheel.
Finally, complete the process by pulling the thread through the presser foot and checking for any missed steps.
With a bit of patience, you’ll be stitching away in no time—and this guide will guarantee you’re well on your way.
Table Of Contents
Key Takeaways
- Proper threading is essential for smooth sewing machine operation and consistent stitches
- Threading involves guiding the thread through various parts of the machine in a specific order
- Troubleshooting tips like referring to the manual and using the right tools can help with threading
- Adjusting thread tension is crucial for different fabrics and achieving balanced stitches
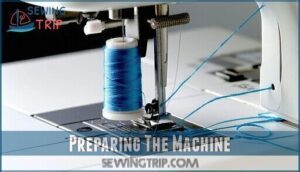
Preparing the Machine
To begin threading your sewing machine, place the thread spool on the spool pin and wind the bobbin by holding the thread taut while turning the handwheel in your direction. Next, insert the wound bobbin into its compartment, pull the thread through the bobbin case opening, and close the bobbin cover securely.
1.1 Place Spool on Spool Pin
Place the spool on the spool pin according to your sewing machine’s specifications, ensuring compatibility, correct pin placement, and appropriate tension for different thread types .
1.2 Wind Bobbin
To wind a bobbin, engage the bobbin winder, place the thread spool, guide the thread, and activate the winding mechanism to fill the bobbin evenly. (Source)
1.3 Insert Bobbin Into Compartment
Gently place the bobbin into the compartment, ensuring the thread runs counterclockwise. Secure the bobbin cover to prevent tension issues or alignment problems.
1.4 Pull Thread Through Bobbin Case
To pull the thread through the bobbin case, guarantee proper bobbin case tension, cleanliness, and alignment. Connect the top thread with the feeder mechanism and the take-up lever.
1.5 Close Compartment
After pulling the thread through the bobbin case, close the compartment securely to guarantee proper bobbin case alignment and tension. This completes the preparation for troubleshooting and threading the sewing machine .
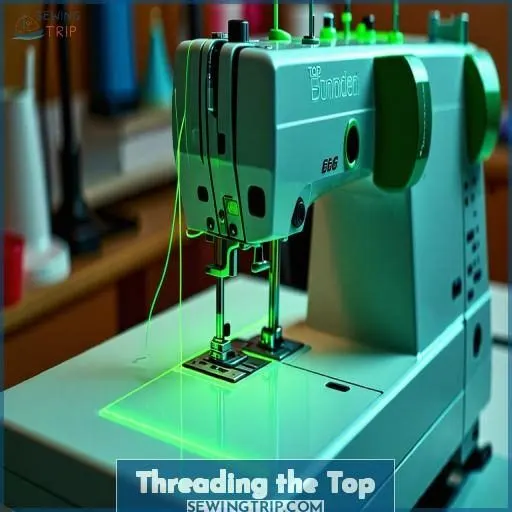
Threading the Top
After placing the thread spool on the spool pin at the top of your sewing machine, you’ll want to carefully pull the thread through the top thread guide. From there, loop the thread around the tension discs, wrap it around the takeup lever, and finally guide it through the eye of the needle.
2.1 Place Thread on Spool Pin
Place your thread securely on the spool pin, considering the spool type, thread weight, and color. Establish proper tension to prevent thread breaking and seam puckering.
2.2 Pull Thread Through Top Thread Guide
Pull thread through the top thread guide, making certain it follows the designated path for proper thread tension and smooth sewing.
| Step | Action |
|---|---|
| 1 | Locate the top thread guide on your machine. |
| 2 | Guide the thread through the opening of the thread guide. |
| 3 | Make certain the thread is securely in place and follows the indicated path. |
2.3 Loop Thread Around Tension Discs
To loop thread around tension discs, guarantee proper tension for balanced stitches. This step influences top thread tension, complementing the adjustment through the upper tension and bobbin thread. (Source)
2.4 Wrap Thread Around Takeup Lever
Wrap the thread around the takeup lever, ensuring adequate tension adjustment for superior sewing performance with your thread quality and needle size.
2.5 Guide Thread Through Needle
Guide thread through needle’s eye, ensuring proper alignment. Adjust needle size and thread type for best performance. Refer to manual for specific machine instructions.
- Needle size and thread type matter
- Insert needle with flat side facing back
- Angle thread from right to left
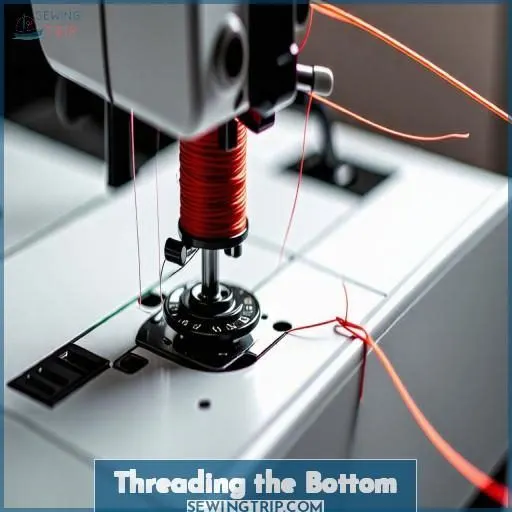
Threading the Bottom
To thread the bottom of your sewing machine, start by opening the bobbin compartment and carefully placing the pre-wound bobbin in its designated spot. Next, gently pull the thread from the bobbin and turn the handwheel in your direction to catch the bobbin thread before closing the compartment securely.
3.1 Open Bobbin Compartment
Locate the bobbin compartment on your machine. Gently open it by following the machine instructions. Be careful when handling the bobbin case.
3.2 Place Bobbin in Compartment
To place the bobbin in the compartment:
- Open the bobbin compartment cover
- Hold the bobbin and position it correctly
- Guide the thread through the tension spring blades
- Insert the bobbin into the machine
- Verify proper thread path
3.3 Pull Thread From Bobbin
Now, carefully pull the thread from the bobbin, ensuring a smooth flow and maintaining the bobbin thread tension for ideal sewing performance.
3.4 Turn Handwheel to Catch Thread
Turn the handwheel to facilitate the bobbin thread in catching for correct tension. Guarantee compatibility between thread thickness, needle size, and bobbin type for superior performance (Source).
3.5 Close Compartment
Gently close the bobbin compartment, ensuring the bobbin case is securely in place. Listen for the click of the compartment latch to confirm proper closure.
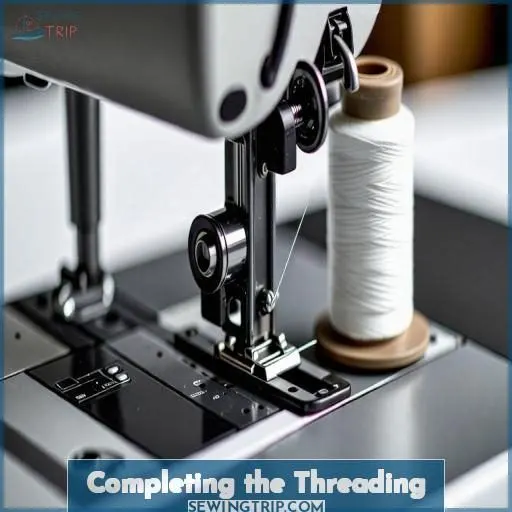
Completing the Threading
After winding and inserting the bobbin, pull up the bobbin thread and hold it. Turn the handwheel toward you to bring the bobbin thread up through the needle plate, then pull both threads toward the back under the presser foot to complete the threading process.
4.1 Pull Thread From Bobbin
To complete the threading, gently pull the bobbin thread upwards, ensuring it slides smoothly without resistance. This step prepares the machine for smooth stitching.
- Bobbin thread tension
- Bobbin thread adjustment
- Bobbin thread type
- Bobbin thread winding
- Bobbin thread troubleshooting
4.2 Turn Handwheel to Bring Thread to Needle
To complete the threading, turn the handwheel to bring the thread to the needle. Confirm the handwheel is in the correct position for ideal thread tension and proper needle alignment. Consider the type of thread and the winding of the bobbin.
| Handwheel Position | Thread Tension | Needle Alignment |
|---|---|---|
| Correct | Ideal | Proper |
4.3 Pull Thread Through Presser Foot
Pull the thread through the presser foot, ensuring it runs smoothly. Adjust tension if needed for your fabric and project. Use the appropriate foot type and needle size for best results.
4.4 Check Threading
Now that you’ve pulled the thread through the presser foot, double-check the threading tension, ensuring proper alignment and needle positioning for consistent stitches and smooth sewing operation.
Troubleshooting
Before attempting to thread your sewing machine, always refer to the user manual for specific instructions and diagrams relevant to your model. If the manual is unavailable or unclear, look for any printed threading guides directly on the machine itself or consult instructions for similar machines.
5.1 Refer to Machine Manual
Consult your machine manual for specific threading instructions and troubleshooting tips. Follow safety precautions and unplug the machine before threading.
5.2 Check for Printed Threading Instructions
Printed threading instructions provide a clear, easy-to-follow guide for your specific machine. Refer to them for helpful tips and troubleshooting guidance.
5.3 Use Similar Machine Instructions
If your machine model differs, consult similar models’ manuals for threading guidance. Compatibility is key when troubleshooting.
| Tip | Benefit |
|---|---|
| Compare threading diagrams | Identify similarities |
| Refer to user guides | Clarify model variations |
| Consult customer support | Resolve complex issues |
| Practice on scrap fabric | Troubleshoot tension |
5.4 Unplug Machine Before Threading
Unplug your machine before threading to prevent accidents and electrical hazards. Safety first! Unplugging ensures a smooth, worry-free threading process.
- Always unplug your machine before threading to avoid potential hazards.
- Unplugging is an important safety guideline to prevent threading accidents.
- Make sure your machine is unplugged for your protection and peace of mind.
- Electrical safety is paramount when threading your sewing machine.
5.5 Use Necessary Tools
Gather essential tools like needle threaders, scissors, and tweezers to simplify threading. Maintain your machine with cleaning brushes and lubricating oil for maximum performance.
Frequently Asked Questions (FAQs)
How to thread a sewing machine for beginners?
Threading a sewing machine may seem intimidating, but over 60% of beginners find it straightforward with the right guidance. Follow the machine’s manual: place the spool, pull through guides, around tension discs, into the needle, and secure the bobbin thread. Practice on scrap fabric, and you’ll soon be stitching confidently.
How to thread an old Singer sewing machine for beginners?
First, raise the needle and presser foot. Next, place the bobbin into its case and lead the thread through the guides. Then, bring the needle thread down through the tension discs and needle eye. Finally, pull both threads to the rear to start sewing.
How to set up a sewing machine step by step?
Imagine the satisfaction of creating something beautiful with your own hands. Setting up a sewing machine is easy: Unpack it, thread the needle and bobbin, adjust the tension, and you’re ready to bring your vision to life with a little practice.
Is there a trick to threading a sewing machine needle?
Sure, there’s an easy trick – wet the thread end slightly with saliva or a damp cloth. This stiffens the fibers, making it easier to guide through the needle’s tiny eye. Just be sure to clip off any frayed ends for a smooth threading experience.
What type of thread should I use for my project?
Express your creativity akin to a seamstress’s thread! For majority of projects, all-purpose polyester or cotton thread performs admirably – it’s robust yet pliable, handling even the most challenging fabrics effortlessly.
How often should I change my needle?
You should change your sewing machine needle every 8 hours of use or after sewing through 3 layers of fabric multiple times. A fresh, sharp needle prevents skipped stitches, puckering, and fabric damage.
Can I use a different type of bobbin?
A stitch in time saves nine. You’ll need a bobbin specifically designed for your machine model. Using an incompatible bobbin could cause tension issues, jamming, or even damage the bobbin case. Always consult your manual for the recommended bobbin type.
What is the purpose of the tension discs?
Tension discs help control the tightness of the thread as it feeds through the machine. Getting the tension correct ensures even, quality stitches – not too loose or too tight. Mastering tension is key for professional-looking sewing projects.
How do I adjust the thread tension for different fabrics?
Like threading a needle’s eye, adjusting thread tension takes practice. For lightweight fabrics, loosen it; for heavier ones, tighten until balanced stitches form.
Conclusion
Threading a sewing machine, much like weaving a tapestry, requires patience and attention to detail.
With this tutorial on how to thread a sewing machine, you’ll be stitching intricate designs effortlessly.
Follow the step-by-step guide, and you’ll have the machine threaded accurately, ensuring seamless stitches with every project.
Refer back to the instructions whenever needed, and let your creativity flow through the rhythmic hum of your well-threaded sewing machine.

