This site is supported by our readers. We may earn a commission, at no cost to you, if you purchase through links.
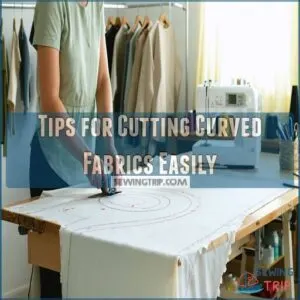
To get it just right, you’ll want to use tips for cutting curved fabrics like starching your fabric beforehand and ironing it flat.
Sharp scissors or rotary cutters are a must, and don’t forget to mark those curves clearly.
With the right tools and techniques, you’ll be cutting like a pro in no time.
Now, let’s get into the nitty-gritty of mastering those curves – there are some game-changing secrets waiting for you.
Table Of Contents
Key Takeaways
- You’ll get better at cutting curved fabrics by preparing your fabric first, which includes starching, ironing, and pre-washing it to prevent shrinkage and make it smoother to work with.
- To cut curved fabrics accurately, you’ll want to use sharp scissors or a rotary cutter, and mark the curves clearly, so you can follow the lines smoothly and make precise cuts.
- It’s essential to use the right tools, like quilting rulers and templates, to help you cut curved fabrics with precision, and consider investing in automated fabric cutting technologies for more complex projects.
- When sewing curved fabrics, you’ll want to use techniques like glue basting, sewing slowly, and pressing your seams flat to achieve a professional finish, and don’t forget to use a quarter-inch foot and maintain fabric control to prevent puckers and ensure smooth edges.
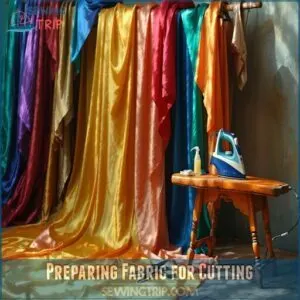
Preparing Fabric for Cutting
You’re about to start cutting curved fabrics, and preparing your fabric is the first step – it’s essential to get it right.
You’ll want to starch your fabrics before cutting, iron them flat, and pre-wash them to prevent shrinkage.
They’re smooth and easy to work with, so these steps are crucial for a successful project, with pre-wash being a key consideration to prevent shrinkage.
Starch Fabrics Before Cutting
You’ll love how fabric starch simplifies cutting curved fabric.
Apply starch using a spray bottle, then iron it flat on a cutting mat.
Proper fabric cutting techniques are essential for achieving clean curves.
This step makes sure smooth fabric smoothing, making it easier to cut curves with a rotary cutter or curved fabric scissors, and achieve professional results.
Iron Fabrics Flat After Starching
You iron fabrics flat after starching to achieve smooth fabric.
- Use steam for stubborn wrinkles
- Iron in sections for evenness
- Test starch application for best results, ensuring flat pressing for cutting curved fabric with rotary cutter or curved fabric scissors.
Pre-wash Fabric to Prevent Shrinkage
To master curved fabric cutting, pre-wash your fabric to prevent shrinkage and color bleeding, ensuring accurate cuts and a professional finish.
This essential step in fabric preparation saves time and reduces errors in the long run, making your sewing projects look flawless and polished.
Cutting Curved Fabrics Accurately
You’re about to tackle the art of cutting curved fabrics, and it’s great that you’re taking the time to get it right.
By following a few simple tips, like using quilting rulers and templates, you’ll be cutting curves like a pro in no time.
Your projects will turn out smooth and polished.
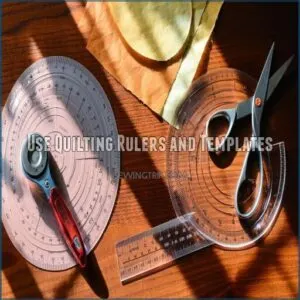
Use Quilting Rulers and Templates
You’ll achieve precision with quilting rulers and curve templates, making rotary cutting a breeze.
Use these tools for accurate fabric marking, ensuring smooth curved fabric cutting tips and cutting curves in fabric with your rotary cutter, a key quilting tool for precision cutting curved fabric.
For the best results, consider using high-quality quilting ruler sets to enhance your cutting experience.
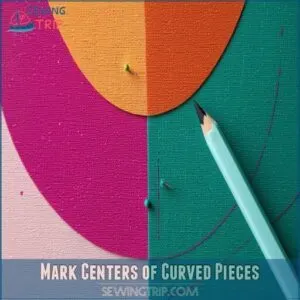
Mark Centers of Curved Pieces
You’re now marking centers of curved pieces, ensuring curve alignment and seam accuracy.
Use a marker to identify matching curved edges, making piece marking a breeze, and allowing for precise cutting curves in fabric with ease, a key curved fabric cutting tip for achieving cutting precision.
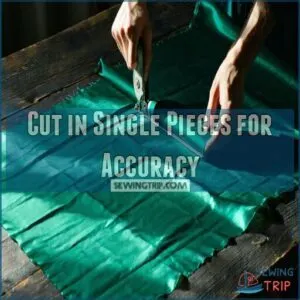
Cut in Single Pieces for Accuracy
Cutting curved fabric accurately requires patience.
You’ll find single layer cutting helps maintain fabric alignment, ensuring curve precision and seam accuracy.
Manage each piece carefully to cut curved fabric on a curve with a rotary cutter, achieving precise fabric pieces every time, for a professional finish.
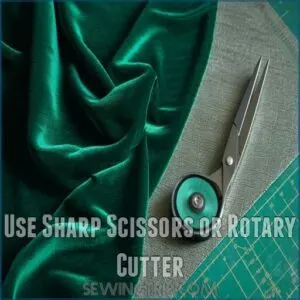
Use Sharp Scissors or Rotary Cutter
You’ll get precise fabric pieces with sharp blades and the right tools.
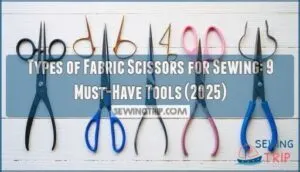
Use fabric shears or a rotary cutter with a curved edge to cut fabric on a curve, ensuring smooth cuts and minimal waste on your cutting mat.
Making curved fabric cutting a breeze with scissor tips is achieved by using the right tools, and this method makes the process easier.
Choosing The Right Tools
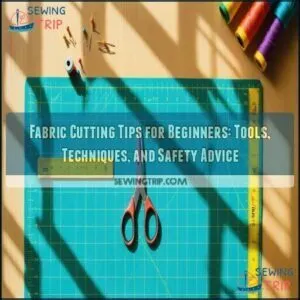
You’ll want a reliable rotary cutter with a sharp blade and a self-healing cutting mat as your trusty sidekicks for those tricky fabric curves.
When you’re ready to level up your curved cutting game, consider investing in specialized tools like AccuQuilt dies or curved quilting rulers that’ll make your cuts as smooth as butter.
Manual Cutting Methods and Tools
You’ll find your groove with manual curved fabric cutting once you’ve got the right tools in your corner.
For smooth, precise cuts, keep your fabric shears sharp and pair them with a sturdy cutting mat. Your rotary cutter will be your best friend here – try a smaller blade size for tighter curves.
Don’t forget quilting rulers and tracing tools to map out those perfect curves beforehand.
Understanding proper rotary cutter techniques is essential for achieving professional results.
Automated Fabric Cutting Technologies
Three revolutionary automated fabric cutting technologies have transformed the way you’ll tackle curved fabrics. From AccuQuilt’s die-cutting precision to industrial CNC machines, you’ll find options that make curve cutting a breeze.
Digital knives and fabric robots provide consistent results every time. To achieve smooth curves, make sure to use proper curved sewing techniques.
- AccuQuilt systems offer pre-made dies for popular curved patterns
- Laser cutting provides pinpoint accuracy for intricate designs
- Digital knives automatically adjust pressure for different fabrics
- CNC machines excel at repetitive curved cutting tasks
- Auto cutters with built-in pattern recognition reduce waste
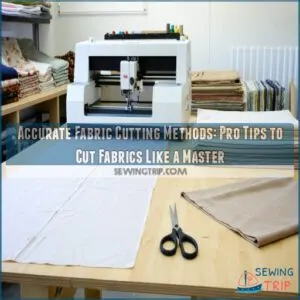
Employing a Cutting Table for Precision
While automated cutting machines streamline production, you’ll need a well-organized cutting table for perfect curves at home.
Your table setup should include a self-healing cutting mat and plenty of space for fabric alignment.
Keep your precision tools like sharp blades and rotary cutters within arm’s reach.
Remember, a clean, flat surface is your best friend when cutting fabric on a curve.
For accurate cuts, this is vital: use the right cutting tools for your project, and consider the importance of precision tools and a clean, flat surface for optimal results, making it essential to have the right cutting tools.
Sewing and Basting Curves
You’re now ready to move on to sewing and basting your curved fabrics, an important step in achieving a professional finish.
By following a few simple tips, like using glue basting and sewing slowly, you’ll be able to create smooth, pucker-free curves that will make your project stand out.
Glue Basting for Temporary Adhesion
You’re now mastering curved fabric cutting, and it’s time to explore glue basting for temporary adhesion.
This technique guarantees smooth curve alignment, making sewing curves a breeze.
Apply glue carefully, and you’ll be sewing curves with ease, achieving perfect fabric adhesion and a professional finish with glue basting techniques.
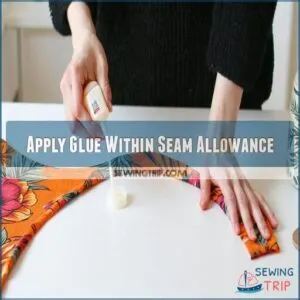
Apply Glue Within Seam Allowance
When applying glue for curve basting, keep it within the seam allowance to make sure a smooth, pucker-free finish.
Allowing you to cut curved fabric accurately and sew curves smoothly with precision cutting and the right curved seam allowance, ensuring a smooth finish.
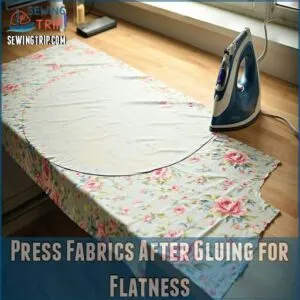
Press Fabrics After Gluing for Flatness
You’ll press fabrics after gluing for flatness, using steam or starch for Fabric Smoothing and Curve Pressing, ensuring a crisp finish and easing Glue Removal.
This helps in sewing curved seams and cut curved fabric accurately with a curved fabric pattern.
Proper pressing techniques are essential for a professional finish, and you can learn more about how to press sewn fabric, which involves Curve Pressing and understanding the importance of Glue Removal.
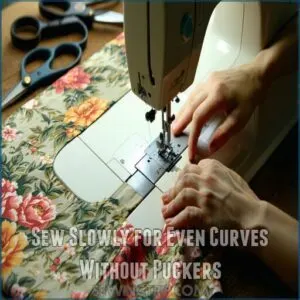
Sew Slowly for Even Curves Without Puckers
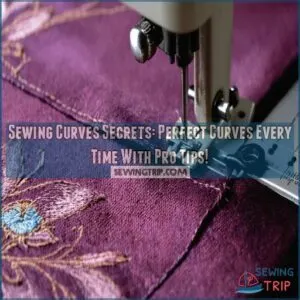
You’re sewing curved seams, so take it slow.
Steady stitches are key to pucker prevention and smooth edges.
Use a quarter-inch foot and maintain fabric control for sewing curves smoothly, ensuring a professional finish with curved fabric cutting and clipping curved seams techniques.
Finishing and Constructing Quilts
You’re almost done with your quilt, and it’s time to finish and construct it.
Now, you’ll press your seams flat, use steam or starch for a crisp finish.
Complete sewing your quilt blocks with accuracy and precision.
Press Seams Flat After Sewing Curves
You’ve sewn your curves, now it’s time to press those seams flat.
Use a hot iron to relax the fabric, smoothing out any wrinkles or bulges, and ensuring a crisp finish, which is essential for quilt finishing and achieving stitch control when sewing curves smoothly on your sewing machine.
Understanding proper seam pressing techniques is vital for a professional-looking result.
Use Steam or Starch for Flat Pressing
Now that you’ve pressed those seams flat, it’s time to add a finishing touch.
Use steam ironing or starch application to smooth out curved fabrics, ensuring flat finishing and a professional look.
This is especially important when handling curved fabric and sewing curves with various fabric cutting techniques, which requires a professional look.
Complete Sewing of Quilt Blocks Accurately
As you assemble your quilt block, focus on accurate stitching, using curve sewing tips to guide you.
Notching curved seams helps with fabric layering, ensuring a smooth finish.
Mastering quilt block assembly and block finishing techniques will elevate your curved piecing skills, making sewing curves a breeze.
Enjoy The Process of Sewing Curved Blocks
As you master curved block tips, remember to enjoy the process.
With sewing tricks like fabric manipulation and quilting techniques, block construction becomes effortless.
Notching curved seams and sewing curves on your machine will be a breeze, making curved piecing a delightful experience with practice and patience.
Frequently Asked Questions (FAQs)
How do you cut fabric around a curve?
You’ll cut fabric around a curve by using sharp scissors, a rotary cutter, or a fabric-cutting machine, making small, deliberate cuts to follow the curve smoothly and accurately.
What stitch is best for curves?
Imagine sewing smooth curves, you’ll find a short stitch length is best.
Easing fabric together as you sew, for a pucker-free finish, use a quarter-inch foot and maintain a steady pace.
How to get straight lines when cutting fabric?
You’ll get straight lines when cutting fabric by using sharp tools, a clear ruler, and a self-healing cutting mat, ensuring precise cuts and smooth edges every time, easily.
What tool is best for cutting curves when making furniture?
You’ll find a jigsaw or coping saw is best for cutting curves when making furniture, offering control and precision for intricate cuts.
How store cut curved fabric pieces safely?
You’ll want to store those cut curved fabric pieces in a safe, dry place, away from dust and pets, to keep them organized and prevent damage or loss.
Can curved fabrics be cut with laser?
You can cut curved fabrics with a laser, but it’s essential to choose the right settings and materials to achieve smooth, accurate cuts and prevent damage to the fabric.
What thread types suit curved fabric sewing?
When sewing curved fabrics, you’re on a roll, and suitable thread types include cotton, polyester, or silk, which offer flexibility and durability for smooth, pucker-free curves.
How fix mistakes in curved fabric cuts?
You’ll fix mistakes in curved fabric cuts by carefully re-cutting or trimming excess fabric, using sharp tools, and re-aligning pieces to make sure a smooth, even curve.
Are curved fabric patterns suitable beginners?
You can master curved fabric patterns, even as a beginner, with practice, patience, and the right tools, releasing your creative potential and taking your sewing skills to the next level.
Conclusion
You’ve mastered the art of cutting curved fabrics.
Now, put these tips for cutting curved fabrics into practice and watch your sewing skills soar.
With sharp tools and patience, you’ll create beautiful, professional-looking curves.
Remember, practice makes perfect, so don’t be afraid to try again and refine your skills with these valuable tips for cutting curved fabrics.
- https://homemadeemilyjane.com/sewing-curves/
- https://sugarstitchesquiltco.com/blog/starching-your-fabric-before-cutting/
- https://www.thecreativecurator.com/how-to-preshrink-fabric-without-washing/
- https://www.sewsteady.com/product-category/quilting-templates/
- https://www.sailrite.com/scissors-or-rotary-cutters

