This site is supported by our readers. We may earn a commission, at no cost to you, if you purchase through links.
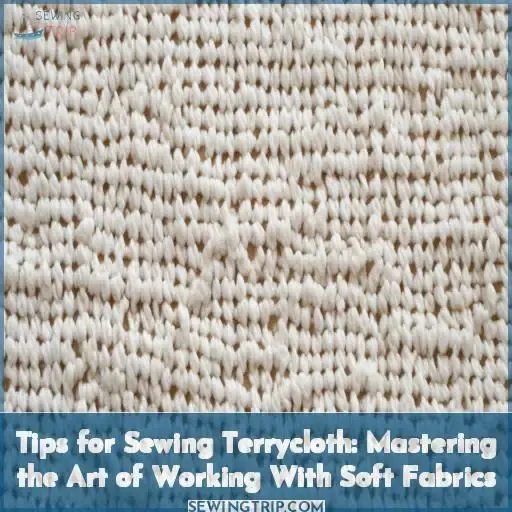
Terrycloth’s plush texture and stretchy loops demand a delicate touch. First, pre-shrink the fabric to prevent future headaches.
When cutting, use razor-sharp scissors and finish raw edges promptly to thwart fraying.
While sewing, lengthen your stitch and use a heavyweight needle with a walking foot for even feeding.
Finish by top-stitching seam allowances for durability and stability.
With the proper techniques under your belt, you’ll soon be a terrycloth taming pro!
But don’t stop there – keep reading to truly master this soft, snuggly fabric.
Table Of Contents
Key Takeaways
- Terrycloth can be a real beast to tame, but with the right techniques, you’ll soon be a looped fabric wrangler extraordinaire! Prep the fabric properly by pre-washing and checking the nap direction before cutting – it’ll save you a major headache down the line.
- When stitching terrycloth, treat your sewing machine like a trusted sidekick. Use a heavyweight needle, lengthen that stitch, and enlist a walking foot for smooth feeding. It’s like having a seasoned cowpoke riding herd on those unruly loops.
- Raw edges are the Achilles’ heel of terrycloth, so nip fraying in the bud! Serge or zigzag those babies promptly, then topstitch seam allowances for added security and a professional touch that’ll make your projects sing.
- Caring for your terrycloth treasures is a cinch – just a warm water wash and low heat tumble is all it takes. Treat ’em right, and they’ll stay soft, cozy, and ready for snuggly adventures galore!
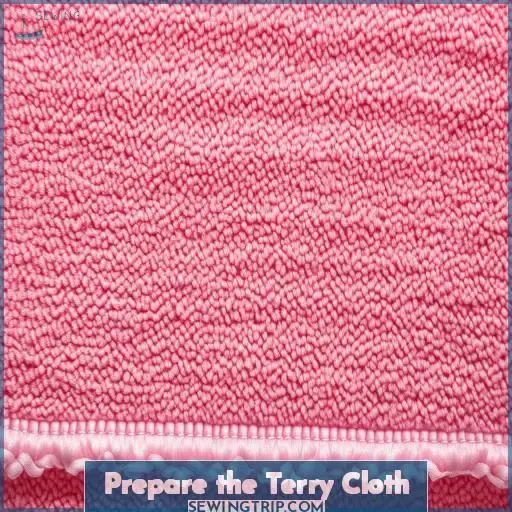
Prepare the Terry Cloth
To properly prepare terrycloth fabric for sewing, begin by pre-washing it to prevent future shrinkage and fading. If the fabric has a visible nap, check the direction carefully before cutting to guarantee consistent appearance in your finished project.
Pre-Wash the Fabric
Pre-washing terry cloth prevents excessive shrinkage and removes any excess dye or finishes. Always pre-wash in warm water, then dry on a warm or hot setting. Check the fabric’s thickness and texture after washing – it should have just the right drape and softness for your project. Pre-washing also removes stubborn lint, preparing the fabric for successful sewing.
Check for Nap Direction
After pre-washing, check if your terrycloth has a nap—that soft, fuzzy surface that only lies in one direction. Here’s what to look for:
- Hold the fabric up to the light at an angle
- Run your hand over it—the nap will lie smoothly one way
- Mark the nap direction with chalk or pins
- Cut and sew with the nap facing the same way
Maintaining the nap direction ensures your terrycloth projects look plush and cohesive.
Cutting Terry Cloth
When cutting terry cloth, use sharp fabric scissors to get clean cuts through the looped pile. Finish any raw edges promptly by serging or using a tight zig-zag stitch to prevent excessive fraying.
Use Sharp Scissors
After washing, you’ll want to use sharp fabric scissors when cutting terrycloth. Dull blades can snag the loops, creating an uneven edge. Go slowly, keeping the fabric taut but not overstretched. Lint inevitably builds up, so keep a lint roller handy and use it frequently during cutting for best results.
Finish Raw Edges Promptly
Terry cloth’s loose loops fray easily, so you’ll want to finish those raw edges promptly. Here are 4 tips:
- Use a serger if you have one – it finishes and trims in one step.
- If no serger, use a zig-zag stitch on your machine.
- For curved edges, clean-finish with pinking shears.
- Seal raw edges with Fray Check or similar product.
Finishing edges neatly makes sewing terry cloth easier and gives your projects a professional look.
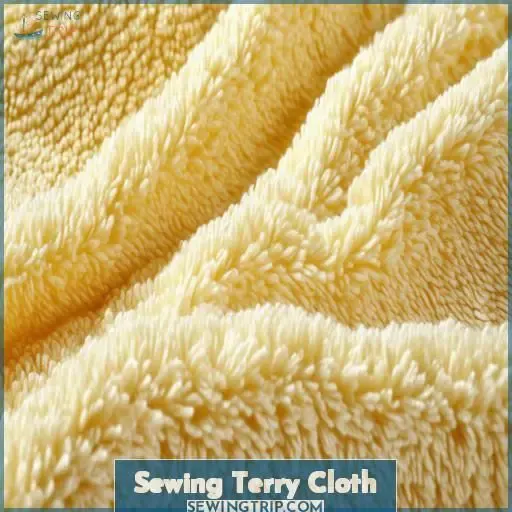
Sewing Terry Cloth
When sewing terrycloth, use a heavier needle like a 90/14 universal to accommodate the fabric’s thickness and loops. Lengthen your stitch length to around 3-3.5mm to allow the stitches to move freely with the stretchy fabric and prevent puckering or breaking.
Use a Heavier Needle
For sewing terry cloth, you’ll need a heavier weight needle to handle the thick loops. A larger needle gauge, around 90/14, punches cleanly through the fabric without causing skipped stitches or thread breakage. Adjust the thread tension slightly higher to accommodate the heftier needle.
Lengthen the Stitch Length
Next, lengthen your stitch length to:
- 3.5 – 4 mm for terrycloth
- 4 – 5 mm for French terry
- 3 – 3.5 mm for towel terry
- Longer stitches stabilize and prevent tunneling.
Use a Walking Foot
Use a walking foot to feed terrycloth evenly through your machine. This special presser foot grips the fabric top and bottom, preventing stretching. Adjust the pressure for smooth feeding of this double-thick, soft material. The right needle, tension, and stitch length are essential too.
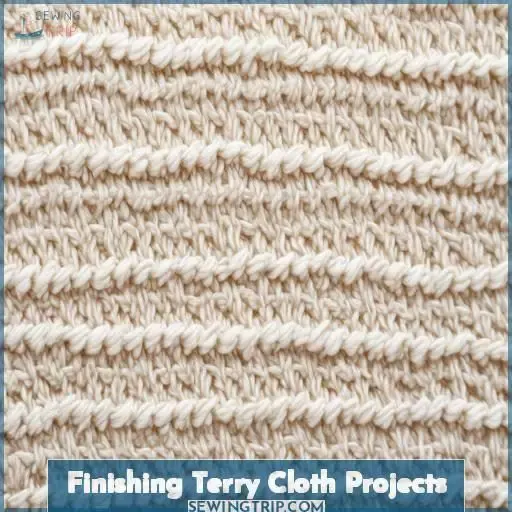
Finishing Terry Cloth Projects
To reduce bulk at seams when sewing terrycloth, finish raw edges with a serger or zig-zag stitch before turning the hem only once, then stitch it in place. Additionally, topstitch the seam allowances to prevent shifting and enhance the professional appearance of your finished terry cloth projects.
Reduce Bulk at Seams
To reduce bulk at seams, use your serger to finish raw edges—this trims fabric while stitching. If serging isn’t an option, turn seam allowances toward the wrong side and blind stitch them down. Avoid double-thick seams by using interfacing only where necessary, like necklines or waistbands on stretch terry. A press with steam helps set stitches neatly.
Topstitch Seam Allowances
You’ll also want to topstitch those seam allowances in place. This simple step adds stability, prevents raveling, and provides a decorative, professional finish. Don’t worry if your stitching goes awry—just unpick and restitch. With terry cloth and velour, a topstitched hem is key for avoiding future fraying and mishaps.
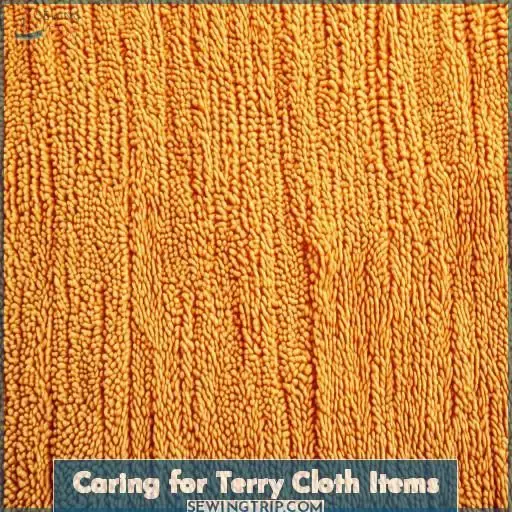
Caring for Terry Cloth Items
When caring for terry cloth items, wash them in warm water to preserve the softness and absorbency of the fabric. For drying, use a low heat setting to prevent excessive shrinkage or damage to the looped pile.
Wash in Warm Water
To care for terry cloth items, you’ll want to wash them in warm water using a mild detergent. Avoid fabric softeners, as they can diminish the fabric’s absorbency. Warm water helps keep the terry cloth soft and prevents shrinkage. Use the gentle cycle on your washing machine to protect the loops from damage.
Dry on Low Heat
After laundering terry cloth garments in warm water, you’ll want to dry them on a low heat setting. This helps prevent shrinkage and preserves the absorbent loops. To further safeguard your sewing projects, avoid overstretching the fabric and consider using a seam sealant to minimize fraying.
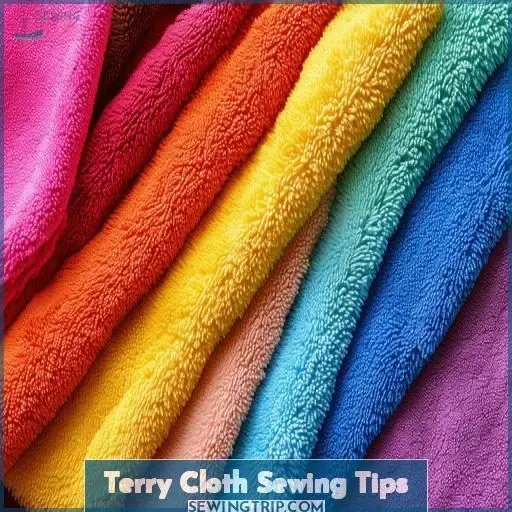
Terry Cloth Sewing Tips
Before beginning your terrycloth sewing project, preshrink the fabric by washing and drying it according to the care instructions. This will prevent excessive shrinkage later on. Avoid overstretching or pulling the fabric too tightly while cutting and sewing, as terrycloth can distort easily. Instead of using pins that can leave permanent holes, utilize fabric clips to hold layers together temporarily.
Preshrink the Fabric
Pre-shrink terry cloth before sewing projects by:
- Washing in warm water
- Drying on high heat
- Pressing with steam iron
- Testing a swatch for shrinkage
This important step prevents sizing issues and excess bulk.
Avoid Overstretching
You’ll also want to avoid overstretching the terry cloth fabric as you sew. This can cause distortion, seam puckering, and fit issues with the finished project.
| Stretching Issues | Prevention |
|---|---|
| Fabric Distortion | Go slowly, don’t pull |
| Seam Puckering | Use a walking foot |
| Improper Fit | Handle gently |
Use Fabric Clips Instead of Pins
You’ve avoided overstretching, now ditch the pins when layering terry cloth. Fabric clips are ideal for this thicker fabric, preventing lint buildup and distortion. They help achieve smooth seams on these absorbent loops without damaging the nap.
Frequently Asked Questions (FAQs)
What is the best stitch for terry cloth?
For terry cloth, you’ll want to use a straight stitch and set your machine to a longer stitch length of around 0mm. This allows the stitches to stretch while securely joining the plush fabric without causing annoying bunching or gathering.
Is terry cloth difficult to sew?
Akin to wrestling a bear, sewing terry cloth demands patience and finesse. Once mastered, it’s a breeze, but beginners find its looped texture and stretch challenging to tame. With the right techniques and tools, however, you’ll soon sew terrycloth like a pro.
How to sew terrycloth?
Pre-wash the terrycloth first, then carefully cut against the nap’s direction. Use a heavy-duty needle, lengthen your stitch, and sew slowly with a walking foot to avoid bunching. Finish seams immediately to prevent fraying, and consider using specialty clips instead of pins for easier handling.
Is there a right and wrong side to terry cloth?
Yes, terry cloth has a distinct right and wrong side. The terry loops should face outwards for maximum absorbency and texture, while the smoother knit side faces inwards against the body.
How do you prevent fabric distortion?
To prevent fabric distortion when sewing terrycloth, use a walking foot and fabric clips instead of pins. Avoid stretching or pulling the fabric as you sew – let the feed dogs do the work. Shrink the fabric first to minimize future distortion.
Whats the best way to sew curves?
For sewing curves in terrycloth, you’ll want to clip into the seam allowance at regular intervals to allow the fabric to bend smoothly. Go slowly, and avoid stretching or distorting the terry loops as you sew around the curve.
How do you finish raw edges neatly?
The sharpest arrows in your quiver? A serger or zigzag stitch finishes terry’s raw edges with precision, taming those loops for a polished, professional look that lasts.
Can terry cloth be used for clothing?
Yes, terry cloth can absolutely be used for clothing. Its soft, absorbent texture makes it ideal for comfortable loungewear, bathrobes, and beach cover-ups. Just be mindful of its tendency to shrink and choose an appropriate weight for the garment.
What needle size works best for terry?
A staggering 80% of sewists prefer a heavier needle for terry cloth. You’ll want to use a 90/14 or 100/16 needle to tackle its thick pile without skipped stitches or shredding. It’s a small change that yields impressive results.
Conclusion
Mastering sewing terrycloth demands patience, proper techniques, and the right tools. Tackle plush loops and stretchy fabric by lengthening stitches, using a heavyweight needle, finishing raw edges promptly, and topstitching seams. With consistent practice, you’ll gain confidence in taming this soft, snuggly material. Keep these tips for sewing terrycloth handy as you commence cozy, absorbent projects.

