This site is supported by our readers. We may earn a commission, at no cost to you, if you purchase through links.
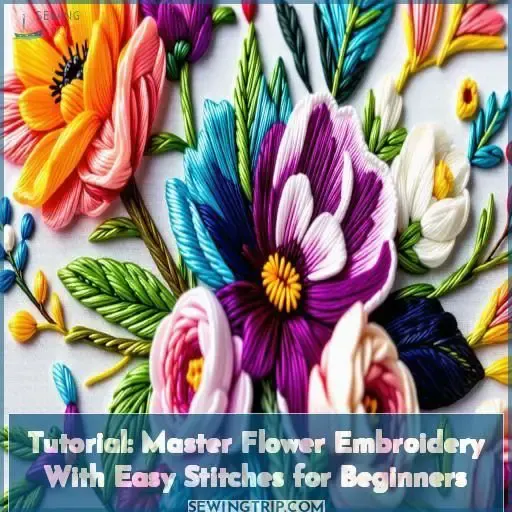
Start by transferring your floral design onto taut fabric in an embroidery hoop using chalk or transfer paper.
Then, bring petals to life with the lazy daisy stitch—simply loop the thread around your needle tip and secure.
For the centers, stitch dainty French knots by wrapping the thread around your needle.
With some practice, you’ll be stitching blooms like a pro!
Want to level up? Keep exploring this tutorial to learn additional floral embroidery stitches and techniques.
Table Of Contents
- Key Takeaways
- Gathering the Necessary Materials
- Transferring the Flower Design
- Preparing the Fabric and Hoop
- Mastering the Lazy Daisy Stitch
- Crafting French Knots for the Centers
- Stitching the Flower Stems
- Exploring Different Flower Embroidery Stitches
- Referencing Flower Embroidery Patterns and Tutorials
- Applying Specific Flower Embroidery Techniques
- Incorporating Flower Motifs Into Your Embroidery
- Frequently Asked Questions (FAQs)
- Conclusion
Key Takeaways
- Start by mastering beginner-friendly stitches like the lazy daisy and French knots for beautifully embroidered flower petals and centers.
- Gather necessary materials such as a suitable hoop size, fabric, needle, and threads to ensure a smooth embroidery process.
- Explore various flower embroidery techniques like woven roses, picot flowers, blanket stitches, and satin stitches to add texture and dimension to your floral designs.
- Incorporate different flower motifs, color combinations, and embellishments to create visually appealing and unique embroidery projects.
Gathering the Necessary Materials
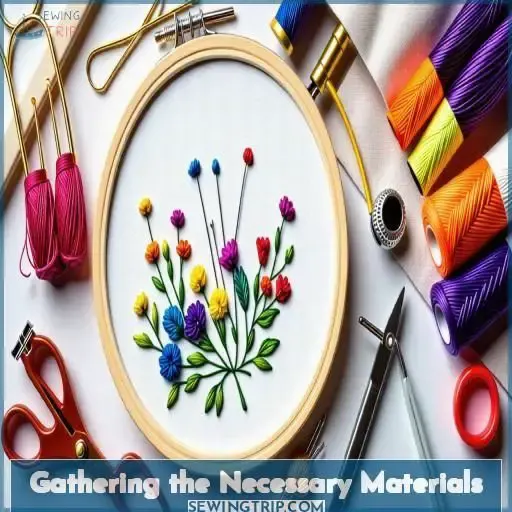
To gather the materials for your floral embroidery tutorial:
Choose a hoop size that fits your project.
Ensure the stabilizer thickness matches your fabric weave for the best support.
Select a needle size that works with your thread and fabric.
Pay attention to keeping the right thread tension throughout your work.
Choose a cotton or linen fabric for easy stitching.
Pick pearl cotton threads in different colors for a bright design.
Enjoy the creative journey with this easy-to-follow and instructive floral embroidery tutorial.
Transferring the Flower Design
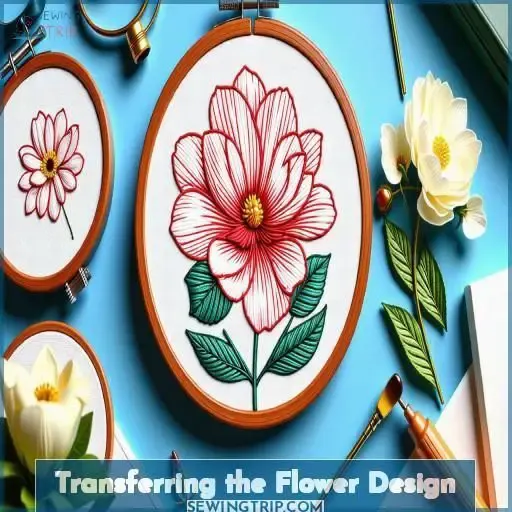
To transfer your desired flower design onto the fabric, you have three effective options: using a chalk pencil, a removable pen, or carbon transfer paper. Each method offers its advantages, so choose the one that best suits your preferences and the type of fabric you’re using.
Using Chalk Pencil
Using a chalk pencil, lightly sketch your flower design onto the fabric. Choose a chalk type that contrasts well with the fabric texture for easy visibility. Position the pattern where you want the embroidered flowers to appear on your project.
Using Removable Pen
When using a removable pen for design transfer in flower embroidery, select smooth fabric compatible with the pen. Trace the design carefully, ensuring it’s easily visible. Once embroidery is complete, remove the pen with a damp cloth. Incorporate the lazy daisy stitch and refer to a flower embroidery tutorial for guidance on rose embroidery and other stitches.
Using Carbon Transfer Paper
If you prefer a more precise transfer method, use carbon transfer paper. Place the paper between your fabric and pattern, then trace the design with a pencil. This guarantees an accurate placement of your flower motifs like woven roses and lazy daisies.
Preparing the Fabric and Hoop
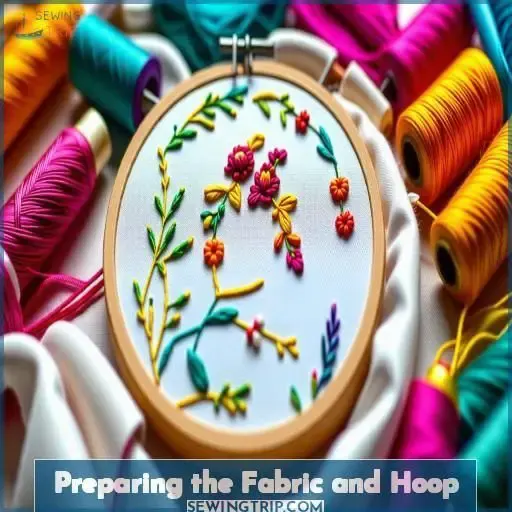
Now that you’ve meticulously transferred your flower design onto the fabric, it’s time to set up your workspace for embroidery.
Select a durable 7-inch embroidery hoop to firmly hold your cotton or linen fabric taut.
Carefully place the fabric face-up into the hoop, ensuring it’s evenly stretched without any puckering.
For additional stability, attach a piece of embroidery stabilizer to the reverse side of the fabric. This will prevent distortion as you stitch your intricate flower motifs.
With your materials prepared, you’re a step closer to becoming proficient in the art of flower embroidery.
Let’s delve into the enchanting Lazy Daisy stitch next!
Mastering the Lazy Daisy Stitch
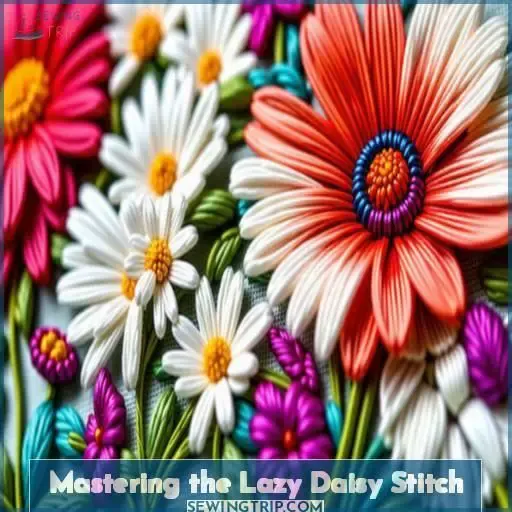
The lazy daisy stitch is beginner-friendly yet elegant for embroidering flower petals. Start by bringing your needle up from the back of the fabric and loop the thread around the tip to create a petal shape, then secure the petal by stitching back through the fabric next to where you emerged.
Creating the Petal Loop
To create the petal loop, insert your needle from the back to the front of the fabric.
Gently pull the thread to form a small loop.
The key is maintaining even thread tension and using a needle size that allows the thread to glide smoothly.
Aim for a loop length that complements your flower design.
Placement of the stitches will give your petals a natural, flowing shape.
Securing the Petal
Once you’ve created the loop, it’s time to secure the petal.
Insert the needle back through the fabric, just above the initial stitch, to lock the loop in place.
Maintain even thread tension as you pull the thread taut.
Adjust the petal’s shape and placement, ensuring proper spacing between petals.
The stitch length should be consistent for a polished, professional look.
Crafting French Knots for the Centers
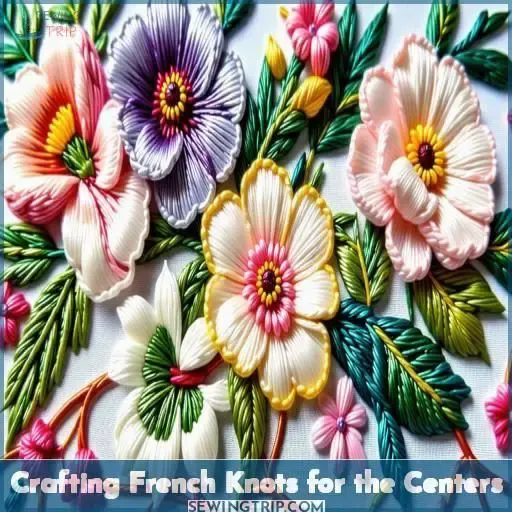
For the flower’s center, you’ll craft charming French knots that add delightful detail.
First, bring your needle up from the back, leaving a small loop.
With your non-dominant hand, hold the thread taut while wrapping the thread neatly around the needle 4-6 times.
Place the French knots strategically – one for smaller blooms, a cluster for larger flowers.
The thread’s color and sheen add depth, so experiment with vibrant hues or shimmery threads.
For an extra touch, stitch a few knots around the main center to mimic lush pistils.
With a bit of practice, these miniature knots become simple yet impactful embellishments.
Stitching the Flower Stems
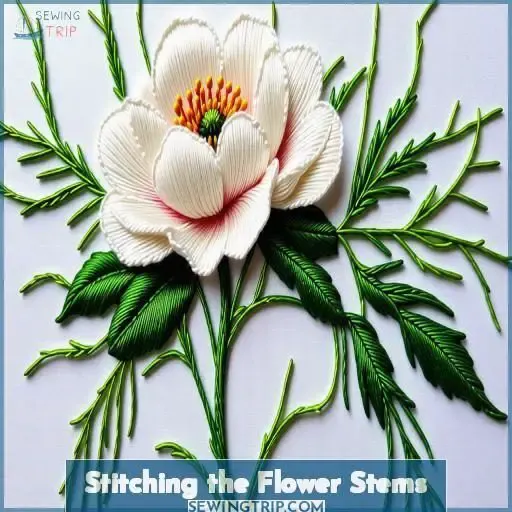
You’ll want to use the split stitch, back stitch, or chain stitch to embroider the flower stems. These line stitches additionally provide structure for the stem but also allow you to add texture and dimension to your embroidered blooms.
Split Stitch
When working on the flower stems in embroidery, the Split Stitch offers versatility for creating dimension. To enhance your designs, consider:
- Exploring various Split Stitch variations.
- Experimenting with creative color combinations.
- Adjusting thread tension based on fabric texture and embroidery hoop size.
Back Stitch
When utilizing the back stitch in flower embroidery, explore its uses, variations, and alternatives. Experiment with diverse thread colors for unique effects. Consider differences between back stitch and split stitch techniques to enhance your floral designs.
Chain Stitch
To create chain stitch stems, bring your needle up through the fabric, then down a short distance away. Loop the thread under the needle and pull it through, forming a linked chain. Experiment with chain stitch variations to craft delicate flower bouquets and leafy filler.
Exploring Different Flower Embroidery Stitches
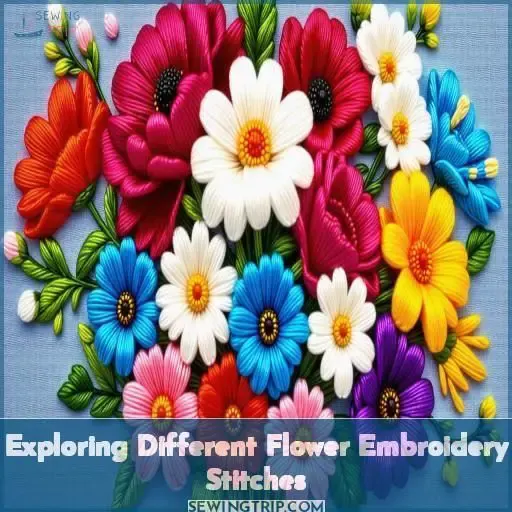
Once you’ve mastered the lazy daisy stitch for petals and French knots for centers, explore more intricate flower stitches like the woven rose, picot flower, blanket stitch, and satin stitch. These stitches add beautiful texture and dimension, allowing you to create realistic, multidimensional flower motifs.
Woven Rose
To create a woven rose, embroider a circle of single stitches, then weave thread around the spiral to form the rose’s petals and center. This textured technique adds depth and dimension to your flower embroidery.
Picot Flower
The picot flower stitch creates delicate loops by carefully controlling thread tension. Choose a lightweight fabric and secure it in an embroidery hoop for best results. Master this needlework technique to add charming details to your embroidery.
Blanket Stitch
The blanket stitch adds lovely texture to flower petals, leaves, and other embellishments. Experiment with variations in stitch length and density to create unique floral designs. Blanket stitches work beautifully in a range of embroidery projects.
Satin Stitch
The satin stitch creates a smooth, lustrous surface perfect for flower petals. Try using variegated thread or layering stitches for shading. Metallic threads add a touch of elegance to your embroidered blooms.
Referencing Flower Embroidery Patterns and Tutorials
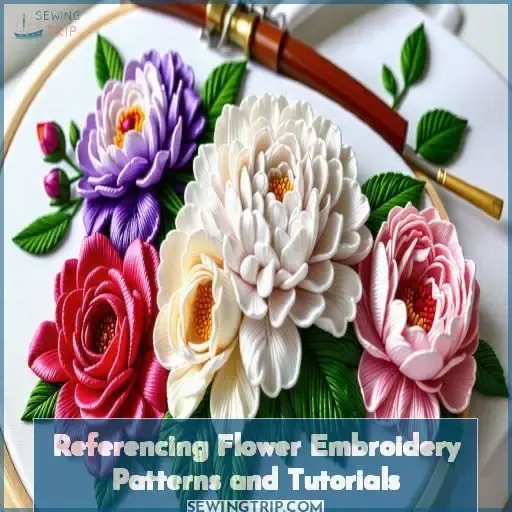
To help guide your flower embroidery projects, you can explore free online patterns and video tutorials. Search for free flower embroidery patterns to find a variety of designs to transfer onto fabric, and look for YouTube channels dedicated to demonstrating different flower stitches and techniques.
Free Patterns
Explore a world of creativity with complimentary flower embroidery patterns available for digital downloads and printable patterns. Delve into a vast collection of flower templates ideal for your embroidery projects. Join the thriving community of pattern sharing and uncover beautiful designs to augment your creations. Immerse yourself in the simplicity of accessing these free patterns online to elevate your embroidery skills with ease. Delight in the endless possibilities these resources offer.
- Access free flower embroidery patterns
- Download digital designs
- Print out printable patterns
- Explore various flower templates
- Join the pattern sharing community
YouTube Demonstrations
YouTube tutorials offer a wealth of inspiration, showcasing stitch variations, color combinations, and design ideas to elevate your flower embroidery. Delve into these visual demonstrations to master techniques like woven roses, lazy daisies, and picot flowers. Let the tutorials ignite your creativity and provide project ideas to bring your floral designs to life.
Applying Specific Flower Embroidery Techniques
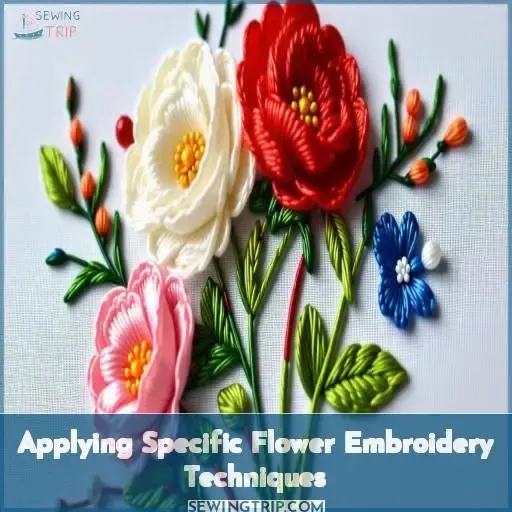
You’ll start with the woven rose technique, a classic method that adds depth and texture.
Carefully embroider single stitches in a circle, then neatly weave thread around the circle’s edge to create a stunning spiraled rose.
For the lazy daisy, begin by marking a circle to indicate the flower size.
Then embroider chain stitches inside, altering the number of chains and circle sizes for variety.
Woven Roses
Woven roses are an enchanting embroidery technique that creates a spiral of thread around a central stitch.
Start by embroidering single stitches in a circle.
Then interlace the thread around the circle, gradually building up the spiral.
For added texture, try incorporating detached chain stitches, bullion stitches, or securing the thread in place.
The result is a beautiful, three-dimensional rose that adds grace to any embroidered design.
Lazy Daisy Flowers
To master the art of Lazy Daisy Flowers embroidery, explore lazy daisy variations, petal shapes, thread textures, color combinations, and unique designs.
Mark a circle for flower size.
Embroider chain stitches inside the circle.
Vary the number of chain stitches and circle size to create interesting petal shapes.
Experiment with different thread textures to enhance the visual and tactile appeal.
Play with various color combinations to achieve striking and unique designs.
Incorporating Flower Motifs Into Your Embroidery
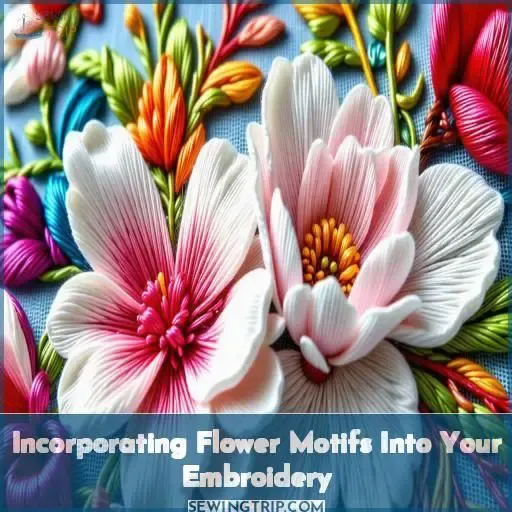
When incorporating flower motifs into your embroidery, consider flower placement, color combinations, fabric choice, motif variation, and embellishment options to create a visually appealing design.
Experiment with different flower placements to find the most pleasing arrangement.
Explore various color combinations to bring vibrancy and depth to your embroidery.
Carefully select the fabric to complement the flower motifs, ensuring that it enhances the overall visual impact.
Embrace motif variation by incorporating diverse flower designs to add interest and diversity to your embroidery.
Additionally, explore embellishment options to elevate your flower motifs, such as incorporating beads or sequins for a touch of sparkle.
Frequently Asked Questions (FAQs)
How to embroider flowers for beginners?
Dip your needle into a vibrant thread garden; let your stitches bloom. Transfer a design, secure the fabric, then patiently embroider lazy daisies, French knots, and woven petals – a budding artist’s masterpiece.
How to embroider a simple daisy?
First, outline the daisy shape on fabric with a water-erasable marker. Then, sew lazy daisy stitches around the circle, looping each stitch. Use french knots in the center with seed stitch accents.
What embroidery stitch creates a flower shape?
Sure, you could effortlessly create a whimsical flower shape with the woven wheel stitch. It’s like painting petals on fabric with your needle’s dance.
How to hand embroider petals?
Embroider petal shapes using the lazy daisy stitch. Bring needle up, form loop, then pass needle through loop again. Repeat for each petal, varying loop sizes for natural look.
What techniques can I use to create multi-colored flower embroidery?
Use several thread colors; stitch petals in one hue, then switch to another for centers. You’ll create dimension by layering tones for a vibrant, multi-colored bloom.
How do I properly adjust the tension on the embroidery hoop?
You’ll rhythmically unwind each loop, twisting the hoop until taut enough to ring like a bell, yet pliable to the needle’s dance.
What are some advanced flower embroidery stitches beyond the basics?
You can elevate your flower embroidery with cast-on stitch petals, woven picot leaves, and bullion knots for realistic textures. Mastering thread painting captures light and depth for lifelike blooms.
How can I incorporate beadwork into my floral embroidery designs?
Let your stitched garden bloom with beads! Scatter seed bead pollen around stitched petals, or string bead stamens at flower centers. For real dazzle, edge petals with tiny seed beads twinkling like morning dew.
Can you provide tips for combining different flower embroidery techniques in a single project?
Combine various flower shapes, petals, and centers in one cohesive design. Blend stem stitch stems with lazy daisy petals, then accent centers with French knots. Unify mismatched motifs by repeating colorways and stitch patterns.
Conclusion
Planting pretty posies with purposeful stitches, you’ll proudly pattern floral flourishes through this tutorial. Practicing proper petal positioning with lazy daisies and French knots forms a firm foundation. Further floral forays with woven roses, picots, and satin stitches elevate embroidery expertise. Commence embellishing enchanting embroidered blossoms—explore additional tutorials for continuous creative cultivation.

