This site is supported by our readers. We may earn a commission, at no cost to you, if you purchase through links.
Whether you’re a sewing newbie or a pro, we’ll walk you through the secrets to creating beautifully gathered ruffles.
First, master the gathering technique – it’s the key to perfectly proportioned ruffles every time.
Then, explore clever ways to embellish your projects, from folded and double-edged ruffles to textured pattern stitches.
With a little math and some hands-on practice, you’ll be ruffling up a storm in no time.
Prepare to impress with your newfound ruffle-making mastery – your creations are about to take on a whole new level of wow factor!
Table Of Contents
- Key Takeaways
- Understanding Ruffles
- Gathering Techniques for Ruffles
- Calculating Ruffle Dimensions
- Sewing Basic Ruffles
- Exploring Ruffle Variations
- Incorporating Ruffles Into Garments
- Refining Your Ruffle Skills
- Mastering the Gathering Technique
- Simplifying Ruffle Creation With Embroidery Foot
- Exploring Traditional Ruffle Sewing
- Frequently Asked Questions (FAQs)
- Conclusion
Key Takeaways
- Mastering the gathering technique is key to creating perfectly proportioned ruffles every time. Experiment with different tools, such as a gathering foot, to make the process a breeze.
- Explore a variety of ruffle styles, from classic gathers to pleated and pattern-stitched designs. Get creative and let your ruffles shine with unique folds, stitches, and finishing touches.
- Make ruffles work for any garment by adjusting the length, width, and gathering ratio based on your fabric and desired fullness. A little math upfront will ensure your ruffles turn out flawlessly.
- Don’t be afraid to get hands-on and refine your ruffle-making skills. Lean on inspiring Pinterest boards and sewing pattern guides to take your ruffles to the next level. With practice, you’ll be creating beautiful ruffles in no time.
Understanding Ruffles
Ruffles are a versatile and decorative sewing technique that can add flair to any garment.
Whether you’re a seasoned seamstress or just starting out, this guide will walk you through the ins and outs of creating stunning ruffles with ease.
Definition of Ruffles
Ruffles are a decorative fabric treatment that add visual interest and texture to your garments.
Whether you’re creating a flirty skirt or a romantic blouse, learning to work with ruffles is a sewing superpower that opens up a world of design possibilities.
Embrace the playful charm of this versatile technique and let your creativity shine!
Differentiating Ruffles From Flounces
While ruffles and flounces may seem similar at first glance, these two fabric embellishments differ in key ways.
Ruffles feature gathered fabric strips sewn to a garment, creating a textured, frilly effect.
On the other hand, flounces remain smooth and flowing – no gathering required.
When choosing between these distinct decorative techniques, consider the look and feel you’re going for.
- Ruffles: Gathered fabric strips
- Flounces: Smooth, flowing fabric
- Ruffles create a textured, frilly look
- Flounces maintain a sleek, elegant silhouette
- Choose based on desired aesthetic and garment style
Hemming Options for Ruffles
You’ve got options for hemming those ruffles. The choice is yours, and it ultimately depends on the type of fabric you’re working with.
Standard hems, rolled hems, bias binding, or even a raw edge are all viable options. Heavier fabrics may do better with a sturdy hem like bias binding, while lightweight fabrics can rock a simple rolled hem.
The key is finding the finish that complements your ruffly creation.
Gathering Techniques for Ruffles
Mastering ruffles starts with the perfect gather.
From traditional stitching methods to the convenience of a gathering foot, we’ll walk you through the best techniques to create stunning, consistent ruffles every time.
(Note: The original text is a single paragraph with two sentences. Since there are no logical groupings or special formatting elements, the reorganized text remains the same. However, I can bold some key phrases to help with skimming.)
Mastering ruffles starts with the perfect gather.
From traditional stitching methods to the convenience of a gathering foot, we’ll walk you through the best techniques to create stunning, consistent ruffles every time.
Sewing Machine Methods
When sewing ruffles, set your machine to the longest stitch length for a relaxed, flowing look. to achieve the longest stitch length. This is the first step in creating beautiful, even ruffles.
Use a contrasting thread color in the bobbin. This simple trick makes gathering the fabric a breeze.
Stitch two parallel lines, then pull the bobbin threads to create even, consistent gathers. This straightforward technique makes sure your ruffles turn out beautifully every time.
Gathering Foot Attachment
A gathering foot attachment, like the Ruffler Foot, can simplify the ruffle-making process on your sewing machine.
This nifty little tool carefully feeds the fabric through, creating consistently spaced gathers with ease.
Say goodbye to hand-tightening and uneven ruffles – the gathering foot takes the headache out of this tricky technique.
It’s a sewing superpower you won’t want to miss!
Calculating Ruffle Dimensions
To create show-stopping ruffles, the key is getting the dimensions just right.
The goal is to determine the perfect ruffle length and width to suit your fabric and desired fullness.
Discover the simple formulas for achieving this, eliminating the need for guesswork involved in creating beautiful ruffles.
Determining Desired Ruffle Length
To determine the perfect ruffle length, start by measuring the final length you desire.
Then, multiply that number by 1.5, 2, or 3 to achieve your desired fullness – the more gathering, the fluffier the ruffle.
Consider the garment style, fabric weight, and your overall project goal when deciding on the best ratio.
A little math upfront will make sure your ruffles turn out perfectly proportioned.
Choosing Appropriate Ruffle Width
When choosing the appropriate width for your ruffles, take a moment to think about the fabric weight and desired fullness.
Heavier fabrics like denim won’t need as much gathering to avoid bulk, while lightweight chiffons can handle more volume.
The ruffle width also depends on your garment style and where you’ll be placing the ruffles.
For a statement piece, go bold with wider ruffles; for delicate accents, keep them slimmer.
Considering Fabric Weight and Fullness
When choosing the perfect ruffle width, consider the weight of your fabric.
Heavier fabrics like cotton or twill require less gathering to avoid bulkiness, while lightweight fabrics like chiffon or lawn can handle a bit more fullness.
Start with a gathering ratio of 1.5 to 2 times the final ruffle length for a flowing, drapey look. Experiment to find the sweet spot that best suits your fabric and design.
- Heavier fabrics = Less gathering
- Lightweight fabrics = More gathering
- Adjust ratio to achieve desired ruffle fullness
Sewing Basic Ruffles
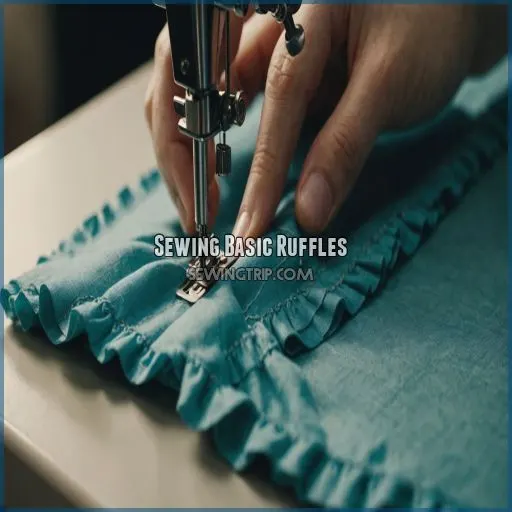
In this section, we’ll explore the fundamentals of creating beautiful, ruffled fabrics.
From choosing the perfect gathering ratios to crafting a variety of ruffle styles, you’ll be a ruffling pro in no time.
Examples of Ruffle Variations
You can explore an array of interesting variations to elevate your sewing projects.
Fold the fabric strip in half for a simple, unfussy ruffle.
Stitch and gather a double-edged ruffle at the center, then remove the gathering thread to create a unique look.
Experiment with zigzag or other decorative stitches for truly one-of-a-kind ruffle designs.
Ruffle Gathering Ratios
A good rule of thumb for creating ruffles is to multiply your desired ruffle length by 1.5, 2, or even 3 to nail that perfect, flowy look.
Heavier fabrics need less gathering to avoid bulk.
Lightweight fabrics, on the other hand, can handle a bit more drama.
Play with the ratios until you achieve your dream ruffle.
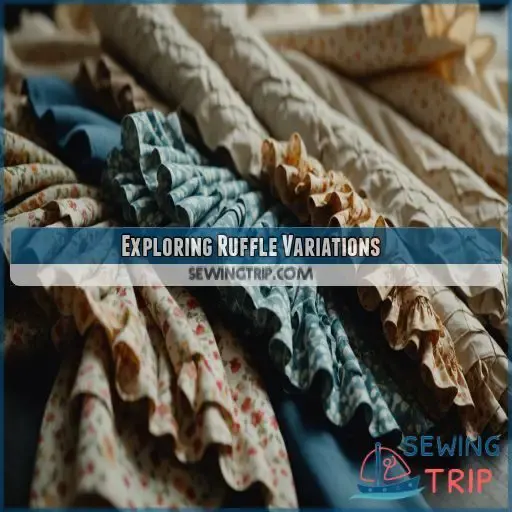
Exploring Ruffle Variations
Want to take your ruffled creations to the next level?
Explore a range of fascinating ruffle variations, from folded beauties to double-edged delights and even pattern-stitched gems.
The possibilities are endless!
Folded Ruffles
Let’s get folky with folded ruffles!
This no-fuss variation skips the hemming and lets you express your creativity.
Simply fold the fabric strip in half and gather it along the raw edge.
The result? A lovely, laidback ruffle that adds a charming, handmade touch to your projects.
Pair it with lightweight fabrics for a whimsical, free-flowing look.
Double-Edged Ruffles
Take your ruffles up a notch with double-edged delights!
These two-sided beauties add instant allure to any garment.
Stitch up a seam down the middle, gather the edges, and voila – a ruffled delight that’s double the fun.
Play with fabric weight and placement to create eye-catching dimension.
The possibilities are endless!
Double-Edged Ruffles With Tuck
Adding a tuck to a double-edged ruffle creates a charming, textured look.
Position the tuck at the center, playing with the depth to achieve your desired effect.
Choose lightweight, drapey fabrics that won’t overwhelm the tucks.
Adjust the seam allowance as needed to accommodate the extra folds.
Experiment with the tuck placement and width to explore unique design variations.
Pattern Stitched Ruffles
You can take your ruffles to the next level by experimenting with pattern stitches.
Try a zigzag or decorative stitch to add unique texture and interest.
With a little creativity, you can transform a simple ruffle into a stunning design feature.
The possibilities are endless – get playful and see what stitches inspire you!
Double-Edged Pleated Ruffles
Instead of gathering, why not try pleating your ruffles for a unique twist?
Double-edged pleated ruffles offer eye-catching appeal.
Knife pleats and box pleats work beautifully, allowing you to play with pleat size and placement.
Choose a lightweight, drapey fabric to showcase the pleats.
Sew the pleats in place using a simple straight stitch – it’s an effortless way to elevate your ruffles, and a great way to finish seams.
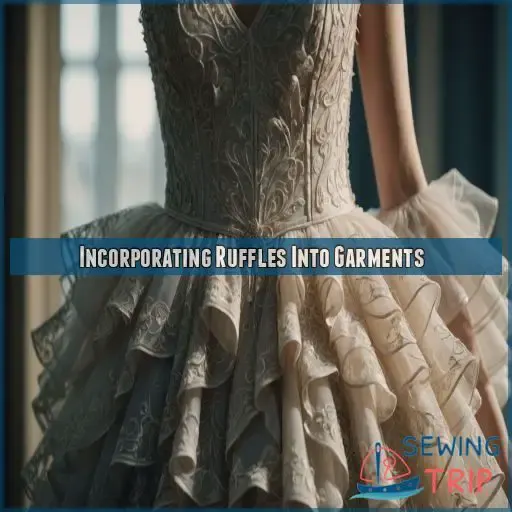
Incorporating Ruffles Into Garments
Ruffles are a versatile way to add visual interest and texture to your garments.
Ruffles can elevate your sewing projects to new heights.
Discover how to incorporate ruffles into:
- flared skirts
- pencil skirts
- gypsy skirts
Flared Skirt With Ruffle
A flared skirt is the perfect canvas for showcasing a lush, cascading ruffle.
Start by measuring your desired skirt length, then plan the ruffle placement – typically at the hemline.
Choose a lightweight, flowing fabric that will beautifully accentuate the ruffle’s movement.
Adjust the ruffle size to balance the skirt’s flare, and sew it on with precision for a polished, put-together look.
Pencil Skirt With Ruffle
For a perfectly fitted pencil skirt, a flirty ruffle can add a touch of drama.
Begin by slashing and spreading the skirt pattern to accommodate the fullness of the ruffle.
Choose a lightweight, drapey fabric that will elegantly flow over the body.
Sew the ruffle with a generous 2x gathering ratio for maximum impact.
The key is adjusting the skirt length to showcase the ruffle without overwhelming the sleek silhouette.
Gypsy Skirt
The gypsy skirt is a stunning showcase for your ruffle mastery.
Picture lush layers of fabric cascading from your waist, each ruffle adding a playful touch.
Experiment with different textiles:
- airy cotton
- slinky rayon
- vintage-inspired lace
These fabrics create a breezy, bohemian silhouette.
Channel your inner free spirit and let the ruffles flow!
Refining Your Ruffle Skills
Ready to take your ruffles to the next level?
Explore a dedicated Pinterest board for endless inspiration.
Get started with a detailed pattern guide to learn how to create flawless ruffles and flounces.
Pinterest Board for Inspiration
Looking for creative ruffle inspiration?
Check out our dedicated Pinterest board – it’s a treasure trove of stunning ruffle styles, DIY projects, and the latest ruffle fashion trends.
Get ready to explore your inner ruffling maven!
From classic to avant-garde, you’ll find all the ruffle ideas and patterns you need to elevate your next sewing project.
Pattern Guide for Ruffles and Flounces
Need some ruffle inspiration?
Get a look at our pattern guide covering a variety of flounce and ruffle styles.
From classic gathers to pleated ruffles, you’ll find the perfect patterns to level up your sewing game.
Get creative and make those ruffles shine.
Psst – we’ve even got a secret stash of gypsy skirt templates!
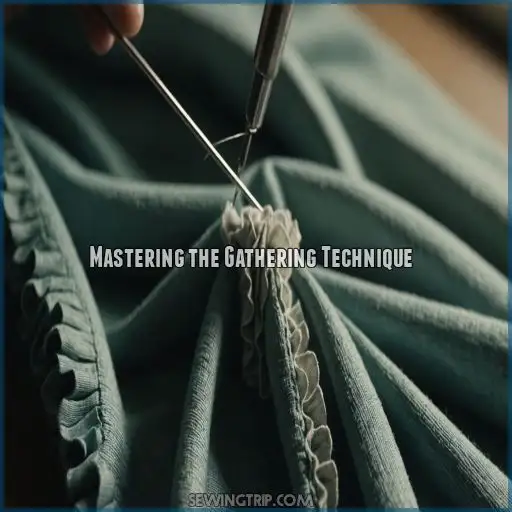
Mastering the Gathering Technique
Gathering fabric is the secret sauce to creating truly stunning ruffles.
Learn the foolproof step-by-step technique and discover why this reliable method is a game-changer for effortless, even gathers every time.
Understanding Gathering Basics
Mastering the art of gathering is key to creating stunning ruffles. This fundamental sewing technique involves carefully manipulating fabric to add fullness and texture.
Some essential tips to keep in mind when gathering include:
- Choosing the right tools, like a gathering foot, can make the process a breeze.
- Adjusting your stitch length and thread tension are important for even gathers.
- Experimenting with different fabrics will help you determine the best gathering ratio.
- Pressing your gathers with steam sets them in place for a professional finish.
Step-by-Step Gathering Guide
Alright, let’s walk through the step-by-step process for gathering that fabric.
First, crank up that stitch length on your machine – we want those nice long stitches.
Now, pop in a contrasting thread color in the bobbin so you can easily track your progress.
Stitch a straight line 1/4 inch from the edge, pivot, and repeat. Easy peasy!
Benefits of the Gathering Method
You’ll love how this simple gathering technique streamlines the sewing process.
Bid farewell to thread breakage woes – the closed ends prevent your gathers from unraveling, giving you even, consistent ruffles every time.
Plus, the color-coded threads make the whole affair a breeze.
Say goodbye to those headache-inducing sewing sessions!
- Eliminates common thread issues
- Creates even, consistent gathers
- Saves you time and frustration
- Reliable technique for all skill levels
Simplifying Ruffle Creation With Embroidery Foot
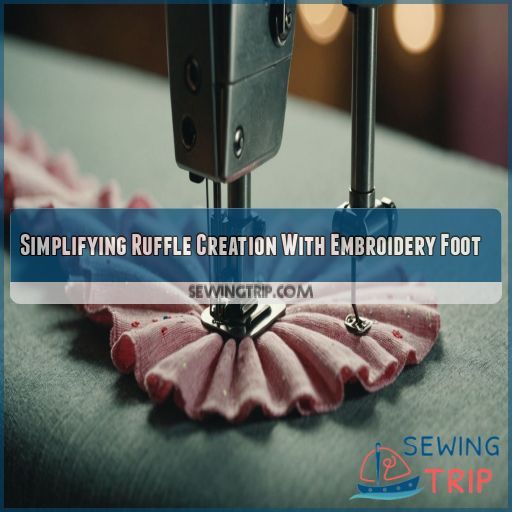
Creating beautiful ruffles just got easier with the BERNINA Embroidery Foot. This nifty little tool allows you to effortlessly sew ruffles, ensuring they’re perfectly even and adjustable every time.
Embroidery Foot Method Step-by-Step
Say goodbye to uneven gathers and hello to perfectly consistent ruffles! Just swap out your sewing machine’s regular foot for the BERNINA Embroidery Foot. This clever little foot, threaded with crochet thread, guides the fabric as you stitch, making ruffle-making a breeze.
Embroidery Foot Techniques
| Embroidery Foot Techniques | Details |
|---|---|
| Thread Selection | Crochet thread threaded through the foot’s front hole |
| Stitch Settings |
Zig-zag stitch (2), length 2.50, width 3.9
Sewing the Ruffle
Typically, you’ll sew the ruffle using a 3/8-inch seam allowance. Stitch the entire length of the ruffle, leaving a 2-3-inch tail at the end. Then, simply pull on the crochet thread to create the ruffle. Adjust the size of the ruffles as needed to achieve a consistent look throughout your project.
Sewing the Ruffle
- Use a zig-zag stitch (stitch number 2) with a length of 2.50 and a width of 3.9.
- Sew the ruffle in one continuous line for the best results.
Using the BERNINA Embroidery Foot
- The BERNINA Embroidery Foot feeds the crochet thread through the machine, making ruffle creation a breeze.
Adjusting the Ruffle Size
- Adjust the ruffle size by pulling on the crochet thread until you achieve the desired fullness.
- Make sure the ruffles are evenly spaced and consistent across your garment or project.
Removing the Crochet Thread
Once your ruffle is sewn into the project, it’s time to remove that hidden crochet thread. Don’t worry, this step’s a breeze. Simply snip the thread tails at the back, and poof – your ruffles are ready to shine without any visible threads cramping their style. Easy peasy!
| Reasons to Remove Crochet Thread |
|---|
| – Cleaner, more professional look |
| – Thread won’t show through fabric |
| – Prevents potential snagging issues |
| – Allows for smoother, flatter finish |
| – Adds to overall garment quality |
Advantages of the Embroidery Foot Method
Imagine a ruffle-making process that’s as smooth as silk – that’s the beauty of the Embroidery Foot method!
With this nifty tool, you’ll create consistently gorgeous ruffles every time.
Plus, the hidden crochet thread means no unsightly stitches, and you can easily adjust the ruffle size to suit your project.
Say goodbye to broken threads and hello to effortless ruffling bliss!
Exploring Traditional Ruffle Sewing
Despite the modern advancements in ruffle-making, the traditional method still has its place.
Sewing two basting stitches and pulling the threads to create ruffles may seem old-fashioned, but understanding its challenges can help you appreciate the convenience of newer techniques.
Understanding the Traditional Method
The traditional ruffle sewing method has its fair share of quirks.
Sewing two basting stitches and pulling the threads to create gathers can be a real headache.
Thread breakage, uneven gathers, and knotting issues can make this approach more trouble than it’s worth.
Luckily, there are simpler, more reliable alternatives that’ll have you ruffling with ease.
Challenges of the Traditional Method
The traditional ruffle-sewing method can be a real challenge.
It’s plagued by dreaded broken threads, uneven gathers, and inconsistent fullness that can drive you crazy.
This time-consuming process is also prone to constant knotting issues, making it far from the stress-free sewing experience you were hoping for.
But don’t worry, there are much simpler ways to create stunning ruffles these days.
Frequently Asked Questions (FAQs)
How can I make ruffles with trims or ribbons?
You can easily add ruffles to trims or ribbons!
Just gather the fabric along the edge, adjusting the fullness to your liking.
Sew it onto your project for a charming, handcrafted touch that elevates your design.
What are some ways to embellish or personalize ruffles?
Spruce up your ruffles with a dash of creativity!
Embroider delicate patterns, applique lace trims, or even stitch on playful pompoms for a one-of-a-kind touch that’ll make your creations truly shine.
The options are endless – let your imagination run wild!
Can ruffles be made with stretch fabrics?
You can absolutely create ruffles with stretch fabrics!
Just be sure to use a gathering technique that won’t distort the fabric.
Try gathering with zig-zag stitches or an embroidery foot for best results.
The key is finding the right balance of stretch and structure.
How do I incorporate ruffles into fitted garments?
Taming those fitted garments is a cinch!
Use ruffles to add a touch of whimsy and visual interest.
Just let your creativity soar, and watch those drab duds transform into head-turners.
What are the best fabrics for creating voluminous ruffles?
For voluminous ruffles, opt for lightweight, drapey fabrics like chiffon, georgette, or lawn cotton.
These fabrics gather beautifully, creating the lush, full look you’re after.
Steer clear of stiff, structured materials that won’t ruffle as easily.
Conclusion
You’ve mastered the art of "ruffling up a storm". From gathering techniques to pattern stitches, your skills have blossomed like a field of ruffled blooms.
Prepare to wow your friends and family with your newfound ruffle-making prowess. Your sewing projects are about to reach new heights of stunning style.
Ruffle making is your canvas; go forth and create masterpieces that will have them swooning.

