This site is supported by our readers. We may earn a commission, at no cost to you, if you purchase through links.
 Mastering how to sew a button is an essential skill that’ll save you time and money. In this tutorial, you’ll learn to securely attach buttons in 10 easy steps.
Whether you’re repairing a favorite shirt or customizing a new garment, these techniques will give you confidence in your sewing abilities.
You’ll discover the proper way to thread a needle, make secure knots, and create durable stitches.
Table Of Contents
- Key Takeaways
- Cutting the Thread
- Folding and Threading
- Tying the Knot
- Piercing the Fabric
- First Pass Through Buttonhole
- Back Into the Fabric (First Time)
- Second Pass Through Buttonhole
- Back Into the Fabric (Second Time)
- Third Pass Through Buttonhole
- Securing the Button
- Frequently Asked Questions (FAQs)
- Conclusion
Key Takeaways
- Threading the needle’s a cinch! Double up your thread, loop it through, and you’re armed and dangerous for button-sewing success.
- Don’t get your knickers in a twist over knots – a simple double-loop around your finger does the trick. Snug as a bug in a rug!
- Three’s the magic number when it comes to buttonhole passes. Like a broken record, you’ll be in the groove before you know it.
- Wrap it up with a bow – well, not literally. But securing that button with a little thread "stem" is the cherry on top of your sewing sundae.
Cutting the Thread
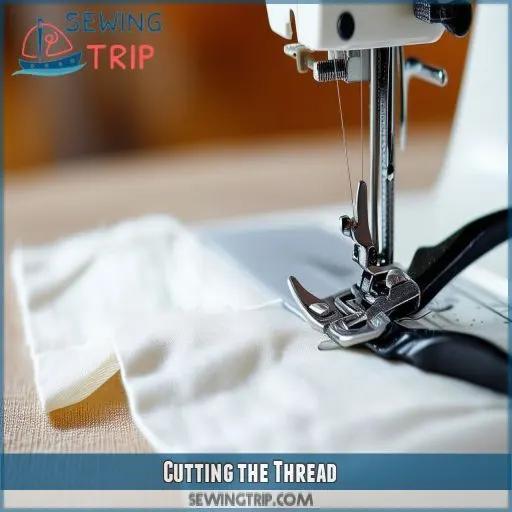
Let’s kick off your button-sewing journey with the essential first step: cutting the thread. You’ll want to start with a high-quality thread that matches your button and fabric. Grab your spool and unwind about an arm’s length – that’s roughly 18 inches. This length gives you plenty to work with without risking tangled messes.
Now, here’s where your cutting technique comes into play. Hold the thread taut and snip it cleanly with sharp scissors. A clean cut prevents fraying, making it easier to thread your needle later. If you’re using specialty threads like silk or polyester, adjust your cutting angle slightly to avoid splitting the fibers.
Folding and Threading
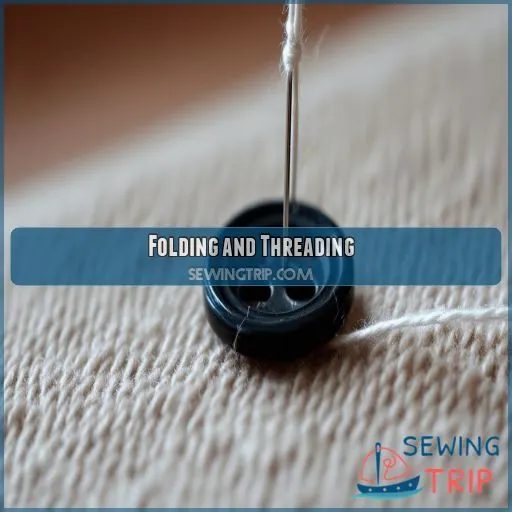
Now that you’ve cut your thread, it’s time to get it ready for action. Folding and threading might seem like small steps, but they’re essential for a secure button attachment. You’ll want to fold your thread in half, creating a double strand that’ll reinforce your stitches. This little trick doubles your sewing power without the hassle of threading twice.
Next, it’s time to befriend your needle. Choose one with an eye that’s not too small for your thread, but not so large it’ll leave noticeable holes. Thread both ends through the needle’s eye, leaving a loop at the folded end. This method, called double threading, gives you four strands of thread to work with.
Don’t worry if it takes a few tries to get the thread through – even seasoned sewers sometimes find themselves in a threading tango. Just wet the thread end slightly or use a needle threader if you’re struggling.
Tying the Knot
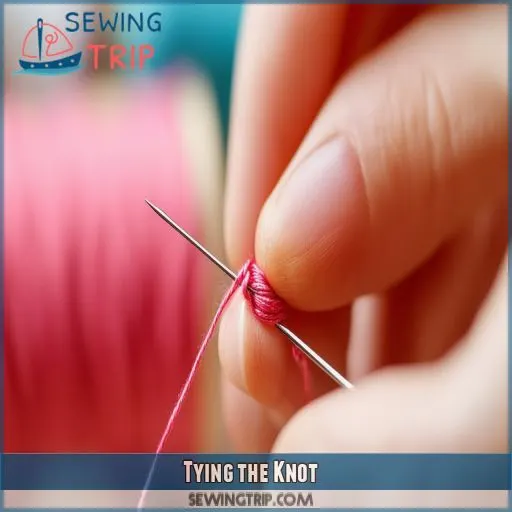
Now that you’ve threaded your needle, it’s time to tie the knot. This vital step guarantees your stitch remains secure and strong throughout the button-sewing process. Here’s how to tie a knot that’ll hold up to daily wear and tear:
- Hold the thread ends together and wrap them around your index finger twice.
- Roll the loops off your finger with your thumb, pulling the thread through to create a small knot.
- Tighten the knot by holding it between your thumb and forefinger, then pulling the long end of the thread.
The key to a professional-looking result lies in the knot’s tension and security. Don’t skimp on thread quality – a durable thread will make your knot stronger and your buttonhole more resilient. Remember, a well-tied knot is your foundation for a button that won’t budge. With practice, you’ll develop a feel for the perfect knot tension, assuring your buttons stay put through thick and thin.
Piercing the Fabric
Now that you’ve tied your knot, it’s time to pierce the fabric. This step is essential for button placement and overall garment integrity. Choose a needle size that complements your thread weight and fabric type. For delicate fabrics, opt for a finer needle to avoid damage. If you’re working on a heavier material, a sturdier needle will do the trick.
Position your needle where you want the button to sit. Take a moment to double-check its alignment with other buttons or marks you’ve made. Once you’re confident, push the needle through from the back of the fabric to the front. This initial pierce creates the foundation for your button attachment.
For extra reinforcement, especially on frequently used buttons, consider making multiple passes. This technique distributes stress and prevents premature button loss. Remember, proper button placement is key to a polished look and functionality. Whether you’re repairing a beloved garment or creating a new piece, mastering this step is paramount for a professional finish.
First Pass Through Buttonhole
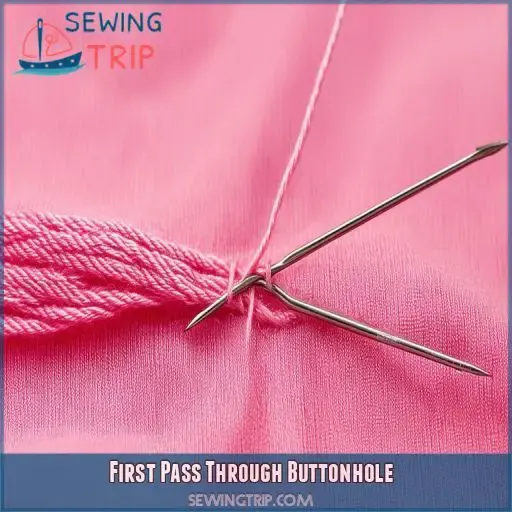
Now that you’ve pierced the fabric, it’s time for the first pass through the buttonhole. This step is essential for establishing proper button placement and stability. Hold the button in position, aligning it with any existing buttons or markings on your garment. Carefully guide your needle through one of the buttonholes, maintaining a steady needle angle for smooth passage.
As you pull the thread through, pay attention to the tension. You want it snug but not overly tight, as this could distort the fabric. The thickness of your fabric will influence how much pressure you need to apply. If you’re working with a heavier material, you might need to use a bit more force.
Back Into the Fabric (First Time)
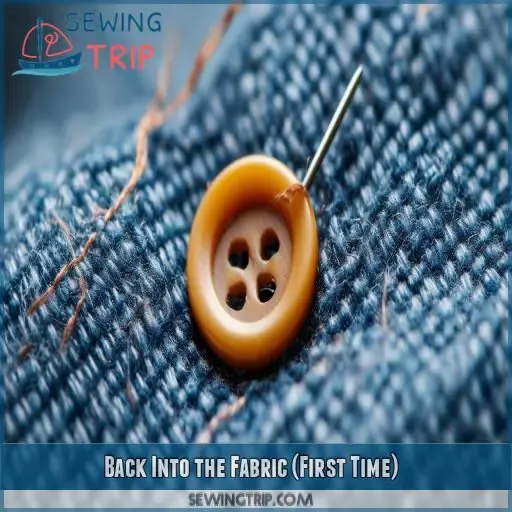
After passing through the buttonhole, it’s time to return to the fabric. This step is essential for securing your button and ensuring proper thread tension. Take your needle and carefully push it back through the fabric, right next to where it first emerged. Be mindful of your button placement and maintain consistent buttonhole spacing as you work.
Here are some key points to remember:
- Adjust your thread tension based on the fabric type you’re working with
- Use a needle size appropriate for your chosen fabric
- Pay attention to the overall button placement to maintain a neat appearance
As you guide the needle through, you’re creating the foundation for a sturdy attachment. Think of it as building a bridge between the button and the fabric – each pass strengthens the connection. Keep a steady hand and maintain even pressure to avoid puckering the material. You’re one step closer to mastering this essential skill!
Second Pass Through Buttonhole
Now that you’ve made your first pass, it’s time for round two! You’re getting the hang of this button placement thing, aren’t you? For the second pass through the buttonhole, you’ll want to maintain that perfect thread tension you’ve established.
Line up your needle with the opposite hole from where you just exited. Gently push it through, being mindful of the fabric thickness. This pass is essential for button strength, so take your time. As you pull the thread through, make sure it lies flat against the button.
Keep the thread taut, but not so tight that it puckers the fabric. You’re aiming for that Goldilocks zone of tension – just right!
Back Into the Fabric (Second Time)
Now that you’ve made your second pass through the buttonhole, it’s time to go back into the fabric once more. This step is critical for thread wrapping and button positioning. As you guide the needle through, pay attention to the fabric’s texture. You’re not just stitching; you’re creating a foundation for a secure attachment.
Align your needle carefully, ensuring it goes through the same spot as before. This repetition reinforces the fabric, preventing future tears. As you pull the thread through, maintain a steady tension. Not too tight, not too loose – you’re aiming for that Goldilocks zone of perfect button attachment.
Keep an eye on your hole patterns. Are they lining up nicely? If not, now’s your chance to make slight adjustments. Remember, you’re not just sewing a button; you’re crafting a tiny work of art. Each stitch brings you closer to mastery, so take your time and enjoy the process.
Third Pass Through Buttonhole
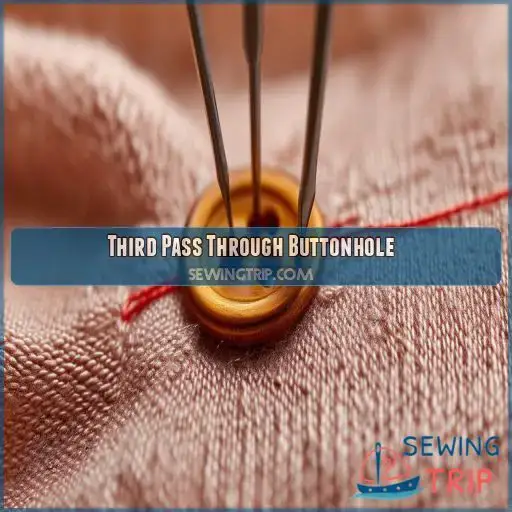
Now that you’ve completed the second pass, it’s time for the third. This step is essential for ensuring a secure attachment. With your needle positioned on the underside of the fabric, push it up through the buttonhole once more. As you do this, maintain consistent thread tension to avoid puckering the fabric.
Here are some key points to keep in mind during this step:
- Feel the satisfaction of seeing your button become more secure
- Embrace the rhythm you’re developing with each pass
- Enjoy the sense of accomplishment as you near completion
- Appreciate how your careful work will extend the garment’s life
- Take pride in mastering this essential skill
Securing the Button
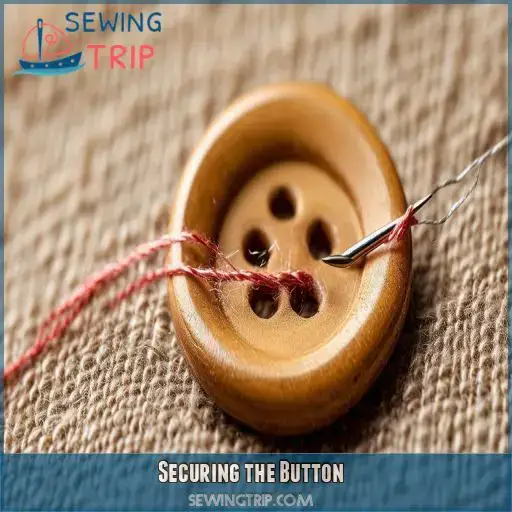
Now that you’ve completed the third pass through the buttonhole, it’s time to secure your button. This final step is vital for reinforcement, ensuring your button stays put through countless wears and washes. Start by wrapping the thread around the stitches between the button and fabric, creating a sturdy "stem." This not only adds strength but also gives your button a professional finish.
Next, push your needle through the fabric one last time, but not through the button. Tie a knot close to the fabric’s surface, then snip the excess thread. For extra security, consider using buttonhole or upholstery thread – they’re tougher than regular sewing thread.
If you’re feeling adventurous, try experimenting with different buttonhole patterns. A cross-stitch or star pattern can add a unique touch to your garment. Remember, proper button placement is key. Always double-check alignment before you start sewing to avoid any off-kilter results. With practice, you’ll be a button-sewing pro in no time!
Frequently Asked Questions (FAQs)
What is the easiest way to sew on a button?
You’ve lost a button? No worries! Thread a needle, double the thread, and knot it. Push through the fabric, then the button holes. Repeat several times. Wrap thread under the button, knot, and you’re done!
How to do button stitch?
Thread your needle and tie a knot. Push it through the fabric and button holes multiple times. Wind the thread around the base of the button. Secure with a final knot underneath. Trim excess thread.
How to sew a button on pants for beginners?
Grab your smartphone and text a friend for moral support. You’ll need a needle, thread, and button. Thread the needle, knot it, and sew through the fabric and button holes repeatedly. Secure with a final knot.
What stitch is used to sew buttons?
You’ll typically use a simple straight stitch to sew buttons. Thread your needle, make several passes through the button holes and fabric, then wrap the thread around the base to create a shank. Secure with a knot.
How do I sew buttons on stretchy fabric?
Did you know 95% of sewers struggle with stretchy fabrics? To sew buttons on them, use a sturdy needle and interfacing for support. Stitch loosely, allowing fabric to stretch. Don’t pull tight, and reinforce with a small backing button.
Can I use dental floss instead of thread?
You can use dental floss to sew buttons, but it’s not ideal. It’s strong but thick, making it hard to thread through small holes. If you’re in a pinch, waxed floss works best. Thread’s still your top choice.
Whats the best way to remove a sewn button?
You’ll want to carefully snip the threads with small scissors or a seam ripper. Gently work your way through, avoiding damage to the fabric. Once loose, lift the button off and remove any remaining thread bits.
How do I sew buttons with multiple hole patterns?
For multi-hole buttons, you’ll thread through each hole in a specific pattern. Start with diagonal holes, then cross to the opposite pair. Repeat this process, ensuring even tension. Finish by wrapping thread around the base for stability.
Should I use a button spacer for thicker fabrics?
Hit the nail on the head! You’ll want to use a button spacer for thicker fabrics. It’ll create the perfect gap, allowing your button to sit comfortably and function smoothly. Don’t skimp on this step for best results.
Conclusion
Practice leads to perfection, and this guide on how to sew a button will guide you on the right path. You’ve mastered the key steps, from threading the needle to securing the final knot.
With these abilities, you’ll confidently repair and customize your garments. Remember, a well-sewn button not only looks professional but also guarantees your garment’s functionality.
Keep practicing, and you’ll soon excel in this valuable skill. Whether it’s a quick fix or a creative endeavor, you’re now equipped to handle button sewing with ease.

