This site is supported by our readers. We may earn a commission, at no cost to you, if you purchase through links.
First, check your sewing manual for the right bobbin size—don’t play Goldilocks here!
Place your thread spool on the pin, thread through the tension discs, and wind at a moderate pace. A gentle foot pedal press is your best friend here.
Watch the bobbin fill evenly like a pancake cooking to golden perfection.
Insert it correctly, with the thread unwinding counterclockwise, and leave a little tail.
Stay tuned for tips on inserting bobbins smoothly into your machine—no loose screws required!
Table Of Contents
Key Takeaways
- Choose the right bobbin size for your machine – it’s like finding the perfect dance partner, so don’t play Goldilocks!
- Wind the bobbin at a moderate pace, like a pancake cooking to golden perfection, and make sure the thread unwinds counterclockwise.
- Insert the bobbin correctly, leaving a little thread tail, and ensure it’s spinning smoothly – no loose screws required!
- Raise the presser foot to open the tension discs, and use the automatic needle threader if your machine has one to save your sanity.
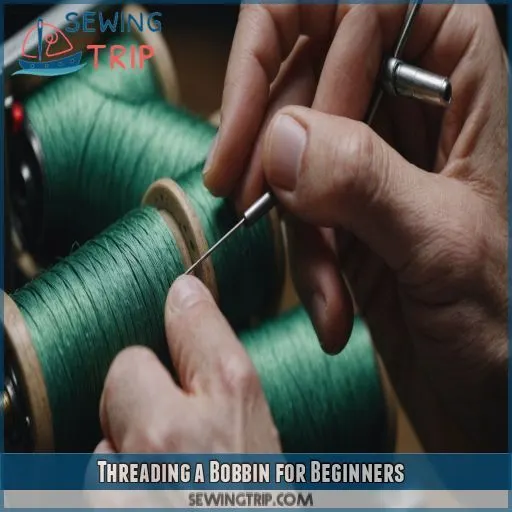
Threading a Bobbin for Beginners
threading a bobbin might seem tricky at first, but with a little patience, you’ll get the hang of it in no time. Let’s unravel the mystery together, starting with picking the right bobbin size and watching that spool spin like a tiny Ferris wheel!
Choosing the Correct Bobbin Size
The right bobbin is key! Before you can start winding, make sure you have the right bobbin for your machine. Check out this quick list:
- Refer to your sewing machine manual.
- Use the bobbin size chart.
- Understand various bobbin types.
- Make sure the thread is compatible.
- Avoid tension tangles.
Sew smart, not hard!
Placing the Thread Spool on the Spool Pin
Once you’ve found the right bobbin size, it’s time to get your thread rolling. Place the thread spool on the spool pin, making sure it spins counterclockwise. Its like dancing you want to lead the thread smoothly into perfection. Don’t ignore spool pin types and sizes; they matter just like choosing the right dance partner!
Guiding the Thread Through the Tension Discs
After placing the thread spool on the spool pin, it’s time to guide the thread through the tension discs. This important step helps maintain proper thread tension for beautiful, even stitches. Gently weave the thread through the discs, ensuring a smooth, unobstructed path. Don’t forget to clean those discs periodically – a little TLC goes a long way!
Winding the Bobbin at a Moderate Pace
Once you’ve guided your thread through the tension discs, it’s time to focus on winding the bobbin at a moderate pace.
Press your foot pedal gently and watch the bobbin fill evenly.
Speed demons, beware: too fast might cause thread breakage or uneven winding!
Keep the balance and soon you’ll have a perfect bobbin ready for action in your sewing machine.
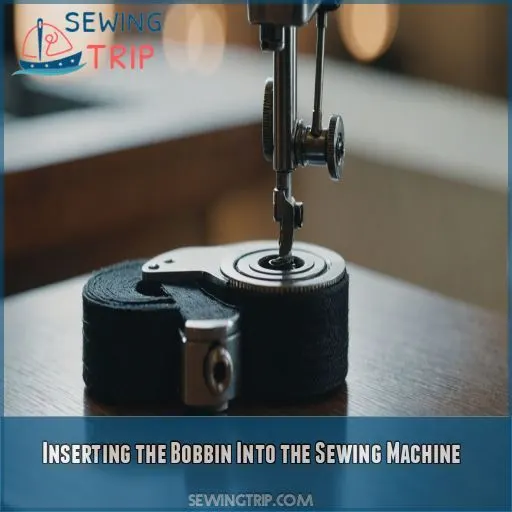
Inserting the Bobbin Into the Sewing Machine
Now you’ve wound your bobbin, it’s time to insert it into your sewing machine, and it won’t bite! Whether you’re using a front-loading or top-loading bobbin system, getting the thread direction right makes for smooth sailing or should we say sewing?
Using a Front-loading Bobbin System
First, let’s pop the hood, remove the front cover and extension table.
With your bobbin unwinding like a clock hand, drop it into the bobbin case.
Use those notches like a trusty guide.
Leave four inches of thread to dangle freely, picture a playful cat’s tail.
Snap the case into place, ensuring it clicks securely.
Voilà, it’s showtime!
Using a Top-loading Bobbin System
Occasionally, your sewing machine may have a top-loading bobbin system. To insert the bobbin, simply:
- Place the machine in safety mode or turn it off.
- Raise the presser foot and remove the bobbin cover.
- Insert the bobbin counterclockwise, ensuring the thread unwinds to the left.
- Guide the thread through the slit in the needle plate cover.
Ensuring the Bobbin Thread Unwinds Correctly
So, you’ve got the bobbin in place, but let’s make sure the thread unwinds like a pro. Picture the bobbin in a top-loading system unraveling counterclockwise, effortlessly spinning with just the right tension. If it’s misbehaving, check the winding direction and bobbin case size from your manual. A little tweak here and there can make all the difference!
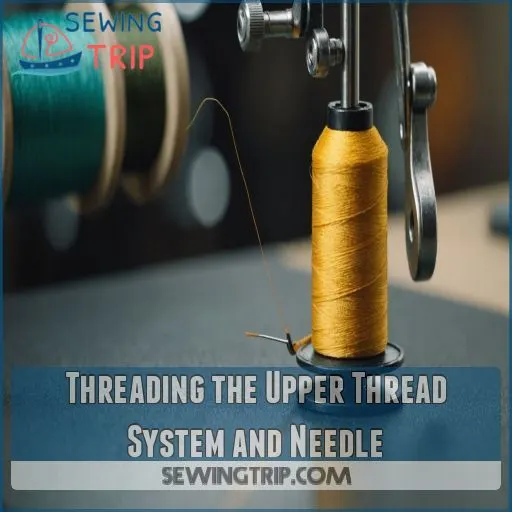
Threading the Upper Thread System and Needle
Threading the upper thread system and needle is like giving your sewing machine a proper caffeine boost—it’s essential for smooth stitching. Raise your presser foot to open up those tension discs, and if you’re feeling fancy, use the automatic needle threader to keep your sanity intact.
Raising the Presser Foot to Open the Tension Discs
Before threading the needle, let’s make sure your sewing machine is relaxed and ready. Simply raise that presser foot like you’re opening a door to freedom. This action releases the tension discs, allowing threads to glide effortlessly. Think of it as giving your machine a gentle yoga stretch—tension disc adjustment, foot pressure, and tension balance await your command.
Using the Automatic Needle Threader (Optional)
If your sewing machine has an automatic needle threader, this optional feature can save you time and frustration. Simply raise the needle to its highest position, pull the thread into the threader’s notches, and lower the lever to push the thread through the needle’s eye. No more squinting and struggling – let the machine do the work!
- Raise the needle to the top
- Pull thread into threader notches
- Lower lever to push thread through
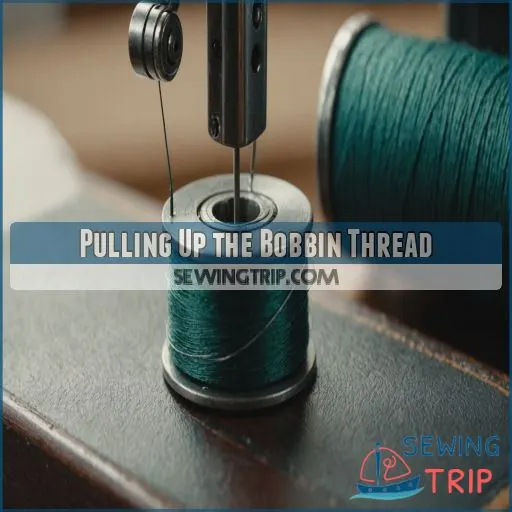
Pulling Up the Bobbin Thread
Bringing up the bobbin thread might sound like coaxing a reluctant friend to join a dance, but it’s a simple twist of a knob. Whether your machine is feeling old school with a front-loader or flaunting a top-loader, we’ll have you stitching smoothly in no time.
Method for Front-loading Bobbin Systems
Patience, dear reader, is key in bobbin threading. First, raise the presser foot and ditch any bobbin case confusions. Steady the bobbin in the bobbin case and follow its tension road map. With a swift flick, pull up the bobbin thread. Here’s a chart for precision:
| Step | Description |
|---|---|
Remove Open bobbin case cover Insert Align bobbin, thread clockwise Guide Thread through notches Place Secure bobbin case in housing - Tug
Method for Top-loading Bobbin Systems
So, you’ve conquered front-loading bobbins. Now, let’s tackle top-loading! First, make sure your sewing machine’s off and presser foot raised. Pop out the bobbin cover, insert it counterclockwise (the thread unwinds left), and guide it through the slit. Got a quick set feature? Youre golden! No? Turn the handwheel to engage, and presto – bobbin threaded, ready to stitch!
Common Issues With Threading a Bobbin
Even the most seasoned sewers can run into bobbin threading troubles. Don’t worry – we’ll walk you through common issues and how to troubleshoot them, so you can get back to creating with confidence.
Troubleshooting Sewing Machine Issues
Now that you’ve got the bobbin thread up, let’s tackle those pesky issues. Sometimes, sewing machines misbehave like mischievous pets.
- Needle breakage? Double-check your needle plate; it might be the culprit.
- Skipped stitches or tension problems? Adjust the tension dial carefully!
- Bobbin winder issues or unexpected machine noise? Make sure proper threading and bobbin placement are in place.
Take deep breaths; you’ve got this!
Sewing Machine Only Sews in Reverse
When life’s got you going backward—like when your sewing machine only sews in reverse—check the reverse button isn’t stuck. It happens!
| Issue | Solution | Outcome |
|---|---|---|
| Reverse button stuck | Gently unstick it | Stitching forward again |
| Reverse stitch setting | Switch back to normal stitching | Normal stitching resumes |
| Reverse mechanism faulty | Consult the manual or seek repair | Seamless sewing experience |
Stay sharp, keep sewing forward!
Bobbin Case Rocking and Causing Thread Tangles
Even with the best sewing techniques, thread tangles can leave you tangled in frustration. Here’s how you can prevent your bobbin case from rocking:
- Check Bobbin Case Alignment: Make sure its snugly in place.
- Bobbin Case Cleaning: A clean bobbin case is a happy one.
- Inspect for Bobbin Case Wear: Replace if worn out – better safe than sorry!
Tips for Winding a Bobbin
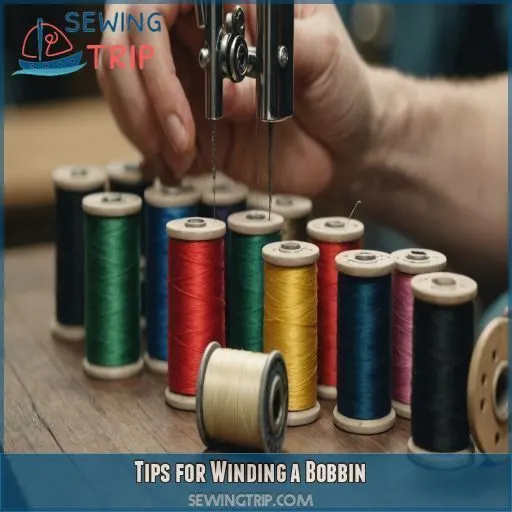
Winding your bobbin the right way is important for smooth sewing. Always wind the thread clockwise, and crank that bobbin at full speed – your machine will thank you! Just be sure to check your manual for any specific bobbin-winding instructions.
Always Wind Clockwise
Tired of messy stitches? Pay attention to your bobbin winding direction! Always wind your bobbin clockwise. Why? It prevents tangles and maintains proper tension. Picture kids popping balloons go the wrong direction and it’s chaos! Make sure your thread unwinds smoothly with no fuss or muss. Remember, winding clockwise is your first step to sewing mastery and the perfect stitch.
Wind at Full or Fast Speed
While threading a bobbin, winding at full or fast speed can save time and improve results. Your bobbin winder will hum along like a well-oiled machine.
- Make sure the bobbin size fits your machine to avoid thread breakage.
- Watch for consistent bobbin tension to prevent snags.
- A quick set bobbin helps with seamless stitching.
- Fast winding? It’s like racingfun and efficient!
Read Your Manual for Specific Instructions
Ah, the sewing machine manual—an underrated treasure trove of bobbin wisdom. When threading your bobbin, reach for it like a GPS that’s never led you astray. Following specific instructions can avoid oops moments. Each machine model may differ—bobbin types, bobbin tension, needle specifics. So don’t skip this secret weapon; it’s your ticket to stitching mastery!
Use the Correct Bobbin Size for Your Machine
When winding your bobbin, be sure to use the correct size recommended by your sewing machine manual. The wrong bobbin can cause all sorts of headaches – from thread tangles to poor stitch quality. Consult your machine’s specs and choose the perfect bobbin size to keep your sewing running smoothly. Trust me, your future self will thank you!
Advanced Threading Techniques
Are you ready to level up your bobbin skills? Let’s explore advanced techniques for threading a bobbin, including secret tricks for using a Janome machine, free-motion quilting, and perfecting those pesky gathering stitches—because who doesn’t love a little sewing magic?
Using a Janome Sewing Machine to Thread a Bobbin
Want to master threading a Janome bobbin? Keep rolling with these handy tips:
- Select bobbin type: Make sure its Janome-approved. Its like finding the perfect dance partner!
- Monitor bobbin tension: Too tight? Adjust it slightly.
- Winding tips: Steady as she goes, evenly spreading the thread.
- Troubleshooting bobbin case issues: Dont let it play hide and seek; secure it confidently.
Threading a Bobbin for Free-Motion Quilting
Threading a bobbin in free-motion quilting can feel like an art form.
Pay close attention to your bobbin thread choices, as tension is your guiding light.
Focus on consistent bobbin winding speed and smooth fabric tension.
Place the bobbin case correctly like a pro; those stitches should sing!
Don’t get wound up in the details – just sew!
Threading a Bobbin for Gathering Stitches
When gathering fabric, you’ll want to use a slightly looser bobbin tension and a longer stitch length. Choose a lightweight thread for the bobbin, as it will be more forgiving of any tension issues. Pair this with a larger needle size to accommodate the extra fabric. With a little practice, you’ll be gathering like a pro in no time!
Frequently Asked Questions (FAQs)
How do you thread a bobbin for dummies?
Threading a bobbin is like taming a wild beast! First, make sure the bobbin’s wound evenly. Then, place it in the case with the thread running clockwise, slide through the slits, and pull snugly.
What are the steps to threading a bobbin?
Alright, let’s get that bobbin threaded up! First, place the thread spool on the pin and guide the thread through the tension discs. Then, pop the bobbin in and pull the thread through the slot. Easy peasy – you’ve got this!
How to rethread a bobbin on a sewing machine?
To rethread a bobbin, wind the thread evenly onto the bobbin using your machine’s spindle. Load it per your machine type—top or front-loading. Follow the thread guides precisely, avoiding tangles. Got this in your back pocket now!
How to put the bottom thread in a sewing machine?
To insert the bobbin, pop off the cover, place the bobbin ensuring the thread unwinds correctly, and guide it through the designated slits. Secure it, pull a few inches, and you’re ready to stitch smoothly!
How to select the correct bobbin type?
Selecting the correct bobbin is super important, it’s like matching shoes to your outfit. Check your sewing machine’s manual for the bobbin specifications. Using the wrong size is like fitting a square peg in a round hole – messy results!
What causes bobbin thread to break frequently?
Bobbin thread breaks when you skip tension checks or use mismatched bobbin sizes. A tangled bobbin resembles a rebellious teenager causing chaos. Regular cleaning, using quality thread, and correct threading keep everything grooving smoothly. Keep calm, sew on!
How can bobbin tension be adjusted effectively?
Imagine your sewing machine as a car needing a tune-up. Adjust bobbin tension by tweaking the tiny screw on the bobbin case clockwise to tighten or counterclockwise to loosen. Remember, a little adjustment goes a long way!
Why does the bobbin make unusual noises?
Unusual bobbin noises often mean it didn’t seat just right or the threading went haywire. Check the bobbins snugness and make sure it’s wound evenly. Sometimes, a noisy bobbin is like that clunky sneaker needing a retie.
What materials are bobbins typically made from?
Bobbins are often made from plastic or metal, depending on the machine. Like choosing the right ingredients for a cake, selecting the correct bobbin material helps to make for smooth sewing. Metals sturdy; plastics lightweighteach serving different needs.
Conclusion
Mastering bobbin threading isn’t rocket science, but practice makes perfect!
With this tutorial on how to thread a bobbin, you’re ready to tango with your sewing machine like a pro.
Remember to choose the right bobbin size and follow the steps diligently, as threading correctly prevents pesky thread tangles.
Tackle those tension discs with confidence and soon you’ll be threading bobbins seamlessly.
Happy sewing, and may your stitches always be straight and true!

