This site is supported by our readers. We may earn a commission, at no cost to you, if you purchase through links.
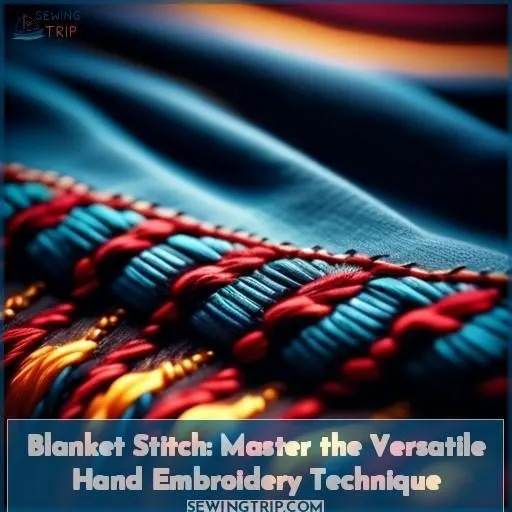
The blanket stitch is a versatile hand embroidery technique you’ll want to master. It creates a striking woven appearance with raised edges, suitable for joining fabric layers, embellishing appliques, or decorative edging.
With this foundational stitch, you can transform ordinary textiles into eye-catching designs. It’s beginner-friendly yet allows for creative variations like long and short, uneven, double, knotted, or closed stitches.
While relatively simple to execute, the blanket stitch offers endless opportunities to elevate your needlework projects. Mastering this technique will unveil a world of embroidery artistry you won’t want to miss.
Table Of Contents
- Key Takeaways
- What is a Blanket Stitch?
- What is the Blanket Stitch?
- Blanket Stitch Supplies
- How to Do Blanket Stitch Instructions, Step by Step
- Joining Pieces With Basic Blanket Stitch
- Sewing Blanket Stitch Corners
- Changing Threads With Blanket Stitch
- Blanket Stitch Applique
- Blanket Stitch Projects
- Blanket Stitch on the Sewing Machine
- More Embroidery Stitch Tutorials
- Frequently Asked Questions (FAQs)
- Conclusion
Key Takeaways
- The blanket stitch is a versatile hand embroidery technique suitable for beginners.
- It can be used to join fabric layers, embellish appliqués, or create decorative edging.
- The stitch offers endless opportunities for creative variations, such as long and short, uneven, double, knotted, or closed stitches.
- Mastering the blanket stitch can elevate your needlework projects and transform ordinary textiles into eye-catching designs.
What is a Blanket Stitch?
A blanket stitch is a type of buttonhole stitch used for edging around thick materials, such as those used for blankets.
It’s often used for decorative purposes and can be used to join edges together in felt toys and sewing projects.
To do a blanket stitch, start by anchoring the first stitch. Then continue by passing the needle from one point to another, always keeping the needle on the material and the thread on the outside.
The stitches are spaced relatively far apart and can be varied in width, making it suitable for materials that are too thick to hem.
What is the Blanket Stitch?
The blanket stitch is a versatile hand embroidery technique used for functional or decorative purposes. It’s suitable for beginners but is recommended to practice single crochet and double crochet first. The stitch can be used to join edges together or as an applique stitch, creating a decorative border along the edge.
Blanket stitch variations include long & short, uneven, double, German knotted, and closed stitches. It’s used in various projects like blankets, scarves, hats, and washcloths.
While the blanket stitch is a popular choice, it’s not the only option; other embellishments and alternatives include granny stitch, textured stitch, and granite/moss stitch. For a more detailed guide, refer to a blanket stitch tutorial or search for blanket stitch instructions online.
Blanket Stitch Supplies
To create a beautiful blanket stitch project, you’ll need a few essential supplies. Here’s a list of what you’ll need:
- Yarn: Choose a yarn that suits your project’s purpose and desired texture. The yarn weight should match the hook size you plan to use.
- Hook size: Select a hook size appropriate for the yarn weight you’ve chosen. Common hook sizes for worsted weight yarn are 5.0mm, 5.5mm, or 6.0mm.
- Needle: A hand sewing needle is necessary for the blanket stitch.
- Thread: Choose a thread color that complements your yarn and project.
- Scissors: A pair of sharp scissors will be useful for cutting your thread.
How to Do Blanket Stitch Instructions, Step by Step
To create a blanket stitch, follow these step-by-step instructions:
- Choose the appropriate materials: You’ll need yarn and a hook size suitable for your yarn weight.
- Create a foundation chain: Chain a multiple of 3 stitches.
- Row 1: Work 2 double crochets (dc) in the third chain from your hook, skip 2 chains, and single crochet (sc) in the next chain. Repeat this pattern across the row, ending with a single crochet in the final chain stitch. Chain 2 and turn.
- Row 2: Work 2 double crochets in the first sc below, skip the next 2 dc, and single crochet and 2 double crochets in the next sc. Repeat this pattern across the row. Finish the row with a single crochet in the turning chain 2, chain 2, and turn.
- Repeat Row 2: Continue repeating Row 2 until you reach your desired length.
For beginners, it’s recommended to practice single crochet and double crochet stitches before attempting the blanket stitch. The blanket stitch is suitable for various projects, including scarves, hats, and washcloths. It can also be used to join pieces of fabric together.
Additionally, there are several variations of the blanket stitch, such as the granny stitch, textured stitch, and granite/moss stitch. These variations can be used to add texture and interest to your projects.
Joining Pieces With Basic Blanket Stitch
To join pieces with the basic blanket stitch, you’ll need to knot the thread end and bring the needle through the middle of the two layers up to the top. Then, bring the needle down to the bottom layer and push it up through the same hole the thread first came through. Wrap the thread underneath the needle and pull tight to form the first stitch.
Continue stitching by inserting the needle from top to bottom with the thread caught underneath. Adjust spacing slightly as you get close to corners.
Sewing Blanket Stitch Corners
Sewing blanket stitch corners can be a bit tricky, but with these tips, you’ll have perfectly stitched corners in no time. First, sew normally until one stitch before the corner. Then, go into the bottom of the last stitch and come out diagonally into the corner at a 45-degree angle. Next, go back into the bottom of the same stitch and pull the thread at a 90-degree angle. Repeat this process for the next side.
Use a ruler or finger to mark stitch length for even stitches. The key to mastering blanket stitch is practice. Try out different blanket stitch variations, embellishments, color combinations, and fabric choices to create unique blanket stitch projects like crochet blankets, blanket stitch applique, or even a German knotted blanket stitch.
Changing Threads With Blanket Stitch
Changing threads in the middle of a blanket stitch project can be a bit tricky, but with a few simple steps, you can easily switch colors or yarns without affecting the overall look of your stitching. Here’s how to do it:
- Knot the new thread: Start by knotting the end of the new thread, ensuring that it’s secure and won’t unravel.
- Thread the needle: Take the knotted end of the new thread and thread it through the eye of your needle.
- Start sewing: Bring the needle up through the fabric at the point where you want to start sewing with the new thread. Make sure that the old thread isn’t visible on the surface of the fabric.
- Adjust tension: As you continue sewing, adjust the tension of the new thread to match the tension of the old thread. This will help maintain a consistent appearance throughout your project.
Remember to keep your stitches neat by gently holding your thread down near C as you create your next stitch. This will help prevent any gaps or unevenness in your stitching. With practice, you’ll be able to seamlessly switch between different colors or yarns in your blanket stitch project.
Blanket Stitch Applique
Blanket stitch applique is a versatile and decorative technique that adds texture and contrast to your applique pieces. It involves using a blanket stitch to conceal the raw edges of applique pieces, which can be done by hand or on a sewing machine. Here’s a step-by-step guide on how to do a hand-sewn blanket stitch around an applique:
- Choose a needle and thread that matches or contrasts your design.
- Start by pushing your needle up at the corner of your applique piece or in the spot where you want to start stitching, making sure not to stitch through the applique piece.
- Hold the thread to the left hand side of your work and stitch into your applique piece about 3mm from where your needle came up and about 3mm in from the edge of the applique.
- Bring the needle back up at the edge of the applique directly opposite the start of the stitch, making sure the thread is looped behind the needle.
- Pull the needle and thread through carefully, ensuring that the loop is created behind the stitch.
- Pull the thread gently so that each stitch sits flat along the outer edge of the applique, avoiding pulling too tightly to prevent puckering.
Remember to keep the distance between stitches and the length in from the edge of the applique even for a neat appearance. Practice on a test piece before starting your project to get the hang of the stitch size and thread tension.
Blanket Stitch Projects
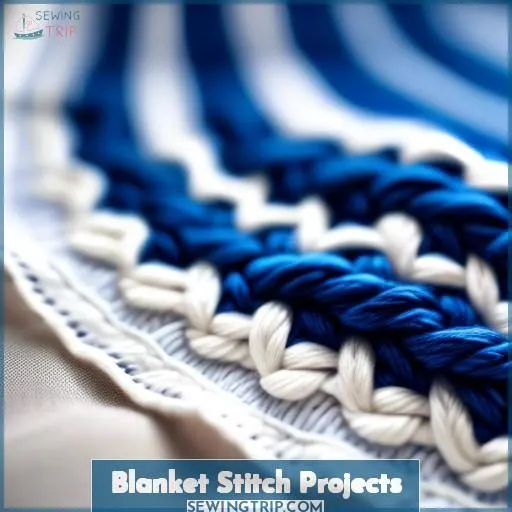
Now that you’ve mastered the blanket stitch, it’s time to put your skills to the test with a variety of projects.
Whether you’re looking to create a cozy crochet scarf or a stylish crochet hat, the blanket stitch offers endless possibilities. Experiment with different blanket stitch variations, yarn choices, and fabric pairings to find the perfect combination for your project.
Don’t forget to add decorative accents and project embellishments to truly make your creations stand out. With a little creativity and a lot of practice, you’ll be well on your way to creating beautiful blanket stitch projects that you can be proud of.
Blanket Stitch on the Sewing Machine
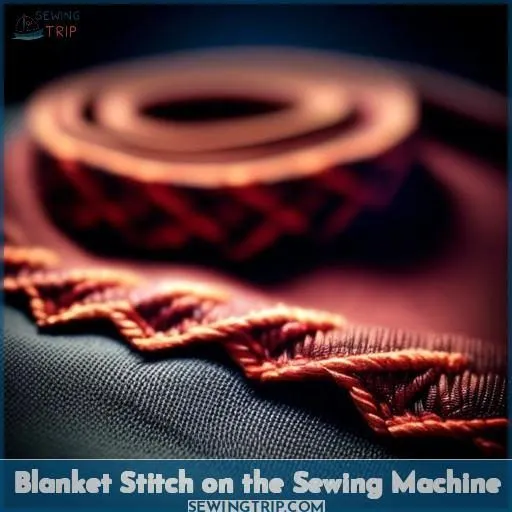
Blanket stitch on the sewing machine is a technique that allows you to create decorative edges or join pieces together with ease. Here are three ways to use your sewing machine for blanket stitch:
- Select the Blanket Stitch Option: Refer to your sewing machine manual to find the blanket stitch setting. Each machine may have a slightly different repeat pattern, so it’s crucial to understand how your specific machine forms the stitches.
- Practice on Scraps: Try out the stitch on some scraps to observe how the stitches are formed and figure out the repeat pattern. This will help you get familiar with the stitch and avoid any potential issues.
- Adjust Spacing and Height: Adjust the spacing between stitches slightly as you get close to corners, and vary the height of your stitch to create a ‘scalloped’ look.
More Embroidery Stitch Tutorials
Keen to enrich your blanket stitch repertoire? Delve into the long & short, uneven, double, German knotted, and closed variations – each providing a distinctive textural embellishment to enhance your embroidery endeavors.
Long & Short Blanket Stitch
To create a long & short blanket stitch, vary the height of your stitch to achieve a ‘scalloped’ look. Use three different heights for your stitch and repeat the pattern until you’re satisfied. This technique allows you to alternate between long and short stitches, giving your embroidery a unique and visually appealing texture.
Uneven Blanket Stitch
Uneven Blanket Stitch is a variation of the basic stitch, adding texture and character to your embroidery. It involves alternating stitch lengths, creating an irregular stitch pattern. Here’s how to do it:
- Start with a basic blanket stitch.
- Create another stitch, but stitch it a bit closer to the first one.
- Slip your needle under the two stitches and pull your thread through to create a knot at the top.
- Repeat these steps, alternating the stitch lengths, to create the uneven pattern.
This subtopic is a part of the ‘More Embroidery Stitch Tutorials‘ section in the article ‘Blanket Stitch: Master the Versatile Hand Embroidery Technique.
Double Blanket Stitch
Double blanket stitch adds depth and dimension to your embroidery projects. Create variations by using two sets of stitches, one on top and the other below, turned upside-down. Choose from motifs like flowers, leaves, or geometric shapes for your embellishments. Combine double blanket stitch with other techniques for unique patterns.
German Knotted Blanket Stitch
To create a German Knotted Blanket Stitch, start with one basic blanket stitch. Then, create another stitch close to the first one. Slip your needle under both stitches and pull the thread through to create a knot at the top. Adjust the knot size, yarn color, fabric type, stitch spacing, and thread tension to your preference.
Closed Blanket Stitch
Closed Blanket Stitch is a variation of the traditional blanket stitch that creates a beautiful pattern to edge thick fabrics. It’s also known as Half Crossed Blanket Stitch, Punto de festón cerrado, Point feston fermé, or Geschlossener Langettenstich. The stitch is made by working between two horizontally parallel stitch lines and forming a closed look by inserting the needle diagonally through the fabric.
Here are four ways to incorporate the Closed Blanket Stitch into your projects:
- Edge Sewing: Use the Closed Blanket Stitch as an edge stitch for table-covers, mantel valances, blankets, and other materials.
- Adding a New Thread: When sewing two layers along the edge, only push the needle through the upper layer, allowing the excess thread to come out between the layers.
- Finishing: If sewing in from the edge, you won’t have a stitch to slide under. Simply poke your needle down through the back on the right side of your last stitch and knot the thread at the back of the fabric.
- Variations: Experiment with different variations of the Closed Blanket Stitch, such as long and short, uneven, or double stitch.
Closed Blanket Stitch is a versatile stitch that can be used for various projects and is suitable for beginners who’ve already practiced single crochet and double crochet. It can also be combined with other stitches to create unique patterns and designs.
Frequently Asked Questions (FAQs)
Can blanket stitch be used on stretchy fabrics?
The blanket stitch can work on stretchy fabrics, but you’ll need to take care when pulling each stitch tight. Leaving a bit of slack helps accommodate the fabric’s give without distorting the stitches. Practice on a swatch first to get a feel for the right tension.
How do I prevent my blanket stitch from puckering?
To avoid puckering, use a fabric stabilizer or lightweight fusible interfacing before stitching. Keep an even tension on your thread and regularly adjust fabric gathers as you stitch. Going slowly with consistent stitch lengths also helps minimize puckering.
What is the history of the blanket stitch?
The blanket stitch has been embroidering edges for centuries – it first appeared in European decorative arts during the 16th century. You’ll find this durable yet graceful stitch adorning everything from quilts to upholstery, adding both function and flair.
How do I choose the right thread thickness for blanket stitch?
You’ll want a thread thickness that complements your fabric’s weight. For heavier fabrics, choose a thicker thread that’ll create visible, textured stitches. With lightweight fabrics, opt for a finer thread that won’t overpower the delicate material.
Can blanket stitch be done with a regular sewing machine?
You can’t do a true blanket stitch with a standard sewing machine. It’s a hand embroidery stitch that secures fabric edges, creating a decorative raised outline. However, you could mimic the look with a machine’s overcasting or zigzag stitch.
Conclusion
Mastering the versatile blanket stitch opens up a world of embroidery possibilities. It allows you to weave together fabric layers, embellish appliques, or add decorative edging with striking raised textures.
With practice, you’ll transform ordinary textiles into eye-catching masterpieces. You can express your creativity through variations like long and short, uneven, double, knotted, or closed stitches.
Enhance your needlework by incorporating this beginner-friendly yet infinitely adaptable technique into your projects.

