This site is supported by our readers. We may earn a commission, at no cost to you, if you purchase through links.
In this very article, we will identify seven of the most common causes accompanied by solutions. From improper threading to tension problems, we will help you troubleshoot the issue of why your sewing machine keeps unthreading.
You will learn to tame your machine’s personality through accurate, step-by-step procedures to make sewing hassle-free. Get started and take back control of your projects with these professional tips.
Table Of Contents
Key Takeaways
- Unthreading woes can stem from a tangled thread path or an improperly placed spool. It’s like trying to navigate a maze with obstacles at every turn!
- A bent needle is like a rebel without a cause, disrupting the smooth flow of thread and creating a stitching nightmare.
- Tension issues can be a delicate dance. Too tight, and your thread snaps like a twig; too loose, and your stitches look like a toddler’s scribbles.
- Humidity can play tricks on your thread tension. Think of it as a diva who changes her mind with the weather, affecting the way your stitches look.
Why Does Your Sewing Machine Keeps Unthreading?
Your sewing machine keeps unthreading due to several different reasons. One primary reason is incorrect threading, where the spool isn’t installed correctly and there isn’t a thread pass through the needle bar guide.
Other fundamental issues include bobbin case problems—burrs—or the wrong type of bobbin used. Check the needle for bends/burrs; its installation may be corrective.
Other causes of unthreading include misalignment of the take-up lever and threading problems such as threading with the presser foot down.
The need for balance in thread tension and the correct thread and needle size cannot be overstated. Abide to find more solutions.
Incorrect Threading
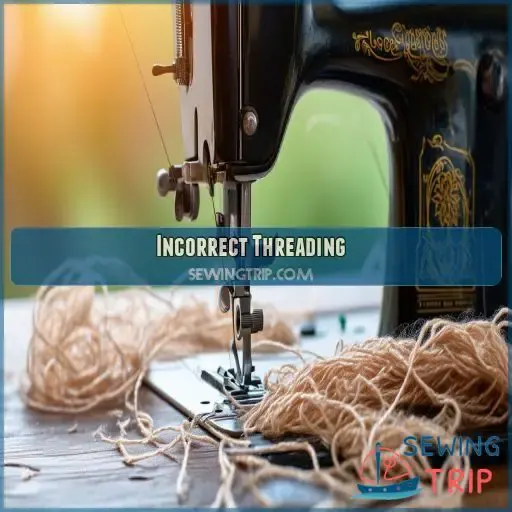
If your sewing machine is unthreading continually, this can result from incorrect threading. Ensure that the spool is correctly installed, and try fitting the spool cap over it, then verify the thread in the needle bar guide. Check for any knots or tangles which are potentially creating your problems.
Spool Not Installed Correctly
If your sewing machine won’t stop unthreading, the first culprit to look to is usually an improperly placed spool.
Make sure you have threaded the thread spool onto the pin and unwound it in the correct direction. Ensure that the spool cap fits nicely against the spool but not too tight.
It may be that a loose spool and incorrect tightening are the reasons for the erratic unwinding of the thread, causing problems with this common sewing project frustration—continuous unthreading.
Spool Cap Too Big for Spool
Using a spool cap that’s too large will act harshly on the sewing machine’s tension and constantly unthread it. Here’s why it matters:
- Incorrect size allows excessive thread unwinding
- Loose spool.There is uneven tension.
- Improper winding affects thread delivery
- Unstable spool may cause jamming of threads
Match your spool cap size to your thread spool. This simple step can make so much difference in machines working well and keeping you in control of your projects.
Thread Out of Needle Bar Thread Guide
If your sewing machine keeps unthreading, check your thread guide. This critical component of the thread path provides tension so the needle won’t come unthreaded. The following is a troubleshooting guide:
| Issue | Symptom | Fix |
|---|---|---|
| Missed guide | Loose stitches | Rethread correctly |
| Worn guide | Fraying of thread | Replace guide |
Bent guide Inconsistent tension Straighten or replace
Follow the threading path recommended by your machine’s manual. After all, a smooth journey for your thread is a painless one for you!
Knots or Tangles in Thread
If your thread’s causing trouble, knots and tangles might be the culprits. These pesky problems often stem from an incorrectly threaded machine.
Double-check your thread path, ensuring it’s properly seated in the thread guide. Inspect for any burrs that could snag the thread.
If you’re still facing issues, try rethreading from scratch with the tension released.
Upper Thread Tension Too Tight
If your upper thread tension‘s too tight, you’ll face a host of issues. Thread breakage, fabric puckering, and skipped stitches are telltale signs.
Your stitch quality suffers, and your machine keeps unthreading. To fix this tension problem, adjust the dial gradually. Remember, the take-up lever plays a role too.
Goldstar Tool recommends balancing upper and lower tensions for smooth sewing. Don’t let tight tension unravel your project!
Bobbin Case Issues
Bobbin case issues can frequently cause your machine to unthread. Check for tangled thread, burrs or scratches, needle strike holes, incorrect bobbins, or rough spots in the bobbin case.
Thread Tangled in Bobbin Case
If the thread gets caught in the bobbin case, that can cause it to unthread continuously. To prevent this, perform the following:
- Clean the bobbin case regularly
- Ensure proper tension setting
- Lubricate moving parts for smooth operation
- Use the appropriate needle for your fabric
- Line up fabric properly to prevent bunching
These measures also ensure that sewing goes on smoothly.
Burr or Scratch on Bobbin Case
Make sure that there are no burrs or scratches inside the case. They’ll catch on the thread as it exits and thus throw off your tension, then break it.
Check your bobbin case for regular imperfections; replace if necessary.
Be sure of the proper size and shape to get a perfect bobbin wounding without problems, keeping your machine in good running order.
Hole in Bobbin Case From Needle Strike
A hole in the bobbin case from a needle strike is frustrating. This type of damage often leads to thread snagging and, finally, unthreading.
Check your bobbin case for any visible holes. If you find a hole from a needle strike in your case, replace it to avoid continuous problems and ensure smooth sewing.
Regular inspection can save you lots of headaches.
Incorrect Bobbin Being Used
The wrong bobbin can cause problems with unthreading. Be sure you’re using the right size of a bobbin for your sewing machine.
When you use the wrong bobbins, they may not wind or seat appropriately within the bobbin case. This will affect the tension of your bobbins and eventually cause your thread to break.
Each mismatched bobbin also contributes to improper seating in the bobbin case, knocking off smooth stitching and bringing about frequent unthreading.
Always double-check for bobbin compatibility.
Bobbin Case Has a Rough Place
One small snagged area in the bobbin case can catch on the thread and produce many unthreading problems. Inspect the bobbin case for nicks or scratches if the issue includes a snagged area, carefully smooth out that area of the bobbin case using fine sandpaper.
A damaged bobbin case may need to be replaced to obtain the same sort of tension and avoid possible threading problems.
Needle Issues
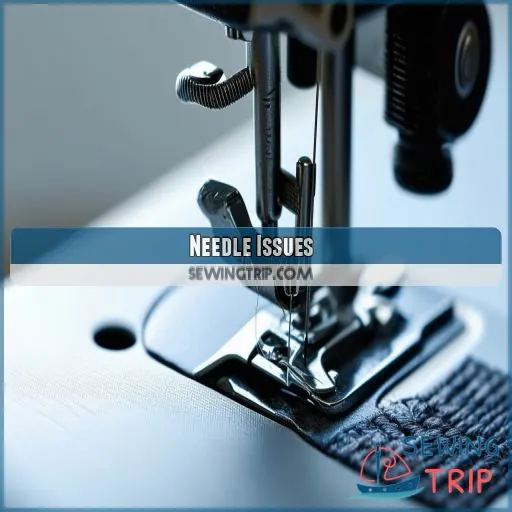
Needle issues can cause your sewing machine to keep unthreading. Check if the needle is bent, has a burr, is incorrectly installed, or if there are scratches or burrs around the hole in the embroidery foot.
Needle Bent
Even bent needles can be one of the invisible culprits for your sewing machine problems. When a needle is bent, one can find interrupted stitching through it, which would mean tension in the threads with constant unthreading.
Check for bends in your needle regularly, also. Use the right size and quality of the needle for your fabric, and maintain the correct installation techniques to avoid hassles.
Burr on End of Needle
A burr at the end of your sewing machine needle can cause frequent unthreading. Run a finger over the needle tip gently; when you feel a rough spot or scratch, that’s a burr.
Exchange your needle in an instant to avoid fraying and breaking of the thread. A smooth needle can offer you uniform stitches, and there won’t be much unnecessary frustration in your work.
Incorrectly Installed Needle
An incorrectly installed needle can mess up your stitching. Make sure it’s inserted with the flat side facing the back. If it’s not seated correctly, you might face thread breaks or skipped stitches. A bent needle, wrong size, or even a burr can ruin your sewing, so double-check everything fits well and is straight.
Area Around Hole in Embroidery Foot Scratched
If the area around the hole in the embroidery foot is scratched, it can catch the thread, causing it to unthread. Inspect the embroidery foot regularly for scratches that might interfere with smooth threading.
- Use a magnifying glass to spot tiny scratches.
- Lightly sand with fine-grit sandpaper.
- Replace heavily scratched embroidery foot.
- Regularly check all sewing components.
Area Around Hole in Embroidery Foot Has a Burr
Burrs around the hole in your embroidery foot can snag the thread, causing unthreading. Use a magnifier for inspection. Smooth the burrs with fine sandpaper or a small file cautiously. If scratches remain, consider scratch repair or replacing the needle foot. Regular foot cleaning and maintenance help prevent these issues.
| Issue | Solution | Tool Needed |
|---|---|---|
| Burrs | Burr removal | Sandpaper |
| Scratches | Scratch repair | File |
| Avoidance | Regular cleaning | Magnifier |
Take Up Lever Issues
Always keep the take-up lever in its highest position to ensure smooth operation while cutting threads. Check frequently that the lever isn’t stuck to a productions or anything else. If your sewing machine has it, use the automatic thread cutter feature.
Ensure Lever is at Highest Position Before Cutting Thread
Always keep the take-up lever as high as possible before cutting the thread. This stops the skipping of stitches and other threading problems. This small step will keep you up in tension and threading. Three tips:
- Manually raise the lever using the handwheel.
- If your machine is equipped with an automatic thread cutter, turn it on.
- Never stop with the needle down.
Check if Lever is Stuck or Obstructed
Be sure your machine’s take-up lever will move freely. Sometimes, lint or other material can act as a block for the movement of your lever. Check the position of your lever and clean any blockage that might be there. If stuck, gently free it to keep the motion nice and smooth. Regular lever maintenance—cleaning and lubrication—will photocopy common obstructions.
| Symptom | Cause | Solution |
|---|---|---|
| Stuck lever | Lint or debris | Clean the lever path |
| Irregular sewing | Obstruction present | Remove obstruction |
| No movement, lever stuck | Gently free the lever |
Avoid Stopping Stitching With Needle in Lower Position
Needles stopped down may deviate the thread path, resulting in an unthreading. Always stop with your needle up to maintain proper tension and line-up for the thread. This simple habit will preserve the function of the take-up lever and provide for a smoother operation that will help you avoid unnecessary machine maintenance and thread type or poor bobbin quality issues.
Use Automatic Thread Cutter Feature (if Available)
If your sewing machine has an automatic thread cutter, use it to prevent unthreading. This built-in thread snipper keeps threads at the right length. Here’s why you should:
- Saves time by neatly trimming the thread.
- Reduces the chance of threads getting tangled.
- Keeps the take-up lever in the correct position.
- Minimizes the risk of unthreading during the next stitch.
Crank Handwheel Towards User Until Lever Reaches Top
Keep the crank handwheel facing you for its smooth functioning while the take-up lever is placed at the highest position. Simply follow this easy step to prevent thread tangles and ensure proper stitching.
Your thread may come loose if the lever isn’t placed at the top. Remember that maintaining a correct lever position is, therefore, vital in troubleshooting common sewing machine problems.
Threading Problems
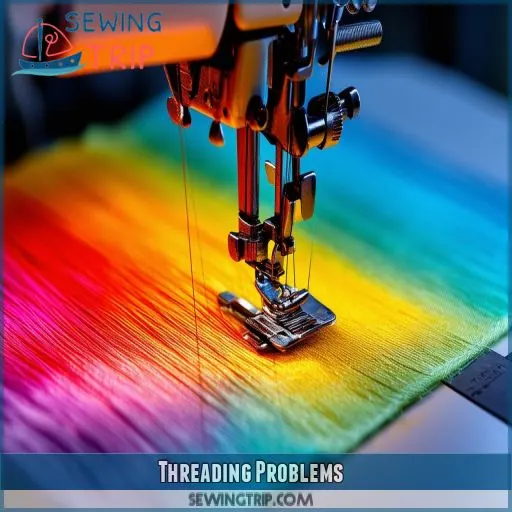
Refer to your User’s Guide for specific threading instructions occasionally, so you’re sure you’re on the right track. Always raise the presser foot but remove the thread from the machine if you need to rethread to avoid the common mistakes of skipped steps in threading or threading with the presser foot down.
Refer to User Manual for Specific Threading Instructions
Always refer to your sewing machine’s user guide for specific threading instructions. Here are some additional tips that you should follow:
- Check that the thread path is correct, passing through all thread guides.
- Check the top and lower thread tension settings.
- Match needle size with the thread thickness for optimal performance.
Release Presser Foot and Unthread Machine Before Rethreading
Also, when rethreading your machine, always raise the presser foot. It’s one step that’s going to help you minimize thread tangles and breaks. By increasing the presser foot, you’re allowing the thread or yarn to pass through without any additional tension.
| Issue | Cause | Impact | Solution |
|---|---|---|---|
| Thread Tangles | Presser foot down | Tension too high | Raise presser foot |
| Bobbin Tension | Misadjusted tension | Uneven stitching | Adjust the balance of the bobbin tension. |
Avoid Threading With Presser Foot Down
Do not thread your machine while the presser foot is raised. This puts too much pressure on the presser foot, which, in turn, pulls too hard on the thread, making smooth passage of the thread difficult.
Raise the presser foot to remove tension from the discs. Keep the proper height and pressure of the presser foot. Correct alignment of the presser foot allows for adequate seatment of the thread so problems don’t occur as you sew.
Ensure Thread Path is Followed Correctly
The correct following of the thread path is very essential to prevent the problems of unthreading.
The thread should follow through with all guides in the correct sequence. Check proper guide placement and tension adjustment; check the compatibility of needles.
Keeping up the presser foot while threading assures adequate tension and alignment for smooth stitching. Proper threading ensures smooth operation without trouble.
Check for Skipped Threading Steps
Check that there are no skipped threading steps. The threading order or incorrect thread path can bring out a headache. Make sure you’re not missing any of the thread guides or presser feet.
- Ensure thread follows the entire path.
- Correct any tangled thread stack.
- Refer to user guide for proper threading.
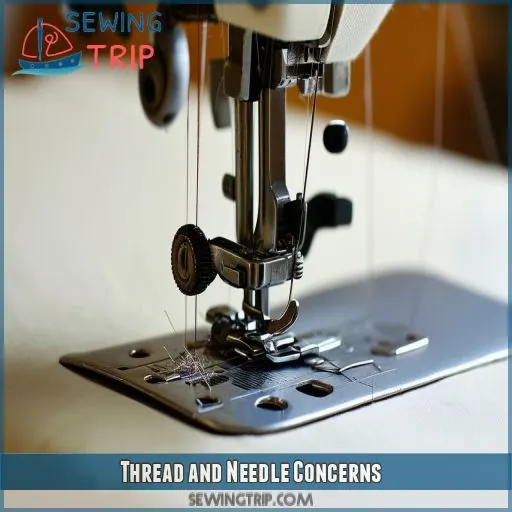
Thread and Needle Concerns
Use a needle that’s the proper size for the diameter of your thread, and thread your sewing machine only with good threads so it doesn’t become unthreaded. Check for breaks or shredding of the needle; inspect for bends or damage on the sewing needle, and be sure that your thread spool is turning over smoothly.
Match Needle Size to Thread Thickness
Run an equivalent needle size to the thickness of your thread.
Use the proper, correct gauge of a needle according to the thread being used and by fabric weight: a fine one on light fabrics and a heavy one on heavier material/heavier fabrics.
Be sure you’re using the right length and gauge of the needle for what you’re doing, or you may have a mismatched combination that could lead to unthreading and other frustrating issues.
Use High-quality Thread
Good-quality thread will dramatically minimize the possibility of your sewing machine unthreading. Select a thread that features a smooth, consistent texture. Thread of poor quality almost always breaks and shreds, annoying since the specialist disrupts their sewing flow.
Check your thread for irregularities, and ensure it unwinds without a snag from the spool. Be aware that good thread is invested in the seamlessness of your sewing.
Check for Thread Breaks or Shredding
Thread breaks or shredding can often be a sign of poor thread quality or problems with storage. Be sure you’re using high-quality thread that’s appropriate for the thread weight required by your project.
Store your threads in a cool, dry place to keep them in good condition. Inspect regularly for frays or weak spots.
Compromised thread condition is what causes people to unthread frequently, interrupting the flow of your sewing.
Ensure Thread Spool Unwinds Smoothly
Be sure your thread spool unwinds easily. The tension in the spool could be a reason for skipped stitches.
Be sure that your spool is tensioned correctly, and that there are no snarls on the thread path—the thread should feed easily without catching or jerking; feel free to use a thread net if necessary.
Consistent thread unwinding makes the stitches so even—that your machine will run smoothly.
Inspect Needle for Bends or Damage
An often-overlooked issue is a bent or damaged needle. Inspect the needle for bends or burrs; these can lead to frequent unthreading. Swap out your needle if necessary to maintain smooth operation.
- Needle replacement: Regularly change your needle to prevent issues.
- Needle maintenance: Keep needles clean and sharp.
- Needle size: Use the correct needle size for your fabric.
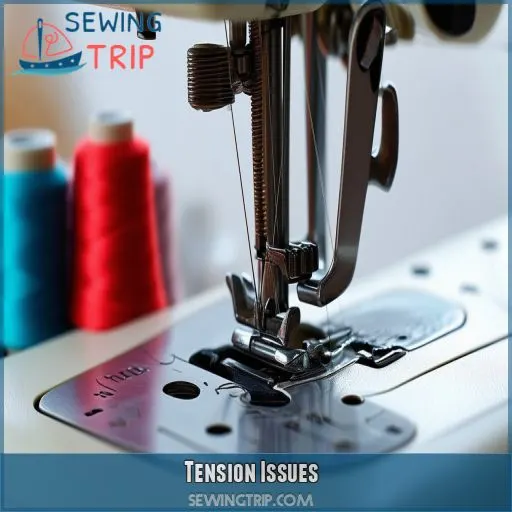
Tension Issues
Proper thread tension is essential for smooth stitching. Balance the upper and bobbin tension, adjust the tension dial based on thread and fabric type, and always refer to your user manual for specific settings to avoid excessive tension and thread breakage.
Balance Upper and Bobbin Tension
Proper balancing of upper and bobbin tension is essential to smooth stitching. This will allow appropriate tensioning techniques to ensure that both threads work in unison.
While you check the tension gauge on the bobbin, the upper thread is adjusted through tension plates. With adequately balanced tension in place, no breaks in threads or uneven stitches will occur.
Another good thing at stake is that your sewing machine will keep running without frustrating unthreading problems.
Adjust Tension Dial Based on Thread and Fabric Type
Set the tension dial depending on the thread type and the fabric weight so that perfect tension is balanced. Light fabrics and wonderful threads require less tension, while heavier settings wouldn’t create a problem with thicker fabric and heavy threads.
This definitely will eliminate human error and assure you of perfect stitching. Refer to the user instructions on properly coordinating needle size with threads and fabric.
Avoid Excessive Tension, Which Can Cause Thread Breakage
Avoid setting your sewing machine’s tension too high, as it can cause thread breakage. Excessive tension puts unnecessary strain on the thread, weakening it and leading to frequent breaks. To maintain thread quality and prevent frustrating interruptions, adjust the tension dial gradually, ensuring smooth and consistent stitching without exerting too much pressure on the thread.
Refer to User Manual for Specific Tension Settings
Always check your user manual whenever there’s a sewing machine problem with the tension settings. It gives the correct thread compatibility, adjusting to the weight of the fabric and type of needle used. Steps:
- Find the tension settings section in your manual.
- Use appropriate tension settings that go well with your thread and fabric.
- Adjust whenever necessary to ensure that you don’t break the threads and achieve smooth stitching.
Frequently Asked Questions (FAQs)
Why does my sewing machine keep coming unthreaded?
Your sewing machine keeps unthreading. This could be due to incorrect threading of the needle, faulty installation of the needle, or tangled thread. Of course, each can be corrected to make the whole process much more manageable. Double-check your threading steps, needle position, and tension settings to resolve it.
What to do when your sewing machine keeps cutting thread?
If your sewing machine keeps cutting the thread, it likely has a problem with its needle, tension, or threading. Ensure that the needle isn’t bent, the tension is even, and the thread is routed correctly. Careful rethreading often solves stubborn issues of thread cutting.
Why isn’t my sewing machine threading properly?
Your sewing machine isn’t threading properly because the threading isn’t correct; it has a threading path error, a bent needle, too much upper tension; or there’s a tangled thread in the bobbin case. Ensure everything is properly installed and aligned to run smoothly.
What is the solution if the needle comes unthreaded with beginning a row of stitching?
Just make sure you pull about 10-15 cm of thread before you start. Check that your needle is seated correctly and not bent. Re-thread your machine, easing any tangles as you go, and check the upper tension setting.
Why does my sewing machine keep unthreading?
Imagine a river blocked by debris. Your sewing machine keeps unthreading because it could have been threaded incorrectly, the needle is bent, there may be inadequate tension, or parts of the machine have become misaligned. Remove these blockages, and your stitching journey will become much smoother.
Can a sewing machine unthread?
Yes, a sewing machine can unthread itself. Factors like improper threading, excessive tension, or a bent needle can cause the thread to come loose, often leading to frustration and interruptions in your sewing process.
Why is my sewing machine needle not staying threaded?
Think of your sewing machine as a bike chain—if it’s not threading right, you won’t go far. Your needle could be unthreading due to incorrect threading, a bent needle, or improper tension.
What happens if you don’t leave enough thread on a sewing machine?
If you don’t leave enough thread on the sewing machine, it unravels very easily when you start stitching. Let out at least 10-15 cm of the thread to prevent this issue.
How does fabric thickness affect rethreading problems?
Fabric thickness can mess up rethreading because it increases tension and resistance. Thicker fabric can cause skipped stitches and uneven threading, leading to frequent unthreading. Adjust your tension and needle size for best results.
What are common signs of thread spool defects?
Have you noticed your thread spool causing issues? Look for uneven winding, knots, or tangles, the spool cap being too large, or the spool not spinning smoothly. These defects could cause threading problems.
Can sudden machine vibrations cause unthreading?
Yes, sudden machine vibrations can cause unthreading. Vibrations occasionally knock the thread off guides or tension disks and cause it to come loose. Try to keep your machine on as level and firm a surface as possible to avoid vibrations.
Why does the thread unwind improperly from the spool?
Occasionally, a thread will unwind improperly from the spool if it’s not fitted correctly, or the spool cap is too big. This disrupts even tension, causing snags or tangles, ultimately affecting stitch quality and thread control.
Does ambient humidity impact thread tension settings?
Yes, ambient humidity impacts thread tension settings. High humidity can cause thread to swell, leading to tighter tension. Conversely, low humidity can dry out the thread, resulting in looser tension. Regularly adjust tension accordingly.
Conclusion
Clearly, your sewing machine isn’t on a mission to sabotage your projects. By understanding the various causes behind why your sewing machine keeps unthreading, you can address issues from incorrect threading to bobbin case problems.
Applying these fixes will make your sewing sessions smoother and more productive. Don’t let minor glitches halt your creativity; instead, use this guide to troubleshoot and maintain control over your machine, ensuring it works seamlessly every time.

