This site is supported by our readers. We may earn a commission, at no cost to you, if you purchase through links.
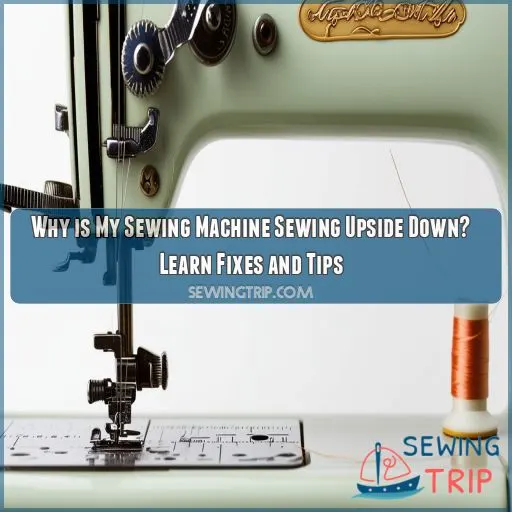
This guide will help you understand why that happens and how to correct this with clear, actionable steps: from adjusting feed dogs to ensuring proper dial settings, all common causes and solutions will be gone through.
By following our troubleshooting tips and advice on maintenance, you shall regain control of your sewing to make the projects turn out exactly as desired.
Let’s get down to business and fix this problem.
Table Of Contents
- Key Takeaways
- Why is My Sewing Machine Sewing Upside Down?
- Sewing Machine Stitching Backwards
- Understanding Feed Dogs and Stitch Direction
- Correcting Buttonhole Dial Positioning
- Dealing With Technological Malfunctions
- Foot Plate Positioning and Stitch Direction
- Sewing Machine Maintenance Importance
- Troubleshooting Reverse Stitching Issue
- Understanding the Relation Between Machine Age and Issues
- Basic Troubleshooting Vs. Repair Shop Visits
- Impact of Incorrect Needle, Thread, and Cleaning
- Frequently Asked Questions (FAQs)
- Conclusion
Key Takeaways
- When your sewing machine starts sewing in reverse, don’t panic! Grab this guide and let’s troubleshoot like detectives.
- Feed dogs are the unsung heroes of your sewing machine, ensuring your stitches go in the right direction. If they’re malfunctioning, it’s like trying to drive with a flat tire – not going anywhere smoothly!
- Don’t be afraid to play "footsie" with your sewing machine. The foot plate needs to be in the right position, or your stitches will be all over the place, like a toddler learning to walk.
- Regular maintenance is like giving your sewing machine a spa day. It keeps it running smoothly and prevents those pesky upside-down stitches from crashing your sewing party.
Why is My Sewing Machine Sewing Upside Down?
If your sewing machine is sewing upside down, most likely, the issues will revolve around feed dogs, the reverse button, the buttonhole dial, or just incorrect foot-plate positioning. First, check whether your reverse button has stuck or maybe is on.
Then, check the feed dogs and make sure they move the cloth appropriately; they might simply need a good cleaning or adjusting. Ensure that your buttonhole dial is set to forward stitching and that your footplate has been aligned correctly.
Sometimes, after a simple resetting or servicing of the machine, the hidden glitches are solved. Many times, proper servicing also helps in running the machine—proper servicing, including not only cleaning but also professional servicing.
Sewing Machine Stitching Backwards
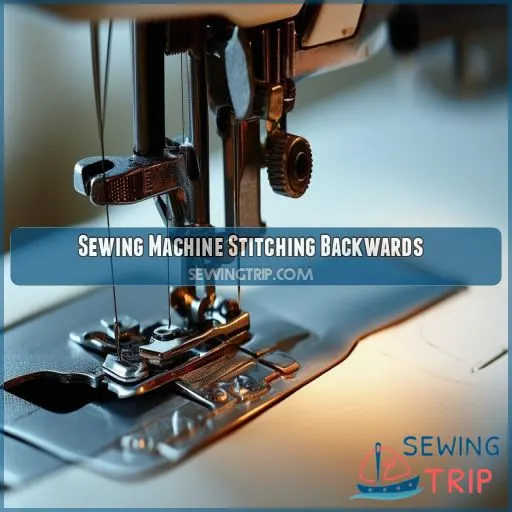
If your sewing machine is only sewing in reverse, there could be a few potential causes, such as a broken reverse button or malfunctioning feed dogs. Start by checking the reverse button and feed dog settings, and if the issue persists, you may need to contact a professional sewing machine technician for further assistance.
Potential Causes
- Incorrect bobbin loading – If the bobbin isn’t positioned properly, then it can misguide the thread.
- Thread tension problems: Tension uneven in threads will disturb the direction of stitches.
- Needle insertion error: A wrongly inserted needle affects the stitch form itself.
Address these areas to avoid backward stitching and ensure smooth sewing.
Troubleshooting Steps
First, check for any damage to your reverse button. Ensure there’s a proper setting for the feed dogs as they might be jammed.
The buttonhole dial should also not be engaged, and the correct placement of the feet plate should be.
If this doesn’t work, try problems associated with malfunctioning technology and tension issues.
Lastly, look into stitch length settings, thread tension, and the bobbin.
Maintenance Recommendations
Proper care of your sewing machine is the best way to avoid upside-down stitches. Proper care will ensure better performance and reduce repair costs. The following schedule will help achieve the best results:
- Clean and Grease: Every 6 months.
- Professional Servicing: Every 2 years.
- DIY Repairs: As needed, especially if the bobbin isn’t threaded correctly or the fabric isn’t moving forward under the presser foot.
Understanding Feed Dogs and Stitch Direction
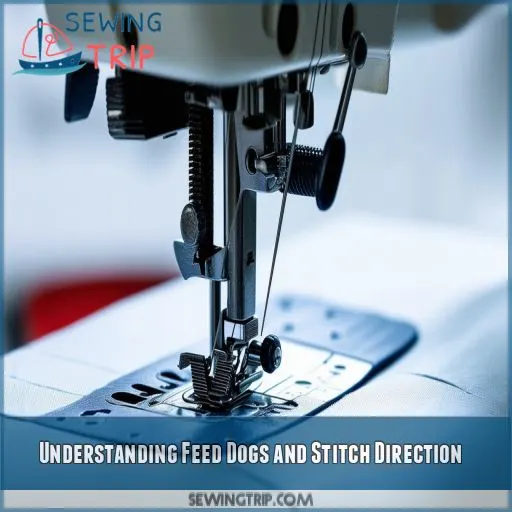
Feed dogs are a significant part of a sewing machine, especially in moving fabric through the machine and in the direction of stitches; if these components of your machine aren’t working right, you’ll see poor quality. The malfunctioning feed dogs of your machine will grab the fabric and move it improperly, leading to problems with stitching.
Feed Dogs Function
Feed dogs are like little hands that pull the fabric under the needle to sew a smooth line. They have various types and sizes that will match the purpose of the application.
Durability and pressure are essential for results in continuity. Regular feed dog maintenance ensures it doesn’t wear out, and thus, fabric puckering issues are avoided.
Satin stitch foot guides in decorative stitches, giving flawless finishes.
Impact on Stitch Direction
Feed dog movement helps to work out the stitch direction. If it isn’t aligned correctly, your machine might sew backward.
Then, inspect if there’s any linkage with the reverse stitch button as sometimes it may stick. Keep the footplate adjustment correct and the dial setting accurate.
Sometimes, malfunction in a computerized machine disturbs the stitch direction. It may change presser foot position, wend stitches into messy tangles, thread messily, or miss a few steps.
Correcting Buttonhole Dial Positioning
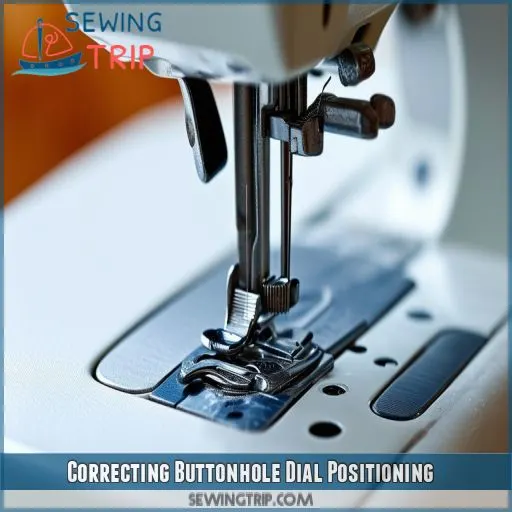
To correct your machine’s stitching direction, check the buttonhole dial positioning. Make sure it’s set to the correct setting for forward stitching, as an incorrect setting may cause your machine to sew in reverse.
Identifying Incorrect Dial Settings
To identify incorrect dial settings, start by ensuring the dial isn’t set to "buttonhole," which can cause your machine to sew backward. Verify it’s properly set for forward stitching. A stuck reverse button or misaligned foot plate can also be culprits. These dial settings can lead to puckering, thread breakage, and upside-down stitches.
Adjusting Dial for Forward Stitch
To set the stitch dial to forward:
Make sure the settings of the dial aren’t on "buttonhole."
Set the dial to the standard straight-stitch icon.
- Verify foot placement aligns correctly.
- Check the feed dog.
Correctly setting the dial prevents jamming of the machine, bunching of stitches, and smooth stitching direction; these are all very important to maintain sewing performance.
Dealing With Technological Malfunctions
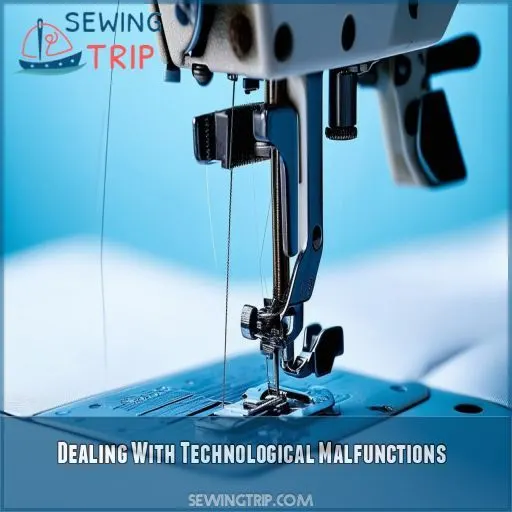
If your sewing machine is sewing upside down, it could be due to technological issues like software glitches. Try resetting your computerized machine to its default settings, which can often resolve unusual stitching problems.
Identifying Signs of Technological Issues
Technological malfunctions can be tricky but keeping an eye out for signs of issues helps. If your Viking H Class machine is suddenly erratic with stitch patterns, or unresponsive to settings changes, it might indicate underlying issues. Such glitches could be linked to its age and may require specific troubleshooting steps to reset computerized functions or even professional intervention.
Resetting Computerized Machines
If your machine’s gone haywire, try resetting it. Different models vary, but generally, turn off the machine, wait ten seconds, and turn it back on. For various problems like strange stitch patterns due to age, consult your manual. Resetting computerized machines can solve many issues with a simple off-and-on trick.
Foot Plate Positioning and Stitch Direction
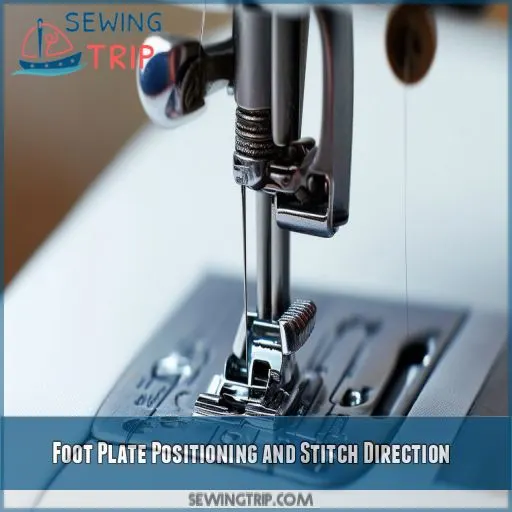
The other parameter would be the positioning of the footplate. This is important for the correct stitching direction. In case it goes misaligned, then there may be chances of your machine sewing the wrong way or producing uneven stitches in the sewing.
Importance of Foot Plate Position
This ensures smooth fabric passage under the presser foot to prevent reverse stitching.
Adjust pressure appropriately to find the best balance for your particular fabric type and thickness.
The improper alignment of the footplates could be a cause due to which proper tension adjustment may get skipped, providing inadequate stitches; however, appropriate needle type and proper thread tension assure delicate stitches.
Impact on Stitching Direction
This could be a problem with the position of your machine’s footplate, which makes all that difference in your stitches. Upside-down sewing or plain wrong-direction sewing may occur due to a misplaced plate. Check to see that your plate is aligned and screwed properly into place; then, your forward stitching should resume.
- Alignment of the foot plate properly ensures stitching in a forward direction.
- A plate out of adjustment can result in a reverse or erratic stitching.
Ensure that the plate is securely held to avoid incorrect stitch direction.
- Foot plate position affects thread tension and type of stitch
Sewing Machine Maintenance Importance
Regularly cleaning and servicing the sewing machine are essential for its efficient running. Such practices avoid upside-down sewing and thus smooth the machine, increasing its life.
Regular Cleaning and Servicing
Regular cleaning and servicing keep your sewing machine in good condition. Consider creating a maintenance schedule, including professional cleanings every two years to avoid costly repairs, or if there are problems, remember, in the case of a malfunction, technicians are your best friends with the machines.
| Maintenance Task | Frequency | Estimated Cost |
|---|---|---|
| Base cleaning | After every use | Free |
| Needle replacement | Monthly | $1-$5 |
| Professional servicing | Every 2 years | $50–$100 |
| Application oil | Quarterly | $5-$10 |
| Lubrication check | Yearly | $10-$20 |
Impact on Sewing Performance
Proper maintenance prevents incorrect bobbin loading, tension issues, and thread jams, which will affect sewing performance. A well-maintained machine ensures that fabric compatibility is spot on and corrects needle size and thread type working harmoniously. Cleanliness and frequent checking of each component produce smooth stitching and, hence, frustration-free sewing sessions with professional-quality results.
Troubleshooting Reverse Stitching Issue
If your sewing machine is able to sew in reverse only, this would require frequent maintenance and the help of professionals. Afterwards, periodic cleaning wouldn’t only keep your machine running smoothly but also extend its lifespan if done right, and the technician is called whenever it needs to be.
Proactive Maintenance Steps
Regular lubrication and cleaning are key; dust and lint can gunk up your machine. Check the timing, ensuring the needle and hook are synchronized. Adjust settings as needed, ensuring the machine isn’t set to reverse. Replace worn or broken parts immediately. Consistent, proactive maintenance keeps your machine humming smoothly and prevents pesky stitching issues.
Importance of Professional Assistance
When your sewing machine keeps sewing in reverse, it’s time to pass the burden on to professional advice.
A skilled technician won’t only detect your issue properly but also suggest reliable repair options. They can point out complicated issues that might be overlooked with basic troubleshooting.
When you choose to consult an expert, you keep the life of your machine intact and have the performance of the machine calibrated to perfection for professional approaches and precision working on your projects.
Mark this as your favorite strategy.
Understanding the Relation Between Machine Age and Issues
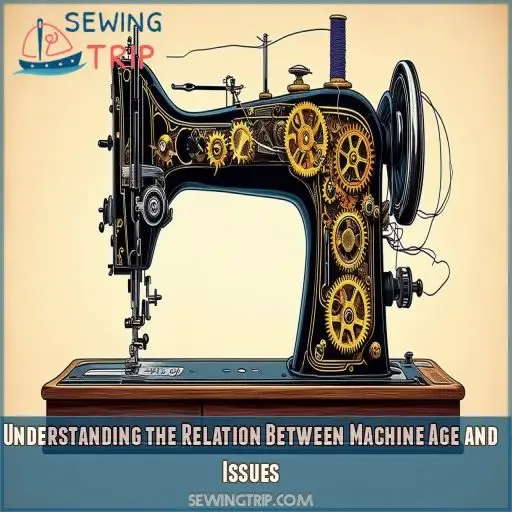
Knowing the interplay between how old your sewing machine is and the problems it may be having can go a long way in effective troubleshooting**. Often, such wear and tear is to blame on machines 10-15 years old, like the Viking H Class.
In many cases, the time a machine has been in use affects not only its general repair costs but also the need for preventative maintenance so that everything keeps ticking over smoothly. Sometimes, older models are technologically limited and may thus cause some stitch problems. Sometimes, technology just can’t keep up with its demands over time.
Inconsistent cleaning and incorrect settings related to user error very often compound these problems. Regular servicing combined with an appreciation for understanding the intricacies of your machinery will help mitigate most of these issues, ensuring that it functions well for years to come.
Basic Troubleshooting Vs. Repair Shop Visits
You’ve tried basic troubleshooting steps, but your sewing machine still isn’t stitching correctly. It’s time to consider professional help to ensure the issue is properly diagnosed and fixed.
Evaluating User-Performed Troubleshooting
The machine’s settings have been checked, potential malfunctions taken care of, and basic troubleshooting applied, yet it persists.
This implies that there’s often a need to weigh the work’s effectiveness. At times, user troubleshooting could point to the need for more comprehensive maintenance or identify complex issues beyond the user’s scope of expertise.
Don’t underestimate the importance of proper maintenance for best performance.
Knowing When Professional Assistance is Necessary
If basic troubleshooting hasn’t worked, it’s time to get professional help. Persistent issues or broken machine parts often require a technician’s expertise for accurate diagnosis and repair. Problems that last beyond your troubleshooting limit can mean replacing parts or fixing deeper malfunctions; a professional repair will ensure your sewing machine is returned to its best performance.
Impact of Incorrect Needle, Thread, and Cleaning
It is important to always use the right anatomical needle and corresponding thread type for the fabric, as a mismatch will result in stitching problems. Running your machine regularly will keep it clean; lint from the teardown of fabric can affect stitch quality over time if not cleaned regularly.
Needle and Thread Selection
The Right Needle and Thread: The selection of the appropriate needle and thread is essential for smooth sewing. Any missteps here will affect the direction and quality of stitches. To avoid any issues:
- Match Needle Size to Fabric: Small for light, large for heavy fabrics.
- Choose the Right Thread Type: Cotton for natural fibers, polyester for synthetics.
- Adjust Thread Tension: Perfectly balanced stitches.
- Allow for Seams: Allow for seams by checking the compatibility of your fabric.
Cleaning’s Effect on Stitching Quality
Regular cleaning routines prevent lint buildup, which impacts tension adjustment and stitch quality. Neglecting this can cause inconsistent bobbin winding techniques and thread quality issues. Using the wrong fabric choice can also affect results. Just like a car needs a tune-up, your machine needs care to perform its best. Clean often to maintain smooth stitching.
Frequently Asked Questions (FAQs)
Why is my sewing machine sewing backwards?
Your sewing machine might be sewing backwards due to a broken or stuck reverse button, malfunctioning feed dogs, incorrect foot plate positioning, or a technological glitch. Check these areas, and consider professional repair if the issue persists.
Why is my sewing machine sewing on the wrong side?
You must be threading your sewing machine incorrectly. Allow the thread to go through all guides, then the check spring holder, and then to the needle bar guide, whence it passes under the foot. Proper threading makes your stitching right-side-up.
Why is my sewing machine stitching weird?
Check your stitch length and tension settings. Be sure the needle is inserted correctly and not bent. Clean your machine correctly, including the inner parts of the bobbin area. If this problem persists, it might need professional servicing.
How to change bottom tension on sewing machine?
To change bottom tension on your sewing machine, locate the bobbin case. Adjust the small screw on the bobbin case slightly, turning it right to tighten or left to loosen the tension. Always test on scrap fabric.
What is the best needle type for denim?
Use a denim or jeans needle for this heavier fabric. The appropriate-size needles for this heavier, more rigid material are usually 90/14 or 100/16, which will go through quickly enough without breaking.
How do I sew a French seam?
Did you know 85% of professional seamstresses prefer French seams for sheer fabrics? Start by sewing your fabric wrong sides together, trim the seam allowance, then sew right sides together. This encloses raw edges for a neat finish.
What are the benefits of a walking foot?
Using a walking foot helps evenly feed fabric layers, prevents shifting and puckering, and is ideal for quilting, topstitching, and sewing thick or slippery fabrics, ensuring smooth, uniform stitches every time (Source).
How to create even gathers?
To create even gathers, use a long stitch length, hold the fabric taut, and sew two rows of basting stitches. Pull the bobbin threads gently to gather the fabric, then distribute the gathers evenly by hand.
What is the proper thread tension for silk?
Back in the day when smartphones were a novelty, adjusting thread tension wasn’t a breeze. For silk, set your machine’s tension dial between 2- Fine-tune until the stitches are balanced and smooth on your swanky fabric.
Conclusion
Don’t let the horror of your sewing machine stitching backwards deter you. By following this guide, you’ll understand why your sewing machine is sewing upside down and how to address it.
Whether it’s adjusting the feed dogs, positioning the foot plate, or correcting dial settings, you’ll find clear steps to fix the issue. Regular maintenance and the right troubleshooting can save you trips to the repair shop, ensuring smooth sewing projects.
Happy sewing!

