This site is supported by our readers. We may earn a commission, at no cost to you, if you purchase through links.
These 16 handy tips for sewing velvet take your projects from frustration and make them fabulous. You will learn how to prepare your machine, cut and stabilize the fabric, and guide it precisely as you sew.
The expert strategies about adjusting tension to gentle pressing will empower you to handle its unique properties.
Get ready to experience sewing at a whole new level—to create something gorgeous in garments that emphasize the richness of velvet and all its elegance
Table Of Contents
Key Takeaways
- Velvet can be a tricky fabric to work with, but it’s so worth it when you see the finished product. Here are 16 tips to help you sew velvet like a pro.
- First, you’ll want to use a sharp needle and adjust your machine’s tension and stitch length. This will help prevent the fabric from puckering or bunching up.
- Next, you’ll need to stabilize the velvet. You can do this by placing tissue paper or water-soluble stabilizer under the fabric. This will help prevent the fabric from shifting while you’re sewing.
- Finally, you’ll need to be careful when you’re pressing the velvet. Always press on the wrong side of the fabric and use a low heat setting. This will help prevent the nap from being crushed
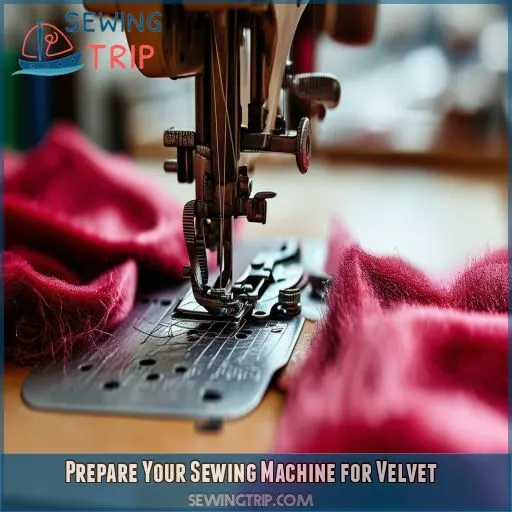
Prepare Your Sewing Machine for Velvet
To prepare your sewing machine for velvet, start by installing a sharp needle in size 70/10 or 80/12. Next, adjust your machine’s tension and stitch length to accommodate velvet’s unique properties, ensuring smooth and even stitches without damaging the fabric
Use a Sharp Needle (size 70/10 or 80/12)
First, you want a sharp needle when sewing velvet. Use 70/10 or 80/12, and the stitches will simply melt through the fabric like butter under a hot knife.
A new, sharp needle will avoid all snags and provide continuous luxury in your velvet. It’s like arming your machine with a precision tool to tackle this tricky material.
It’s this little action that’ll make considerable differences in this velvet sewing adventure of yours
Adjust Tension and Stitch Length for Velvet
Now that you have the appropriate needle, it’s time to adjust your machine. The tension and length adjustment in stitches are critical for this unique velvet texture. First, slightly loosen your thread tension and increase your stitch length to 3-4 millimeters. This should allow the fabric to move under the presser foot without puckering. Keep in mind to reduce the presser foot pressure to avoid nap crush.
Here is a quick checklist to get your machine running optimally:
- Reduce the upper thread tension by 1 to 2 notches.
- Gradually increase stitch length to 3-4 mm.
- Reduce presser foot pressure by 25-50%.
- Test on scrap fabric before you sew your project.
Now master these adjustments—at your fingertips, the velvet victory!
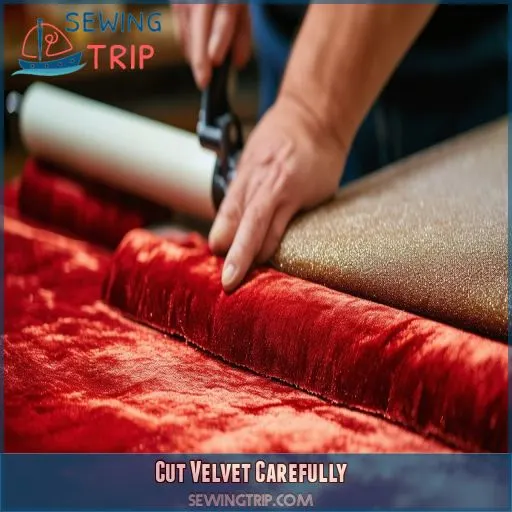
Cut Velvet Carefully
Always cut your velvet with a sharp rotary cutter or scissors. This gives you clean edges that won’t fray. Velvet must always be cut in a single layer to prevent shifting and maintain direction so that the nap—all essential to the finished appearance of your work.
Use a Sharp Rotary Cutter or Scissors
You will need to cut velvet fabric only with a sharp rotary cutter or with very sharp scissors. The razor blade will leave you nice and clean cuts without fraying. Place your velvet on a non-slip cutting mat so that it doesn’t shift around while working on it. Take extra care not to press the nap of your velvet—its fuzz—as you move it around. Here is a quick guide to help you pick the right tool for your job:
| Tool | Pros | Cons | Best For |
|---|---|---|---|
| Rotary Cutter | Smooth cuts | Requires mat | Straight lines |
| Sharp Scissors | Versatile | Hand fatigue | Curves, details |
| Electric Cutter | Fast | Expensive | Large projects |
Cut One Layer at a Time to Prevent Shifting
Always cut only one layer of velvet at a time; this prevents the movement of the fabric. Lay your fabric flat on a cutting board, smooth it out, and ensure it’s wrinkle-free. Place your pattern pieces carefully on the velvet, following the nap direction. Secure by pattern weights or pins, and cut out with a rotary cutter for accuracy. This way, you can hold the fabric firm and have accurate cuts.
- Feel the luxurious texture beneath your fingertips
- Imagine the elegant drape of your finished garment
• Envision yourself quickly and confidently managing the rotary cutter.
- Imagine the pattern pieces aligned to perfection
- Satisfy the anticipation of a well-cut velvet project
Always pre-shrink or pre-wash your velvet before cutting, and use appropriate marking techniques to prevent creeping of the velvet during sewing.
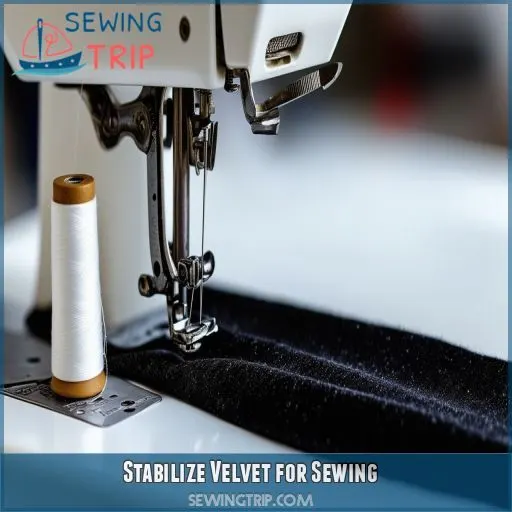
Stabilize Velvet for Sewing
To stabilize velvet for sewing, you’ll need to take a few extra steps. Start by placing tissue paper or water-soluble stabilizer under the fabric, then hand-baste your seams to prevent creeping, and consider applying sew-in interfacing for added stability in key areas
Use Tissue Paper or Water-soluble Stabilizer Under the Fabric
Now that you’ve cut your velvet, it’s time to stabilize it. Place tissue paper or water-soluble stabilizer under the fabric to prevent it from sliding. This trick will make your sewing experience smoother and help you achieve professional results.
Remember to adjust your needle size and stitch length accordingly. When selecting a project for velvet, choose designs that showcase its luxurious drape.
As you stitch, the stabilizer will keep everything in place
Baste Seams by Hand to Prevent Creeping
Now that your piece is stabilized with tissue paper, it’s time to baste your seams—hand basting fends off one of velvet’s very common nemeses, known as seam creeping. Fine polyester thread and vertical pins are what you’ll use.
As you work, "marry the nap" by gently rubbing fabric layers together. This technique is crucial for stretch velvet, too.
Remember how vital wise pattern choice is in getting your best results. Fatiguing steps like these are just your secret weapons in nailing this evocative, dry-clean-only fabric
Apply Sew-in Interfacing to Add Stability
To add stability to your velvet, sew-in interfacing is your secret weapon. Cut it to match your pattern pieces, then baste it to the wrong side of the fabric.
This reinforcement will give your velvet strength and durability without compromising its drape. Choose a lightweight interfacing that won’t add bulk
Sew With Care
When sewing velvet, use a longer stitch length of 3-4 mm to prevent the fabric from puckering or bunching. Hold the fabric taut as you sew, but be careful not to stretch it, and stitch in the direction of the nap whenever possible to maintain a smooth appearance
Use a Longer Stitch Length (3-4 Mm)
Now that you have stabilized your velvet, you’re ready to set up your machine. Use a longer stitch length of 3-4 mm because the fabric tends to pucker. Make the adjustments for:
- Reduction of tension on the fabric
- Least risk of damaging the nap
- Building stronger seams
Run your settings on scrap first: Use the correct machine needle, stitch length, and seam allowance. With these tips and adjustments, you’ll be off handling velvet like a pro in no time.
Hold Fabric Taut but Not Stretched
The velvet should be held tight but not stretched. This avoids puckering the fabric and gives a smooth seam.
Adjust your sewing machine settings by lightening presser foot pressure to reduce fabric grabbing. Use fabric stabilizers such as tissue paper underneath the velvet to prevent shifting. Other hand-basting techniques can also help guide this fabric.
All in all, velvet is unique and must be treated with a light touch. You’re not wrangling it into submission—you’re finessing it under the machine
Stitch in the Direction of the Nap When Possible
Always sew in the nap direction when sewing velvet, if possible. This allows one to sustain a very luxurious-looking fabric, and it prevents seam puckering. You’ll need to pay attention to nap alignment for each project piece. Here’s why it matters:
• Reflects light consistently all over the garment
- Prevents unsightly seam lines that disrupt the fabric’s flow
• Deepens the velvet’s texture and enriches it
• Improves overall garment durability
- Makes your finished piece look professionally crafted
Press Velvet Gently
When pressing velvet, always work on the wrong side of the fabric to protect its delicate pile. Use a velvet board or thick towel as a pressing surface, and hover your iron above the fabric, letting the steam do the work without direct contact to avoid crushing the nap
Press on the Wrong Side Only
When pressing velvet, you must tread carefully to avoid crushing that luxurious pile. Work on the wrong side of the fabric and use only steam to gently coax those fibers into place. Before reaching for your iron, try finger pressing of seams and hand basting of garments to help minimize handling. If you must use heat, keep it low and let the steam do the heavy lifting.
| Pressing Method | Advantages | Disadvantages |
|---|---|---|
| Steam Only | Gentle on fabric | Takes longer |
| Press with Finger | No Heat Damage | Not Very Effective |
| Hand Basting | Exact control | Time consuming |
| Low Heat | Faster results | Possible damage |
| Wrong Side Only | Preserves nap | Requires care |
Master these techniques, and you’ll conquer the tricky nature of velvet, thus releasing bountiful, coveted, highly sought-after creation.
Avoid Direct Contact With the Iron
Now that you have learned to press on the wrong side use a barrier between the iron and your velvet. Velvet pile is easily crushed or scorched by heat. To protect your fabric:
- Velvet board or pressing board with stiff pile surface
- Lay a large piece of scrap velvet face up for a press cloth
- With the iron about 1/4 inch above the fabric, let this steam do its magic:
- Finger press the seams in before steaming to position them.
These are some techniques that will help you to hold the velvety plush pile while shaping your garment. Just remember, patience is everything when working with this potently tricky fabric. Take it in strides, and you’ll perfectly shape velvet garments like a pro.
Finish Seams Neatly
To finish your velvet seams neatly, start by trimming the seam allowances to reduce bulk and prevent the fabric from getting too thick. Then, you’ll want to either serge or zigzag the raw edges to prevent fraying, and use a blind stitch for hems to create a clean, professional look
Trim Seam Allowances to Reduce Bulk
After gently pressing your velvet, it’s time to tackle those bulky seams. Trimming seam allowances is your secret weapon for sleek, professional-looking garments.
Take your sharpest scissors and carefully trim excess fabric, leaving just enough to prevent fraying. This technique reduces bulk, especially in areas where seams intersect
Serge or Zigzag Raw Edges
Finishing the velvet seam edges keeps the garment looking professional and adds years of life. Serging or zigzag stitching over its raw edges prevents fraying and gives a nice edge. This is how you do it:
- Serger for Professional Finish
- Set your zigzag stitch to 2.5mm wide and 1.5mm long.
- Test settings on scrap fabric first
- Trim excess fabric near the seam
Use a Blind Stitch for Hems
For a professional finish on your velvet hems, opt for a blind stitch. This hand-stitching technique creates an almost invisible closure.
Start with a single-fold hem, pressing gently on the wrong side. Using a fine needle and thread, catch a few fibers from the garment’s underside, then take a small stitch in the hem’s fold.
Repeat this process, spacing stitches evenly for a clean, seamless look that won’t crush your velvet’s luxurious pile
Avoid Fusible Interfacing
When working with velvet, it’s best to avoid fusible interfacing as it can cause the fabric to shift and damage the delicate nap. Instead, opt for sew-in interfacing or use a velvet board to stabilize your fabric without compromising its luxurious texture
Fusible Interfacing Can Cause Shifting and Damage the Nap
When working with velvet, steer clear of fusible interfacing. It’s a recipe for disaster that can wreak havoc on your project. The adhesive can cause the delicate velvet nap to shift, leaving you with a less-than-luxurious finish. Plus, the heat required to apply fusible interfacing might damage the fabric’s surface, ruining its signature plush texture.
To keep your velvet looking fabulous and maintain seam stability, consider these alternatives:
- Sew-in interfacing for added structure without compromising the nap
- Temporary spray adhesives for light support and shifting prevention
- Hand-basting techniques to secure layers without permanent damage
Use Sew-in Interfacing or a Velvet Board Instead
Instead, use sew-in interfacing that won’t flatten your velvet’s plush nap. My favorite choice is silk organza. It gives stability to your work without bulk. In place, hand-baste or use a loose machine stitch along the edges.
If you’re adventurous, try a velvet board – it’s a game-changer for interfacing and pressing. This nifty tool has tiny pins that secure the velvet without damaging its nap direction.
As I always say, to master velvet is to respect its texture. Using the correct interfacing techniques opens up a route for the material to fully realize its potential and give you stunning garments—professional in their outlook—to make you the head-turner everywhere
Maintain Nap Direction
Although one can’t use fusible interfacing in velvet, the nap direction is essential to the result of your project. You’ll want to keep your fabric aligned as much as possible throughout the garment. Here are some essential tips:
• Determine nap direction by stroking the fabric with your hand
- Mark nap direction on pattern pieces with arrows
• Cut all pieces with nap running in the same direction
- Lay up pattern pieces with nap running down for a richer color
Take Your Time
When working with velvet, remember that your best friend will be patient. Take your time when needed, and always run some scraps through your machine to test the stitches before you sew your project. This can save money from undue mistakes and ensure a professional look when it’s done.
Sewing Velvet Requires Patience and Care
Bring patience to sewing velvet; it will need some time to get the best outcome. Be very conscious about the nap direction—it really can make or break a garment.
Stabilize those seams, and don’t skip out on the hand basting step; it literally makes all of the difference.
Don’t interface directly on your velvet; it will tear up that rich texture of the fabric. Instead, opt for sew-in interfacing.
Iron gently, always on the wrong side of the fabric.
Treat your velvet like royalty, and it will reward you with stunning results. Remember, Rome wasn’t built in a day; neither is a perfect velvet garment!
Test Stitch Settings on Scraps Before Sewing Your Project
Before diving into your velvet project, take a moment to test your stitch settings on scraps. You’ll save yourself headaches and potential fabric waste. Here’s what to focus on:
- Tension adjustment: Fine-tune your machine’s tension for smooth, even stitches.
- Stabilizer selection: Experiment with different stabilizers to find the perfect match.
- Interfacing alternatives: Try various sew-in options if you’re avoiding fusibles.
Don’t forget to practice your basting techniques too. It’s like a dress rehearsal for your fabric – you want everything perfect before the main event. By taking the time to test, you’re not just sewing; you’re mastering the art of velvet manipulation. Your finished project will thank you!
Frequently Asked Questions (FAQs)
What is the best way to sew velvet?
You’ll want to use a walking foot, lower your presser foot pressure, and stitch in the nap’s direction. Pin vertically, hand-baste seams, and use a sharp needle. Don’t forget to test settings on scraps first!
How to stop velvet slipping when sewing?
Use a walking foot, Wonder Tape, and vertical pins at seam lines. Hold the fabric taut, stitch in nap direction, and lower presser foot pressure to prevent velvet from slipping
What tension should I use for velvet?
For velvet sewing, decrease your machine tension to about 2- This stops grabbing the fabric and puckering. Always test on scraps first to ensure you have the best settings for smooth and seamless completion.
What is the stitch length for sewing velvet?
For sewing velvet, use a medium stitch length of 5 to 3 mm. This balance helps prevent fabric puckering and shifting while ensuring strong, secure seams. Test on scraps first to perfect the settings
What should I consider when sewing with velvet?
Think of velvet like taming a wild horse; keep its nap direction consistent, cut in single layers, hand-baste seams, use a walking foot, and steam carefully. With patience and precision, you’ll achieve a luxurious finish
How do you sew a velvet quilt?
When quilting with velvet, cut only one layer at a time. Mark with tailor’s chalk, sew with a walking foot and hand-baste the seams. Be consistent with the nap, and press gently with steam.
How do you keep a velvet fabric from slipping?
Velvet can slip like a cat on a slick floor. Use Wonder Tape in seam allowances, pin vertically toward the machine, and employ a walking foot. Hold fabrics taut, and stitch with the nap to keep control
How do you sew Velvet in a sewing machine?
To sew velvet in a sewing machine, use a walking foot, lower the presser foot tension, and pin vertically. Hand-baste seams, hold fabric taut, and sew with fine polyester thread to prevent creeping
How do I remove wrinkles from velvet?
Remove wrinkles from velvet by steaming the wrong side without direct contact. Use a velvet board or thick towel for support, gently hover the iron to allow steam to relax the fibers. Avoid pressing directly
Can I use velvet for quilting projects?
Yes, velvet, being one of the luxurious fabrics, can be used for quilting projects. Select lightweight velvet to avoid the bulkiness of too many layers, and handle carefully to avoid disrupting the nap. Ensuring all of the velvet naps are running in a consistent direction will ensure that your finished quilt has visual appeal.
Whats the best way to store velvet fabric?
Store velvet fabric rolled, not folded, to avoid creases. Place it in a cool, dry place away from direct sunlight. Use a breathable fabric cover to protect it from dust while allowing airflow to maintain the nap
How do I clean velvet garments at home?
To clean velvet garments at home, gently hand wash with mild detergent, laying flat to dry. Use steam to remove wrinkles but avoid direct ironing. For stain removal, dab gently with a damp cloth and mild soap
Are some velvet types easier to sew than others?
Yes, certain velvet types like stretch or panne are easier to sew because they’re more forgiving and less prone to fraying, unlike traditional velvet, which can be slippery and challenging to handle
Conclusion
Imagine transforming a troublesome velvet gown into a stunning masterpiece—mastering velvet sewing techniques is key. By following these 16 helpful tips for sewing velvet fabric, you’ll conquer everything from machine preparation to precise cutting and gentle pressing.
Remember to stabilize your fabric, maintain nap direction, and take your time with each step. Implement these strategies with patience, and you’ll create elegant, high-quality velvet garments that showcase the richness and beauty of this luxurious material

