This site is supported by our readers. We may earn a commission, at no cost to you, if you purchase through links.
 To do a tutorial on the blanket stitch, you’ll need fabric, thread, and a needle.
Position the fabric’s raw edge facing you. Send the needle up from the wrong side about 1/4 inch from the edge.
Loop the thread under the needle’s point, pulling it to the wrong side.
Move 1/4 inch along and repeat, working stitches into the loop below for a braided look.
For joining pieces, stitch through both layers.
Adjust stitch spacing at corners, pulling stitches snug.
If you run out of thread, tie on a new length through the loop.
Want more? Explore further decorative details and variations within.
Table Of Contents
Key Takeaways
- The blanket stitch can be used to sew along a single layer of fabric or join two layers, with adjustments to the technique for each application.
- When running out of thread, the new thread can be tied to the old one and the stitching continued by sliding the needle under the loop of the last stitch.
- Proper tension control and stitch placement are important for achieving a clean, professional-looking finish, especially when sewing around corners.
- The blanket stitch can be used not just for functional purposes, but also as a decorative element by using contrasting colors or thicker threads.
Sewing Along the Edge – One Layer
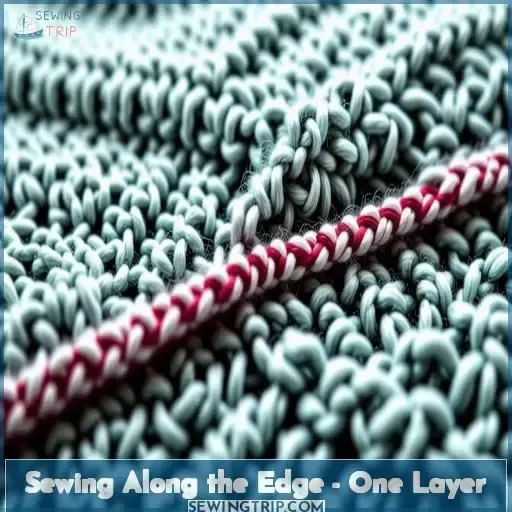
To start your blanket stitch along a single layer of fabric, position your needle about 1/4 inch from the edge and push it up from the back.
Anchor the stitch by bringing the needle back up at the same spot.
Now, send the needle under the loop of thread you just created.
For the first true stitch, poke the needle down from the top about 1/4 inch over from the start, then bring it up through the loop to complete the stitch.
Keep your stitches evenly spaced and the thread tension consistent as you continue sewing along the edge.
This technique will give you a clean, secure line of stitches on a single layer of fabric.
Sewing Along the Edge – Two Layers
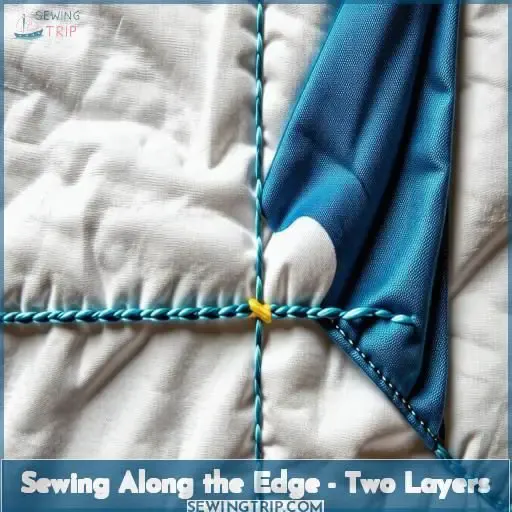
When sewing along the edge with two layers using the blanket stitch, start between the layers and poke the needle down through the bottom layer. This will anchor the stitch.
Then, send the needle under the loop stitch made and start the first true stitch by poking the needle down from the top 1/4 inch over from the start.
After that, complete the first stitch by bringing the needle up through the loop of the thread.
This technique adds strength and style to your sewing project and is ideal for creating a decorative element with thicker thread or wool yarns.
Remember to adjust the stitch style when working around corners.
If using a sewing machine, set it to make a long stitch and machine-baste along the edge.
Sewing in From the Edge
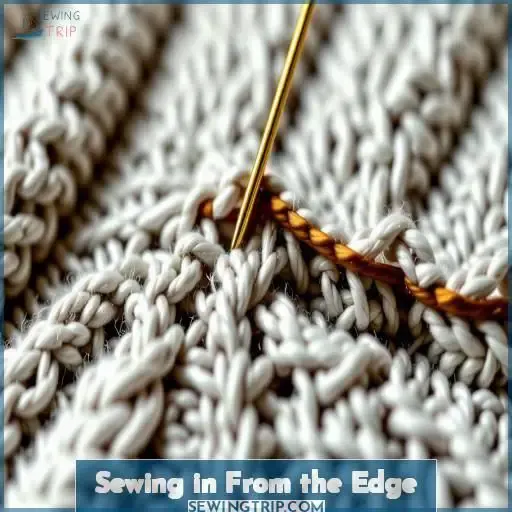
When sewing in from the edge with a blanket stitch, start by sending the needle up from the back at the bottom edge.
Then start the first stitch by poking the needle down a quarter inch away from the start.
Complete the first stitch by bringing the needle up from the back at the bottom edge and sending the needle through the loop of thread before pulling the stitch tight.
Remember to continue each stitch in this manner.
To make sure the finish is secure, connect the last stitch to the first by sliding the needle under the first stitch and knot the thread off underneath the fabric.
For added decorative elements, consider using thicker thread or set your sewing machine to make long stitches and machine-baste along the edge for a polished look.
When You Run Out of Thread
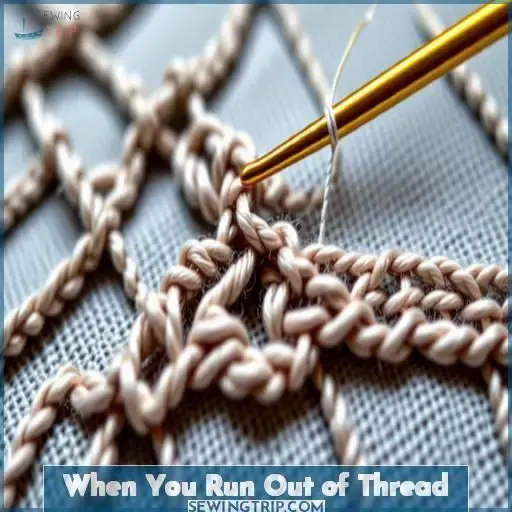
When you run out of thread, poke the needle down as if starting another stitch, leaving a small loop. Tie the new thread to the old one’s tail, pull it through the loop, and continue stitching.
Poke the Needle Down as if Starting Another Stitch
When you run out of thread, simply poke the needle down as if starting another stitch. This will leave a loop of thread that you can use to attach the new thread. Be sure to:
- Leave enough loop to catch the new thread.
- Tie the new thread to the tail of the old thread.
- Slide the needle under the loop and pull tight to complete the loose stitch.
Change the Thread and Continue Stitching
When your thread runs out, simply tie the new thread to the old using a knot. Choose a matching thread color and weight for the needle size. Adjust your stitch length if needed. Bring the needle up between the layers and continue stitching, sliding it under the loop of the last stitch. Maintain even tension for a professional finish.
To End Your Stitches
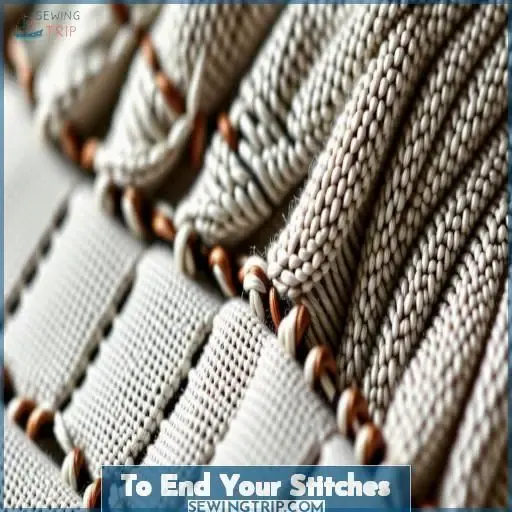
When you’re ready to finish up your blanket stitch, it’s time to secure the thread. Start by connecting the last stitch to the first by sliding your needle under that initial stitch. Then, poke the needle down at the top of the first stitch. Pull the thread tight and knot it off on the underside of the felt.
For projects with two layers, loop the needle through the last stitch and make a knot before pulling it tight. This helps hide the knot and any tail ends by sending the needle between the layers. Snip the tail close to the felt for a clean, finished look.
Sewing Two Pieces Together
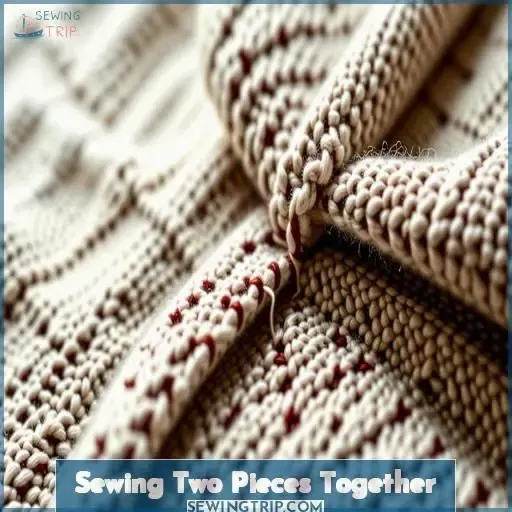
When sewing two pieces of felt together, make sure to pull the first stitch loosely. After that initial loose stitch, pull all subsequent stitches tight to securely join the layers.
Pull the First Stitch Loosely
When sewing two pieces together, it’s important to pull the first stitch loosely. This allows you to adjust the tension and positioning of the fabric as you continue stitching. Some tips for this looping technique:
- Leave a small loop in the first stitch for flexibility
- Manage the thread tension to avoid puckering
- Try varying the stitch length for a decorative element
- Consider machine basting first to guide your hand stitching
Pull This Stitch and All Subsequent Stitches Tight
To pull subsequent stitches tight when sewing two pieces together, carefully insert the needle and make sure precise stitch placement to control tension for decorative effects.
Use color combinations strategically, and keep even spacing between stitches.
Apply consistent and gentle pressure while pulling the thread to create aesthetically pleasing and secure stitches.
Proper tension control will result in a beautifully finished seam.
Stitching Around a Corner
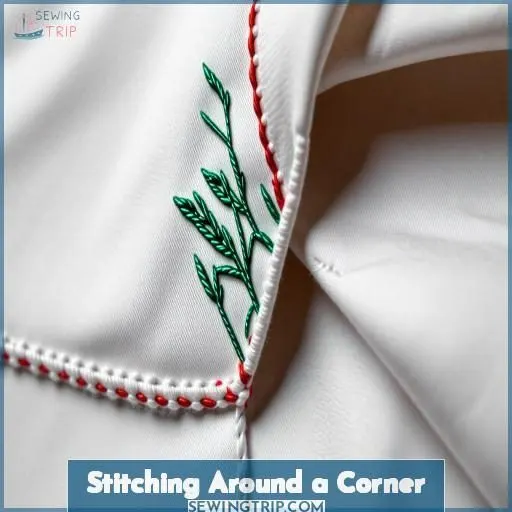
When you reach a corner while sewing, you’ll need to adjust your stitching technique to create a clean, professional-looking turn. Start by making the last stitch before the corner at the inner corner of the square. Then, insert your needle into the same spot as that last stitch. Complete the stitch so the thread bar runs diagonally from the needle insertion point to the corner.
Next, insert the needle into the same place as the last two stitches. Complete this stitch so the thread bar is perpendicular to the first corner stitch. This creates a smooth, 90-degree turn. Be mindful of fabric tension and use a sturdy thread type to maintain clean corner designs. With a little practice, you’ll be stitching around corners like a pro!
Frequently Asked Questions (FAQs)
How to do a blanket stitch step by step?
Poke needle up, anchor stitch, loop thread under. Next, poke down 1/4 away, pull up through loop. Repeat along edge, sliding needle under previous loops. Knot ends when finished.
What is the difference between a whip stitch and a blanket stitch?
A whip stitch joins two edges together by stitching in and out along the edges. A blanket stitch has horizontal stitches along one edge for decorative finishing.
How to start a new thread blanket stitch?
To start a new thread for blanket stitch, knot the new thread through the loop of the old one. Remove your needle, pull the new thread taut, and reinsert it where you left off. Simple but secure!
How to do a lazy daisy stitch?
Bring needle up, loop thread around needle tip. Push needle back into fabric next to first stitch. Reinsert needle under loop before tightening stitch into daisy shape.
How do I adjust the tension of my stitches?
You’ll want to adjust the tension on your sewing machine or hand tension. Too much tension leads to puckering; too little causes loops. Practice on scraps until the stitches lay flat and even.
Can I use a sewing machine for a blanket stitch?
While you can use a sewing machine for blanket stitching, it’s not ideal. The stitches may be too tight or loose. Hand-stitching gives you more control over tension and stitch spacing for neater results.
What types of fabric work best for a blanket stitch?
Did you know blanket stitches are most effective on thicker, non-fraying fabrics? Cotton, wool, and felt work wonderfully – their substantial weaves let those decorative stitches shine. For lighter materials like satin or chiffon, you might consider an overcast or whip stitch instead.
How do I change the color of my thread mid-project?
Knot your new thread onto the old thread tail. Where the old thread exits the fabric, insert the new thread and pull it through, hiding the knot inside. Proceed with stitches using the new thread.
Can I use a blanket stitch for decorative purposes only?
Yes, absolutely! The blanket stitch makes an excellent decorative element. You can use contrasting colors or thicker threads to create a striking visual border on any textile project.
Conclusion
Mastering the blanket stitch unlocks a world of creative opportunities. With practice, you’ll skillfully weave your needle through fabric, stitching along borders, connecting pieces, and maneuvering corners with elegance.
This comprehensive guide demonstrates how to execute a blanket stitch, empowering you to infuse decorative charm and structural strength to projects from apparel to home adornments.
Embark on this adventure, one stitch at a time, and witness the blossoming of your artistry.

