This site is supported by our readers. We may earn a commission, at no cost to you, if you purchase through links.
Whether you’re a seasoned quilter or a beginner, this step-by-step tutorial will empower you to innovate and master the art of t-shirt quilting, turning your treasured shirts into a work of art.
Table Of Contents
Key Takeaways
- Careful planning of the quilt size and shirt quantity is essential, as well as preserving memories by meticulously cutting out t-shirt designs and selecting the right interfacing to ensure fabric stability.
- T-shirt preparation involves fusing interfacing to stabilize the fabric, cutting t-shirts into uniform blocks, and ensuring fabric compatibility to achieve a cohesive look with squared corners for border binding.
- For quilt layering, it’s important to choose the right batting for the desired warmth and weight, secure the layers with pins, and baste the batting to the quilt top before aligning and pinning the back fabric layer.
- Finishing the quilt includes techniques like stitching in the ditch to secure layers, trimming excess batting and backing, adding personalized quilting designs, calculating binding length for flange binding, and securing the quilt for hand-hemming.
How to Make a T Shirt Quilt With Borders
To make a t-shirt quilt with borders, first prepare your t-shirt blocks and then add fabric borders around the quilt’s edge or individual blocks for a framed look. This process involves sewing and requires basic sewing skills, including using a sewing machine and understanding tension settings.
Quilt Planning Essentials
Starting your quilt begins with two crucial steps: deciding on its size and cutting out your cherished t-shirt designs. These initial choices lay the foundation for a personalized and memorable quilt.
Deciding Quilt Size
Deciding on your t-shirt quilt’s size is like mapping your memory lane. Think of each block as a story square, and how many tales you want snug under one roof.
Will you go for a cozy lap quilt or a sprawling bedspread? Consider uniform blocks for a clean look or mix it up with shadow illusion for depth.
Don’t forget, the border style frames your masterpiece!
Cutting T-Shirt Designs
When crafting your t-shirt quilt, think of each shirt as a story to be framed.
Select tees that spark joy and arrange them to create a harmonious color flow.
Snip carefully, avoiding fabric stretch, to preserve memories.
Personalize by mixing block sizes or adding unique designs, ensuring your quilt top sings with individuality.
Preparing the T-Shirts
To kick off your t-shirt quilt with borders, you’ll first need to measure and fuse interfacing to your shirts. This step ensures your blocks are stable and ready for cutting into the perfect sizes for your quilt design.
Measuring and Fusing Interfacing
After deciding on your quilt’s size, it’s time to dive into prepping your T-shirts.
Choose your interfacing weight wisely; even the lightest can stiffen fabric.
Crank up your iron to the right temperature, ensuring it’s hot enough to bond without scorching.
Place the interfacing carefully, glue side down, to avoid mishaps.
This step is crucial for a solid foundation before adding that solid or pieced border.
Cutting Shirts for Blocks
Diving into your t-shirt selection is akin to a treasure hunt. Each shirt tells a story; every color evokes a memory.
Mix and match colors for eye-catching combinations. Let your design inspiration guide the arrangement.
Ensure fabric compatibility for a seamless blend. This step transforms your cherished tees into a vibrant t-shirt quilt masterpiece.
Creating Quilt Blocks
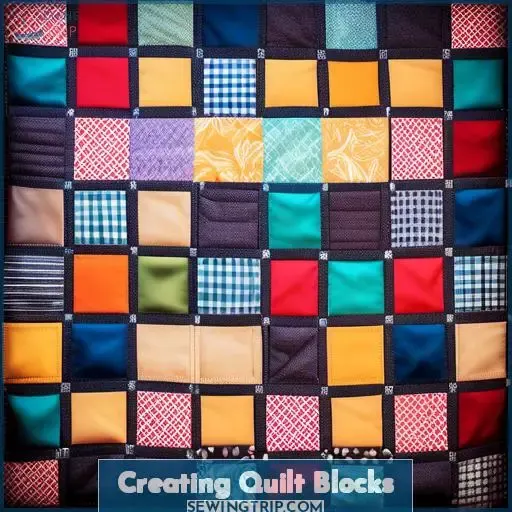
You’ll need to ensure each block is the same size for a cohesive look. Adding shadow illusion blocks can give your quilt a unique depth and interest.
Achieving Uniform Block Size
Sure thing, let’s dive into the nitty-gritty of quilt block uniformity. Imagine your t-shirt memories as a puzzle where each piece fits just right:
- Add-ons transform small blocks into perfect squares.
- Black strips around blocks cast a shadow illusion, adding depth.
- Spread blocks on the floor, double-checking the layout’s harmony.
- Adjust different size blocks for a seamless t-shirt quilt top.
- Square off corners, prepping for that snug border binding.
Shadow Illusion Blocks
Once you’ve got your blocks cut to a uniform size, it’s time to jazz them up with a bit of shadow illusion. Sew black strips to two sides of each block, creating a 3D effect that makes your memories pop.
It’s like adding a pinch of magic to your t-shirt quilt, turning simple squares into a tapestry of tales.
Quilt Layering Technique
Once your t-shirt blocks are assembled, it’s time to layer your quilt. You’ll pin and baste the batting to the quilt top, then carefully attach the back fabric layer.
Pinning and Basting Batting
- Choose the right batting selection for warmth and weight.
- Secure layers with curved quilting pins—no more shifting!
- Master basting techniques to keep everything snug as a bug.
Attaching the Back Fabric Layer
Once you’ve got your batting basted, it’s time to bring in the back fabric layer. You’ll want to ensure fabric compatibility for a smooth finish. Lay it out and align the layers just so, then pin away! Your pinning technique is key here—think of it as securing the memories in place.
Quilt Finishing Steps
Now, let’s tackle the quilt finishing steps, focusing on ‘Stitch in the Ditch’ and trimming for extra quilting. These techniques will elevate your quilt’s look and durability, ensuring a polished finish.
Stitch in the Ditch
Diving into ‘Stitch in the Ditch’, think of it as your quilt’s secret handshake.
Choose a stitch style that whispers, not shouts, complementing your t-shirt memories.
Pick thread color wisely; it’s the invisible ink of your love for sewing projects.
Adjust your machine settings and needle size for a smooth ride.
Experiment with design variations to make your quilt uniquely yours.
Trimming and Extra Quilting
After mastering Stitch in the Ditch, it’s time to trim the excess and add those extra quilting designs that make your quilt uniquely yours.
- Trim away any batting and backing fabric sticking out.
- Dive into extra quilting designs for personality.
- Keep your stitches even for a polished look.
- Experiment with patterns that complement your t-shirts.
- Remember, each stitch adds character and durability.
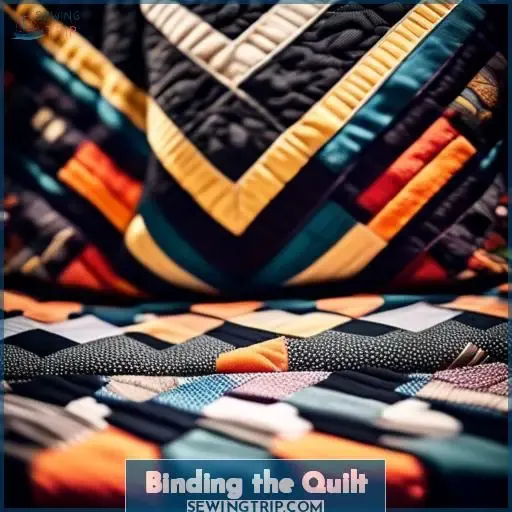
Binding the Quilt
To ensure your t-shirt quilt is beautifully finished, you’ll need to calculate the correct length of binding. Once you’ve got your measurements, creating a flange binding will add a unique touch to your quilt’s edges.
Calculating Binding Length
After mastering the quilt’s layers, it’s time to tackle the binding length. Think of it as the final lap in your quilting marathon. For flange binding, wrap your head around this: measure all sides, add 10 inches for wiggle room, and voilà! You’re ready to roll.
Secure your quilt with bungee cords and plastic clamps, then hand-hem for that pristine finish.
Creating Flange Binding
Creating flange binding adds a pop of color and texture to your quilt. It’s like the cherry on top of an ice cream sundae – unexpected but delightful.
- Choose flange binding material that complements your quilt’s personality.
- Decide on a flange binding width that frames your masterpiece just right.
- Select a flange binding color that makes the design sing.
- Opt for a decorative stitch to attach the binding, by hand or machine, for that personal touch.
Finishing Touches
You’re nearly there; it’s time to give your quilt the polished finish it deserves. Secure your quilt with bungee cords and clamps to keep it steady as you hand-hem the binding for that impeccable edge.
Supporting Quilt During Binding
After sewing on your flange binding, it’s time to give your quilt the support it deserves during the final stretch. This dynamic duo ensures your quilt doesn’t budge, giving you the control needed for precise hand-hemming.
Whip out those bungee cords and plastic clamps to keep everything in place. It’s like having an extra set of hands, making your binding journey a breeze.
Hand-Hemming for Clean Finish
Now, let’s tackle hand-hemming for that sleek finish. Think of your binding materials as the quilt’s final hug, wrapping it snugly.
Dive into binding techniques with gusto, choosing bias tape width and back fabric options like a chef selects spices.
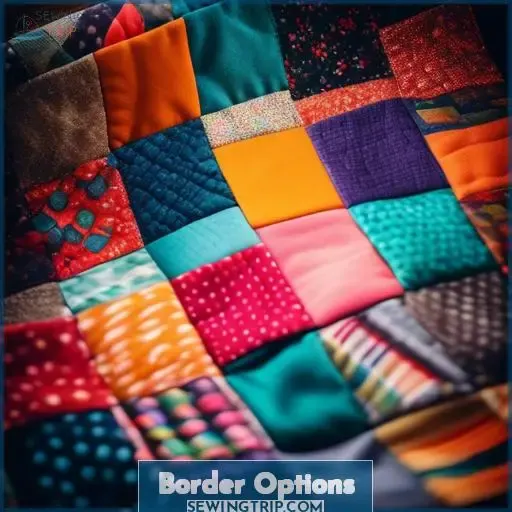
Border Options
Choosing the right border for your t-shirt quilt can significantly enhance its appearance and personality. Whether you opt for solid or pieced borders, each option offers a unique finish to your cherished creation.
Solid Borders
After nailing the finishing touches, let’s dive into the world of solid borders. Your border design is the frame to your quilt’s masterpiece, so choose wisely.
Size options vary, but a classic 4 border offers a balanced look. Strategize placement for a seamless transition from art to frame.
Keep it snappy—your quilt, your rules!
Pieced Borders
After nailing solid borders, let’s piece together a border that pops! Imagine pieced borders as the quilt’s spice—mixing pattern layout with a dash of creativity. Add illusion blocks for depth, or use block add-ons for a twist. Adjusting shirts and sash strips? Piece of cake.
Pieced borders can add visual interest and depth to a quilt. Experiment with different block patterns and layouts to create a unique and eye-catching border. Consider using illusion blocks or block add-ons to add an extra layer of complexity.
Adjusting the size and placement of sash strips can also help to balance the overall design.
Think of your quilt’s border as a statement accessory, like a bold belt or necklace. It’s an opportunity to showcase your creativity and personal style. Don’t be afraid to try new techniques or mix patterns and colors to create a border that truly makes your quilt stand out.
Quilt Care and Gifting
Once you’ve crafted your t-shirt quilt with borders, it’s essential to consider how you’ll care for it to ensure its longevity. If you’re gifting this quilt, adding a personalized label can make it an even more cherished keepsake.
Labeling Your Quilt
Labeling your quilt is like signing a masterpiece; it’s the final, personal touch that tells its tale.
- Label placement: Tuck it discreetly in a corner, a secret whisper of its origins.
- Font selection: Choose legible, yet expressive fonts that speak your style.
- Fabric choice: Pick a swatch that echoes the quilt’s spirit, making the label a seamless epilogue.
Quilt Maintenance Tips
Caring for your t-shirt quilt is like nurturing a garden; it thrives with attention. Store it in a cool, dry spot to avoid fading. Proudly display it, but rotate to prevent wear. If it snags, a quick stitch can fix it up. Considering donation? Ensure it’s in prime condition.
Frequently Asked Questions (FAQs)
Can I incorporate non-t-shirt materials into my quilt?
Absolutely, you can jazz up your quilt by mixing in non-t-shirt materials for a truly unique creation that’s as eclectic as your taste in music.
How do I choose the right interfacing for t-shirts?
Wondering how to pick the perfect interfacing for your t-shirt quilt? Go for lightweight, fusible options like Pellon Shape-Flex® or Therm-o-Web Heat’n Bond.
What are the best techniques for photograph inclusion?
For photo inclusion in your quilt, iron-on transfer paper or direct fabric printing are your go-to methods.
How do I repair damaged t-shirts before quilting?
To fix those pesky holes in your t-shirts before quilting, iron on a piece of fusible interfacing. It’s like giving your shirt a secret armor, invisible but mighty, ensuring it’s quilt-ready and resilient.
Can I mix different t-shirt fabric types in one quilt?
Absolutely, you can mix different t-shirt fabrics in a quilt! It’s like a fabric potluck—just stabilize each piece to ensure they all play nice together in your cozy, memory-stitched masterpiece.
Conclusion
Crafting a t-shirt quilt with borders is like weaving your memories into a tapestry of comfort and style.
By following this guide, you’ve armed yourself with the knowledge to transform beloved tees into a personalized masterpiece.
With your quilt now complete, it stands as a testament to your creativity and dedication.
Cherish it, gift it, but above all, let it tell your unique story.


