This site is supported by our readers. We may earn a commission, at no cost to you, if you purchase through links.
With the right tools and techniques, you will soon see how professional-appearing leather projects are churned out. This guide will help you master the art of leather sewing.
Know that you will learn how to fine-tune your machine, choose the proper needles and threads, and avoid common pitfalls.
Now, be prepared to take your sewing skills to a higher level and create stunning leather pieces from home.
Table Of Contents
- Key Takeaways
- Can You Sew Leather on a Regular Sewing Machine?
- Understanding Leather Sewing Challenges
- Preparing Your Regular Sewing Machine
- Essential Tools for Leather Sewing
- Selecting the Right Leather
- Machine Settings for Leather Sewing
- Techniques for Successful Leather Stitching
- Common Mistakes to Avoid
- Projects Suitable for Home Machines
- Enhancing Your Leather Sewing Skills
- When to Consider Professional Equipment
- Frequently Asked Questions (FAQs)
- Conclusion
Key Takeaways
- You bet your bottom dollar you can sew leather on a regular machine! Just remember, it’s not a walk in the park – you’ll need to make some tweaks and show your machine some TLC.
- Leather’s a whole different ball game compared to fabric. Grab yourself some leather needles, heavy-duty thread, and a non-stick foot. It’s like giving your trusty machine a superhero costume!
- Slow and steady wins the race when stitching leather. Crank up that stitch length, fiddle with the tension, and take it easy on the pedal. Rome wasn’t built in a day, and neither are leather masterpieces.
- Don’t bite off more than you can chew – start small with simple projects like card holders or key fobs. Before you know it, you’ll be leather-working like a pro, turning heads with your handmade creations!
Can You Sew Leather on a Regular Sewing Machine?
Yes, you can sew leather on a regular sewing machine, but it requires some adjustments.
You’ll need to use leather needles, heavy-duty thread, and a Teflon or roller foot. Increase your machine’s tension and set a longer stitch length. Choose thinner leather (3 oz or less) and avoid bulky areas.
Adjust your presser foot pressure and test on scrap leather first. Use double-sided tape instead of pins, and mark on the wrong side of the leather. Remember to reduce sewing speed for better stitch quality.
With these tips, you can tackle simple leather projects at home. But there’s more to mastering the art of leather sewing on your trusty machine.
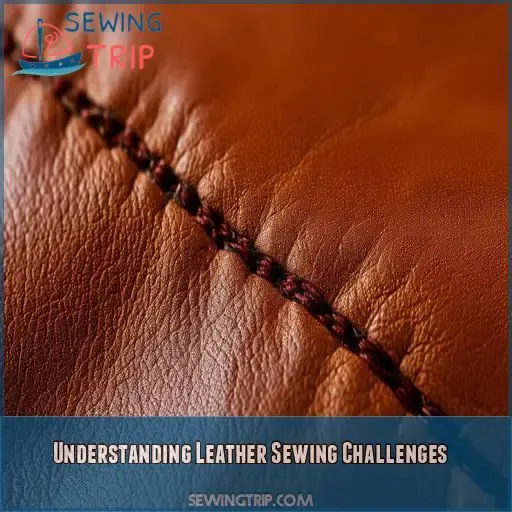
Understanding Leather Sewing Challenges
When you’re sewing leather on a regular machine, you’ll face challenges due to its thickness, density, and the difficulty of needle penetration. You’ll also need to manage friction issues, as leather can stick to your machine’s metal surfaces and cause uneven stitching or damage to the material.
Thickness and Density
When sewing leather, you’ll quickly notice it’s a whole different ballgame compared to fabric. The thickness and density of leather can throw your regular machine for a loop. It’s like trying to stitch through a steak! But don’t worry, with the right know-how, you can tame this tough material.
- Leather thickness varies widely, from paper-thin to boot-sturdy
- Density affects how easily needles penetrate and move through
- Bulky areas, like seam intersections, can be particularly challenging
- Friction issues may cause your machine to struggle or stall
Needle Penetration
One of the big problems in sewing leather is getting the needle to penetrate. You need your regular sewing machine’s needle to be able to handle the thickness of the leather without shattering.
Use leather needles with sharp points that are chiseled to avoid skipped stitches. You’ll have to adjust your stitch length, thread tension, and pressure of the presser foot for this thick material.
A plastic presser foot or a straight-stitch foot can help in this process, while nylon thread allows smooth penetration.
Keep in mind that successful leather projects require the correct choice of needles.
Friction Issues
Friction’s a tricky beast when sewing leather. Your machine’s parts can stick, causing excessive heat, needle skips, and thread breakage. Don’t let this scare you off!
A zigzag foot with a non-stick sole can be your best friend here. Remember, leather’s not your average fabric – it demands respect.
Use a utility knife on a cutting mat with a metal ruler for clean cuts, and a cobbler’s hammer to flatten those stubborn seams.
You’ve got this!
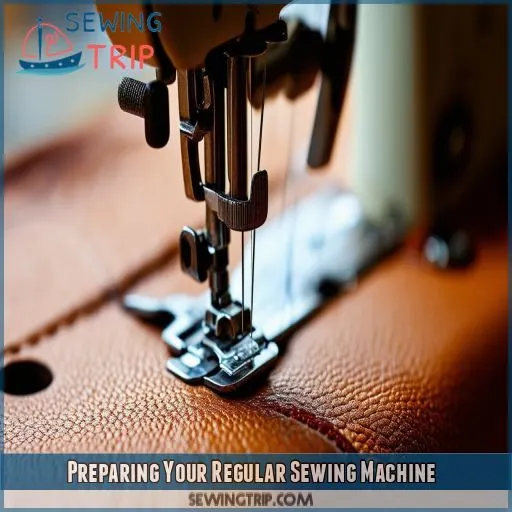
Preparing Your Regular Sewing Machine
To prepare your regular sewing machine for leather, you’ll need to make a few key adjustments. Start by increasing the tension and setting a longer stitch length, then choose a presser foot that’s suitable for leather, such as a Teflon or roller foot.
Adjusting Tension
If you’re sewing leather on a standard machine, one of the most important things to consider will be adjusting tension. It may be necessary to fine-tune tension in both top and bottom threads to hit exactly the right medium.
- Increase top thread tension for thicker leather
Loosen bottom tension very slightly to compensate
- Test on scrap leather before your project
- Check for even stitches on both sides
- Gradual adjustment, making small changes
Setting Stitch Length
Now that you’ve adjusted the tension, it’s time to set the stitch length. When sewing leather, you’ll want to increase your stitch length to around 3.5 or longer.
This helps prevent perforating the leather and makes it easier for your machine to handle the material. Remember, longer stitches also mean less thread per inch, reducing friction and strain on your needle.
Don’t forget to test your settings on scrap leather first!
Choosing the Right Presser Foot
One of the most essential things about sewing leather is the presser foot you use. A roller or Teflon foot will glide smoothly over the surface of the leather. Both these feet have reduced friction and won’t stick to your leather.
You can also use an open embroidery foot with a non-stick sole. Just be sure that your machine is compatible with any foot you’ll use.
It’s the right feet that will help provide professional results in your leather work.
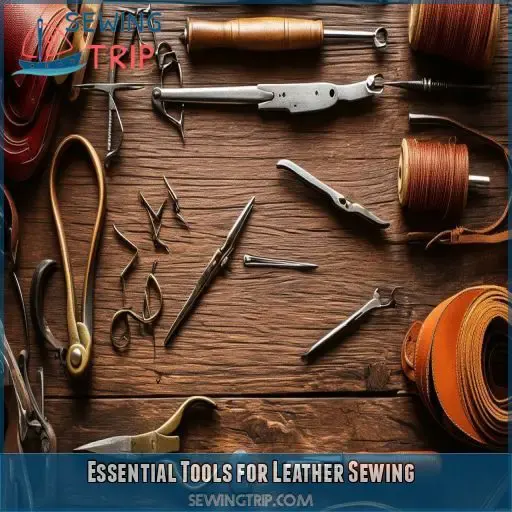
Essential Tools for Leather Sewing
To sew leather on your regular sewing machine, you’ll need some essential tools. Start with leather needles, which have a sharp wedge-shaped point to penetrate tough hides, then choose heavy-duty thread like polyester or nylon, and consider using a Teflon or roller foot to help the leather glide smoothly under the presser foot.
Leather Needles
Leather needles are your secret weapon for tackling tough hides. These specialized needles feature a unique design that’s perfect for punching through leather without damaging it. Here’s what you need to know:
- Wedge-shaped point for easy penetration
- Larger eye to accommodate heavy-duty thread
- Blade placement on both sides for clean cuts
- Compatibility with various leather thicknesses
Heavy-Duty Thread
Now that you have the correct needle, let’s talk about thread. Leather requires extra-heavy-duty thread to sustain that stress.
Go for either polyester or nylon threads in size 69 or even 138—what you’ll want to know about these kinds is that they’re pretty tenacious and, consequently, never fray easily.
Create adjustments in tension within the machine for this thicker thread application.
Choose colors complementary to your leather and take care of them correctly to avoid tangling.
The correct thread is actually what you need for a professional-looking finish.
Teflon or Roller Foot
Now that you have your heavy-duty thread, let’s discuss another vital tool: the Teflon or roller foot. These specialty presser feet are excellent for sewing leather. They glide over your fabric, reducing friction and keeping the leather from sticking.
You have some choices here: Teflon feet provide a non-stick surface, while roller presser feet use small wheels. Both options allow your leather to move smoothly underneath them.
Accessibility should be a critical consideration when sewing leather.
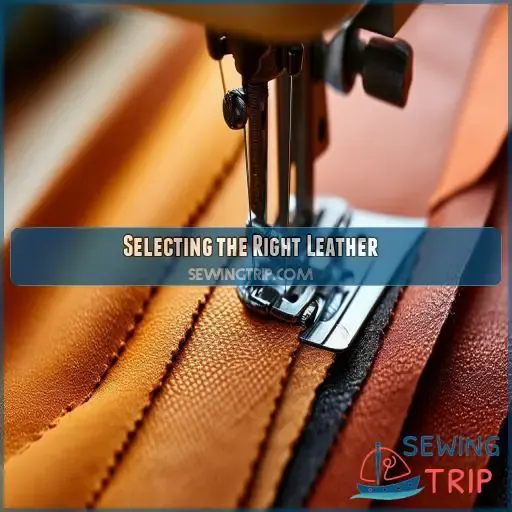
Selecting the Right Leather
When selecting leather for your regular sewing machine, consider the thickness carefully, as most home machines can handle up to three layers of medium-weight leather. Choose leather types that are 3oz or less in thickness, and avoid areas with multiple layers or bulky seams to prevent overwhelming your machine’s capabilities.
Thickness Considerations
While using your regular sewing machine on leather, the first thing you want to pay regard to is thickness. You want lighter-weight leathers, 3 oz or less, for easy use.
Take care of the sewing direction and seam allowance also, as the strain from thicker pieces of leather might be hard on the machine.
Use the corresponding needle size and thread strength to the leather quality.
Even thin leather could turn out quite challenging; thus, start with small projects to feel the capability of your machine.
Types of Leather
When selecting leather for your sewing project, consider various types and their characteristics. Leather sources include cowhide, sheepskin, and goatskin, each with unique properties.
Leather thickness and density affect your machine’s ability to handle the material. Opt for thinner leathers (3 oz or less) for home machines.
Pay attention to the leather’s feel; softer, more pliable types are easier to work with.
Experiment with different leather types to find what suits your project best.
Avoiding Bulky Areas
While picking out your leather, you’ll want to avoid fat spots that will give your machine pressure. Look for fluctuations in the thickness of the leather and try not to sew in places where two or more layers are combined.
Your machine has a limitation regarding the sharpness of its needle and foot pressure. To provide minimum pull-out resistance, use thinner leathers in those areas where bulk accumulates.
This keeps you even in flow when sewing and protects your machine from fighting through the thick sections of the fabric.
Machine Settings for Leather Sewing
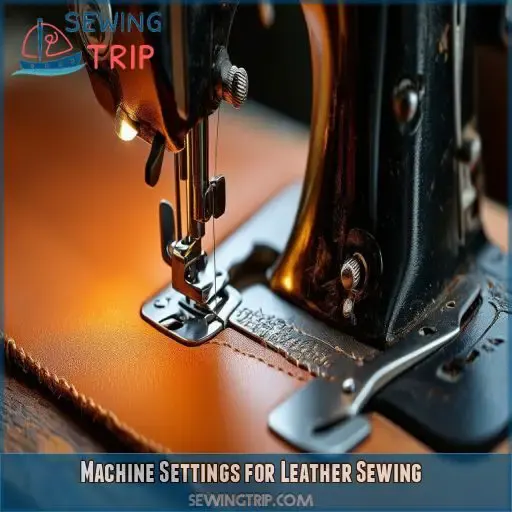
If you intend to sew leather on a regular machine, there are a few adjustments for the best results. Take the time to increase your stitch length to 3.5 or above, fiddle with tension until it’s set thicker, and don’t go too fast to have control.
Stitch Length
When sewing leather, you’ll need to adjust your stitch length. Longer stitches work better, reducing stress on the fabric and machine. Aim for a stitch length of 3.5 or more, depending on your project’s requirements. This adjustment affects stitch density and thread strength, ensuring your seams hold up well.
Here’s what you need to know about stitch length for leather:
- Longer stitches reduce needle penetration frequency
- Prevents unwanted perforation of leather
- Allows for easier removal if mistakes occur
- Complements heavier thread typically used for leather
- Helps maintain proper bobbin tension
Tension Adjustments
After adjusting your stitch length, you’ll need to tackle tension adjustments. Leather’s thickness requires careful calibration of both top and bottom thread tension. You’ll likely need to increase the top thread tension to achieve balanced stitches. Here’s a quick guide to help you fine-tune your machine:
| Tension Issue | Symptom | Solution |
|---|---|---|
| Too Loose | Loops on top | Increase top tension |
| Too Tight | Puckering | Decrease top tension |
| Uneven | Loops underneath | Adjust bobbin tension |
| Perfect | Even stitches | Maintain settings |
| Inconsistent | Varied tension | Check threading |
Speed Control
After adjusting tension, let’s tackle speed control. When sewing leather, slow and steady wins the race. Dial down your machine’s speed to maintain stitch quality and prevent needle breakage.
Thick leather demands patience, so resist the urge to rush. As you navigate different fabric thicknesses, adjust your speed accordingly.
Techniques for Successful Leather Stitching
When sewing leather on your regular machine, you’ll need to adapt your techniques for the best results. Use double-sided tape instead of pins to hold pieces together, mark your stitching lines on the wrong side of the leather, and always test your settings on scrap leather before starting your project.
Using Tape Instead of Pins
Now that you have prepared your settings on the machine let’s discuss another essential technique: using tape instead of pins.
For those who work with leather, as you know, you want to avoid these pesky holes left behind by pins or tacks. Your new best friend is a double-sided tape! It will hold all of your pieces in perfect alignment without marring the material.
The only thing to remember here is that when using tape, like when working without, you test settings out on scrap leather. Run a few seams over it before stitching on your actual leather to make sure that your tape doesn’t clog up the needle.
Marking on the Wrong Side
Marking the wrong side of leather helps to have clean results that appear professional without marring the surface of the leather. Here are four tips from experienced leather marking experts.
- Chalk or fabric marking pen
- Mask off with masking tape and mark it
- Wax paper inside a tracing wheel
- Make use of proper leather marking tools
Such methods will keep your marks hidden but show up to guide your stitching quite accurately. Remember always, though, what works with the fabric may not be suitable for leather. Choose your marking technique carefully.
Testing on Scrap Leather
Test Scrap After marking the leather, you need to perform a test on scrap pieces to make sure you have dialed in exactly the correct settings for your project. You can create a test matrix to evaluate the different parameters.
| Parameter | Value Test 1 | Value Test 2 | Value Test 3 |
|---|---|---|---|
| Stitch Length | 3.0 | 3.5 | 4.0 |
| Thread Tension | Slack | Medium | Tight |
| Size of Needle | 14 | 16 | 18 |
If you get ugly, weak stitches, adjust seam allowance, thread tension, and needle sharpness until you get clean, strong stitches. This may sound mundane, but actually, this step is your key to leather sewing success!
Common Mistakes to Avoid
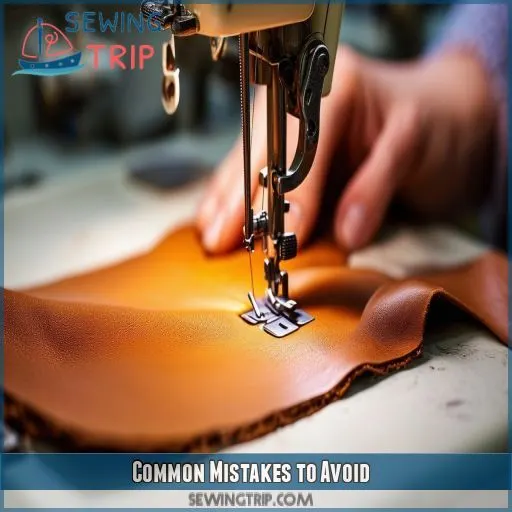
When sewing leather on your regular machine, you’ll want to avoid some common pitfalls that can ruin your project. Watch out for using cotton thread, which isn’t strong enough for leather, overloading your machine’s capacity with too many layers, and neglecting proper needle maintenance, which can lead to skipped stitches and damage to your leather.
Using Cotton Thread
You’ve mastered taping and marking, but don’t undo your hard work by using cotton thread. It’s a recipe for disaster with leather. Cotton thread’s weakness can lead to snapped stitches and frustrated sighs.
Instead, opt for heavy-duty polyester or nylon threads. They’re the unsung heroes of leather sewing, providing strength and durability.
Overloading Machine Capacity
Don’t bite off more than your machine can chew! Overloading its capacity is a recipe for disaster.
Steer clear of projects with too many layers or bulky areas. Most home machines can handle up to three layers of medium-weight leather, but pushing beyond that’s asking for trouble.
Neglecting Needle Maintenance
Don’t let needle neglect throw your leather project off track! After dealing with machine capacity, the next important thing is to take care of your needle.
"A dull or damaged needle can cause stitch skip, jamming issues, and thread breaks," says Blanchard.
Regularly inspect your leather needle for signs of wear or bending; replace it after every project or sooner if you notice any problems.
Proper needle care will keep you flying high through all your leather adventures.
Projects Suitable for Home Machines
You can start your leather sewing journey with simple accessories and small leather goods that don’t require multiple layers or complex seams. Focus on projects with minimal seam designs, such as card holders, simple wallets, or keychain fobs, which are well-suited for regular sewing machines and allow you to practice your techniques.
Simple Accessories
Ready to give leather sewing a go? Begin with these simple helpers that are perfect for your regular machine:
- Leather key fobs
• Slim card holders
- Plain leather bracelets
You’ll want to use a Teflon or roller foot with heavy-duty thread and a longer stitch length. And remember, no pins—double-sided tape will come in handy! These kinds of projects can get you truly comfortable working with leather without frustrating your machine. Pretty soon, you’ll be cranking out projects like a seasoned pro!
Small Leather Goods
Ready to tackle small leather goods on your regular machine? You’ll be surprised at what you can create! From wallets to clutches, these projects are perfect for honing your skills.
Experiment with embossing techniques or try your hand at leather stamping for added flair. Don’t forget to explore leather painting and dyeing processes to truly make your pieces unique.
With practice, you’ll soon be carving designs like a pro.
Minimal Seam Designs
Whenever working with leather on your regular sewing machine, stick to projects that have few seams. This not only makes your work easier but also enhances the chances of better results. Go for designs that:
- Showing off the natural beauty of leather
- Keep minimum stress on your machine
Allow for easy reinforcing stitching.
- Embrace clean, modern aesthetics
Challenge your creativity within limitations
Enhancing Your Leather Sewing Skills
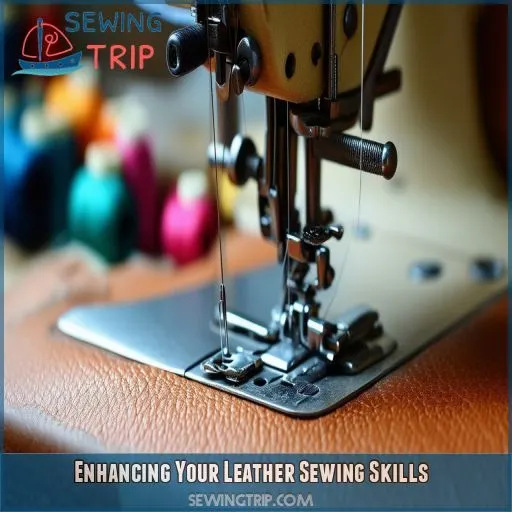
To enhance your leather sewing skills, start with simple practice exercises that focus on straight lines and gradual curves. As you gain confidence, challenge yourself with more complex techniques like handling tight corners and applying professional finishing touches to your leather projects.
Practice Exercises
To hone your leather sewing skills, start with simple exercises. Practice stitching straight lines on scrap leather of varying thicknesses.
Experiment with different thread weights and stitch lengths to find what works best. Try out various presser feet, like roller or Teflon, to see which glides smoothly.
These exercises will build your confidence and precision.
Handling Curves and Corners
Now that you’ve practiced on scraps, let’s tackle curves and corners. When sewing leather, these tricky areas require special attention. Here’s how to handle them like a pro:
- Use a smaller seam allowance for tight curves
- Pivot at corners by lifting the presser foot
- Backstitch at the start and end of each curve
- Let the machine "walk" slowly around curves
- Consider hand stitching for intricate corners
Finishing Techniques
After mastering curves and corners, it’s time to polish your leather projects with finishing techniques.
You’ll want to reinforce your stitches using leather glue for extra thread strength. Don’t forget to maintain your tools – keep those needles sharp!
For a professional touch, try edge sealing and burnishing. These final steps will elevate your work from homemade to handcrafted, giving you that satisfying sense of mastery.
When to Consider Professional Equipment
While regular sewing machines can accommodate many leather projects, most professional equipment should be employed with thick leather work, high-volume production, or specialized leather crafting. Professional-grade machines have more robust motors and more expansive throat spaces; this gives them special features to convincingly help one tackle demanding leather projects easily and proficiently.
Thick Leather Projects
You may have, through patience, developed your leather sewing skills, and now you want to work bigger and thicker. Not so fast!
Regular machines have boundaries. If you’re going to work with leather more substantial than 3-4 oz, that means professional equipment is due in the near future.
Your needles need to get stronger, as does your thread strength, and your presser feet really should be upgraded in this case. Even adjusting the stitch length here isn’t going to help.
It’s like cutting a steak with a butter knife—possible, but not pretty.
High-Volume Production
If you’re cranking out leather goods, your trusty home machine might just start crying uncle. High-volume production will call for professional equipment.
You’ll need industrial-grade machines for consistent stitching, efficient gluing of leather, and precise edge finishing. That, of course, also entails leather care techniques together with proper storage methods to keep the quality high.
Sourcing sustainable leather is very important, too.
It’s time to level up that leather game!
Specialized Leather Work
While home machines can handle basic leather projects, specialized work often demands professional equipment.
Thick leathers, complex designs, and intricate detailing may exceed your regular machine’s capabilities.
Consider investing in industrial-grade machines for tasks like stitching multiple layers, working with exotic leather properties, or creating high-end goods.
These machines offer superior thread selection, specialized foot options, and precise control over seam allowances and edge finishing techniques.
Frequently Asked Questions (FAQs)
Will a regular sewing machine sew through leather?
Yes, you can sew leather on a regular machine, but you’ll need some adjustments. Use a leather needle, longer stitch length, and heavy-duty thread. Start with thin leather and practice on scraps. It’s doable with the right setup.
How to sew leather on a home sewing machine?
Did you know 90% of home sewers can successfully work with leather? You’ll need a leather needle, heavy-duty thread, and a Teflon foot. Set your machine to a longer stitch length, use tape instead of pins, and sew slowly.
Do you need a special sewing machine needle for leather?
Yes, you’ll need a special leather needle. It’s designed with a wedge-shaped point that easily pierces tough leather without tearing. Regular needles can’t handle leather’s density, so invest in proper leather needles for successful projects.
Is it better to sew leather by hand or machine?
You’ll find machine sewing leather faster and more consistent for straight seams. However, hand-stitching offers precision for intricate work and thicker leathers. Your choice depends on the project’s complexity and your skill level. Consider both methods for versatility.
Can you sew leather with a sewing machine?
Did you know 90% of home sewing machines can handle leather? You can sew leather with your machine, but you’ll need some adjustments. Use a leather needle, longer stitch length, and heavy-duty thread. Take it slow and test on scraps first.
How to use a manual leather sewing machine?
To use a manual leather sewing machine, you’ll need to thread it properly, adjust tension, and set the stitch length. Use a leather needle and heavy-duty thread. Practice on scrap leather first to get a feel for the machine’s operation.
What tools do you need to sew leather?
You’ll need a leather needle, heavy-duty thread, and a non-stick presser foot. Don’t forget a roller foot, leather scissors, and tape for positioning. A cutting mat and metal ruler are handy for precise cuts. Remember, pins are a no-go!
Can you use cotton thread for sewing leather?
Like a fish out of water, cotton thread won’t survive leather sewing. You’ll want to use polyester or nylon thread instead. They’re stronger and more durable, ensuring your leather creations stay intact through wear and tear.
Can leather be sewn without a walking foot?
You can sew leather without a walking foot, but it’s trickier. Use a Teflon or roller foot instead to prevent sticking. Adjust tension, increase stitch length, and go slow. For best results, test on scrap leather first.
How do you remove mistakes when sewing leather?
Like erasing ink from paper, removing mistakes in leather sewing isn’t easy. You’ll need to carefully unpick stitches with a seam ripper, gently smooth the holes, and potentially use leather filler for larger punctures. Prevention is your best strategy.
Is it possible to sew leather and fabric together?
Yes, you can sew leather and fabric together. Use a leather needle, polyester thread, and longer stitch length. Tape the layers instead of pinning. Start with the leather side down to prevent sticking. Test on scraps first.
Can embroidery be done on leather with regular machines?
Threading the needle of possibility, you can embroider leather on regular machines. It’s a delicate dance, but with the right tools and techniques, you’ll create stunning designs. Use a leather needle, adjust tension, and employ stabilizers for best results.
How often should needles be replaced when sewing leather?
You’ll need to replace needles more frequently when sewing leather. Change them after every project or about 8 hours of use. If you notice skipped stitches or hear a popping sound, it’s time for a new needle.
Conclusion
Like a butterfly emerging from its cocoon, your regular sewing machine can transform into a leather-working marvel. You’ve learned that you can sew leather on a regular sewing machine with the right tools and techniques.
By adjusting settings, using proper needles and threads, and following best practices, you’re now equipped to create stunning leather pieces at home.
Don’t hesitate to start your leather crafting journey today!

