This site is supported by our readers. We may earn a commission, at no cost to you, if you purchase through links.
It’s a challenge that many sewers face.
The key to success lies in stabilizing the fabric and using the right tools and techniques.
In this article, we’ll share pro tips on how to conquer slippery fabrics and achieve precise cuts every time.
Table Of Contents
Key Takeaways
- Conquer slippery fabrics with simple prep steps like pre-washing silk to minimize shrinkage and prevent water marks.
- The right tools matter—opt for sharp, fine needles and a steam iron with a pressing cloth to avoid damaging delicate fabrics.
- Stabilize slippery fabrics with tissue paper or fusible interfacing for accurate cutting and sewing without the slip ‘n’ slide.
- Finish like a pro with sergers, zigzag stitches, and hand-stitching for seamless, invisible results.
Pre-Washing Silks
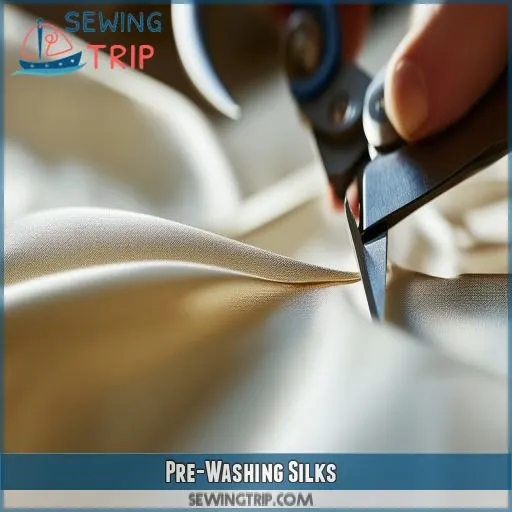
Pre-washing silk is an important step to minimize shrinkage and prevent water marks. This process helps keep the fabric consistent in size and colour throughout the sewing process.
Minimizing Shrinkage
Pre-washing silk is a key step in minimizing fabric shrinkage and making sure your sewing project turns out just right. Here’s why it matters and how to do it:
- Pre-washing helps prevent shrinkage, so your finished garment maintains its intended size and shape.
- It’s a simple process: machine wash your silk on a gentle cycle and hang it to dry.
- This extra step gives you peace of mind, ensuring the fabric won’t shrink unexpectedly during sewing or after completion.
Preventing Water Marks
When working with silk, preventing water marks during the pressing process is important.
Pre-washing silk helps reduce this issue, but there are additional techniques to get a flawless finish.
Always use a pressing cloth to create a barrier between the iron and the silk.
This prevents scorching and water marks.
Opt for a steam iron, as the steam helps smooth out wrinkles without leaving marks.
Remember to avoid pressing directly on seams, as this can cause flattening or distortion.
Instead, focus on pressing seams open for a professional finish.
Machine-Washing Guidelines
To make sure your silk is properly cared for before sewing, follow these machine-washing guidelines:
- Use a gentle cycle: Silk is delicate, so always opt for a gentle wash cycle.
- Minimize shrinkage: Pre-washing silk helps prevent shrinkage and ensures the fabric remains consistent throughout the sewing process.
- Prevent water marks: Washing silk before sewing also reduces the risk of water marks during pressing.
- Hang to dry: After washing, hang your silk to dry. This simple step helps maintain the fabric’s shape and avoids unwanted wrinkles.
Choosing the Right Needles
When sewing slippery fabrics, selecting the correct needle is important. You should opt for sharp, fine needles designed for delicate fabrics like silk. Avoid dull or blunt needles, which can snag and damage the fabric.
Needle Type and Size
Needles come in different types, and the right one depends on your fabric and project.
| Needle Type | Fabric Type |
|---|---|
| Sharp, fine needles | Silk and other delicate fabrics |
| Dull or blunt needles | Avoid for delicate fabrics |
| Size 8 or 9 needles | Silk |
| Varying sizes | Depends on fabric weight and weave |
Avoiding Damage to Fabric
When cutting slippery fabrics, choosing the right needle is really important to avoid damaging your delicate fabric. Opt for a sharp, fine needle specifically designed for silk and other slippery materials. Dull or blunt needles are a no-go, as they can snag and cause unsightly pulls in your fabric.
The needle size is also an important consideration. For silk, a size 8 or 9 needle is typically recommended, but this may vary depending on the weight and weave of your particular fabric. Choose a needle that’s sharp enough to easily penetrate the fabric without causing any tears or snags. Remember, the right needle will make for a smooth and seamless sewing experience, while the wrong one can lead to frustrating setbacks and damage to your fabric.
Stabilizing the Fabric
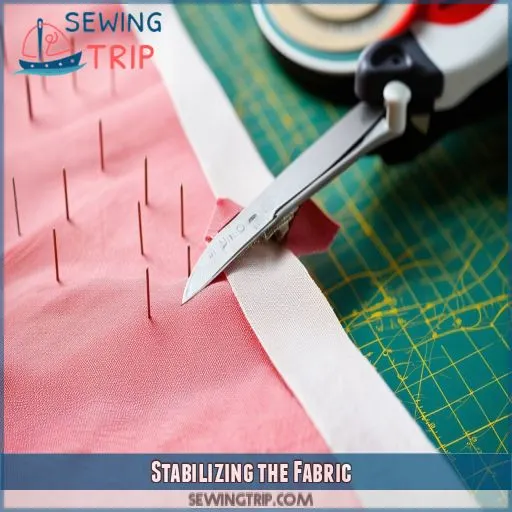
Stabilizing slippery fabrics like silk and georgette is essential to prevent slippage and distortion during sewing. Using a lightweight stabilizer, such as tissue paper or fusible interfacing, will help keep your fabric in place, ensuring accurate cutting and sewing.
Lightweight Stabilizer Options
For lightweight stabilizer options, tissue paper is a great choice. It’s thin, lightweight, and provides just the right amount of stability to keep your fabric from slipping. You can also use fusible interfacing, which will give you more control over slippery fabrics. These stabilizers are easy to remove after sewing, ensuring your finished garment remains soft and supple.
Stabilizing Techniques
Stabilizing slippery fabric is key to achieving clean cuts and preventing unwanted movement. Here’s the lowdown on the best stabilizing techniques.
First, select the right stabilizer for the job. Tissue paper and fusible interfacing are lightweight options that won’t add bulk to your fabric.
Next, it’s time to secure the stabilizer to your fabric. You can use pinning methods, basting techniques, or even a temporary fabric adhesive for a quick fix.
Now, you’re ready to cut and sew with precision. Say goodbye to slippery struggles and hello to stabilized success!
Pressing Techniques
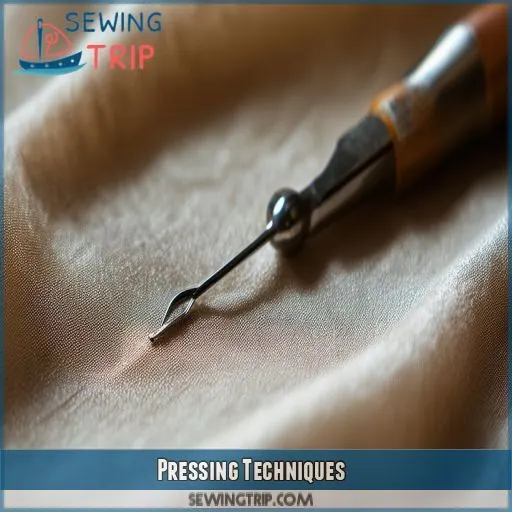
When pressing slippery fabrics, it’s important to use the right heat setting and a pressing cloth to avoid scorching and create smooth, professional finishes. This section will cover the techniques you need to master this essential step of the sewing process.
Heat Settings and Pressing Cloth
When pressing silk, use a low heat setting and a pressing cloth to prevent scorching the fabric. A steam iron is your best friend for smoothing out wrinkles and creases without applying direct heat.
Professional Finishing Methods
To achieve a professional finish, explore these techniques:
- French seams for a clean, durable look
- Basting for temporary stitching and stability
- Selvedge for a clean, stable edge
- Fabric stabilization to prevent stretching
- Presser foot techniques for precise stitching
Finishing Touches
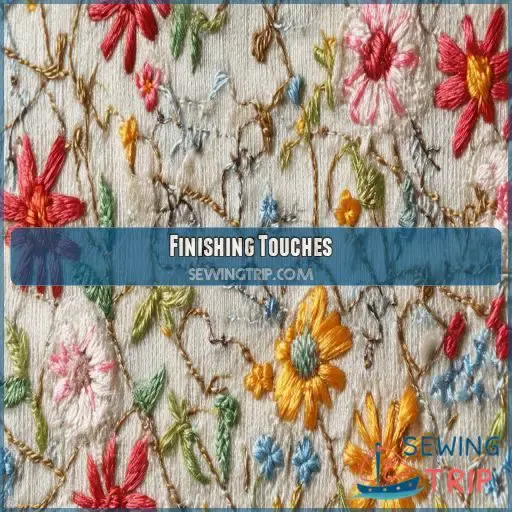
For the finishing touches, it’s all about refining your project and giving it that professional polish. You can use a serger or zigzag stitch to neatly finish seams and prevent fraying. For delicate areas like hems and buttonholes, hand-stitching is ideal for achieving a seamless, invisible finish.
Seam Finishing Techniques
For finishing seams, a serger or overlock stitch is a great option to prevent fraying.
If you don’t have a serger, a simple zigzag stitch on your regular machine will do the trick.
You can also try blind stitching or topstitching for a neat finish.
These sewing tips and tricks will help you master fabric manipulation and give your projects a professional look.
Hand-Stitching Tips
When hand-stitching slippery fabrics, use a needle and thread that matches the fabric color for a seamless finish.
Keep your stitches small and even, and maintain consistent tension throughout.
Work with the grain of the fabric to avoid puckering or distortion.
For delicate areas like hems and buttonholes, use a slip stitch for an invisible finish.
Practice on a scrap piece of fabric first to perfect your technique.
Cutting Slippery Fabrics
Cutting slippery fabrics like silk and georgette can be challenging due to their tendency to shift and slide, often resulting in inaccurate cuts and wasted material. However, a simple solution involves using two sheets of thin paper to stabilize the fabric, creating a "sandwich" that prevents slippage and helps you make accurate, clean cuts.
The Challenge of Slippery Fabrics
Cutting slippery fabrics presents unique challenges that can test even the most experienced sewers. Here are three key challenges to be aware of when working with these fabrics:
- Fabric Slippage: Slippery fabrics tend to slide and shift, making accurate cutting a challenge.
- Maintaining Pattern Integrity: It’s important to keep the fabric from stretching or distorting during cutting to keep the pattern shape right.
- Bias Cuts: Cutting on the bias requires precise angles, and the slippery nature of certain fabrics can make this task more difficult.
The Paper Solution
The paper solution is a simple yet effective technique to conquer cutting slippery fabrics. Here’s how it works:
Sandwich your fabric between two sheets of thin paper, like tissue paper or newsprint. This setup provides stability and accuracy during cutting. Place the paper-fabric sandwich on your cutting surface, then secure your pattern on top with pins or pattern weights. Cut through all layers, including the paper, following the pattern lines. This technique helps you get clean, precise cuts and prevents fraying or stretching. It’s especially useful for bias cuts, where accuracy is key.
Frequently Asked Questions (FAQs)
How to cut very slippery fabric?
Place a piece of tissue paper on a cutting mat. Lay the fabric on top, smoothing out wrinkles. Add another sheet of tissue paper. Lay the pattern piece on top, securing with pattern weights. Cut through all layers with a rotary cutter.
How to make fabric less slippery?
You can make fabric less slippery by using spray starch to temporarily stabilise it, or by using a ’tissue paper sandwich’ to grip the fabric and prevent it from moving.
How to work with slippery fabrics?
Working with slippery fabrics can be a real headache. They’re like trying to herd cats! But don’t worry, there are some simple tricks to help you tame them. First, use a walking foot to help pull the fabric through. Then, choose the right needle size—go smaller for lightweight fabrics. Finally, use pattern weights or pins to secure your fabric.
What is the most precise way to cut fabric?
The most precise way to cut fabric depends on the type of fabric and the accuracy you require. Fabric shears are best for most fabrics. For quilting and smaller cuts, use a rotary cutter. For slippery fabrics, cut in single layers.
Can I use a rotary cutter for slippery fabrics?
Yes, a rotary cutter is great for slippery fabrics. It glides smoothly, reducing fabric movement and minimizing shifting. Keep the blade sharp to prevent snags.
What kind of scissors are best for cutting silk?
The best scissors for cutting silk are serrated scissors, as they can grip the fabric and prevent sliding or snagging. You can also use sharp, all-metal embroidery scissors for intricate details.
How do I stop silk from fraying?
You can prevent silk from fraying by using a serger to sew a zig-zag stitch or a straight stitch above the raw edge. You can also use pinking shears to cut the raw edge or fabric tape to hold the threads in place.
Can I use a laser cutter for silk?
Yes, you can use a laser cutter for silk. Laser cutting silk creates clean and tidy results, protecting the fabric’s delicate strength and soft performance.
How do I stop silk from slipping when I cut it?
Place your silk between two sheets of paper or fabric to keep it in place. Use sharp scissors to cut, and cut long, single layers.
Conclusion
Did you know that over 50% of sewers struggle with cutting slippery fabrics accurately? It’s a common challenge, but with the right techniques, you can conquer it.
Now you know how to prep slippery fabrics with pre-washing and the right needles, stabilize and press them, and finish them with seamless cuts and hand-stitching.

