This site is supported by our readers. We may earn a commission, at no cost to you, if you purchase through links.
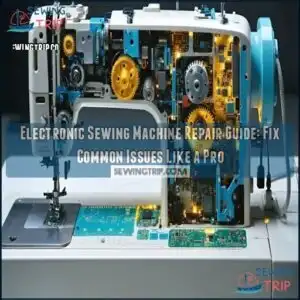
First, check the basics—thread tension, needle position, and bobbin installation. Most electronic sewing machine repair guides suggest cleaning lint buildup regularly with a small brush.
You’ll often find error codes in your manual that pinpoint specific issues. Don’t forget to oil moving parts according to manufacturer instructions—just like cars, these machines need regular maintenance too.
For electrical problems, unplug completely before investigating. Many repairs are simpler than you’d think, saving you a trip to the repair shop.
The secrets to extending your machine’s life might surprise you, and following these steps can help prevent future issues, ensuring your machine runs smoothly and efficiently, which is key to its long-term use, and overall performance.
Table Of Contents
Key Takeaways
- You’ll solve most electronic sewing machine problems at home by checking basics like thread tension, needle position, and bobbin installation before panicking.
- You need to clean lint buildup regularly and follow proper oiling schedules for moving parts to prevent common issues and extend your machine’s lifespan.
- You can troubleshoot specific problems by understanding error codes in your manual, which pinpoint exact issues like thread breakage, needle damage, and skipped stitches.
- You’ll save money with preventative maintenance by scheduling regular servicing, storing your machine properly, and using high-quality thread that matches your fabric.
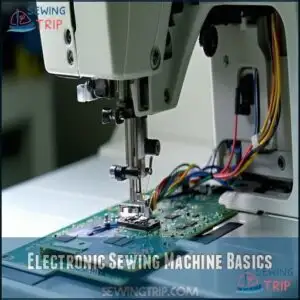
Electronic Sewing Machine Basics
You’ll need to understand the basic components of your electronic sewing machine before attempting any repairs, just like knowing the parts of a car before popping the hood.
Modern electronic machines have circuit boards, sensors, and digital displays that work together to create perfect stitches, making them more complex but also more precise than their mechanical ancestors.
Machine Components Overview
Understanding the heart of your electronic sewing machine starts with knowing its key components.
Think of it as getting acquainted with the anatomy of your trusted sewing companion.
- The needle bar holds the needle while the presser foot keeps fabric in place during stitching
- Feed dogs move fabric forward precisely while the bobbin system creates tension below
- The control panel interfaces with different motor types to control speed and stitch selection
Understanding Error Codes
Now that you know your machine parts, let’s tackle those mysterious codes your electronic sewing machine displays when something’s wrong.
Error codes are like your machine’s way of telling you what hurts! When you see E05, it means you’ve pressed Start/Stop while the foot controller is connected—simply unplug it.
For E06, your motor’s locked from thread tangles or a bent needle hitting the plate.
Regular maintenance can prevent machine jamming and seizing, which is a key aspect of keeping your machine in good working order, and understanding these codes is crucial for troubleshooting and maintenance.
Importance of Regular Maintenance
Now that you can decode those error messages, let’s talk about keeping your electronic sewing machine running smoothly.
Regular maintenance isn’t just nice—it’s money in your pocket. Those error codes pop up less when you follow a consistent oiling schedule.
- Lint buildup is the silent killer of smooth operation and part longevity
- A proper cleaning routine prevents 80% of common issues
- Following your machine’s maintenance guide saves hundreds in repair costs
Troubleshooting Common Issues
You’ll find most electronic sewing machine problems can be fixed right at home with the right know-how, saving you that panicked trip to the repair shop.
When your trusty machine starts acting up with thread breaks, bent needles, skipped stitches, or mysterious jams, this section will help you identify and fix the culprit faster than you can say "bobbin tension.
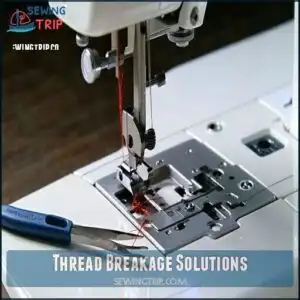
Thread Breakage Solutions
When your electronic sewing machine keeps breaking thread, it’s like hitting a roadblock in your creative journey. Check your thread weight first—it should match your project needs.
Thread breakage isn’t just frustrating—it’s your machine whispering that something needs attention right now.
Adjust tension settings gradually until balanced. Examine the needle for burrs or damage. Clean the bobbin area where lint loves to hide.
For specialized assistance, consider exploring products for mending.
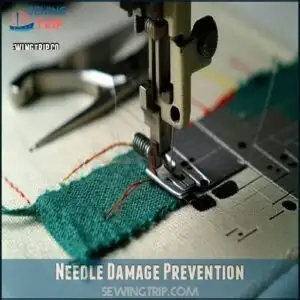
Needle Damage Prevention
Needles break in the blink of an eye when using the wrong type for your fabric.
Always match needle size to material thickness—lightweight fabrics need smaller needles (sizes 9-11), while heavier fabrics require larger ones (14-16).
Check for bent needles before installation and insert them properly with the flat side facing back.
Regular maintenance practices prevent sewing machine tension issues and extend needle life.
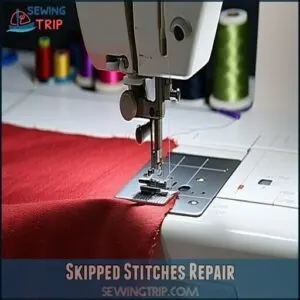
Skipped Stitches Repair
While preventing needle damage is important, dealing with skipped stitches can be just as frustrating.
Check your needle installation first—a backward needle causes chaos. Next, examine timing adjustment and feed dog height, which often need minor tweaks.
Thread compatibility matters too—your machine might be picky about thread types. For stubborn cases, try fabric stabilizers underneath.
Sewing machine troubleshooting becomes simpler when you tackle these common culprits systematically.
Machine Jamming Causes
After fixing skipped stitches, you might still encounter jamming.
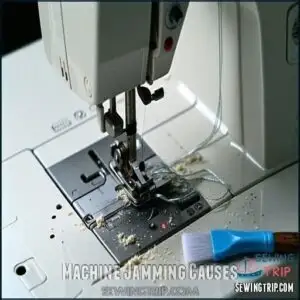
When your sewing machine freezes mid-project, it’s usually due to one of these common culprits: lint buildup under the throat plate, bobbin issues like incorrect insertion, timing problems between needle and hook, incorrect needle position, or fabric snags caught in the feed dogs.
Regular cleaning prevents most sewing machine problems and keeps your projects running smoothly.
Repairing Electronic Sewing Machines
You’ll find that fixing your electronic sewing machine isn’t as scary as performing surgery on your favorite gadget.
With the right tools and knowledge, you can tackle common problems from replacing worn parts to resolving those frustrating thread jams that make you want to turn your machine into a paperweight, which can be a frustrating experience.
Replacing Parts and Accessories
Now that you’ve identified the problematic spots in your machine, let’s tackle replacing worn-out parts.
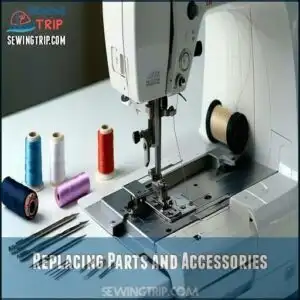
You’ll need to swap needles regularly to prevent dull stitching.
For presser foot replacement, simply raise the take-up lever, remove the old foot, and snap on the new one.
Bobbin case replacement requires careful removal and reinsertion according to your manual’s diagrams.
Most parts are available from sewing supply stores or online retailers, which can help with regular maintenance.
Oil and Lubrication Guidelines
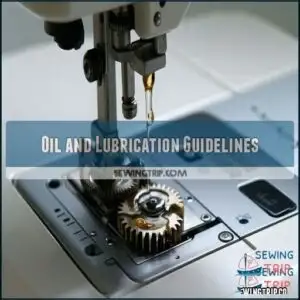
While proper lubrication keeps your electronic sewing machine running smoothly, using the wrong oil can damage sensitive components.
Proper oil is your machine’s lifeblood—choose wisely or risk electronic component damage.
Only use clear sewing machine oil on designated lubrication points. For peak performance, consider using specialized sewing lubricants.
- A well-oiled machine purrs like a contented cat through even the thickest fabrics
- That satisfying smooth operation when all moving parts glide effortlessly together
- The peace of mind knowing you’ve extended your machine’s lifespan with minimal effort, and ensured a longer lifespan
Cleaning and Dust Removal Techniques
Just as oiling keeps things running smooth, regular cleaning prevents annoying breakdowns.
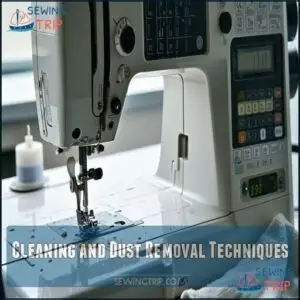
Dust and lint buildup are your electronic sewing machine’s worst enemies.
Unplug your machine before tackling shuttle cleaning – use a soft brush for tight spaces, not compressed air which can push debris deeper.
A specialized cleaning tool can help reach difficult spots.
Different fabric types create varying amounts of lint (cotton is the worst offender!).
Stick to your machine’s oiling schedule and cleaning routine for years of trouble-free stitching, and remember that regular cleaning and proper maintenance are key.
Bobbin and Thread Issues Resolution
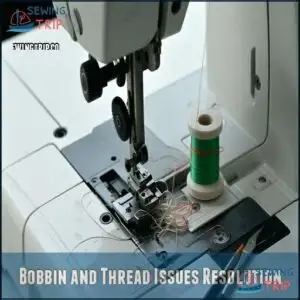
Most bobbin and thread problems stem from improper setup or maintenance. You’ll know something’s wrong when your stitches pucker or break.
- Replace bobbins that show nicks or damage affecting thread tension
- Wind bobbins evenly at medium speed for balanced thread delivery
- Clean the bobbin case regularly to remove lint that disrupts thread path
- Match top and bobbin thread types for consistent tension
- Insert the bobbin correctly—it should rotate counterclockwise in most machines
Incorrect needle size can also cause bobbin tension issues.
Advanced Repair Techniques
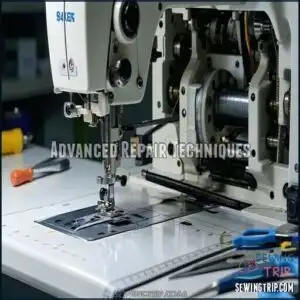
You’ll master complex fixes for your electronic sewing machine with these advanced repair techniques that even experienced technicians use.
Once you’ve tackled basic maintenance, you’re ready to fix control panels, maintain motors, and even customize your machine to work just like new again, using advanced repair techniques.
Electronic Control Panel Repair
While fixing parts is manageable, electronic control panels need special attention.
Display malfunctions and button failures often stem from circuit board issues. Most electronic sewing repair should be handled by trained technicians.
DIY enthusiasts can use error code charts for diagnosis, but power supply problems require careful handling.
You’ll save money and headaches by consulting repair guides before attempting electronic machine issues yourself. Some repairs might cost under $50 – much cheaper than replacement!
Motor and Gearbox Maintenance
The heart of your electronic sewing machine relies on proper motor and gearbox maintenance.
Keep your machine humming along with these essentials:
- Apply motor lubrication sparingly—one drop per bearing prevents damage to your electronic machine
- Check belt tension regularly—it should have just enough give to prevent slipping
- Replace worn carbon brushes when your machine loses speed control
- Clean gear alignment points annually to prevent electronic sewing repair headaches
Overheating can occur with prolonged use, so verify proper motor ventilation.
It is crucial to follow these maintenance tips to ensure your electronic sewing machine operates smoothly and efficiently, avoiding electronic sewing repair headaches and maintaining its performance over time, which is key to prevent damage.
Advanced Troubleshooting Methods
Now that you understand motors, let’s explore advanced fault diagnosis.
When facing mysterious electronic sewing problems, try signal probing to track voltage issues in circuit boards.
Visual inspection helps catch obvious component failures like dry solder joints.
For trickier software glitches and calibration issues, component testing with a multimeter can pinpoint sensor diagnostics needs.
Compare readings with working machines for accurate troubleshooting—sometimes it’s just a burned-out resistor causing those mysterious error codes!
Customizing and Upgrading Machines
Having solved those tricky troubleshooting challenges, you might be ready to take your machine to the next level.
Upgrading your electronic sewing machine doesn’t just fix problems—it opens new creative doors! Consider adding motor upgrades for smoother operation or installing additional stitch patterns.
Many computerized machines accept USB designs and offer automation features that make complex projects simpler.
Lighting mods and ergonomic additions can also transform your sewing experience from functional to fantastic.
Maintenance and Prevention Strategies
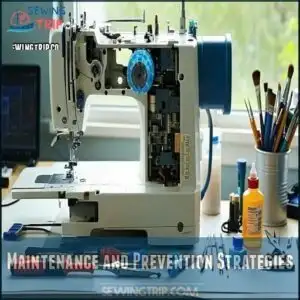
You’ll save yourself countless hours of frustration and repair costs by implementing smart maintenance habits for your electronic sewing machine.
Just like your car needs regular oil changes, your trusty sewing companion needs consistent care to keep those stitches flowing smoothly for years to come, which will help prevent frustration and save on repair costs.
Scheduling Regular Servicing
After your sewing machine’s first stitch, regular servicing becomes its lifeline.
Like a car needs scheduled oil changes, your electronic sewing companion requires professional attention.
Create your service schedule with these guidelines:
- Service annually for machines used weekly
- Schedule bi-annual checkups for daily use machines
- Find qualified technicians through manufacturer recommendations
- Set aside $75-150 for professional servicing costs to ensure your machine receives the necessary care for optimal performance.
Proper Storage and Handling
Now that your machine is professionally serviced, let’s focus on keeping it in top shape between visits.
Proper storage and handling can save you from common sewing machine repair headaches down the road.
| Storage Factor | Impact | Prevention Tip |
|---|---|---|
| Humidity Control | Rust formation | Cover with breathable cloth |
| Temperature Effects | Wiring damage | Avoid attics/garages |
| Dust Protection | Thread tensions affected | Use dust cover when idle |
| Case Options | Safe Transport | Hard cases for moving |
Preventing Common Problems
Most electronic sewing problems can be prevented with simple habits.
Clean your machine after every project, using the right tools for needle maintenance and bobbin care. Always check tension settings before starting, and use high-quality thread that matches your fabric choice.
Don’t force fabric through—your machine isn’t a bulldozer!
Regular electronic sewing tips include powering off completely when not in use and covering your machine to prevent dust buildup, which is an important part of regular electronic sewing tips.
Extending Machine Lifespan Techniques
With proper care, your electronic sewing machine can last decades. Keep dust at bay with gentle cleaning after each project—a soft brush works wonders for those tight spots.
Apply ideal lubrication only where the manual specifies, using quality parts for replacements. Consistent usage prevents mechanism seizure, while protective storage (dust cover included!) shields sensitive electronics.
Regular cleaning helps prevent future machine damage. Like a classic car, your machine rewards regular sewing machine maintenance with years of faithful service.
Frequently Asked Questions (FAQs)
What is a sewing machine user manual?
Your detailed instruction booklet provides step-by-step guidance for operating your sewing machine.
It’ll explain setup, features, troubleshooting, and maintenance tips—think of it as your sewing companion that prevents headaches and keeps your projects running smoothly.
This booklet is essentially your sewing companion that ensures your projects are completed efficiently.
How do I find a manual for my sewing machine?
Finding your sewing machine manual can feel like hunting for buried treasure.
Check the manufacturer’s website using your model number, search online forums, or try sites like manualslib.com for downloadable PDFs.
What makes a good sewing machine manual?
A good sewing machine manual clearly explains setup, operation, and troubleshooting with detailed diagrams.
You’ll appreciate step-by-step instructions, maintenance schedules, and an organized index.
It should translate technical concepts into plain language you can actually follow.
Does My Brother Sewing Machine have a manual?
Yes, your Brother sewing machine definitely comes with a manual.
You can download it from Brother’s website by entering your model number in the search box.
You can also call their support at 800-401-8151 for help.
How do I Fix an error code on a sewing machine?
First, check your manual for specific error codes.
Try resetting your machine by turning it off, waiting a minute, then restarting.
Clean out lint, replace bent needles, and make sure everything’s properly threaded.
How do you store a sewing machine manual?
You’d think storing manuals is rocket science, but it’s not!
Store your sewing machine manual digitally as a PDF on your computer or cloud, or keep the physical copy in a plastic sleeve near your machine.
How to service an electric sewing machine?
Unplug your machine, then remove the needle and bobbin.
Clean all lint with a brush, oil moving parts sparingly, and reassemble carefully.
You’ll save money and keep your trusty machine humming along.
Are computerized sewing machines expensive to repair?
Like electronic brains with a hefty price tag, computerized sewing machines typically cost $100-$300 to repair.
You’ll pay more than for mechanical models because they need specialized technicians and pricier components.
What is the most common sewing machine problem?
Thread tension issues top the list of sewing machine problems.
When threads knot or break, check tension settings, re-thread the machine, and inspect the bobbin.
It’s like your machine’s mood—it needs balance to work smoothly!
How to calibrate touchscreen on electronic models?
Hold down the screen while powering on your machine.
When prompted, touch each "+" mark in sequence with your stylus.
Once you see "SUCCESS", restart your machine and you’re good to go!
Conclusion
Will you ever face another broken stitch or cryptic error code with dread?
Not when you’re armed with this electronic sewing machine repair guide. You’ve learned to identify problems before they worsen, handle basic repairs confidently, and know when to call professionals.
By maintaining your machine regularly, you’ll extend its lifespan and enjoy seamless sewing for years.
Remember, even the most sophisticated electronic machines respond well to your attention and care.
- https://maker.pro/forums/threads/how-do-digital-sewing-machines-fail-is-there-often-a-visuall-clue-on-the-circuit-board.290842/
- https://www.justanswer.com/small-appliance/o63jo-pfaff-sewing-machine-model-1469-circuit-board.html
- https://pubs.nmsu.edu/_c/C102/index.html
- https://sewingbecomeasy.com/sewing-machine-motor-problems/
- https://www.instructables.com/How-to-Service-a-Sewing-Machine/

