This site is supported by our readers. We may earn a commission, at no cost to you, if you purchase through links.
It all starts with choosing the right zipper and understanding the simple, yet precise, steps involved.
You’ll learn to hand-baste, prick stitch, and secure that zipper like a pro. Don’t worry if it seems intimidating; with practice, you’ll be sewing zippers like a seasoned designer.
Table Of Contents
- Key Takeaways
- Choosing the Right Zipper
- Preparing the Garment and Zipper
- Attaching the Zipper to Fabric
- Sewing the Second Side of the Zipper
- Hand-Sewing the Zipper
- Finishing the Zipper
- Tips and Variations for Zipper Installation
- Common Mistakes to Avoid
- Troubleshooting Zipper Issues
- Advanced Zipper Techniques
- Frequently Asked Questions (FAQs)
- Conclusion
Key Takeaways
- You’ll want to choose the perfect zipper for your project, considering the type (nylon, metal, or separating), length, width, color, and style to ensure a professional-looking finish that will make your garment stand out.
- Mastering the art of hand-basting, prick stitching, and securing that zipper is key to a flawless installation—don’t be afraid to practice until you get it just right, and remember to backstitch for a secure thread that won’t come undone at the worst possible moment.
- To avoid common mistakes, make sure to center the zipper teeth with the seam, use a zipper foot on your sewing machine, and add interfacing for support—these simple steps will save you time and frustration in the long run.
- Troubleshooting common zipper issues, like jammed or broken zippers, is a breeze with the right techniques—from lubricating the zipper with soap or silicone spray to replacing the entire zipper or using a zipper repair kit, you’ll be a pro at fixing those pesky zipper mishaps in no time.
Choosing the Right Zipper
You’re about to learn the art of hand-sewn zipper installation, but before you get started, you need to choose the perfect zipper for your project. With so many types, lengths, widths, colors, and styles out there, you really need to pick the one that fits your garment’s needs, whether you’re working with nylon, metal, or separating zippers.
Types of Zippers (Nylon, Metal, Separating)
Zipper Zen: Choosing the Right Type for Your Project"
When it comes to zippers, you’ve got options! Consider the following types:
- Nylon zippers: Lightweight, affordable, and perfect for casual projects
- Metal zippers: Durable, heavy-duty, and ideal for bags, jackets, and upholstery
- Separating zippers: Great for jackets, hoodies, and projects that require a bit of flexibility
Zipper Length and Width Considerations
Now that you’ve got a handle on the types of zippers, let’s talk length and width. You want a zipper that’s the same length as your fabric’s edge, or slightly longer, similar to when you sew trim to edges.
, or slightly longer. Here’s a quick reference guide to get you started:
| Fabric Type | Zipper Length | Zipper Width | Seam Allowance |
|---|---|---|---|
| Delicate fabrics | 6-8 inches | 1/4 inch | 1/8 inch |
| Medium-weight fabrics | 8-12 inches | 1/2 inch | 1/4 inch |
| Heavy fabrics | 12+ inches | 3/4 inch | 1/2 inch |
| Stretchy fabrics | 6-10 inches | 1/4 inch | 1/8 inch |
| Thick fabrics | 10-14 inches | 1/2 inch | 1/4 inch |
Choose wisely, and your zipper will be the perfect fit!
Zipper Color and Style Options
Now that you’ve got your zipper length and width figured out, it’s time to pick the perfect color and style! You’ve got a world of options: bold and bright, subtle and neutral, or even trendy metallic finishes. Consider your fabric, the garment’s style, and your personal vibe to choose a zipper that’s totally on point.
Preparing the Garment and Zipper
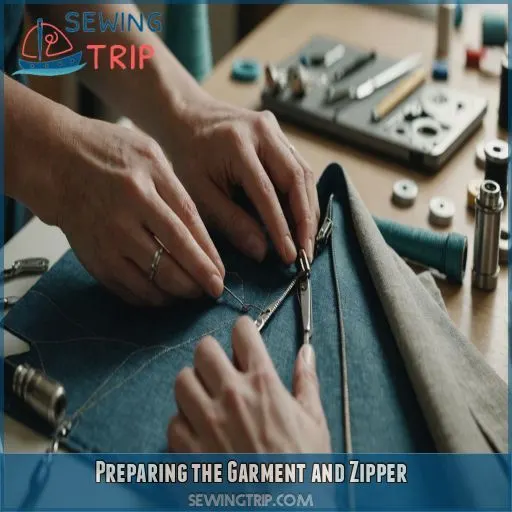
You’re about to learn the art of hand-sewn zipper installation, and it all starts with preparing your garment and zipper.
To begin, you’ll need to machine baste the seam where the zipper will go.
Press the seam allowances flat.
Carefully center the zipper teeth with the seam – trust us, these steps will make all the difference in achieving a professional-looking finish.
Machine Basting the Seam
You’re about to conquer the first step in zipper installation: machine basting the seam! Using a contrasting thread color, sew a straight line along the seam allowance, keeping your stitch length consistent. Don’t worry, this basting stitch won’t be permanent. Set your machine to a medium stitch length and use a basic straight stitch – easy peasy!
Pressing Seam Allowances Flat
Now that you’ve machine-basted the seam, it’s time to press those seam allowances flat. Grab your iron and press cloth, and get to work! Use a gentle touch to avoid scorching your fabric. This step is all about creating a crisp fold that will make attaching the zipper a breeze. Your future self will thank you!
Centering the Zipper Teeth With the Seam
Now it’s time to center the zipper teeth with the seam. Your goal is to get the zipper perfectly aligned, so take your time. Place the zipper face down along the basted seam, ensuring the teeth are centered with the seam. Double-check that the zipper stop is where you want it, and you’re good to go!
Attaching the Zipper to Fabric
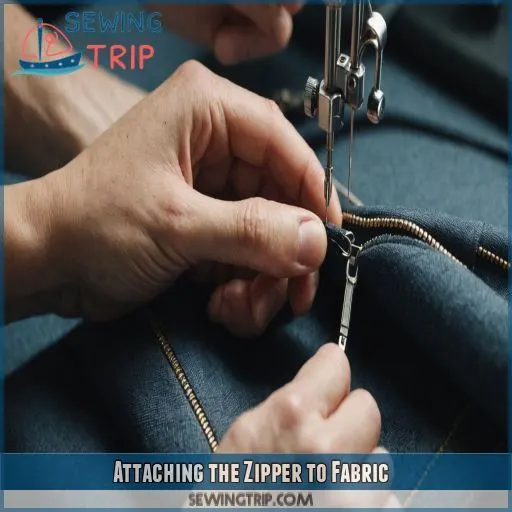
You’re just a few stitches away from a perfectly attached zipper – let’s get started! To attach the zipper to fabric, you’ll need to pin it in place, To attach the zipper to fabric, you’ll need to pin it in place, use a sewing machine presser foot on your sewing machine, and backstitch for a secure thread that won’t come undone at the worst possible moment.
, and backstitch for a secure thread that won’t come undone at the worst possible moment.
Pinning the Zipper in Place
Now that your garment and zipper are prepped, it’s time to pin the zipper in place! Position the zipper face-down along the basted seam, centering the teeth with the seam. Pin the zipper down, placing the top zipper stop as directed by your pattern or about 1/4 inch below the seam line.
Using a Zipper Foot on the Sewing Machine
Now that you’ve pinned the zipper in place, it’s time to get familiar with your trusty zipper foot! This nifty tool allows you to stitch super close to the zipper teeth without getting stuck. Choose the right zipper foot type for your sewing machine and adjust it to fit snugly around the zipper.
Backstitching for Secure Thread
Now that you’ve mastered using a zipper foot, it’s time to secure that thread! Backstitching is your BFF when attaching a zipper to fabric. To do it like a pro, maintain even thread tension, choose the right stitch length, To do it like a pro, maintain even thread tension, choose the right stitch length, and use reverse stitch technique at the beginning and end.
. This prevents thread breakage and guarantees a smooth, natural finish.
Sewing the Second Side of the Zipper
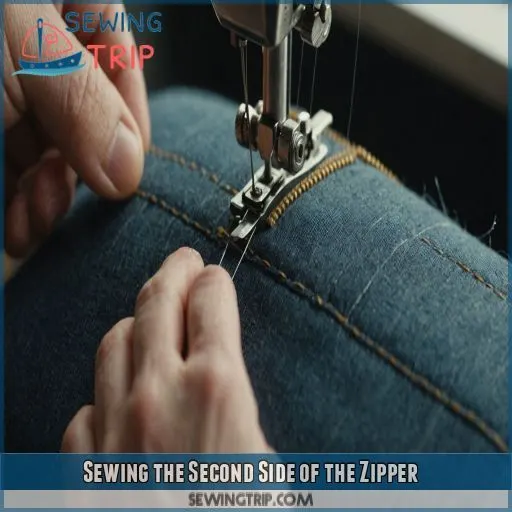
Now that you’ve attached one side of the zipper, it’s time to tackle the second side – don’t worry, it’s just as straightforward! You’ll start by laying the second piece of fabric face-up on a flat surface and aligning the unsewn side of the zipper face-down, making sure everything is nice and smooth.
Aligning the Unsewn Side of the Zipper
Now it’s time to tackle the second side of the zipper. Lay the second piece of fabric face-up on a flat surface and get ready to align the unsewn side of the zipper. Here are some tips to keep in mind:
- Match the seams: Make sure the zipper’s edge matches the seam of the fabric.
- Right side placement: Place the zipper’s right side facing the fabric’s right side.
- Tab alignment: Align the zipper tab with the edge of the fabric.
- Smooth it out: Gently smooth out any wrinkles or bubbles.
Securing the Zipper With Pins
Now that you’ve aligned the unsewn side of the zipper, it’s time to secure it with pins. Think of this step as giving your zipper a temporary hug.
You want to make sure the zipper is snug and even, so take your time. Place pins along the edge of the zipper, about 1-2 inches apart.
Make sure the pins are not too tight, as this can cause puckering. You want a smooth, stable surface for sewing.
With your zipper securely pinned, you’re ready to sew it in place.
Hand-Sewing the Zipper
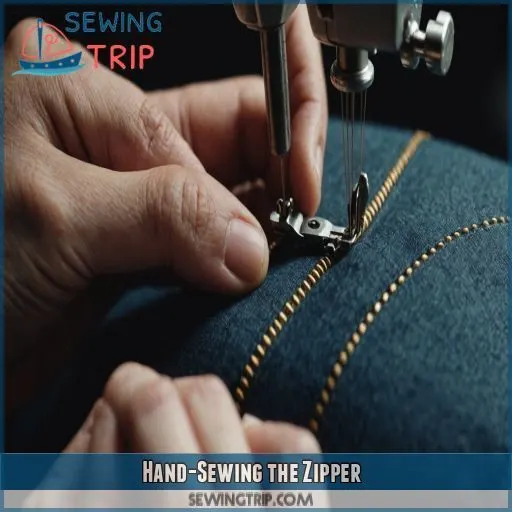
Now that you’ve got your zipper pinned in place, it’s time to hand-sew it to the garment for a professional finish that’ll make your project stand out. With a few simple stitches, you’ll be able to attach the zipper securely and almost invisibly, giving your garment a polished look that’s sure to impress.
Hand-Basting the Zipper to the Garment
Now that you’ve sewn the second side of the zipper, it’s time to get up close and personal with some hand-basting action! Thread your needle with a contrasting thread color and gently weave it through the zipper tape and fabric, securing it in place. This temporary stitch will keep everything tidy as you work your magic.
Using a Prick Stitch for Invisible Stitches
Now it’s time to master the prick stitch for invisible stitches. You’re getting close to zipper mastery!
- Don’t pull the thread too tight, as it may pucker the fabric.
- Keep your stitches evenly spaced for a seamless look.
- Practice makes perfect, so don’t be discouraged if it takes a few tries to get the hang of it.
Securing the Zipper Tape to the Seam Allowance
You’re almost done! To prevent the zipper from slipping, you’ll need to secure the tape to the seam allowance. Think of it as giving your zipper a cozy hug.
| Zipper Tape Placement | Reinforcing Seam Allowance |
|---|---|
| Center the tape | Use a few stitches to attach |
| Align with seam edge | Make sure it’s snug and even |
| Prevents slippage | Guarantees zipper stability |
Finishing the Zipper
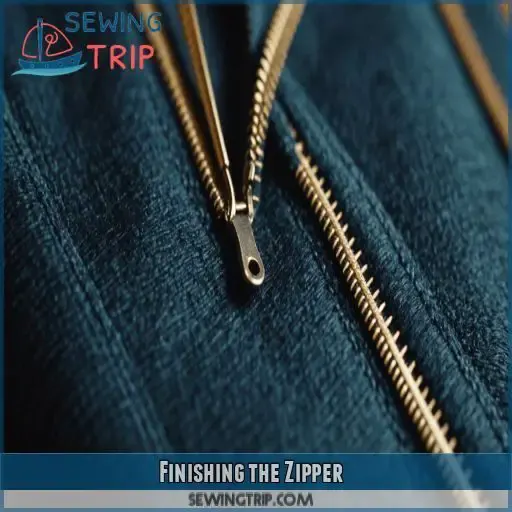
Now that you’ve hand-sewn your zipper in place, it’s time to finish it off and make it look like a pro did it!
To do this, you’ll need to carefully remove those pesky basting stitches.
Snip the threads close to the fabric.
Press the zipper for a crisp fold that’ll make your garment look like it just came off the rack.
Removing Basting Stitches
- Use a seam ripper to gently tease out the basting threads
- Work slowly to avoid damaging the fabric
- Cut excess threads close to the stitches
- Use a lint roller to remove unwanted thread residue
- Press the area to smooth out any wrinkles
Snipping Basting Threads Close to the Fabric
You’ve carefully removed the basting stitches – now it’s time to snip those pesky threads close to the fabric. Using sharp scissors or thread cutters, gently snip the basting threads, taking care not to cut the surrounding fabric. This step guarantees a smooth finish and prevents any stray threads from getting tangled in the zipper.
Pressing the Zipper for a Crisp Fold
Now that you’ve sewn your zipper in place, it’s time to give it a crisp fold. To do this, press the zipper seam allowances flat using a hot iron and steam. Use a pressing cloth if needed, to avoid scorching the fabric, like when ironing linen clothes.
, to avoid scorching the fabric. This simple step will make your zipper lie flat and prevent it from puckering.
Tips and Variations for Zipper Installation
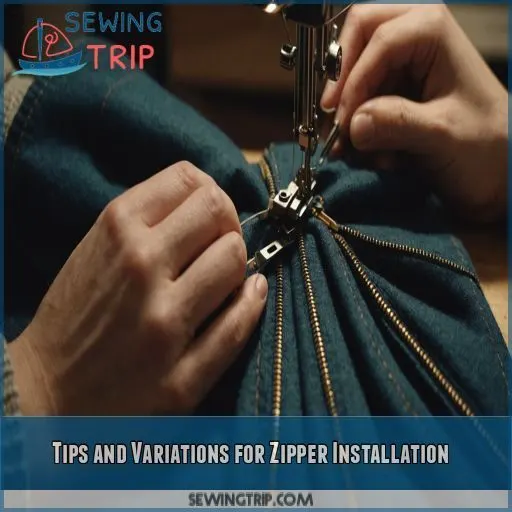
As you become more comfortable with sewing zippers, you’ll want to explore ways to customize and perfect your technique – that’s where these tips and variations come in handy. From shortening or lengthening zippers to working with separating zippers and adding interfacing for support, we’ll cover the essentials to take your zipper game to the next level.
Shortening or Lengthening Zippers
The zipper conundrum – it’s either too long or too short!
Don’t worry, friend, you’re about to become a zipper master!
To shorten a metal zipper, carefully remove excess teeth and trim the tape.
For nylon zippers, simply cut and re-seal with a zipper stop.
Now, go forth and conquer that zipper, your future self (and garments) will thank you!
Working With Separating Zippers
Working with separating zippers requires a bit more finesse, but don’t worry, you’ve got this! These zippers have two separate sides, so you’ll need to sew one side to one piece of fabric, and then attach the other side. Make sure to align the zipper tape carefully and place the slider, pull, and top stop just so.
Adding Interfacing for Support
The secret to a stress-free zipper installation: interfacing! Adding a layer of stability to your fabric can make all the difference, especially with lightweight materials. Choose from various interfacing types, like fusible or sew-in, to match your project’s needs. With a solid partnership between fabric and interfacing, you’ll be zipping up to perfection in no time!
Common Mistakes to Avoid
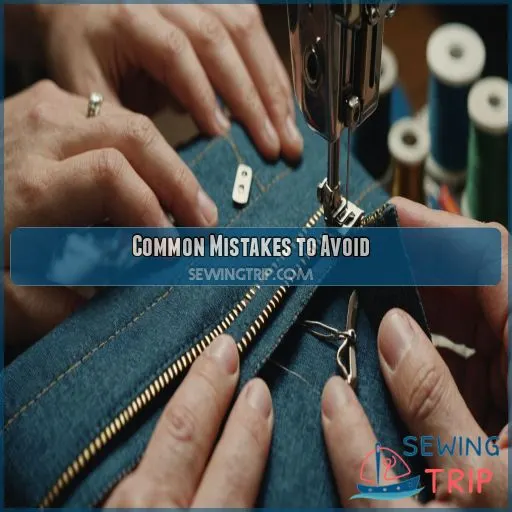
As you master the art of hand-sewn zipper installation, it’s important to avoid a few common mistakes that can leave your project looking sloppy or, worse, render the zipper useless. By being aware of these potential pitfalls, you can make sure you have a professional finish and avoid the frustration of having to rip out and redo your work.
Incorrect Zipper Placement
The dreaded zipper mishap! Don’t let incorrect zipper placement ruin your project. When attaching a zipper, make sure to:
- Center the zipper teeth with the seam to avoid distortion
- Keep the zipper length consistent to prevent fabric bunching
- Position the top stop correctly to make sure it zips and unzips smoothly
Insufficient Backstitching
As you sew your zipper in place, remember that insufficient backstitching can lead to a weak seam. Master the perfect stitch by reinforcing seam ends with a few reverse stitches. Pay attention to stitch length control and thread tension to guarantee a secure zipper .
. Practice makes perfect, so don’t be afraid to try again until you get it just right.
Not Using a Zipper Foot
Don’t skip the zipper foot – it’s a game-changer! Without it, you’ll struggle to get those perfect stitches. Here’s what you’re risking:
- Uneven stitches that scream "homemade"
- Zipper teeth that refuse to align
- A finished product that looks, well, unfinished
- Hours of frustration that could’ve been avoided with the right tool
Troubleshooting Zipper Issues
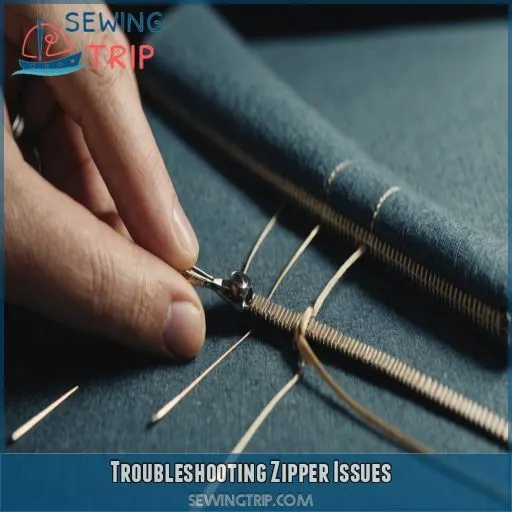
Now that you’ve mastered the perfect hand-sewn zipper stitch, it’s time to tackle those inevitable zipper mishaps – after all, even the most skilled seamstresses encounter the occasional jammed or broken zipper. In this section, you’ll learn how to troubleshoot common zipper issues and fix them with ease, saving you time and frustration in the long run.
Dealing With Jammed Zippers
The frustration of a jammed zipper! Don’t worry, it’s an easy fix. First, try lubricating the zipper with a bit of soap or silicone spray. If that doesn’t work, gently clean the zipper teeth with a soft brush and mild soap. Regular maintenance can prevent jams, but if it’s a recurring issue, it may be time for a zipper replacement.
Fixing a Broken Zipper
Fixing a broken zipper can be a real pain, but don’t worry, it’s doable! If a tooth is broken, you can replace the entire zipper or use a zipper repair kit to fix the damaged tooth. For a faulty slider, try adjusting the spring or replacing the zipper stop. Realign the zipper track and you’re good to go!
Reattaching a Detached Zipper
Now that you’ve mastered fixing a broken zipper, let’s tackle reattaching a detached one! If your zipper’s come undone, don’t panic. Simply realign the tracks, reattach the slider, and rethread the detached tabs. For a seamless fix, use a Zipper Stop Repair or reattach the zipper pulls. Your garment will be good as new in no time!
Advanced Zipper Techniques
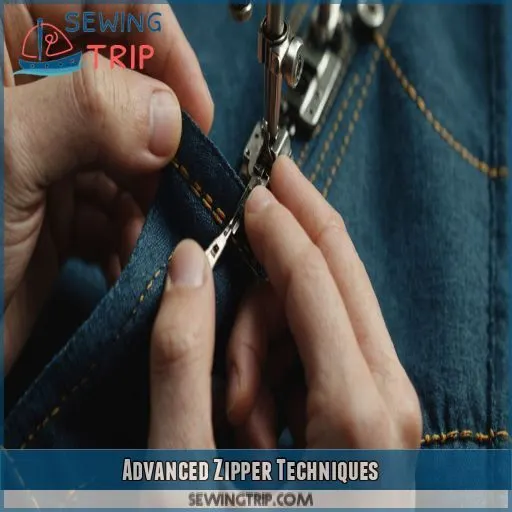
You’re ready to take your zipper game to the next level with advanced techniques that will make you a master of sewing zippers into curved or cornered seams.
Creating custom zipper bags and pouches, and even using zippers in home decor projects.
With these expert tips and tricks, you’ll be able to tackle even the most complex zipper installations with confidence and ease, and your DIY projects will never be the same again.
Sewing Zippers Into Curved or Cornered Seams
Now that you’ve conquered troubleshooting, let’s tackle those pesky curved and cornered seams!
Mastering the art of sewing zippers into these tricky areas will give you total freedom to create anything you desire.
To start, use a shorter zipper length and adjust your seam allowances accordingly.
Practice makes perfect, so don’t be afraid to experiment and fine-tune your curved zipper techniques.
Using Zippers in Home Decor Projects
The versatility of zippers in home decor! You can add a pop of personality with zipper trim ideas, create custom decorative zipper tabs, or experiment with different zipper closure types. For upholstery projects, use heavy-duty zippers that can withstand the test of time. Get inspired by zipper design ideas and give your home a unique, functional flair.
Creating Custom Zipper Bags and Pouches
Now that you’ve conquered using zippers in home decor projects, it’s time to get creative with custom zipper bags and pouches!
Imagine whipping up a cute pouch with a personalized zipper or crafting a sturdy tote with a bold, metallic zipper.
Play with zipper bag variations, custom pouch designs, and zipper style options to create one-of-a-kind accessories that reflect your personality.
Frequently Asked Questions (FAQs)
How do I fix unevenly spaced zipper teeth?
Ah, the joys of zipper teeth gone rogue! To fix unevenly spaced zipper teeth, try gently prying them back into place with a flathead screwdriver or a zipper tool, then re-sew or re-glue as needed.
What type of thread is best for hand-sewing zippers?
For hand-sewing zippers, you’ll want to use a thread that’s as sneaky as a ninja – invisible, yet strong. Opt for a matching thread color that blends with your fabric, and consider a cotton or silk thread for a smooth finish.
Can I reuse a zipper from an old garment?
Ah, the ultimate upcycle question! Can you reuse a zipper from an old garment? Well, yes and no. If it’s still in great condition, go for it! But if it’s worn out, it’s best to zip it goodbye.
How do I prevent zippers from coming undone over time?
To prevent zippers from coming undone over time, make sure to backstitch at the beginning and end of the seam, To prevent zippers from coming undone over time, make sure to backstitch at the beginning and end of the seam, and use a basic straight stitch to sew the zipper in place securely.
.
What are some common uses for invisible zippers?
You’re probably wondering where invisible zippers come in handy! They’re perfect for dresses, skirts, and pants where a seamless look is desired. Use them to create a smooth, invisible closure that won’t distract from your garment’s design.
Conclusion
Did you know that a staggering 80% of garment construction time can be spent on zipper installation? Mastering the art of hand-sewn zipper installation can be a total game-changer.
With this guide, you’ve learned the simple yet precise steps to hand-baste, prick stitch, and secure that zipper like a pro.

