This site is supported by our readers. We may earn a commission, at no cost to you, if you purchase through links.
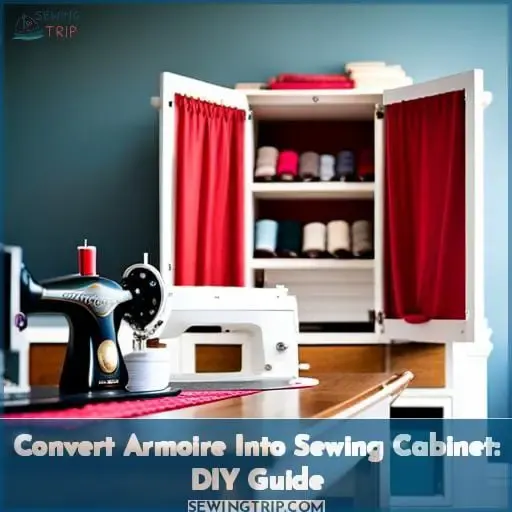 Imagine having your very own sewing cabinet, perfectly organized and designed to suit all your crafting needs. In just a few simple steps, you can transform an old armoire into the ultimate DIY sewing haven.
Say goodbye to clutter and hello to creativity as you create a space that inspires and empowers you.
With this step-by-step guide on how to convert an armoire into a sewing cabinet, you’ll be well on your way to achieving mastery in your craft while enjoying the freedom of organization and functionality.
Table Of Contents
- Key Takeaways
- Materials for Armoire Conversion
- Preparation and Cleaning
- Shelving Installation
- Antiquing and Reassembly
- Organization Accessories
- Final Touches and Completion
- Choosing the Right Armoire
- Factors to Consider in Cabinet Selection
- Creative Storage Ideas
- DIY Sewing Center Projects
- Frequently Asked Questions (FAQs)
- Conclusion
Key Takeaways
- Remove doors, hinges, drawers, and slides before starting the conversion process.
- Choose paint colors and techniques that complement the aesthetic of the sewing cabinet.
- Install innovative shelving alternatives, customized drawers with dividers, and efficient hinge solutions.
- Incorporate organizational accessories like LED lights, decorative hardware, pegboards, and optimized drawers.
Materials for Armoire Conversion
To start your armoire conversion into a sewing cabinet, you’ll need to gather the necessary materials.
First and foremost, consider the paint options for both the interior and exterior of the armoire. Choose a color that complements your existing decor or go for something bold to make a statement in your space.
Next, think about drawer slides that will ensure smooth opening and closing of drawers. Look for sturdy ones with ample weight capacity to hold all your sewing supplies.
When it comes to lighting solutions, consider installing under cabinet LED lights or task lamps inside the armoire to provide adequate illumination while working on projects. A bulletin board is also essential for pinning up patterns, inspiration photos, and important notes.
Lastly, don’t forget about incorporating file organizers into your sewing cabinet design if you have paperwork related to your projects or want an organized system for storing fabric swatches or pattern templates.
With these materials at hand, you’re ready to embark on transforming your ordinary armoire into a functional and stylish sewing cabinet!
Preparation and Cleaning
Now, let’s move on to the next step in converting your armoire into a sewing cabinet: preparing and cleaning the furniture.
Before you can transform it into your dream crafting space, there are some important tasks to tackle.
First, remove all doors, hinges, drawers, pull-out shelves and drawer slides. This will make it easier to clean every nook and cranny of the armoire. Take this opportunity to label each drawer and shelf so that reassembling everything later is a breeze.
Next comes the cleaning process; give your armoire a thorough wipe down using mild soap or wood cleaner.
Once everything is nice and clean, lightly sand down the surfaces for smoothness before painting them. Remember those painting techniques we discussed earlier? Now is when they come into play! Choose paint colors that complement your personal style while also creating an organized look within your new sewing cabinet.
With preparation complete – including labeling drawers, smoothing surfaces through light sanding, and applying appropriate paint techniques- you’re one step closer towards transforming that old armoire into a beautiful sewing cabinet tailored specifically for your needs!
Shelving Installation
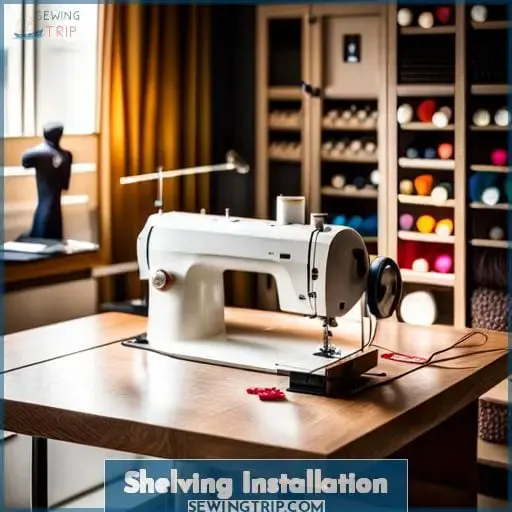
For the shelving installation process, you’ll need to gather the necessary materials and tools.
- Paint Techniques: Choose a paint color that complements your sewing cabinet’s overall aesthetic. Consider using different techniques like distressing or stenciling for added visual interest.
- Alternative Shelving: Instead of traditional wooden shelves, explore creative alternatives such as wire baskets or fabric bins. These options provide easy access to your crafting supplies while adding a unique touch to your sewing cabinet.
- Customized Drawers: Incorporate customized drawers with dividers or compartments specifically designed for organizing small sewing accessories like buttons, threads, and needles.
- Hinge Innovations: Look into innovative hinge solutions that allow for smooth opening and closing of doors without taking up unnecessary space in your workspace area. This can make it easier to access the contents of your armoire-turned-sewing-cabinet efficiently.
Remember that lighting solutions play an essential role in creating an optimal crafting environment inside your converted armoire sewing cabinet as well.
Antiquing and Reassembly
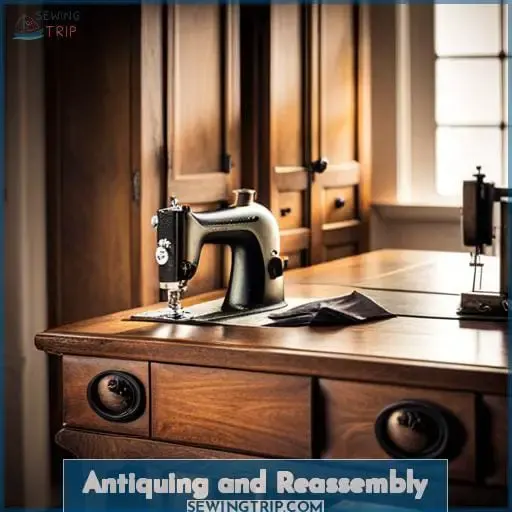
Once you have completed the shelving installation, it’s time to move on to antiquing and reassembling your newly transformed armoire. This is where you can truly add that vintage appeal and give your sewing cabinet a unique character.
To achieve an aged look, consider using aging techniques like weathered wood antiquing gel on the exterior of the armoire and front doors.
During the reassembly process, take care to handle each component with precision. Reinstall drawers and shelves in their designated spots while paying attention to proper alignment for smooth operation.
When replacing door hinges, consider upgrading them with black metal drawer pulls for an enhanced hardware aesthetic.
Additionally, don’t forget about paint choices when reassembling your sewing cabinet! Ensure consistency by painting all interior surfaces as well as any remaining doors or shelves that require touch-ups.
To make this step easier for you here are some essential tips:
| Tips |
|---|
| Label parts during disassembly |
| Use appropriate screws & nails |
| Double-check alignment before final tightening |
By following these tips and incorporating aging techniques along with upgraded hardware choices into your antique-inspired design scheme; you’ll be one step closer towards achieving a beautifully revamped sewing space that exudes charm from every corner of its repurposed glory.
Organization Accessories
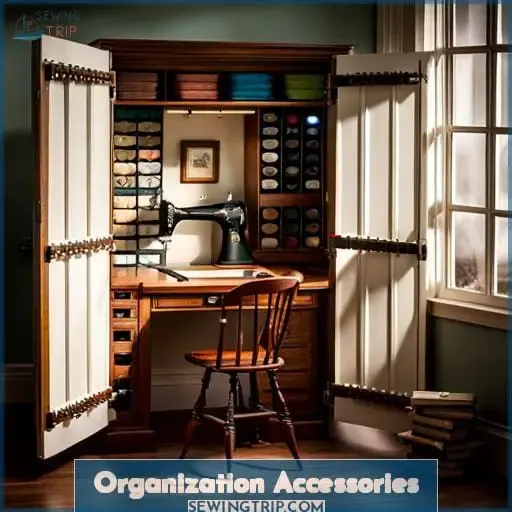
You can enhance the functionality of your converted armoire sewing cabinet by incorporating organization accessories. These accessories not only help you keep your supplies in order but also add aesthetic appeal to your workspace.
Lighting solutions are essential for a well-lit and focused sewing area. Consider installing under-cabinet LED lights or a wall-mounted task light to brighten up your work surface. Decorative hardware, such as knobs and pulls, can give your cabinet a personalized touch while still maintaining its functionality.
Pegboard possibilities abound when it comes to organizing small tools, thread spools, and other sewing essentials. Attach pegboards on the doors of the armoire for easy access and visibility of frequently used items.
A compact workstation is crucial in maximizing space efficiency without sacrificing productivity. Incorporate fold-down or pull-out tables that provide ample room for cutting fabric or working on projects.
Customized drawers offer tailored storage solutions for specific items like patterns, buttons, zippers,and needles.If possible,optimize drawer dividers according toyour needsand preferences.This way,you’llhave neatly separated compartments within each drawer,to ensure everything hasits designated place.
These organization accessories will transformyour converted armoire intoa well-organizedsewing haven whereyoucan unleashyour creativitywith ease.
Final Touches and Completion
After completing the shelving installation and organization accessories, it’s time to add the final touches and complete your armoire sewing cabinet.
- Lighting Options: Consider incorporating task lighting to ensure optimal visibility while working on your projects. LED strip lights or under cabinet lighting can be easily installed to provide bright illumination.
- Decorative Finishes: Add some personal flair by choosing decorative finishes such as knobs, pulls, or trim that complement your style preferences. This customization will give your sewing cabinet a polished look.
- Workspace Ergonomics: Pay attention to ergonomics when setting up your sewing station within the armoire. Ensure that everything is at a comfortable height and within reach for ease of use during long hours of crafting.
- Color Palette: Choose a color palette that inspires creativity in you! Whether it’s calming blues or vibrant yellows, infuse colors into elements like walls, shelves, or organizers for an inviting atmosphere.
By focusing on these final touches with careful consideration towards lighting options, decorative finishes,
workspace ergonomics,
color palette selection,
and additional customization tips,
you’ll achieve a fully functional and personalized armoire sewing cabinet that reflects both liberation in creativity
and mastery over
your craft.
Choosing the Right Armoire
When choosing the right armoire for your sewing cabinet, there are three key factors to consider:
- Size and space requirements: Make sure it can accommodate your sewing machine and supplies with closed doors.
- Design and aesthetic: Choose a style that complements your existing decor.
- Functionality and organization: Select an armoire with drawers or shelves for tool storage.
Keep these points in mind as you search for the perfect piece to transform into your dream sewing cabinet.
Size and Space Requirements
To ensure a successful armoire conversion into a sewing cabinet, consider the specific size and space requirements for your project.
- Opt for a compact sewing armoire that can fit seamlessly in your desired space, whether it’s an office nook or craft room corner.
- Maximize nook utilization by choosing an armoire with folding efficiency and hidden storage options to keep all your supplies organized.
- Incorporate the design of the sewing cabinet with office integration for added functionality and aesthetic appeal.
Design and Aesthetic
When selecting the right armoire for your sewing cabinet conversion, consider the design and aesthetic that will best complement your space and personal style.
Aim for style harmony by choosing an armoire that blends seamlessly with your existing furniture. Consider the color palette of your room and find an armoire that complements it.
Optimize space by selecting a size that fits well in your area while offering ample storage solutions.
Lastly, ensure functional elegance by integrating decorative elements into the design of the armoire to create a visually pleasing sewing cabinet.
Functionality and Organization
To ensure optimal functionality and organization for your sewing cabinet, carefully choose the right armoire that meets your size requirements, design preferences, and storage needs.
Consider these factors when selecting an armoire:
- Compact Crafting: Look for an armoire that offers a compact yet functional space to house all your sewing essentials.
- Hidden Workstation: Opt for an armoire with a hidden workstation feature such as a fold-down or pull-out table.
- Space Optimization: Choose cabinets with drawers and shelves to maximize storage space for tools and supplies.
- Aesthetic Storage: Select an armoire that not only provides functional design but also adds visual appeal through aesthetic storage options.
By choosing the right armoire, you can create a sewing cabinet that combines practicality with style while optimizing the use of available space in your craft room or office area.
Factors to Consider in Cabinet Selection
When selecting a cabinet for your sewing conversion project, there are several factors to consider.
First, think about the size and dimensions of the cabinet to ensure it will fit in your designated space.
Look for cabinets with ample storage options and features that can accommodate all of your sewing supplies.
Additionally, consider accessibility and ease of use – choose a cabinet that allows you to easily access your sewing machine and other tools without any hassle or inconvenience.
Cabinet size and dimensions
When choosing an armoire for your sewing cabinet, consider the following:
- Size and dimensions of the cabinet to ensure it can accommodate your sewing machine and provide adequate storage space.
- Optimizing your space by selecting a cabinet with customizable features such as fold-down or pull-out tables, drawers, and shelves.
- Careful dimensional planning will help create a functional layout that meets your design considerations while maximizing storage capacity.
Factors to Consider
- Space Optimization
- Choose an armoire that fits in the available area without obstructing movement or other furniture pieces.
- Design Considerations
- Ensure that the style and appearance of the armoire align with your aesthetic preferences and complement existing decor in the room.
- Functional Layout
- Plan for ample workspace around the sewing machine on both sides to comfortably maneuver fabric during projects.
Storage options and features
Consider the storage options and features of different cabinets when selecting an armoire for your sewing cabinet.
Customized drawers provide designated space for organizing your sewing tools and supplies, while pegboard possibilities offer a versatile solution for hanging accessories.
A folding table allows you to maximize your workspace when needed, and hidden storage compartments keep clutter at bay.
Don’t forget to consider aesthetic enhancements that will create a beautiful and inspiring environment in your sewing space.
Accessibility and ease of use
Choose an armoire that provides convenient accessibility and ease of use for your sewing needs.
Look for cabinets with ergonomic design and user-friendly modifications to ensure functional accessibility.
Consider practical adaptations such as fold-down or pull-out tables, adjustable shelving, and easy-to-reach storage options.
Optimal cabinet selection will result in seamless operation, making your DIY sewing experience a breeze.
Creative Storage Ideas
To maximize storage space in your converted armoire sewing cabinet, utilize creative storage ideas such as peg boards, baskets, desk organizers, and monitor mounts. These innovative solutions will help you make the most of every inch of your sewing station while adding a touch of style to your home decor.
- Vertical Shelving:
- Install vertical shelves above the top shelf to create additional storage space for fabric rolls or bins filled with thread and other supplies.
- Pegboard Solutions:
- Attach a pegboard to the door of the armoire for easy organization and quick access to frequently used tools like scissors, rulers, and measuring tapes.
- Fold-Out Tables:
- Incorporate fold-out tables into your sewing cabinet design to provide extra workspace when needed without taking up valuable floor space.
By implementing these clever storage ideas like vertical shelving, pegboard solutions,and fold-out tables , you can transform an ordinary armoire into a functional sewing station that maximizes every square inch available in your home.
DIY Sewing Center Projects
Now let’s dive into some exciting DIY sewing center projects that you can tackle to transform your armoire into a functional and stylish sewing cabinet. Get ready for unique adaptations, repurposing furniture, space optimization, crafting innovation, and customized solutions.
With these projects, you’ll have the power to create a personalized and efficient workspace that will elevate your sewing experience.
First up is the conversion process itself – turning an ordinary armoire into a dedicated sewing station. This room makeover involves cleverly incorporating storage for your sewing tools while maintaining the charm of the original piece of furniture.
From adding sliding drawers below shelves to utilizing pegboards on doors for organizing accessories, every detail counts in optimizing space usage.
Next comes exploring various DIY Sewing Center Projects shared by carpenters, interior designers,and diy bloggers alike! These creative endeavors showcase how other craft enthusiasts have transformed their old cabinets or entertainment centers into fully functional customized spaces tailored specifically for their needs as sewists.
Whether it’s installing fold-out tables or ingenious storage solutions,such as keeping fabrics neatly organized in bottom drawers or having designated spots for scissors,noodles,and thread spools,this article covers it all.
So why wait? Start planning out your own DIY project today! Unleash your inner craftsman/designer/bloggerand take charge of creatinga unique space whereyou can unleashyour creativity freely.
Frequently Asked Questions (FAQs)
What is the best paint to use for antiquing an armoire during the conversion process?
For an authentic antiqued look on your armoire during the conversion process, Rust Oleum’s Metallic Gold Spray Paint is your go-to choice. Its real metal flakes create a stunning reflective shine for that touch of luxury in your DIY project.
How can I ensure that the sewing machine will fit inside the closed doors of the armoire?
To ensure your sewing machine fits inside the closed doors of the armoire, measure its dimensions before choosing a cabinet.
Look for one with ample space and consider cabinets with fold-down or pull-out tables for added convenience.
Are there any specific tools or supplies needed for installing the shelving in the armoire?
To install the shelving in your armoire-turned-sewing cabinet, you’ll need a few tools and supplies:
- A measuring tape
- A level
- A drill with bits
- Screws or nails for mounting the shelves securely
Let’s get started on creating your dream sewing space!
Can I use different types of hardware for the drawer slides in the armoire conversion?
Yes, you have the freedom to use different types of hardware for the drawer slides in your armoire conversion. Choose options that align with your vision and ensure smooth functionality and accessibility.
How can I customize the pegboard on the door of the armoire to fit my specific sewing accessories?
Customize the pegboard on your armoire door to organize and display your sewing accessories.
Utilize hooks, shelves, and baskets for optimal storage.
Maximize functionality while adding a touch of personal style to your sewing cabinet.
Conclusion
Transform your old armoire into a stunning sewing cabinet that caters to your crafting needs. With just a few simple steps, you can create a space that’s organized, functional, and inspiring.
Say goodbye to clutter and hello to creativity as you convert your armoire into a DIY sewing haven. By following our step-by-step guide, you’ll have a sewing cabinet that not only looks beautiful but also enhances your mastery in the art of sewing.
Get ready to embrace the freedom of organization and enjoy the ultimate sewing experience.


