This site is supported by our readers. We may earn a commission, at no cost to you, if you purchase through links.
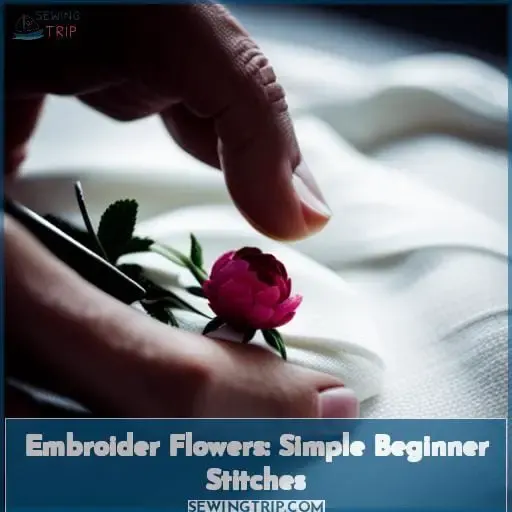 Ready to unleash your creativity and learn how to embroider flowers? Look no further! In this article, you’ll discover simple beginner stitches that will bring your floral designs to life.
Whether you’re a seasoned seamstress or just starting out with embroidery, these easy-to-follow instructions and step-by-step photos will guide you every stitch of the way.
Get ready to add a touch of beauty and elegance to your projects as we dive into the world of embroidery flowers.
Let’s get stitching!
Table Of Contents
- Key Takeaways
- Materials for Embroidery
- Stitches for Flower Embroidery
- How to Stitch Flower Stems
- Straight Stitch a Simple Flower
- Lazy Daisy Stitch Lavender
- Woven Wheel Stitch Poppies
- Long and Short Stitch Pansies
- Looped Buttonhole Stitch Flowers
- Flower Embroidery Uses
- More Flower Embroidery Tips
- Frequently Asked Questions (FAQs)
- Conclusion
Key Takeaways
- Experiment with different fabric types to add variety to your flower embroidery.
- Use contrasting thread colors to make your floral embroidery stand out.
- Don’t be afraid to mix different flower stitches together in one project for a unique and dynamic look.
- Explore alternative stitches to create diverse flower embroidery patterns.
Materials for Embroidery
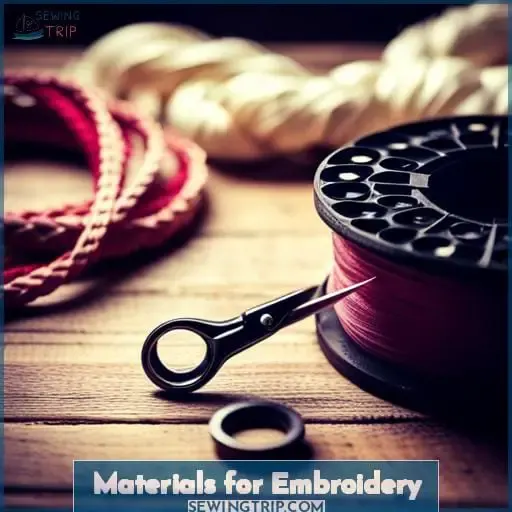
To embroider flowers, you’ll need the following materials.
First, choose a fabric that suits your project – cotton, linen, calico, or batiste are commonly used for embroidery.
Next, gather a pair of sharp scissors to cut your thread and trim excess fabric.
You’ll also need high-quality thread in various colors to bring your floral designs to life.
Don’t forget an embroidery needle with a sharp point and large eye for easy threading.
For stability while stitching, use a wooden embroidery hoop to hold the fabric tautly in place.
With these essential materials at hand – fabric, scissors,
thread (in beautiful hues), needle,
and hoop – you’re ready to embark on
your journey into flower-filled
embroidery bliss!
Let’s get started creating stunning floral art with simple beginner stitches.
Stitches for Flower Embroidery
Now let’s explore some stitches for flower embroidery that are perfect for beginners. You’ll frequently use these stitches to create beautiful floral designs on your fabric.
- Stem Stitch: Create elegant and realistic stems or vines with this stitch. It gives a solid line without any gaps, making it perfect for any type of flower.
- Satin Stitch: Use this stitch to fill in the petals of your flowers with smooth, shiny threads. It creates a clean and polished look that adds dimension and vibrancy to your design.
How to Stitch Flower Stems
Start by choosing the shape and direction of your flower stem.
The stem can be curved or straight, long or short, thick or thin, depending on the design you want to achieve.
Consider these options as you stitch your flower stems:
- Curved stems add a natural flow and movement to your embroidery.
- Straight stems create a clean and structured look.
- Long stems are great for elongating flowers in your design.
- Short stems work well for petite flowers or buds.
- Thick stems make a bold statement in your floral embroidery.
Experiment with different stitches like the satin stitch, looped buttonhole stitch, or even simple straight stitches to bring life to your flower embroidery.
Remember that mastering various embroidery stitches will give you endless possibilities when stitching beautiful blooms.
Straight Stitch a Simple Flower
Continue stitching your flower embroidery by mastering the technique of straight stitching a simple flower.
The straight stitch is a fundamental stitch for beginners, allowing you to create beautiful petals and outline the shape of your flowers with ease.
To begin, choose two strands of thread and insert your needle through the fabric at one end of where you want your petal to be.
Then, reinsert your needle directly opposite from where you started and bring it up again close to where you first entered the fabric. Repeat this process along each side until all petals are formed, making sure that they’re evenly spaced apart.
Once completed, consider adding French knots in different colors at their centers for an extra touch of dimensionality.
Lazy Daisy Stitch Lavender
To create a lovely lavender design, you’ll frequently use the lazy daisy stitch. This versatile stitch is perfect for creating delicate and realistic flower petals.
Here are some key points to keep in mind when using the lazy daisy stitch for your lavender embroidery:
- Start with a small circle to mark the center of your flower.
- Draw the full outline of your petals – aim for 5 or more petals to achieve that lush lavender look.
- Only pull the needle enough for you to get a grip on it; no need to pull all the way through as excess thread creates each petal.
4.Use one hand to keep holding onto looped thread while using other hand poke needle up near tip of petal and bring it back down over looped thread, securing it in place.
With these tips in mind, you’ll be able create beautiful and lifelike lavender flowers using this simple yet effective stitching technique!
Woven Wheel Stitch Poppies
You can embroider vibrant red poppies using the woven wheel stitch. This stitch creates beautiful textured flowers with a central star and overlapping stitches that form the petals.
When creating your woven wheel stitch poppies, you have numerous design choices to consider, such as:
- Petal size
- Petal shape
- Petal spacing
- Number of petals
Experiment with different thread colors to achieve varying shades of red for your poppy petals. The length of each individual stitch will also affect the overall appearance of your flower.
To enhance realism in your embroidery piece, pay attention to:
- Stem thickness
- Stem length
- Leaf shape
- Leaf size
By mastering the woven wheel stitch technique for creating poppies, you’ll be able to add a touch of nature’s beauty to any fabric project or artwork you undertake.
- Play around with various shades from deep burgundy to bright scarlet for an eye-catching effect.
- Varying petal sizes will give depth and dimensionality while experimenting with different shapes can create unique floral designs.
- Adjusting petal spacing allows you control over how tightly or loosely packed together they appear on each flower.
- Consider incorporating leaves into your design by selecting appropriate leaf shapes that complement the overall composition.
- Remember that stem thickness affects both its visual impact within the design as well as its strength when stitching onto fabric surfaces
Long and Short Stitch Pansies
Create beautiful pansies using the long and short stitch embroidery technique. To achieve stunning results, follow these steps:
- Choose a fabric type that complements your design, such as cotton or linen.
- Select the number of strands based on the desired thickness of your stitches.
- Begin by outlining the petal shape with a backstitch in a contrasting color.
- Fill in each petal using alternating long and short stitches to create depth and dimension.
- Experiment with different shades for each petal to mimic natural variations in color.
With this technique, you can bring your pansy embroidery to life, capturing its delicate beauty with every stitch.
Looped Buttonhole Stitch Flowers
As you continue exploring flower embroidery stitches, let’s delve into the technique of creating looped buttonhole stitch flowers.
The looped buttonhole stitch allows you to create beautiful petals that have a unique shape and style. Experiment with different sizes and scales of petals to achieve the desired effect.
Consider the placement and balance of your flowers within your design, ensuring that they complement each other in terms of color contrast as well.
By varying the number of loops in each petal, you can add even more visual interest to your embroidered flowers.
Get creative with this versatile stitch and watch as it brings life and vibrancy to your embroidery projects!
Flower Embroidery Uses
Now that you’ve learned some beautiful flower embroidery stitches, it’s time to explore the various ways you can use them to enhance your projects.
Flower embroidery is a versatile technique that can be used in many different ways, from embellishing clothes and home textiles to covering stains and repairing garments.
- Embellish Clothes: Add a touch of floral elegance to your wardrobe by embroidering flowers onto plain t-shirts, blouses, or denim jackets.
- Enhance Home Textiles: Spruce up pillows, tablecloths, or curtains by stitching colorful flowers onto them for a vibrant and personalized touch.
- Cover Stains: Hide unsightly stains on fabric items such as napkins or placemats by strategically placing embroidered flowers over them.
- Create Inspiring Wreath Quotes: Use flower embroidery techniques to stitch inspirational quotes within wreaths for unique wall decor pieces that uplift and inspire.
With these creative ideas in mind, let your needle guide you towards transforming ordinary fabrics into extraordinary works of art through the beauty of flower embroidery!
More Flower Embroidery Tips
You can enhance your flower embroidery skills with these additional tips:
- Experiment with different fabric types to embroider on clothes, shoes, hats, and bags. Cotton, linen, calico, and batiste are great choices for their smooth texture and durability.
- When embroidering on clothes or accessories like shoes or hats, make sure to choose a design that complements the item’s style.
- Use contrasting thread colors to make your floral embroidery pop. This will add depth and dimension to your designs.
- Don’t be afraid to mix different flower stitches together in one project. Combining straight stitch with lazy daisy stitch or woven wheel stitch can create unique floral arrangements.
By incorporating these tips into your flower embroidery projects,
you’ll have more freedom in expressing yourself creatively while mastering new techniques along the way!
Frequently Asked Questions (FAQs)
Can I use a different type of fabric for embroidery other than cotton or linen?
Expand your creative horizons by exploring different fabrics for embroidery, such as silk, velvet, or even denim. Experimentation with various textures and materials can elevate your floral designs to new levels of artistry and expression.
How do I choose the right number of strands for my embroidery floss?
To achieve the desired effect in your flower embroidery, consider selecting a number of strands for your floss that allows you to create intricate details and add depth to your design.
Experiment with different strand thicknesses until you find what suits your artistic vision.
What other types of flowers can I create with the woven wheel stitch?
Expand your floral repertoire with the woven wheel stitch.
Create stunning roses, daisies, or sunflowers by following the same weaving pattern.
Experiment with different thread colors to bring your embroidered flowers to life!
Can I use different colors of thread for the satin stitch?
Yes, you can definitely use different colors of thread for the satin stitch!
Experiment with various shades to add depth and dimension to your embroidery.
Let your creativity shine through!
Are there any alternative stitches I can use to create flower embroidery patterns?
Expand your flower embroidery repertoire with alternative stitches like the seed stitch, bullion knot, or spider web stitch. These stitches add texture and dimension to your designs, giving you even more creative power in mastering floral embroidery patterns.
Conclusion
As you reach the end of this article, you’ve taken the first steps into the enchanting world of embroidering flowers. With the simple beginner stitches and techniques you’ve learned, you can now bring your floral designs to life with beauty and elegance.
Whether you’re a seasoned seamstress or just starting out, these easy-to-follow instructions and step-by-step photos have guided you every stitch of the way.

