This site is supported by our readers. We may earn a commission, at no cost to you, if you purchase through links.
 Hemming a knit dress by hand is a breeze once you get the hang of it.
First, turn the dress inside out and mark your desired hemline with pins.
Carefully trim the excess fabric, leaving a bit of room to fold the raw edge up and under for a clean finish.
For stitches, you’ll want something with stretch, like a blind hem – it creates an almost invisible stitch that moves with the fabric.
Take your time pinning and stitching, keeping an eye on tension to avoid wavy hems.
Finish by securing the stitches and giving it a good steam press. Voila – your knit dress is hemmed to perfection, ready to dazzle!
Table Of Contents
Key Takeaways
- Turn your dress inside out and use pins to mark your desired hemline, like mapping out a treasure. Grab your scissors and snip the extra fabric with care, leaving some room to fold for a clean finish.
- Befriend the blind hem stitch – it’s the secret handshake of the sewing world, making your stitches nearly invisible. Take your time to get it right; it’s like learning to ride a bike, but for your hands.
- Keep your pins evenly spaced, and think of them as your tiny cheerleading team keeping the fabric from unraveling or wobbling. Use a pressing cloth to crisp up those lines, channeling your inner ironing board magician.
- Don’t forget to invite your iron to the hem party. A good press will flatten the fabric and ensure your hem looks sleek, like a perfectly tailored suit ready for a spotlight moment on the red carpet.
Preparing the Knit Dress for Hemming
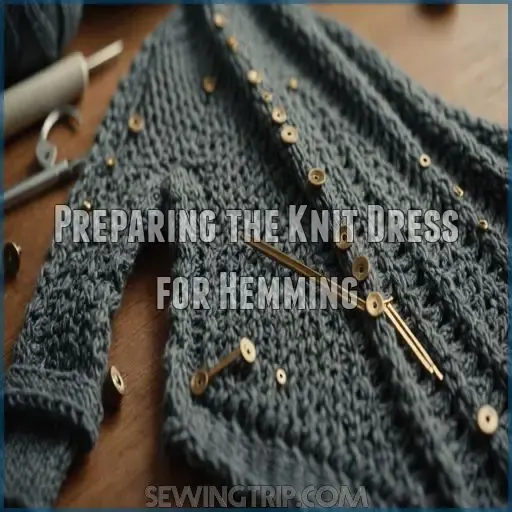
When you’re gearing up to hem your knit dress by hand, the first step is to flip it inside out and carefully mark your desired hemline.
Don’t worry about feeling like a contestant in a cutting competition – just snip away any excess fabric, fold the raw edge, and you’re halfway to a flawless finish.
Turning the Dress Inside Out and Marking the Hemline
Transform your dress into a canvas for hemming mastery! First, turn it inside out, revealing its hidden potential. Grab your trusty marking tools and let the hemline challenge begin.
Follow these steps for hemline accuracy:
- Use a measuring tape to find your desired length.
- Mark every few inches with ballpoint pins.
- Smile—you’re creating art with hand sewing, like using an overcast stitch https://sewingtrip.com/what-is-an-overcast-stitch/ to finish the edges of your knit dress!
Cutting the Excess Fabric for Hemming
With a dash of precision, grab your sharp scissors and prepare for the thrill of cutting fabric for your dress hem.
Trim the excess, leaving a hem allowance that respects your marked line with the grace of a ballet dancer.
This is your chance—don’t let those dull scissors sabotage your fabric type.
Folding the Raw Edge for Hemming
Now that you’ve cut the excess fabric, it’s time to fold that raw edge. Fold the extra fabric up to the hemline, then fold in the raw edge. This will create a nice, clean finish.
Use pins to hold the fold in place as you work.
Pressing the fold will also help it stay put and prevent any pesky curling.
Hand Hemming Stitches for Stretch Fabrics
When hemming a knit dress by hand, you’ll need stitches that move with the fabric, ensuring lasting comfort and style.
Don’t worry if you haven’t used the blind hem stitch before; it’s like a secret handshake for your dress—keeping the hem smooth and nearly invisible.
Choosing the Best Stitches for Stretch Fabrics
When picking hand stitches for stretchy knit fabric, consider your options like choosing the best friend to rely on for sewing stretchy fabrics.
The stretch/herringbone stitch and back stitch are champs here.
They offer enough give without popping stitches, much like that one friend who adapts anywhere.
Understanding the Blind Hem Stitch for Stretchy Knit
Mastering the blind hem stitch for knit fabrics, like a learn about different stitch options, transforms hemming a knit dress, like a wedding or prom dress, into an art.
Aim for invisible hems by catching just a single thread loop—think of it as a covert operation.
This technique makes sure your masterpiece remains pristine, even in stretch fabrics or tricky patterned fabrics.
Your hand-sewing journey begins!
Folding and Pinning the Knit Fabric Hem
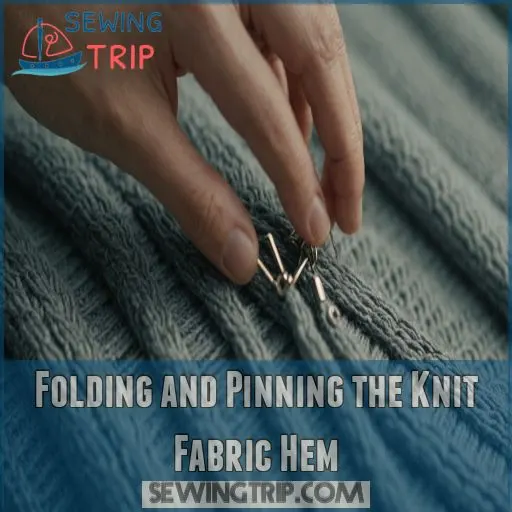
Carefully measure and fold the fabric to the perfect hemline, pinning it in place to avoid any distortion or unraveling.
With a steady hand and an eye for detail, you’ll have that knit dress looking sleek and polished in no time.
Measuring and Folding the Fabric Accurately
Alright, you’ve chosen your stitch. Let’s measure twice, so you only fold once—sounds cliché, but it’s like finding love on the first swipe!
Align the hemline with fabric grain and create even folds.
Keep tension control in mind to avoid wavy hems.
Use a pressing cloth for crisp, clear lines.
Your knit dress hem is shaping up beautifully.
Pinned in Place, Avoiding Distortion and Unraveling
Imagine avoiding a wobbly hemline—pinning properly is like giving your dress a pep talk! Use these tips to keep fabric tension and placement just right:
- Choose quality hemming tools.
- Space pins evenly for uniform stitch density.
- Use enough pins to minimize distortion.
- Insert pins perpendicular to the hem.
- Avoid over-stretching during pin placement.
Performing the Blind Hem Stitch
Get ready to perform the blind hem stitch like a sewing ninja—you’ll need a sharp needle and steady hands for this.
Don’t worry if it seems tricky at first; with practice, you’ll have those stitches disappearing faster than cookies at a bake sale!
Using Sharp Needle, Cutting Excess Fabric as Needed
You’ll want to use a sharp needle to precisely cut away any excess fabric as you work the blind hem stitch.
Sharp, high-quality scissors are a must for making those delicate, accurate cuts without distorting the fabric.
Carefully snip off any stray threads or bulky areas to keep the hem looking clean and professional.
Needing Up in Unvisible Under-stitch Way
Now, let’s tackle that invisible hem like a pro! Grab your needle and thread, ready for some neat stitch tricks.
Here’s how:
- Slide the needle through surface loops without piercing the outer fabric, making sure your invisible hems are indeed, well, invisible.
- Make sure stitch tension stays relaxed throughout for a smooth look.
- Finish by knotting tightly, cementing your handiwork. Easy-peasy!
Completing and Reinforcing the Hemline
You’ve stitched your hem, and it’s time for the grand finale. To wrap things up, secure your stitches with a neat knot. Thread the needle through a loop, pull until the knot snugly settles. Good stitch security gives you hem durability. Trim any excess thread but don’t over-snip – you need some wiggle room for the fabric to stretch naturally.
Speaking of stretching, think superheroes maintaining their secret identity, your hem should remain invisible yet strong. Give your hem some TLC with steam ironing. This helps the fabric lay flat and maintains dress alignment, like a disciplined dancer.
Frequently Asked Questions (FAQs)
What is the best way to hem a knit dress?
Hemming a knit dress by hand is like taming a playful kitten.
Fold the edge, pin it carefully, and use a blind hem stitch for a nearly invisible finish.
Don’t skip using a ballpoint needle!
What is the best stitch for hemming stretchy fabric by hand?
When hand sewing stretchy fabric, use the stretch or herringbone stitch for a strong, flexible seam. Learn more about sewing stretchy fabrics.
It’s like a boomerang—stretches back and forth, maintaining tension while keeping you from unraveling your efforts.
Your hem will stay put without popping stitches!
How to shorten a knitted dress without sewing?
Shorten that knitted dress without sewing?
Easy peasy!
Just grab some fabric glue and work your magic.
In a jiffy, you’ll have a custom fit that’ll have everyone green with envy.
What tools do I need for hand hemming?
You’ll need sharp scissors, a ruler or tape measure, hand sewing needles, matching thread, pins, and an iron.
Toss in hemming tape for stability if you’re looking to avoid a hem gone wild!
How to choose thread color for hemming?
Pick a thread color closely matching the fabric for an invisible finish, or go bold with contrast for flair!
Imagine your dress whispering, “Show off or blend in?”
Trust your gut—and maybe your eyes—and sew confidently.
Can I use a hem gauge for accuracy?
Why rely on guesswork when precision is a cinch with a hem gauge?
This handy tool is your best buddy for even hems.
It measures like a pro while you sip your coffee and ponder stitches!
How do I fix a puckered hem?
Don’t sweat the puckered hem!
Gently press the fabric with a hot iron, then use a bit of starch or sizing to stiffen the edge.
That should smooth things out and have your hem looking crisp in no time.
What stitch works for heavy knit fabrics?
For heavy knit fabrics, the stretch/herringbone stitch is your best buddy.
It’s flexible enough to handle the fabric’s weight and gives you a secure hem.
You’ll master it like a sewing ninja, trust me!
Conclusion
You’ve tackled how to hem a knit dress by hand, showcasing your budding sewing skills.
Next time you face the fabric, you’ll be quicker and even more confident.
Enjoy skipping the tailor’s bill and savor the satisfaction of a job well done.
A successfully hemmed dress isn’t just clothing; it’s your canvas of achievement.
So, go ahead, sashay with pride, flaunting that hemline as if it were your very own signature detail!


