This site is supported by our readers. We may earn a commission, at no cost to you, if you purchase through links.
 Picture this: your furry best friend strutting around with a stylish bandana, catching everyone’s attention.
Get ready to unleash your creativity and give your pup the fashion statement they deserve. With simple materials and easy steps, you’ll have them looking pawsitively adorable in no time.
Let’s dive into the world of DIY dog fashion!
Table Of Contents
Key Takeaways
- Choose fabric that is comfortable and appropriate for your dog’s size and style.
- Use scissors or pinking shears to create clean cuts and prevent fraying.
- Follow the instructions to create a simple no-sew dog bandana.
- Customize your bandana with patterns, colors, and decorations to add a personal touch.
DIY Dog Bandana: Materials Needed
To make a DIY dog bandana without sewing, you’ll need:
- Fabric or an item to upcycle
- Scissors (preferably pinking shears)
- A square of fabric large enough for your pet’s neck.
Fabric options can include fat quarters or bandanas that are readily available. Pinking shears are helpful in reducing fraying without the need for stitching.
Fabric or Upcycling Options
To make a no-sew dog bandana, you’ll need:
- Fabric or an upcycled item suitable for crafting
- Choose a fabric with the right weight and type for your dog’s comfort
- Consider fabric color and pattern to match your pet’s style
- Ensure the fabric size is appropriate for their neck measurements
- Upcycle old shirts by cutting them into triangles or squares, creating stylish bandanas without sewing!
Scissors or Pinking Shears
You’ll need a pair of scissors or pinking shears to make your DIY dog bandana.
- Scissors are versatile and can be used on various fabric types.
- Pinking shears help reduce fraying on corners and edges.
- Shears provide clean cuts for precise shaping of the bandana.
Square of Fabric for Neck Size
Measure your dog’s neck to determine the appropriate size for the square of fabric needed.
Choose a fabric type that’s comfortable and durable for your furry friend.
Once you have determined the desired square size, fold each corner inward to create a neat miter angle.
If desired, add binding trim for extra flair.
This will ensure that your DIY no-sew bandana fits perfectly around your dog’s neck.
Simple No-Sew Dog Bandana
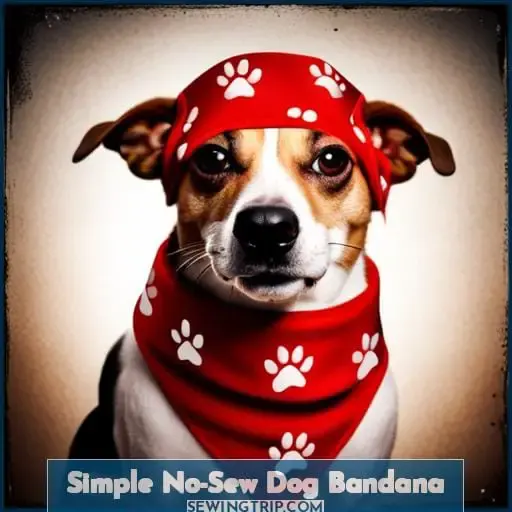
To create a simple no-sew dog bandana, start by cutting fabric into a triangle or square shape.
Roll the top edges slightly for easy tying and to achieve an adorable rolled neck look.
This method allows you to customize your bandanas without the need for sewing, making it a quick and hassle-free project that adds style to your furry friend’s wardrobe.
Creating a Triangle or Square Shape
Cutting a triangle or square shape is the first step in creating a simple, no-sew dog bandana.
To achieve this, use your fabric scissors to carefully cut out the desired shape.
For a triangular bandana, make sure all three sides are equal in length.
If you prefer a square bandana, ensure that all four sides are of equal length as well.
Once you have your desired shape cut out, it’s time to move on to the next steps of tying and folding!
Rolling the Top Edges for Tying
Roll the top edges of your DIY dog bandana for easy tying and a snug fit.
Rolled edges prevent unraveling, create a stylish touch, and are comfortable for dogs.
They add a polished look to your homemade accessory while ensuring it stays securely in place during playtime or walks.
Simply roll the fabric inward towards the center on both sides, creating neat hems that are easy to tie and won’t come undone easily.
Achieving a Rolled Neck Look
To achieve a rolled neck look for your simple no-sew dog bandana, continue by gently folding over the top edges of the fabric.
Roll the edges inward or outward to different widths based on your preference.
You can choose to roll them with or without pins, depending on what works best for you.
Whether you roll the edges before or after cutting, make sure they’re smooth and secure using fusible hemming tape.
This will create a polished finish that adds style to your dog’s bandana and ensures comfort around their neck.
Versatility of No-Sew Dog Bandanas
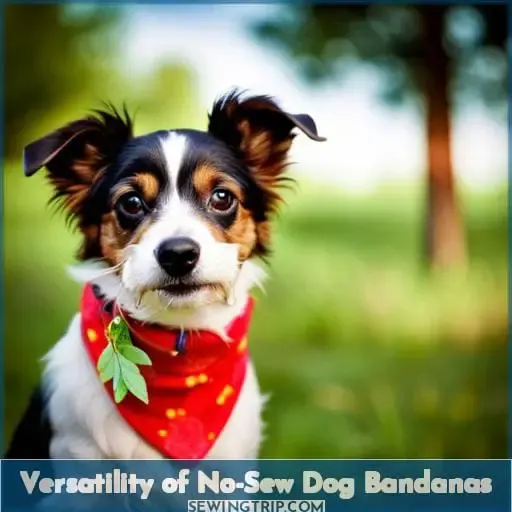
When it comes to the versatility of no-sew dog bandanas, durability is a crucial factor.
The fabric used will determine how well the bandana holds up over time. Some fabrics fray easily, while others are more resilient.
Other factors that affect durability include the weave of the fabric, how it’s cut and oriented, and regular wear-and-tear from your pup’s adventures.
Durability Based on Fabric
When choosing the fabric for your no-sew dog bandana, consider its durability based on factors such as weave, fray resistance, and wear-and-tear.
Opt for fabrics that are fray-resistant and heavyweight to ensure longevity.
Double-fold hems with mitered corners or binding trim can provide finished edges that prevent fraying.
By selecting durable fabrics, you can create a long-lasting and stylish accessory for your furry friend’s adventures.
Using Pinking Shears to Reduce Fraying
Reduce fraying in your no-sew dog bandanas by using pinking shears.
These handy tools have zigzag-shaped blades that create a serrated edge, minimizing fraying on fabric.
By cutting your fabric with pinking shears, you can create fray-resistant edges for a more durable bandana.
This technique is especially useful when working with materials prone to fraying, allowing you to enjoy stylish and long-lasting DIY dog accessories without the need for sewing or complicated techniques.
Factors Affecting Bandana Durability
One important factor to consider when making no-sew dog bandanas is the durability, which can vary depending on the fabric used.
The fabric weave and cut orientation play a significant role in determining how well the bandana will withstand wear and tear.
Opting for fray-resistant fabrics or using pinking shears to reduce fraying can enhance the overall durability of your homemade bandana.
Remember that a sturdy fabric choice will ensure long-lasting use for your pup’s stylish neck tie.
Triangular Vs. Square DIY Dog Bandanas
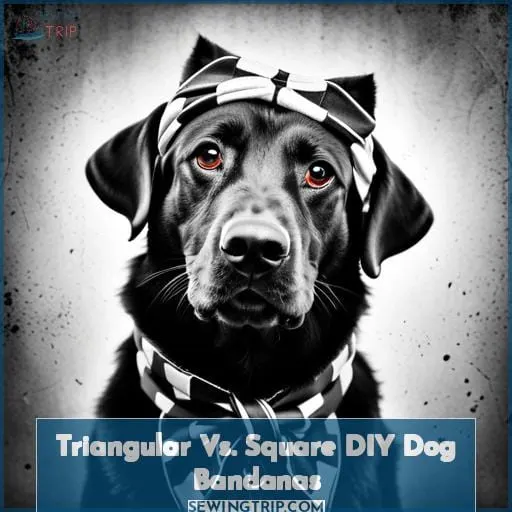
When it comes to DIY dog bandanas, you have two options: triangular or square.
Triangular bandanas are tied around your dog’s neck, while square bandanas are folded on a diagonal and then tied in place.
Both styles can be easily made without sewing and offer a stylish accessory for your furry friend.
Don’t forget to roll the top edges for added comfort and flair!
Tying and Wearing Triangular Bandanas
To tie and wear triangular bandanas, simply:
- Fold the fabric into a triangle shape.
- Secure it around your dog’s neck.
The rolled edges provide a snug fit while adding a touch of style to your DIY dog bandana. With the versatility of different fabrics and no-sew options, you can get creative with personalized touches for a unique design that showcases your creativity.
Enjoy this easy-to-tie, triangle-shaped accessory for your furry friend!
Folding and Tying Square Bandanas
When folding and tying square bandanas, you can easily create a stylish accessory for your pup.
To ensure the edges don’t fray, use no-sew hems or binding trim ties.
Consider adding mitres to give the bandana a polished look.
For a fun twist, try making reversible bandanas with concealed hems.
Rolling the Top Edges for Both Styles
To achieve a polished and secure fit for both triangular and square DIY dog bandanas, roll the top edges tightly before tying them around your furry friend’s neck.
Rolling the edges not only prevents fraying but also adds a neat finish to your bandana. Whether you’re opting for mitered corners or binding trim ties, this simple technique will give your homemade bandana a professional touch.
Plus, with reversible designs, you can enjoy two looks in one without any sewing required!
Adding a Personal Touch to DIY Dog Bandanas
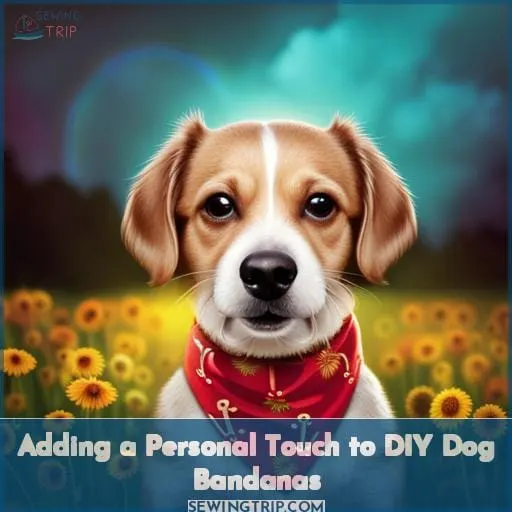
Now that you’ve mastered the art of making a no-sew dog bandana, it’s time to take it up a notch and add your personal touch.
Customizing with patterns, colors, and decorations allows you to create a unique accessory that reflects your dog’s personality.
Experimenting with different fabric choices can also give your DIY bandanas an extra flair.
So get creative and have fun making personalized dog accessories!
Customizing With Patterns, Colors, and Decorations
You can easily add a personal touch to your DIY dog bandanas by customizing them with patterns, colors, and decorations.
Choose from solid colors, stripes, or floral prints for a classic look.
If your pup is sporty, opt for dog-themed prints or sports logos.
For some extra sparkle and flair, consider adding sequins, beads, or lace accents.
Metallic fabrics like holographic or glow-in-the-dark materials can create eye-catching designs.
Get creative with embroidery patches or appliqué for unique designs that stand out!
Personalizing to Match Your Dog’s Personality
To personalize your DIY dog bandana and match it to your furry friend’s unique personality, you can add a variety of patterns, colors, and decorations.
- Choose bold and vibrant colors to reflect their energetic nature.
- Opt for fun patterns that showcase their playful side.
- Consider adding decorative elements like buttons or bows for a touch of charm.
Experimenting With Different Fabric Choices
When personalizing your DIY dog bandanas to match your furry friend’s personality, you can add a unique touch by experimenting with different fabric choices.
Opt for fray-resistant fabrics that come in different shapes and sizes.
Play around with finished edges that require no sewing, allowing you to create customized bandanas without the hassle of stitching.
Let your creativity shine as you experiment with various fabrics for stylish and personalized no-sew dog bandanas.
Frequently Asked Questions (FAQs)
Can I use any type of fabric for a no-sew dog bandana?
You can use a variety of fabrics for your no-sew dog bandana.
Choose fray-resistant materials, such as salvaged dress shirt fabric, or opt for fusible hemming tape to secure the edges on more delicate fabrics.
How do I know what size bandana to make for my dog?
To find the right size bandana for your dog, measure their neck circumference.
Choose a fabric that symbolizes their freedom.
Make sure the bandana is comfortable and allows them to express their individuality.
Can I use pinking shears to reduce fraying on any type of fabric?
Yes, you can use pinking shears to reduce fraying on most fabrics.
They create a zigzag edge that helps prevent unraveling.
Just be sure to cut close enough to the fabric’s edge for effective results.
What is the difference between a triangular and a square DIY dog bandana?
Triangular bandanas are tied fashionably around your furry friend’s neck, while square bandanas offer a folded and tied style. Both options provide a personalized touch to showcase your pup’s personality and enhance their playful spirit.
Are there any specific decorations or patterns that work best for dog bandanas?
When it comes to decorating dog bandanas, the possibilities are endless!
You can choose patterns that reflect your pet’s personality.
Or add fun embellishments like buttons or patches.
Get creative and make it uniquely theirs!
Conclusion
To truly make a fashion statement for your furry friend, look no further than a DIY no-sew dog bandana.
With just a few simple materials and easy steps, you can create a stylish accessory that will have your pup strutting their stuff.
Whether you opt for a triangular or square design, the versatility of these bandanas allows you to customize them to your dog’s personality.
So unleash your creativity and give your pup the pawsitively adorable fashion statement they deserve!


