This site is supported by our readers. We may earn a commission, at no cost to you, if you purchase through links.
This guide will guide you through the simple steps for perfect threading, from inserting the bobbin to pulling up the thread. You’ll gain mastery over your machine and innovate your sewing projects with assurance.
Let’s explore the key techniques for proper bobbin placement and threading.
Table Of Contents
Key Takeaways
- Turning off your sewing machine before bobbin insertion isn’t just a suggestion – it’s your secret weapon against accidental needle pokes. Think of it as putting on your seatbelt before driving; you wouldn’t hit the road without it, right?
- Threading through those tiny notches might feel like you’re trying to thread a needle with your eyes closed, but don’t fret! With a bit of practice, you’ll be doing it faster than you can say "bobbin."
- When it comes to pulling up that elusive bobbin thread, a pencil can be your best friend. Who knew your old No. 2 could moonlight as a sewing assistant?
- cleaning your bobbin area regularly is like flossing – it’s not the most exciting task, but boy, does it make a difference! A little TLC goes a long way in keeping your machine purring like a kitten.
How to Put Bobbin in Sewing Machine?
To put a bobbin in your sewing machine, start by turning it off. Open the bobbin area and insert the bobbin into its case, making sure it spins counterclockwise. Thread it through the notches, then push the case back into the machine.
Next, raise the presser foot and needle, place thread on the spool pin, and follow the thread guides. Pass it through the take-up lever and thread the needle.
Finally, raise the presser foot, turn the handwheel to loop threads, and pull up the bobbin thread.
With practice, you’ll be threading like a pro in no time. Ready to delve deeper into the domain of flawless stitches?
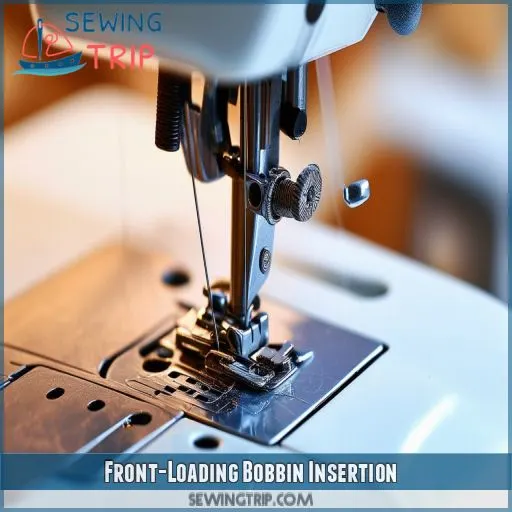
Front-Loading Bobbin Insertion
To insert a front-loading bobbin, first turn off your sewing machine and open the bobbin area. Then, carefully insert the bobbin into its case, thread it through the notches, and push the case back into the machine until it clicks into place.
Turn Off Machine
Before you embark on threading your bobbin, safety first! Turn off your sewing machine completely.
This simple step prevents accidental needle movement and potential injuries. It’s an essential habit to develop, especially when you’re handling delicate parts like the bobbin case.
Stay safe, and you’ll be sewing like a pro in no time!
Open Bobbin Area
Now that you’ve turned off your machine, it’s time to access the bobbin area.
For front-loading machines, locate the hinged cover on the front. Gently open it to reveal the bobbin case.
This step is essential for proper bobbin placement and maintaining thread tension.
You’re one step closer to mastering your sewing machine!
Insert Bobbin Into Case
Now that you’ve opened the bobbin area, it’s time to insert the bobbin into its case. This step is pivotal for flawless threading. Take your wound bobbin and gently place it into the case, making sure it fits securely. Remember, different machines may have minor variations, so always consult your manual for detailed guidance.
Here are key points to keep in mind:
- Bobbin types vary (front-loading vs. top-loading)
- Proper bobbin tension is essential for smooth sewing
- Guarantee thread compatibility with your machine
- Proper bobbin winding prevents future issues
- Consider bobbin storage to maintain thread quality
Thread Through Notches
Once you’ve inserted the bobbin into the case, it’s time to thread it through the notches. You’ll find a small slit or groove in the bobbin case.
Guide the thread through this opening, ensuring it’s snug but not overly tight. This step is essential for proper thread tension.
As you wind the thread, pay attention to how it moves through the bobbin case. Different bobbin types may have slightly varying notch designs.
Push Case Into Machine
Now that you’ve threaded the bobbin case, it’s time to secure it in your machine. Here’s how:
- Gently hold the bobbin case, ensuring thread compatibility.
- Align the case with the shuttle, watching for proper tension adjustment.
- Push firmly until you hear a satisfying click.
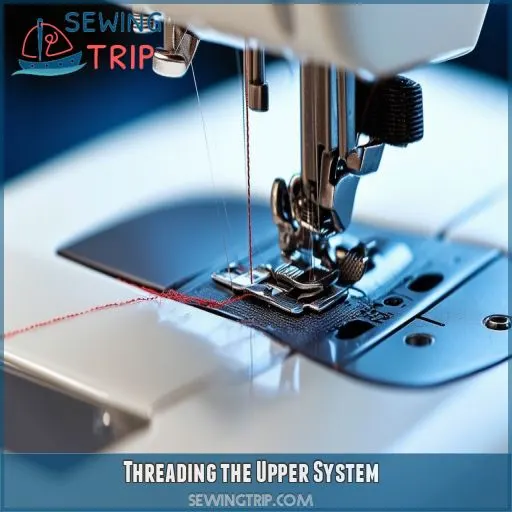
Threading the Upper System
After inserting the bobbin, you’ll need to thread the upper system of your sewing machine. Start by raising the presser foot and needle, then place your thread on the spool pin and follow the thread guides, passing it through the take-up lever before finally threading the needle.
Raise Presser Foot and Needle
Now that you’ve inserted the bobbin, it’s time to tackle the upper threading.
First, raise the presser foot and needle. This simple step is key for smooth threading.
Turn the handwheel in your direction until the needle reaches its highest point. As you do this, watch the take-up lever rise.
This action creates the necessary space for threading and ensures proper tension for your upper thread.
Place Thread on Spool Pin
Now that you’ve lifted the presser foot and needle, it’s time to position your thread on the spool pin. This step is essential for proper thread tension and smooth sewing. Here’s what you need to know:
- Choose the appropriate thread type for your project
- Verify that the spool orientation aligns with your machine’s design
- Consider thread color for visibility on your fabric
- Check that the bobbin size is compatible with your machine
- Adjust top thread tension as needed for ideal stitching
Follow Thread Guides
Now that you’ve placed the thread on the spool pin, it’s time to navigate the thread guides. These little loops and hooks are your thread’s roadmap through the sewing machine.
Follow them carefully, ensuring proper tension as you go. Each guide plays an important role in thread placement, so don’t skip any!
Pass Through Take-up Lever
After guiding the thread through various points, you’ll reach the take-up lever. This essential component controls thread tension and feed. Here’s why it’s important:
- Regulates thread flow
- Prevents thread tangling
- Ensures proper stitch formation
- Aids in bobbin winding
Locate the take-up lever near the top of your machine. It’s usually a hook-like mechanism that moves up and down. Thread it carefully, following your machine’s diagram for precise placement. This step is key for smooth sewing and perfect stitches.
Thread Needle
After passing through the take-up lever, it’s time to thread the needle. This final step can be tricky, but with practice, you’ll master it. Here’s a quick guide on needle threading and related aspects:
| Aspect | Description |
|---|---|
| Needle Types | Universal, ballpoint, denim |
| Needle Sizes | 9/70 (fine) to 16/100 (heavy) |
| Threading Tips | Use needle threader, moisten thread |
| Maintenance | Replace regularly, clean lint |
| Storage | Keep in pincushion or case |
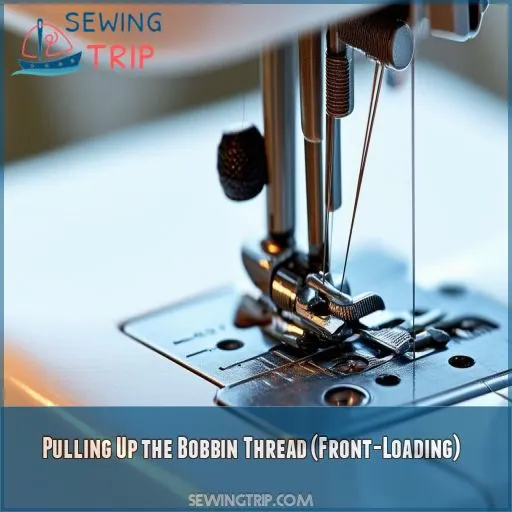
Pulling Up the Bobbin Thread (Front-Loading)
After threading the upper system, you’ll need to pull up the bobbin thread for your front-loading machine. To do this, raise the presser foot and turn the handwheel counterclockwise, creating a loop with the upper thread that catches the bobbin thread.
Raise Presser Foot
Now that you’ve threaded the upper system, it’s time to raise the presser foot. This essential step in front-loading bobbin insertion sets the stage for smooth threading. Lift the presser foot lever to elevate the presser foot, creating space for the bobbin thread.
Here’s why raising the presser foot is essential:
- Prevents thread tangling
- Ensures proper tension
- Facilitates easy bobbin thread retrieval
- Protects your fingers during threading
Adjust the presser foot height and pressure as needed for your specific fabric and project.
Turn Handwheel to Loop Threads
With the presser foot raised, it’s time to create that essential thread loop.
Grab your handwheel and give it a confident turn back. As you rotate, watch the needle descend into the bobbin area.
This motion causes the upper thread to dance with the bobbin thread, creating a loop beneath the needle plate.
Keep turning until the needle rises back up, completing one full rotation.
Pull Upper Thread to Bring Up Bobbin Thread
Now, it’s time to bring up the bobbin thread. With your sewing machine’s presser foot raised, gently pull the upper thread. You’ll feel a slight resistance as the bobbin thread is drawn up. This essential step guarantees proper thread tension for your project.
Here’s what’s happening:
- The upper thread catches the lower thread
- A small loop of bobbin thread appears
- Both threads align for smooth stitching
- Your drop-in bobbin system is now ready for action
Use Pencil to Pull Out Loop
Once you’ve brought up the bobbin thread, you’ll see a small loop.
Here’s where a handy tool comes in: grab a pencil. Gently hook the loop with the pencil’s tip and pull it out. This simple trick makes catching that elusive thread a breeze.
For beginners in sewing courses, mastering this technique is vital. It’s a game-changer for smooth threading in your sewing machine.
Pull Both Threads Under Presser Foot
Now that you’ve used a pencil to pull out the loop, it’s time to secure both threads. Gently pull both the upper and bobbin threads beneath the presser foot. This guarantees proper tension and alignment for your sewing project. Remember to leave about 4-6 inches of thread tails for a clean start.
- Lift the presser foot slightly for easier thread placement
- Guide both threads in the direction of the back of the machine
- Lower the presser foot to hold threads in place
- Double-check thread tension before starting your first stitch
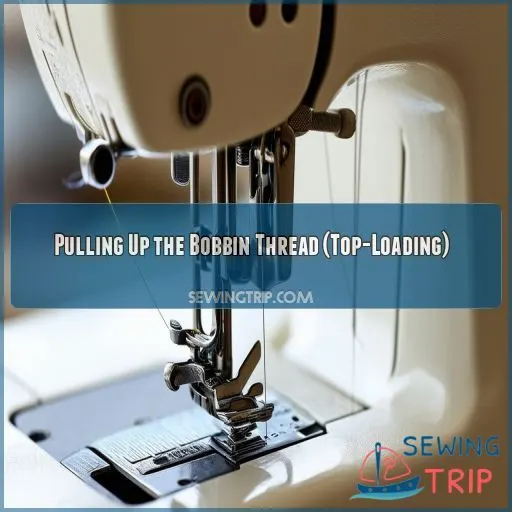
Pulling Up the Bobbin Thread (Top-Loading)
For top-loading bobbin machines, you can often start sewing without pulling up the thread, unless you’re doing gathers or free-motion quilting. If you need to pull up the thread, lower the needle to loop the threads, then pull the upper thread to bring up the bobbin thread.
Start Sewing Without Pulling Up Thread (if Applicable)
For many modern top-loading sewing machines, you don’t need to pull up the bobbin thread before starting. Simply begin sewing, and the machine will automatically catch the bobbin thread. This time-saving feature lets you dive right into your project. However, always check your machine’s manual, as some models may require a different approach.
| Advantages | Considerations | Tips |
|---|---|---|
| Time-saving | Check manual | Maintain proper thread tension |
| Convenient | Machine-specific | Use quality bobbin and thread |
| Beginner-friendly | May vary by project | Regular machine maintenance |
Pull Up Thread for Gathers or Free-motion Quilting
When you’re readying for gatherings or free-motion quilting, retrieving the bobbin thread is vital. Don’t be misled by those tensionless bobbins; proper setup prevents thread issues, blockages, and tangles.
Your sewing machine’s layout, especially the rotary shuttle hook and bobbin case opening, plays a critical role.
This sewing lesson will confirm that your bobbin thread tension is precise, giving you a solid foundation for success in your creative undertakings.
Lower Needle to Loop Threads
To loop threads on your top-loading sewing machine, start by turning the handwheel in your direction. This lowers the needle into the bobbin area. As you continue rotating, watch for the needle to come back up. This movement creates a loop with the bobbin thread.
The key is smooth, controlled handwheel rotation.
Different bobbin types may require slight adjustments in technique.
Removing the Bobbin
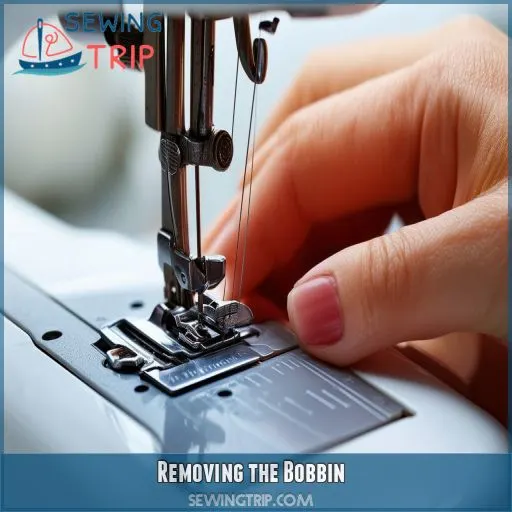
To remove the bobbin, first push the bobbin spindle back to the left. Then, carefully take out the bobbin and push the handwheel back in to complete the process.
Push Bobbin Spindle Back to Left
Once you’ve finished winding your bobbin, it’s time to release it from the winding position.
Locate the bobbin spindle on your sewing machine and gently push it back to the left. This action disengages the bobbin winding mechanism, allowing you to proceed with the next steps.
Remove Bobbin
After pushing the bobbin spindle back to the left, it’s time to remove the bobbin. Gently lift the bobbin from its case, ensuring you don’t disturb the bobbin alignment or tension.
Different sewing machines may have varying bobbin types, like drop-in bobbins or those in an oscillating shuttle hook. For beginners, it’s essential to familiarize yourself with your machine’s specific bobbin system.
Push Handwheel Back In
After removing the bobbin, it’s time to push the handwheel back in. This step is essential for maintaining proper bobbin tension and facilitating smooth sewing. Here’s why it matters:
- It resets the machine’s mechanism
- Prevents thread tangling
- Ensures correct thread weight distribution
- Prepares the bobbin case for your next project
- Keeps your machine functioning optimally for future creations
Frequently Asked Questions (FAQs)
How do you put the bottom bobbin in a Singer sewing machine?
Like threading Ariadne’s labyrinth, you’ll navigate your Singer’s underworld. Open the bobbin cover, insert the wound bobbin counterclockwise, guide the thread through the tension spring and slot, then close the cover. You’re ready to stitch!
How to load a front bobbin?
To load a front bobbin, open the cover, remove the bobbin case, and place your wound bobbin inside. Thread it through the slit, reinsert the case, and lock it in place. You’ll hear a satisfying click when it’s secure.
How do you attach a bobbin to a spool?
Ready to master bobbin attachment? You’ll need a spool holder and an empty bobbin. Place the thread spool on the holder, guide the thread through the machine’s top guides, then wind it onto the empty bobbin. It’s that simple!
How to load a top loading bobbin?
You’ll need to lift the needle plate cover, insert the wound bobbin counterclockwise, guide the thread through the slit, and pull it to the left. Lower the cover and you’re ready to start sewing!
How often should I replace my sewing machine bobbin?
You might be surprised, but your trusty bobbin doesn’t need frequent replacing. It’s durable! However, if you notice fraying, warping, or tension issues, it’s time for a change. Generally, they’ll last years with proper care.
Can I use different thread types in bobbin and needle?
You can use different thread types in your bobbin and needle, but it’s not always ideal. For best results, stick to matching threads. If you’re experimenting, test on scrap fabric first to avoid potential tension issues.
Why does my bobbin thread keep breaking or tangling?
You’re battling a thread-pocalypse! Your bobbin’s throwing a tantrum because it’s likely improperly threaded, the tension’s off, or there’s debris in the case. Clean it, rethread carefully, and adjust the tension. You’ll conquer this sewing drama!
Is it necessary to clean the bobbin area regularly?
Yes, it’s imperative to clean your bobbin area regularly. This will prevent thread jams, maintain smooth operation, and prolong your machine’s life. A quick brush-out after every project and a thorough cleaning monthly will keep your sewing on track.
Can I wind multiple bobbins at once on my machine?
While it’d be convenient, most machines can’t wind multiple bobbins at once. You’ll need to wind them individually. But don’t worry, it’s a quick process. With practice, you’ll be winding bobbins like a pro in no time.
Conclusion
Mastering how to put a bobbin in your sewing machine is a game-changer for your crafting journey. You’ve now learned the steps for both front-loading and top-loading machines, as well as how to thread the upper system and pull up the bobbin thread.
With practice, you’ll become more confident in your sewing skills. Remember, proper bobbin insertion is key to smooth stitching and avoiding frustrating thread jams.

