This site is supported by our readers. We may earn a commission, at no cost to you, if you purchase through links.
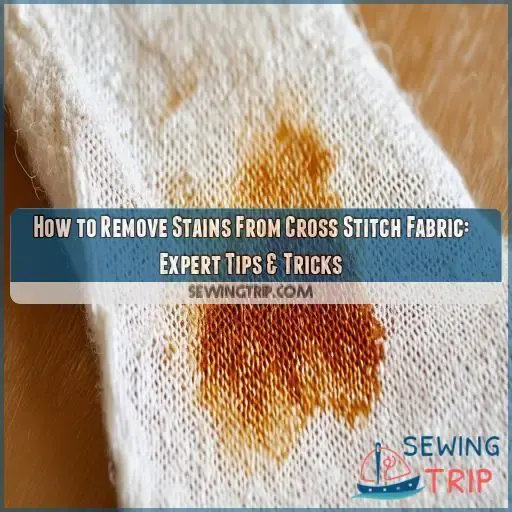
Work from the back of the fabric to prevent pushing the stain deeper. Your kitchen cupboard holds secret weapons: vinegar for stubborn marks, baking soda for grease, and lemon juice for ink.
For a thorough clean, soak in mild soap and lukewarm water, then rinse well. Finally, dry flat and iron from the back.
With these tips, you’ll be well-equipped to tackle even the trickiest stains.
Table Of Contents
Key Takeaways
- Act fast or forever hold your peace! When it comes to stains on your beloved cross stitch, time is of the essence. Like a superhero swooping in to save the day, you’ll want to tackle that spill before it sets up camp in your fabric.
- Know thy enemy: Is it a sneaky tannin stain or a greasy intruder? Identifying the culprit is half the battle. Once you’ve got its number, you can pull out the big guns – be it vinegar, baking soda, or good ol’ lemon juice from your kitchen arsenal.
- Treat your fabric like a delicate flower. No rough-housing here! Work from the back, dab gently, and for heaven’s sake, step away from that wringer. Your cross stitch masterpiece will thank you for the tender loving care.
- When in doubt, test it out. Before you go all mad scientist on your project, do a little experimenting in a hidden corner. After all, you don’t want your cure to be worse than the disease!
How to Remove Stains From Cross Stitch Fabric?
To remove stains from cross stitch fabric, first identify the stain type and act quickly to absorb excess liquid or remove solid matter. Then, use gentle cleaning solutions like vinegar or mild soap, working from the back of the fabric to prevent spreading, and finish with a careful wash and press.
Identify the Stain Type
To effectively remove stains from your cross stitch fabric, you’ll need to identify the type of stain you’re dealing with. The five main categories are food or protein stains, tannin stains, oil-based stains, dye stains, and combination stains, each requiring a specific approach for successful removal.
Food or Protein Stains
When tackling food or protein stains on your cross stitch fabric, you’re in for a challenge. These stubborn marks, like blood or egg, require swift action. Don’t let them set!
Enzyme action is your ally, but beware of bleach damage. Grab lukewarm water and mild soap, avoiding boiling water that can cause color fading.
Gently dab the stain, working from the outside in. Remember, too much scrubbing risks fabric weakening.
Tannin Stains
Tannin stains on your cross stitch fabric can be tricky, but don’t fret! These pesky marks from tea, coffee, or wine love to cling to fibers.
You’ll need to act fast to tackle them head-on. Grab some white vinegar or a specialized tannin remover to break down those stubborn stains.
With patience and the right approach, you’ll conquer those tannin troubles!
Oil-Based Stains
While tannin stains can be tricky, oil-based stains on your cross stitch fabric present a different challenge. You’ll need to act fast to tackle these stubborn marks.
Grab your enzyme cleaners or whip up a baking soda paste. For hand embroidery, try a dab of dish soap or lemon juice application.
Dye Stains
Dye stains on your cross stitch fabric can be tricky, but don’t panic! You’ve got this. Here’s how to tackle those pesky color culprits:
- Identify the dye type (ink, fabric dye, or marker)
- Test RetroClean on a small area to prevent thread bleeding
- For stubborn stains, try methylated spirits
Combination Stains
Combination stains on your cross stitch fabric can be tricky, but don’t worry!
You’ll need to identify each component to tackle them effectively. Start by examining the stain’s color and texture. Is it part grease, part dye?
Use a mix of cleaning solutions appropriate for each element. Enzymes work wonders for protein-based stains, while bicarbonate of soda and lemon juice tackle grease and dye.
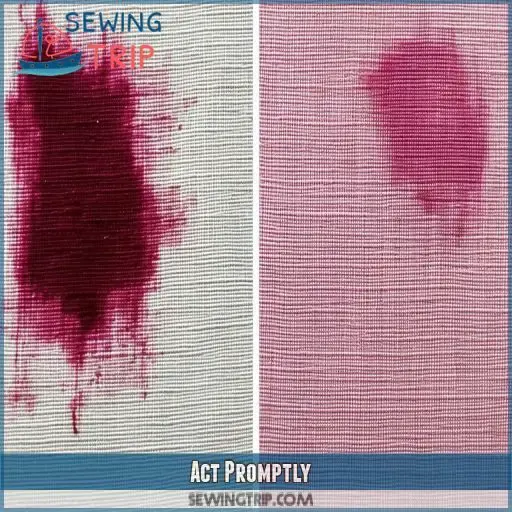
Act Promptly
When you spot a stain on your cross stitch fabric, act quickly to prevent it from setting. Begin by absorbing any excess liquid with a clean cloth, gently removing solid matter, and carefully dabbing the affected area with a white cloth to avoid spreading the stain or damaging the fabric.
Absorb Excess Liquid
Once you’ve identified the stain type, it’s imperative to act swiftly.
For water-based stains on your cross stitch fabric, grab clean towels and blot the area right away. Don’t rub, as this can spread the stain and harm delicate threads.
For red wine spills, use soda water to prevent setting. Remember to test for colorfastness before applying any liquid.
This spot treatment is your first line of defense in the hand wash method.
Remove Solid Matter
After absorbing excess liquid, it’s imperative to remove any solid matter from your cross stitch fabric.
Gently scrape off food particles, debris, or excess solids using a blunt edge like a spoon or butter knife. Be careful not to spread the stain further.
For stubborn bits, use tweezers to pluck them off delicately.
This step is essential before washing cross stitch to prevent food stains from setting deeper into the fabric.
Dab Gently With White Cloth
When tackling stains on your cross stitch fabric, grab a white cloth and dab gently. This method is essential for:
- Preventing color transfer from colored cloths
- Protecting delicate vintage fabrics from damage
- Minimizing stain spread to unaffected areas
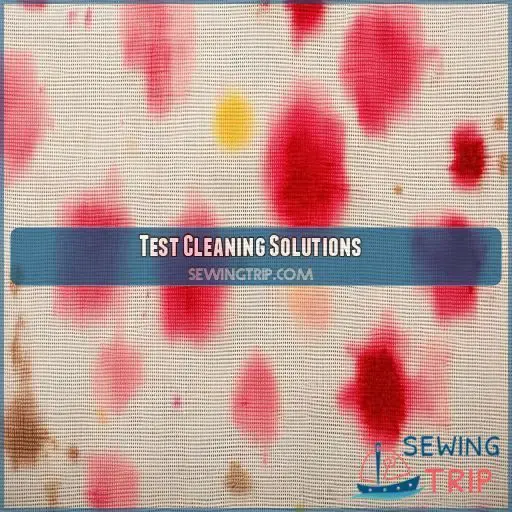
Test Cleaning Solutions
Before applying any cleaning solution to your cross stitch fabric, test it on an inconspicuous area first. This important step allows you to check for any adverse reactions, such as color bleeding or fabric damage, ensuring you don’t accidentally ruin your precious needlework.
Inconspicuous Area
After acting quickly, it’s time to test your cleaning solution. Choose a hidden spot on your cross stitch fabric to verify the treatment won’t cause damage. Here’s a quick guide:
| Test Area | Purpose |
|---|---|
| Hem | Check color fastness |
| Corner | Assess fabric reaction |
| Back side | Evaluate stain removal |
| Edge | Determine solution strength |
Avoid Fabric Damage
When testing cleaning solutions, you’re walking a tightrope between stain removal and fabric damage. Always dab gently and work backwards from the stain’s edge.
Test solutions on an inconspicuous area first to avoid unwelcome surprises.
Work From the Back
When tackling stains on cross stitch fabric, work from the back of the material to prevent pushing the stain deeper into the fibers. Start from the outer edges of the stain and move inward, using gentle dabbing motions to lift the discoloration without spreading it further.
Outside In
When tackling stains on your cross stitch fabric, work from the outside in to maximize cleaning efficiency. This technique prevents stain spreading and minimizes fabric damage. Here’s why it’s necessary:
- Concentrates cleaning power at the stain’s edge
- Gradually pushes the stain inward
- Reduces the risk of creating a larger affected area
Always test your cleaning solution on an inconspicuous area first. Remember, patience is key – rushing can lead to unintended consequences.
Prevent Stain Spreading
To prevent stain spreading, always work from the back of your cross stitch fabric. This technique keeps the stain from migrating further into the fibers.
You’ll want to use gentle drying techniques and proper storage methods to protect your fabric. Be mindful of thread bleeding, which can worsen stains.
Use Store Cupboard Essentials
You can effectively tackle cross stitch fabric stains using common household items like vinegar, bicarbonate of soda, lemon juice, salt, and soda water. These store cupboard essentials offer targeted solutions for various stain types, from tea and grease to ink and blood, providing a cost-effective and convenient approach to stain removal.
Vinegar
Vinegar’s your secret weapon against stubborn stains on cross stitch fabric. It’s particularly effective for:
- Tea stains that have set in over time
- Yellowing from age or improper storage
- Perspiration marks left by handling
You’ll find vinegar tackles discoloration and odors with ease. Soak your fabric in a solution of white vinegar and water, then rinse thoroughly. Be sure to remove any vinegar residue to prevent future yellowing or unwanted smells.
Bicarbonate of Soda
Bicarbonate of soda, or baking soda, is your secret weapon against stubborn stains. Create a paste by mixing it with water, and you’ve got a powerful grease removal tool. It’s especially effective on perspiration marks, leaving your fabric fresh and clean.
But that’s not all – this versatile powder also works wonders for odor removal. Sprinkle it on your cross stitch project, let it sit, and watch it deodorize like magic.
Lemon Juice
While bicarbonate of soda tackles grease, lemon juice is your go-to for ink and rust stains. This citrus powerhouse isn’t just for lemonade; it’s a stain-fighting superhero!
Squeeze fresh lemon juice directly onto the stain, or mix it with water for a gentler solution. Its natural acidity breaks down stubborn marks, leaving your cross stitch fabric pristine.
For best results, apply and let it sit before rinsing thoroughly.
Salt
After trying lemon juice, don’t forget the power of salt for your cross stitch fabric. This kitchen staple isn’t just for seasoning; it’s a stain-fighting superhero!
You can create salt baths or scrubs to tackle tough stains. While you’re not exactly mining for solutions, you’ll feel like you’ve struck gold when you see how effectively salt removes blood stains.
It’s like having a salt lamp for your fabric’s cleanliness!
Soda Water
While salt’s great for blood, soda water’s your go-to for red wine spills. Keep a bottle handy for cross-stitch emergencies. When disaster strikes:
- Pour soda water directly onto the stain
- Blot gently with a clean cloth
- Repeat until the stain fades
This fizzy solution works wonders if you act fast. It’s like giving your fabric a bubbly shield against those pesky wine marks. Quick response is key!
Soak and Wash
To effectively soak and wash your stained cross stitch fabric, use mild soap and lukewarm water, letting it soak for 15 minutes to an hour depending on the stain’s severity. Gently swish and rub the fabric, paying extra attention to stained areas, then rinse thoroughly in multiple changes of cool water to remove all soap residue.
Mild Soap
Regarding the delicate task of hand washing your cross stitch fabric, mild soap is your ideal ally. Opt for a gentle choice like Soak Scentless or even dish soap for DIY methods. These options will safeguard your intricate stitches and fabric fibers from harm.
Before immersing your fabric, test its colorfastness on a concealed corner.
Bear in mind that a little soap goes a long way in preserving your cherished creation.
Lukewarm Water
When tackling stains on your cross stitch fabric, lukewarm water is your secret weapon. It’s gentle enough to protect delicate fibers while effectively loosening dirt and grime.
The water temperature matters – too hot, and you risk setting stains; too cold, and it won’t clean effectively. Consider your fabric type and stain type when choosing the perfect lukewarm temperature.
15 Minutes to 1 Hour
Once you’ve identified the stain type and prepared your cleaning solution, it’s time to soak your cross stitch fabric. The soaking time can vary from 15 minutes to an hour, depending on the severity of the stain. Here’s what you need to know:
- Lighter stains may only need 15-30 minutes
- Stubborn stains might require up to an hour
- Check the fabric every 15 minutes
- Don’t oversoak, as it can damage delicate threads
Gently Swish and Rub
After soaking, it’s time to tackle those stubborn stains. Grab a soft toothbrush and gently swish the fabric in the soapy water.
Don’t be afraid to use a bit of elbow grease on those pesky spots, but remember: gentle is the name of the game. You’re not scrubbing pots and pans here!
This targeted approach will help loosen dirt and stains without damaging your precious cross stitch work.
Multiple Rinses
After gently swishing and rubbing the stained area, it’s time for multiple rinses. This essential step guarantees complete removal of soap and loosened debris. Use cool or cold water for each rinse, changing to fresh water each time. Here’s why multiple rinses are essential:
- Prevents soap residue from attracting dirt
- Removes any remaining stain particles
- Helps maintain fabric integrity
Keep rinsing until the water runs clear, signaling your cross stitch fabric is thoroughly clean.
Dry and Iron
After washing, lay your cross stitch fabric face-down on a soft towel and gently roll it up to absorb excess water, avoiding wringing which can damage the fibers. Once the fabric is slightly damp, press it from the back using a warm iron, employing the steam setting with a press cloth for stubborn creases if needed.
Face-Down on Towel
After washing, lay your cross stitch fabric face-down on a clean, dry towel. This protective measure preserves your hard work. Arrange it carefully, smoothing out any wrinkles. Here’s a quick guide to help you master this vital step:
| Fabric Type | Drying Time | Care Level |
|---|---|---|
| Cotton | 2-4 hours | Easy |
| Linen | 4-6 hours | Moderate |
| Aida | 3-5 hours | Easy |
| Evenweave | 4-6 hours | Moderate |
| Silk | 6-8 hours | Delicate |
Roll Towels to Absorb
After laying your cross stitch fabric face-down on a soft towel, it’s time to roll out the excess water.
Gently roll the towels with your fabric inside, applying light pressure. This technique helps absorb moisture without damaging your work.
Use absorbent towels and roll multiple times if needed.
The rolling action mimics wringing but is much gentler, preserving your stitches while effectively removing water.
No Wringing
After soaking and washing your stained cross stitch fabric, resist the urge to wring it out. Wringing can damage delicate fibers and set stubborn stains. Instead, gently press out excess water using towel absorption techniques. This method prevents stain spreading and maintains the fabric’s integrity. Remember, patience is key when dealing with cross stitch stains.
- Use cool water to rinse out soap residue
- Choose a mild, pH-neutral soap for cleaning
- Lay fabric flat between clean towels
- Press gently to absorb moisture
- Allow natural air drying for best results
Press From Back
After gently rolling your cross stitch in towels, it’s time to press.
Place your fabric face-down on a clean, dry towel. Using a warm iron, press from the back to protect your stitches.
Move the iron in the direction of the fabric’s weave, applying gentle pressure. Keep the iron moving to avoid heat-setting any remaining stains.
This method safeguards your floss while smoothing out wrinkles.
Steam Setting With Press Cloth
For stubborn creases, use your iron’s steam setting with a press cloth. This extra moisture and protection will help smooth out your fabric without damaging your stitches. Here’s how:
- Place a clean, lint-free cloth over your cross stitch
- Set your iron to steam and medium heat
- Gently press in circular motions, lifting frequently
You’ll master ironing delicate fabrics in no time, giving you control over your project’s final appearance.
Frequently Asked Questions (FAQs)
How to get stains off cross stitch?
Like a skilled surgeon, tackle those stubborn stains on your cross stitch masterpiece. You’ll want to act fast, using gentle methods. Try dabbing with a white cloth and mild soap, then rinse carefully. For tougher spots, consider specialized cleaners.
Can you use oxiclean on cross stitch?
You can use OxiClean on cross stitch, but be cautious. It’s effective for stubborn stains, but dilute it well and test on a small area first. Don’t soak for too long, and rinse thoroughly to protect your delicate handiwork.
How do you get stains out of vintage embroidery?
You’re holding a treasured piece of history, but those stubborn stains are marring its beauty. Don’t fret! Gently soak your vintage embroidery in a diluted RetroClean solution. Work carefully from the back, dabbing with a soft cloth to preserve delicate stitches.
Can you wash cross stitch with Dawn dish soap?
You can wash cross stitch with Dawn dish soap. It’s gentle yet effective for removing stains. Dilute a small amount in lukewarm water, soak your piece briefly, and gently agitate. Rinse thoroughly and air dry flat.
Can I use bleach on cross stitch fabric?
You shouldn’t use bleach on cross stitch fabric. It’s too harsh and can damage both the fabric and threads. Instead, try gentler options like RetroClean or mild soap. They’ll safely remove stains without risking your hard work.
How to remove mold stains from vintage cross stitch?
Just as ancient tapestries reveal hidden stories, your vintage cross stitch holds secrets of time. To banish mold’s dark whispers, mix equal parts water and white vinegar. Gently dab the solution on affected areas, then air-dry thoroughly.
Are there special considerations for hand-dyed fabric stains?
You’ll need to be extra cautious with hand-dyed fabrics. Use gentle, pH-neutral cleaners to avoid color bleeding. Test in an inconspicuous area first, and consider spot-cleaning rather than full immersion. Always check the dye’s colorfastness before attempting stain removal.
Can I machine wash cross stitch to remove stains?
You shouldn’t machine wash cross stitch. It’s too harsh and can damage your work. Instead, hand wash gently using lukewarm water and mild soap. Dab stains carefully, don’t rub. Always air dry flat to preserve your stitches.
How to prevent color bleeding when removing stains?
Like a surgeon’s precision, test colors first. You’ll prevent bleeding by using cool water, mild detergents, and avoiding harsh scrubbing. Soak gently, dab don’t rub, and consider color fixatives. Always separate dark and light fabrics when cleaning.
Conclusion
Removing stains from cross stitch fabric isn’t just about quick action; it’s an art form. You’ve now got the tools to tackle even the most stubborn marks.
Don’t forget to work from the back and always be gentle. With these expert tips on how to remove stains from cross stitch fabric, you’ll keep your creations pristine for years to come.

