This site is supported by our readers. We may earn a commission, at no cost to you, if you purchase through links.
 Ready to bring your own cuddly creation to life? Learning how to sew a doll is easier than you might think!
Start by choosing soft, tightly woven cotton fabric and gathering essential tools like sharp scissors and a flexible tape measure.
Cut out your pattern pieces carefully, then sew them together with right sides facing.
Turn the limbs and head right side out, and stuff them firmly but not too tightly. Add personality with embroidered features or button eyes, and don’t forget the all-important hair!
Remember, practice makes perfect, so don’t be discouraged if your first attempt looks more like a distant cousin of Frankenstein’s monster. Soon you’ll be crafting one-of-a-kind dolls that are truly unique.
Table Of Contents
- Key Takeaways
- Choosing the Right Fabric
- Essential Tools for Doll Making
- Constructing the Doll Body
- Adding Personality With Embellishments
- Stuffing the Doll
- Sewing the Doll Limbs and Torso
- Creating Facial Features
- Making Doll Clothes
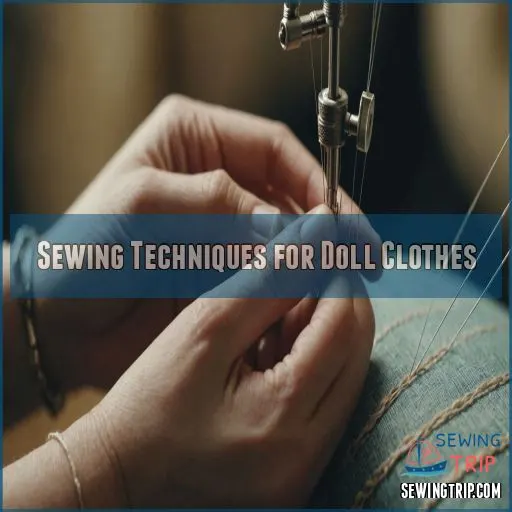
- Sewing Techniques for Doll Clothes
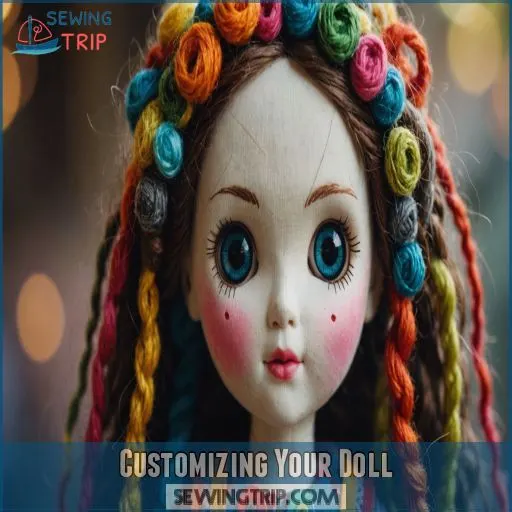
- Customizing Your Doll
- Frequently Asked Questions (FAQs)
- Conclusion
Key Takeaways
- You’ll want to choose the right fabric for your doll’s body—opt for tightly woven cotton that’s durable yet easy to work with. Think of it as finding the perfect dance partner for your needle and thread!
- Don’t skimp on the stuffing process—it’s like building a comfy pillow fort inside your doll. Use small pieces of stuffing and fill firmly, but not too tightly, to avoid lumps. Your doll should be cuddly, not rock-hard!
- Adding personality is where the magic happens. From embroidered facial features to yarn hair and tiny accessories, this is your chance to let your creativity shine. Remember, even Picasso started with stick figures!
- Practice makes perfect, so don’t get discouraged if your first attempt looks more like a distant cousin of Frankenstein’s monster. Keep at it, and soon you’ll be crafting dolls that are truly one-of-a-kind. Who knows? You might just become the next doll-making sensation!
Choosing the Right Fabric
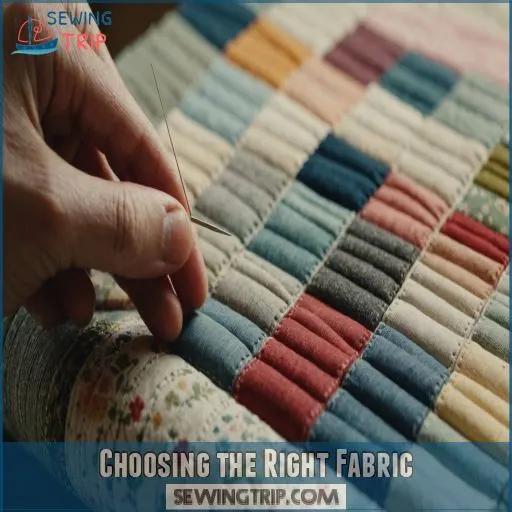
Choosing the right fabric for your doll is really important—so steer clear of thin or stretchy fabrics that can turn your creation into a floppy mess.
Instead, go for tightly woven cotton and pair it with high-quality thread to keep your doll looking fabulous and strong.
Types of Fabric to Avoid
When sewing dolls, some fabrics can drive you nuts faster than a squirrel in a nut shop.
Avoid these culprits:
- Stretchy fabrics: They’re more unpredictable than a cat with catnip.
- Silky fabrics: Slippery as a bar of soap.
- Thin fabrics: They tear easier than a wet paper napkin.
- Textured fabrics: They’ll ruin that sleek doll finish you desire.
Opting for Tightly Woven Cotton
Tightly woven cotton is a dream for doll sewing. It’s durable yet easy to work with, offering a perfect canvas for your creative vision.
Explore the vibrant quilting cotton selection – from playful prints to classic solids, the options are endless.
With a little care, your cotton dolls will stand the test of time.
| Fabric Type | Durability | Sewing Ease |
|---|---|---|
| Quilting Cotton | High | Moderate |
| Knits | Moderate | High |
| Wool | High | Low |
Considerations for Thread Quality
Thread quality can make or break your doll-making masterpiece.
Choose durable threads like Coats & Clark Dual Duty Plus for sturdiness.
Pay attention to thread type and thickness; cotton-covered polyester threads work wonders.
Match thread color closely to your fabric for seamless seams.
Whether you’re using a sewing machine or hand sewing, make sure you have proper thread tension and needle choice for flawless finishes.
Essential Tools for Doll Making
In doll making, having the right tools is like having a secret weapon—you’ll cut, measure, and iron with ease.
Don’t worry if you’re new; sharp fabric scissors and a trusty seam ripper will quickly become your new best friends in crafting adorable creations.
Sharp Fabric Scissors
Scissors types matter when you’re sewing doll clothes.
A sharp pair with well-maintained blades is your best friend, ensuring clean cuts through even the trickiest doll clothes fabric.
Treat them like a cherished pet—don’t share them for household tasks!
Perhaps invest in pinking shears or a rotary cutter for varied edges.
Safety tip: Keep fingers clear of those sharp edges.
Flexible Tape Measure
When you’re making dolls, a flexible tape measure is your trusty sidekick.
It’s perfect for tackling the tricky task of ensuring your doll clothes fit like a glove, measuring doll proportions, and checking seam allowances.
Remember, accuracy is key! Imagine it as your magic wand, ready to enhance your sewing experience by providing precise fabric measurements every time.
Seam Ripper and Steam Iron
An often-overlooked hero in doll making is the seam ripper. It lets you fix mistakes effortlessly, turning fabric mishaps into minor blips. Couple this with a steam iron, and you’ve got a dynamic duo ready to make doll clothes neater than ever.
Remember to:
- Press seams with precision
- Use pattern weights for stability
- Hone ironing techniques to perfection
Mistakes? Seam rippers have your back!
Constructing the Doll Body
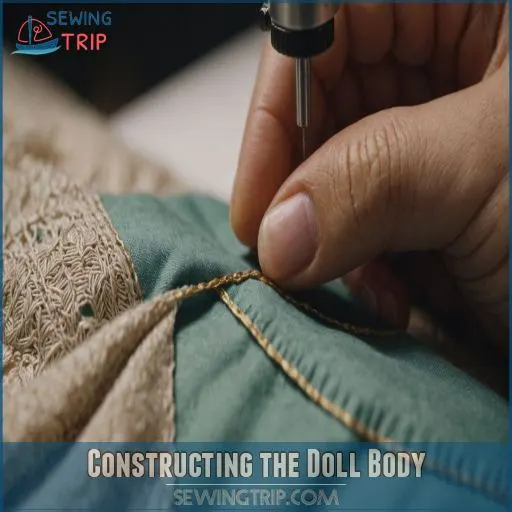
Creating a doll’s body is an exciting part of your doll-making journey—you’ll see fabric turn into a charming character right in your hands.
Don’t worry if it feels like a mini anatomy lesson, just make sure to cut, sew, and turn those limbs with care, and you’ll be stitching smiles in no time!
You’ll be working with fabric, turning it into a charming character as you progress through the project.
Cutting Out Pattern Pieces
Cutting out pattern pieces can be a breeze with the right tools. Grab your sharp fabric scissors, flexible tape measure, and a pencil or fabric marker.
Carefully trace the pattern pieces onto your fabric, leaving a 3/8-inch seam allowance. Clip into the fabric around every curve to make sure you have a smooth, flat finish.
Take your time and focus on precision – your doll will thank you!
| Cutting Tips | ||
|---|---|---|
| Use pattern weights to hold fabric in place | Fold fabric in half for double-layer cutting | Trace pattern pieces with a water-soluble marker |
Sewing Pieces Together
Let’s get started sewing those doll pieces together!
First, align your fabric right sides facing—it’s like a fabric sandwich with a side of dreams (Source).
Remember your seam allowance; you don’t want the doll looking like it’s been to an extreme makeover.
Pin with precision, try ladder stitches for strength, and master curved seams for that slick, professional finish.
Turning Limbs and Head Right Side Out
Turning doll limbs and the head right side out can be a gentle adventure in patience and precision.
Embrace tools like a dowel or tube turner to flip the fabric effortlessly while keeping those seams intact.
Remember:
- Frustration: Might visit, but you’ll conquer it!
- Joy: As the doll takes shape.
- Pride: In mastering this art!
Adding Personality With Embellishments
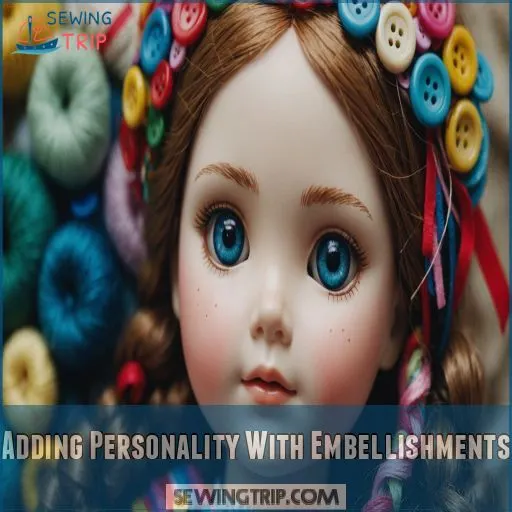
Bring your doll to life by adding unique embellishments that give it personality and charm.
From playful yarn hair to quirky buttons and tiny accessories, you’ll create a doll bursting with character that’s ready to steal the spotlight in any toy box.
Hair Options
If you’re thinking about doll hair, exploring your options can be a hair-raising adventure! You can use yarn, fabric, or even embroidered hair to give your doll a custom look.
Check out this handy table for inspiration:
| Material | Technique | Style Ideas |
|---|---|---|
| Yarn types | Crocheting wigs | Classic curls |
| Fabric hair | Sewing patterns | Modern bobs |
| Embroidered hair | Needlework rows | Elegant braids |
Dive into these styles and let your creativity flow!
Decorative Buttons and Beads
Adding a splash of personality to your doll is as easy as pie with decorative buttons and beads. Try mixing sizes and colors to create eye-catching designs that pop.
- Use contrasting bead colors for pizazz.
- Mix button sizes for visual interest.
- Experiment with unique bead designs.
Mini Hats and Jewelry
Buttons are fun, but mini hats and jewelry really jazz up your doll!
Picture crafting a tiny witch hat with craft foam, hot glue, and rhinestones—a real head-turner.
Jewelry? String beads or use old chains to create trendy accessories.
Use this table for inspiration:
| Mini Hat Styles | Jewelry Materials |
|---|---|
| Witch Hat | Beads |
| Yarn Hat | Chains |
| Sun Hat | Fabric Scraps |
| Beanie | Wire |
Stuffing the Doll
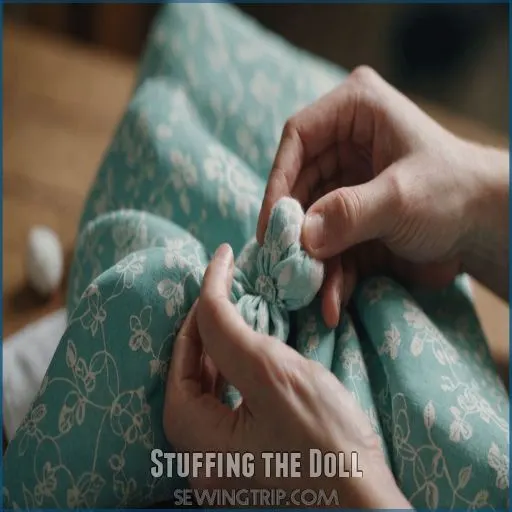
Stuffing your doll just right is key to achieving the perfect plump and cuddly look.
Use small pieces of stuffing rather than big clumps, and stuff firmly but not too tightly to avoid lumps.
A little mixing and matching of materials can help you get the ideal texture.
Using Small Pieces of Stuffing
Now you’re adding character! Stuffing your doll with small fabric pieces makes it plush while preventing lumps.
Think of it like building a comfy story within—each piece adds its own chapter.
Use hemostats or small pliers to tuck fabric bits snugly. Play with textures for your rag or heirloom doll, experimenting with sewing fold-over-elastic for a unique twist.
Stuffing Firmly but Not Too Tightly
Keeping your doll’s stuffing just right is like finding the perfect balance on a seesaw. You don’t want it too tight, which makes the doll feel like a brick, or too loose, resulting in a floppy mess.
Use these techniques:
- Stuff gradually to maintain consistency.
- Press gently while filling.
- Shape as you go for even firmness.
- Avoid overstuffing by checking flexibility.
- Feel frequently to gauge softness.
Mixing Stuffing Materials
Mixing stuffing materials is like crafting a delightful recipe for coziness. You might blend lightweight polyester for fluffiness with denser cotton to achieve the perfect cuddle-worthy texture.
Consider the stuffing’s weight and cost, and make sure it’s readily available.
Avoid anything with an odd odor. It’s like creating a comfy home, where texture and balance bring smiles to your finished doll! .
Sewing the Doll Limbs and Torso
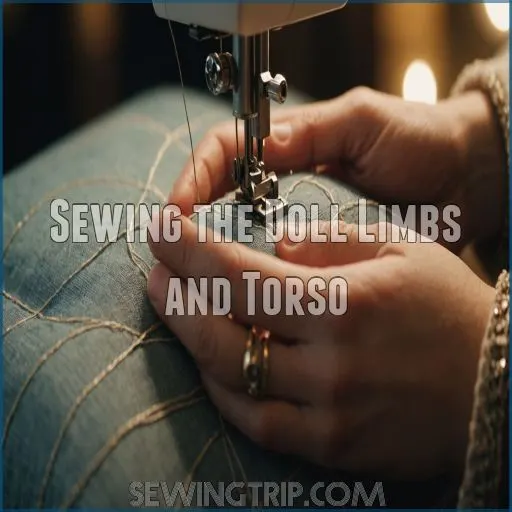
Sewing the doll’s limbs and torso is where your creation starts to come alive.
Like piecing together a soft puzzle, you’ll be cutting out arms and legs, stitching, and then stuffing them.
So get ready to see your doll take shape from flat fabrics to cuddly form!
Cutting Out Arm and Leg Pieces
Stuffing done, it’s time to cut out your doll’s arm and leg pieces.
Lay your pattern on the fabric, ensuring perfect alignment and a proper seam allowance.
Use sharp scissors for smooth, precise cutting along curves.
For tricky bits, reach for Swedish tracing paper to maintain shape, and clip curves to help your presser feet glide—almost like a dance partner!
Sewing Right Sides Together
When sewing doll limbs and torso right sides together, make sure you master the art of aligning seams for a satisfying stitch.
- Pin the Pieces: Align edges using strategic pinning techniques.
- Sew with Care: Use a straight stitch; don’t forget a 1/4-inch seam allowance.
- Press Seams: Always press seams to secure them neatly.
Enjoy crafting your doll!
Stuffing and Stitching Limbs to Torso
Carefully stuff the limbs with a mix of soft wool and weighted glass beads to mimic a baby’s heft.
Sew the limbs to the torso using a sturdy triple stitch, ensuring a secure attachment.
Adjust the positioning of the limbs to achieve your desired doll pose.
With patience and attention to detail, your doll will come to life!
Creating Facial Features
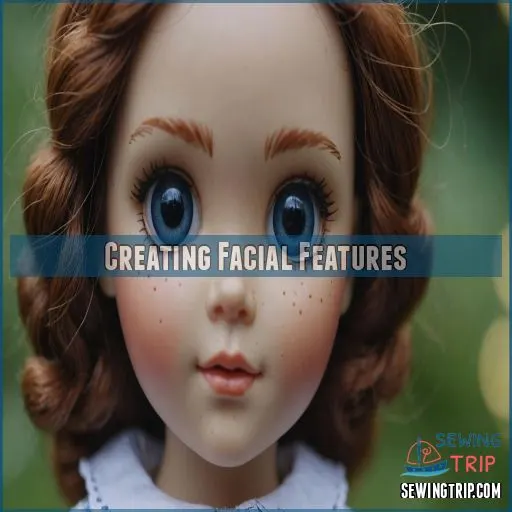
Bring your doll to life by giving it a charming face that reflects its personality.
Whether you’re painting a gentle smile or sewing in a pair of sparkling eyes, these simple tricks will make your doll the star of the toy shelf.
Using Fabric Paint
You’ve got your doll ready, now let’s paint her face with character! Fabric paint techniques give the cutest expressions.
- Load a fine brush for delicate lines like eyebrows.
- Mix colors on parchment paper for unique shades.
- Set paint with a low-heat iron and freezer paper to avoid smudges.
Remember, each stroke adds personality, transforming fabric into a lively friend!
Adding Embroidery Details
Now that your doll’s features are ready for some embroidery magic, let’s add those face details.
Use a disappearing ink pen to sketch the face onto your fabric, then grab some embroidery floss.
Outline eyes, eyebrows, and mouths with stitches like backstitch or outline stitch .
Experiment with thread colors to bring personality to life, making each doll truly unique and charming.
Attaching Yarn Hair
With facial features complete, it’s time to add the crowning glory!
Choose yarn hair styles that suit your doll’s personality. Secure the hair using a long strand of matching thread and a needle.
Wrap the yarn around a book for even cuts. Adjust hair length and color for a fun twist; you’ll be amazed at the character it adds!
Making Doll Clothes
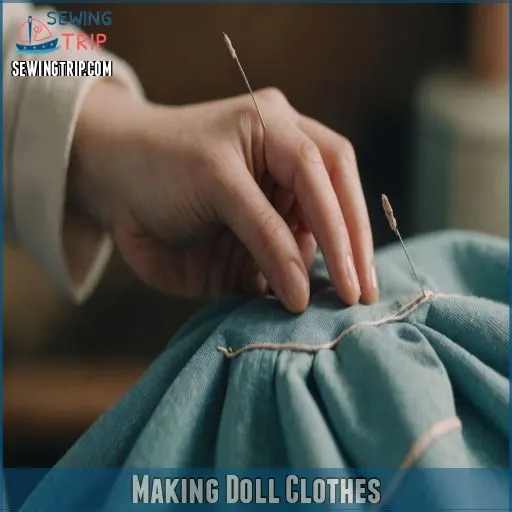
Creating stylish doll clothes is a fun way to showcase your doll’s personality.
It lets you play fashion designer without breaking the bank.
With a bit of creativity and the right tools, you’ll soon be sewing tiny outfits that make you wish you were the same size as your little fabric friend!
Creating stylish doll clothes is a fun way to showcase your doll’s personality, and it lets you play fashion designer without breaking the bank.
Selecting a Pattern
When crafting your doll, selecting the perfect pattern is like choosing the right playlist for a road trip—it sets the tone.
Consider the pattern complexity—are you ready to sew tight curves ? Size, style, and cost also matter.
Check pattern reviews for hints on changes and tips.
Remember, the right pattern can transform fabric into fabulous fashion!
Gathering Sewing Supplies
Gather your sewing essentials on a budget – sharp scissors, flexible tape measure, seam ripper, and mini iron.
These tools will become your new best friends as you craft custom doll outfits. Don’t forget to stock up on quality thread and needles too.
For a professional finish, consider investing in fabric shears and a thimble to protect your fingers from sharp needles and to cut fabrics accurately.
With a well-stocked starter kit, you’ll be sewing up a storm in no time!
Choosing Fabric and Adjusting Patterns
Three key factors make or break your doll’s wardrobe: fabric choice, pattern fit, and attention to detail.
You’ll want to select lightweight, tightly woven cotton for most outfits (Source).
When adjusting patterns, consider your doll’s unique proportions – a photocopier can be your best friend here! Reduce or enlarge patterns to about 75% of the original size, then fine-tune as needed.
Remember, it’s all about dressing your little one in style!
Sewing Techniques for Doll Clothes
Once you’ve chosen your pattern and gathered your materials, it’s time to bring your doll’s wardrobe to life.
Let’s explore some key sewing techniques that’ll help you create adorable, well-fitted clothes for your handmade doll.
They can help you create adorable, well-fitted clothes.
Tracing Patterns
Now that you’ve chosen your doll clothes pattern, it’s time to trace it like a pro!
Grab your trusty tracing tools and let’s get started.
You’ll love how using freezer paper or Chux cloths can make this process a breeze .
Don’t forget to use pattern weights to keep everything in place.
With a steady hand and a bit of patience, you’ll be tracing those tiny doll fashions in no time!
Cutting and Assembling Fabric Pieces
Cutting and assembling fabric pieces is where your doll’s outfit starts to take shape.
You’ll want to follow these key steps:
- Cut fabric with sharp scissors along pattern lines
- Pay attention to fabric grain and pattern alignment
- Use pins to secure pieces before sewing
- Cut notches to mark important points
- Double-check seam allowances before cutting
Remember, precision at this stage will make assembly much smoother. Think of it as giving your doll a tailor-made wardrobe!
Pressing and Finishing Seams
Pressing and finishing seams can make or break your doll’s outfit. Don’t skimp on this important step!
Use a wooden point presser to open seams neatly . For a polished look, serge close to the machine stitching, trimming the seam to about 1/8 inch.
Remember, doll clothes don’t need heavy-duty finishing – a simple zigzag stitch works wonders for ravelly fabrics.
Your little doll will thank you for those crisp, professional seams!
Customizing Your Doll
Now that you’ve crafted your doll’s basic form, it’s time to bring its personality to life.
Let’s explore how you can add unique details, experiment with different fabrics, and create a truly personalized doll that reflects your creativity and style.
Adding Unique Details
While your doll’s basic form is complete, adding unique details will truly bring it to life.
You can personalize your creation with:
- Distinctive hairstyles like braids or buns
- Embroidered facial features for extra charm
- Custom accessories like tiny hats or jewelry
Don’t be afraid to get creative! Remember, these little touches are what make your doll one-of-a-kind. Whether it’s a quirky expression or a special outfit, let your imagination run wild.
Experimenting With Different Fabrics
Beyond cotton and linen, there’s a whole world of fabrics to explore for your doll-making adventures.
Why not try your hand at using knit fabrics for a softer, more cuddly creation?
Or, for a unique twist, consider upcycling old clothing to give your doll a vintage vibe.
Don’t be afraid to mix and match textures and color palettes – your doll’s personality is waiting to shine through!
Creating a Personalized Doll
Now comes the fun part – bringing your doll’s personality to life!
Add unique details like custom-made clothes, mini accessories, or even a tiny hat . Experiment with different fabrics to create textures and patterns that match your vision.
Don’t be afraid to get creative – maybe your doll needs elf ears or a mermaid tail!
This is your chance to craft a one-of-a-kind companion that reflects your imagination. One-of-a-kind companion that makes your doll truly special is the ultimate goal.
Frequently Asked Questions (FAQs)
How do you sew a doll?
You’ll need fabric, stuffing, and basic sewing supplies.
Start by cutting out the body parts, sewing them together, and stuffing.
Add hair, embroider the face, and dress your creation.
It’s a fun, creative process you’ll love!
How do you make a doll pattern?
To make a doll pattern, start by wrapping your doll in masking tape and clear wrap.
Cut along seam lines, remove the "shell," and use it as a template.
Trace onto paper, adding seam allowances for a perfect fit (Source).
Are doll clothes easy to sew?
Doll clothes can be easy to sew, even for beginners.
With smart techniques like sewing in the flat and using simplified seam finishes, you’ll whip up cute outfits in no time.
Start small and build your skills gradually.
How to make doll clothes?
Ready to dress up your dolls in style?
Start with simple patterns, like a basic dress or skirt.
Choose soft fabrics, use small needles, and don’t forget to finish seams.
You’ll be crafting adorable outfits in no time!
How to make a doll step by step?
Let’s bring your dream doll to life!
Start by gathering supplies like fabric and stuffing .
Sculpt the head with wool, then cover it with stockinette.
Next, create the body using a child-proportioned pattern.
Don’t forget those adorable details!
Is sewing doll clothes easy?
Big challenges, small rewards – that’s sewing doll clothes.
It’s not always easy, but don’t let that deter you.
You’ll face some tricky maneuvers with tiny pieces, but the satisfaction of creating miniature masterpieces is worth it.
What kind of fabric do you use to make dolls?
You’ll want to use woven fabrics like cotton or linen for your doll’s body.
Cotton’s easier for beginners, while linen’s trickier but high-quality.
For features, 100% wool felt works great.
Don’t forget to think about the fabric’s stretch and weave.
How to make a cast for a doll?
Every cloud has a silver lining when your doll’s in a bind.
You’ve got options: craft a felt cast with velcro , wrap mod roc strips , or create a paper-and-glue mold.
It’s a fun, creative fix!
How do I choose the right proportions for my doll?
Consider your doll’s character when choosing proportions.
Aim for a 1:4 ratio of head to body height as a general guideline.
Adjust measurements for artistic flair, like elongating the body or exaggerating features to match your vision.
Can I sell dolls based on published patterns?
Selling dolls based on published patterns is generally legal, but there are some nuances you should think about.
While you can’t sell copies of the pattern itself, you’re typically allowed to sell items you make using commercial patterns .
However, always check the pattern’s specific terms.
Whats the best way to store unused doll-making materials?
Store your doll-making supplies in a portable art box or tackle box with compartments.
You’ll keep everything organized and easily accessible.
For larger items, use under-bed bins.
Don’t forget to label everything – future you’ll thank you!
How do I create a realistic neck for my doll?
You’re in for a treat!
Creating a realistic doll neck is an art.
Take 1/2 to 5 inches from the torso length, depending on your doll’s height.
Don’t mess with the head ratio – it’s all about proportion!
Are there video tutorials for specific doll-making techniques?
Yes, there are plenty of video tutorials available for doll-making techniques.
These tutorials can really help you level up your doll-making skills. You’ll find step-by-step guides on everything from sculpting hands and feet to creating intricate outfits.
Conclusion
Like a sculptor molding clay, you’ve now learned how to sew a doll, shaping fabric into a unique creation.
Remember, each stitch brings you closer to mastering this craft. Don’t be discouraged if your first attempt looks a bit wonky – even Michelangelo started somewhere!
Keep practicing, experimenting with different fabrics and embellishments. Soon, you’ll be crafting dolls that are truly one-of-a-kind.
So grab your needle and thread, let your imagination run wild, and enjoy the journey of bringing your cuddly companions to life!

