This site is supported by our readers. We may earn a commission, at no cost to you, if you purchase through links.
 A seam can be sewn very strong or for beauty in your sewing, but it may take some great practice.
This complete guide offers you the essential tools at hand—from needles to scissors—and advanced backstitch and slipstitching techniques with clear, concise instructions on applying them to create professional-quality seams with running, basting, or decorative stitches.
You will learn precision, control, and innovation techniques for a professional repertoire in your sewing to ensure every fabric connection is executed like a pro
Table Of Contents
Key Takeaways
- Ready to stitch like a pro? Grab your needles, scissors, measuring tape, and marking pens. It’s time to create seams that’ll make your projects shine!
- Master the backstitch, the secret weapon for strong and durable seams. It’s like a superhero for your fabric, keeping everything in place.
- Slipstitching is your go-to technique for invisible seams. It’s like a ninja, sneaking in and out of your fabric without leaving a trace.
- Don’t be afraid to experiment with decorative stitches. They’re the jewelry of your seams, adding a touch of flair and personality to your creations
How to Sew a Seam?
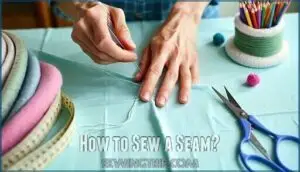
To sew a seam, gather essentials: needles (sharps, betweens, embroidery), scissors (dressmaking, pinking, embroidery), pincushion, pins, measuring tape, and marking pens.
First, trim the thread’s end with sharp scissors. If needed, use a needle threader. Thread the needle from back to front and secure with a knot. Start with a running stitch, making even stitches across the fabric.
For a stronger hold, use a backstitch: insert the needle through the fabric, pull it up 1/8", and repeat. Consistency is key.
With practice, you’ll master stitching seamless seams. Want to take your stitching game to the next level?
Basic Sewing Tools
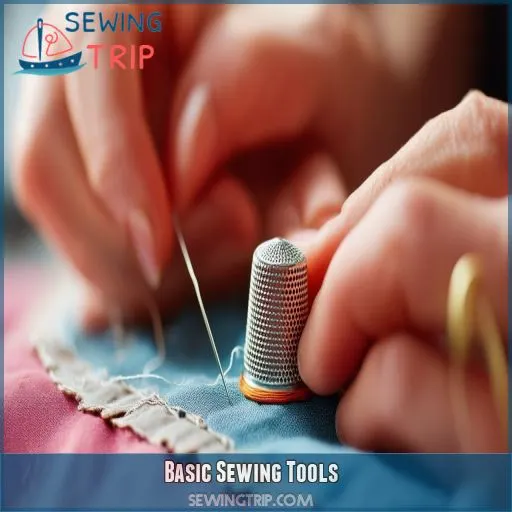
To sew a seam effectively, you’ll need the right tools at your disposal. Essential items include various needles (sharps, betweens, embroidery), scissors (dressmaking shears, pinking shears, embroidery scissors), a pincushion with pins, a measuring tape, and air-soluble or fabric marking pens for precise work
Needles: Sharps, Betweens, Embroidery
Once we believe that we need to handle needles, there are three main types we’ve to talk about: sharps, betweens, and embroidery.
Sharps are your general sewing needle. Betweens are your precision tool. Embroidery needles offer a larger eye for threading embroidery floss.
Remember to store your needles in a pincushion or case to keep them sharp and organized. Proper care ensures your trusty sewing tools last longer and perform better
Scissors: Dressmaking Shears, Pinking Shears, Embroidery Scissors
You’ll need the right scissors for precise cuts and professional-looking seams. Here’s your arsenal:
- Dressmaking shears: Heavy-duty, for cutting fabric swiftly
- Pinking shears: Create zigzag edges to prevent fraying
- Embroidery scissors: Small, sharp, for intricate work and thread snipping
- Thread snips: Quick, one-handed cutting for efficient stitching
These tools are your ticket to fabric mastery. With them, you’ll slice through challenges and craft seams that’ll make your projects shine
Pincushion and Pins
Your pincushion and pins are essential tools for keeping your sewing projects organized and secure. A good pincushion keeps pins within reach and prevents accidents. Here’s a quick guide to pin types and their uses:
| Pin Type | Use | Safety Tip |
|---|---|---|
| Glass Head | Heat-resistant | Don’t iron over |
| Ball Point | Knits | Store in pincushion |
| Quilting | Thick fabrics | Handle with care |
Choose a pincushion design that suits your style and keeps your pins safely organized. Remember, a well-organized workspace leads to better stitching!
Measuring Tape
Now that you have your pins ready, consider adding measuring tape, a big player in giving you seam accuracy.
Measuring the fabric, marking seam allowances, and ensuring precision with hand sewing projects is a must. For long or curved measurements, an excellent retractable tape is ideal.
For strong, secure seams, always double-check the measurement before you begin your running or basting stitches. Accuracy here will give your finished project a professional look
Air Soluble/fabric Marking Pens
Either marker pens or fabric marking pens are your most indispensable tools when it comes to pattern transfer and design inspiration while sewing a seam. Use your pen to temporarily mark up the fabric for your design without damaging it.
Pick your best pen according to the kind of fabric you’re using and its color. If your material is quite delicate, then an air-soluble pen will be best since it will vanish on its own.
Remember that marking is very essential while doing machine stitches or hand stitches, such as the blanket stitch
Threading the Needle
To begin threading your needle, start by trimming the end of your thread with sharp scissors to create a clean, pointed tip. If you’re having trouble getting the thread through the needle’s eye, use a needle threader to simplify the process and save time
Trim Thread End With Sharp Scissors
First, trim the thread end with a pair of sharp scissors. This critical step provides a clean and precise cut that will facilitate easy threading. Use scissors to suit the thickness of your thread and ensure a clean cut with a quick, decisive snip.
Why trimming matters:
• Prevents fraying, which hinders threading
- Creates a tapered end for easy needle insertion
- Minimizes frustration and lost time
• Enhances overall sewing efficiency
Use a Needle Threader if Necessary
If you’re struggling with threading, don’t fret. A needle threader can be your secret weapon. These handy tools come in various types, each designed to make your sewing life easier. Let’s explore some options:
| Type | Description | Best For |
|---|---|---|
| Wire Loop | Thin wire that slips through needle eye | All-purpose use |
| Automatic | Push-button operation | Arthritic hands |
| LED-Lighted | Illuminates needle eye | Low-light conditions |
| Self-Threading Needles | Built-in threading mechanism | Quick projects |
| Ergonomic Threaders | Comfortable grip design | Extended use |
Finishing With a Knot
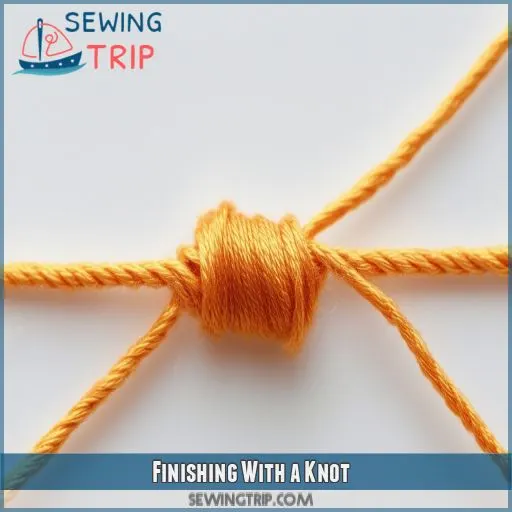
Now that the needle is threaded, it’s time to secure the work with a knot. Good knot ties are absolutely part of the tension and integrity of the seam. For single or double thread, loop it counterclockwise over the needle, pull through, and guide the loop to the fabric, tightening for a secure finish. If you’re working with a slip stitch, insert the needle under a stitch on the back, slip through the loop, and pull through. You can have fun experimenting with different decorative knotting techniques on your corded projects. Just keep in mind that the knots’ location can change function and appearance.
- Feel a strong satisfaction with a seam perfectly secured
- Enjoy the excitement of learning multiple knot types
- Enjoy the confidence of knowing your work won’t unravel
- Embrace the decoration possibilities of creative knotting
This will require different thread types to involve modifications in your knotting technique; thus, practice with different materials.
Running and Basting Stitches
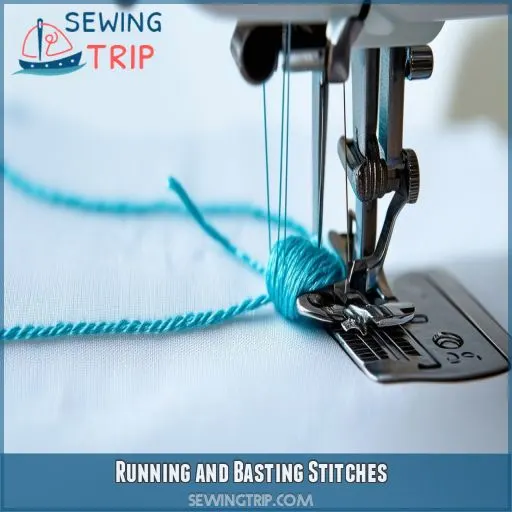
To begin a running or basting stitch, start with a secure knot and bring your needle up through the fabric from the underside. Next, create evenly spaced stitches by moving your needle to the left or right, ensuring the stitches look identical on both sides of the fabric for a professional finish
Start With Knot, Bring Needle Up Through Fabric
Before you lock your thread, you must stop before running or basting stitches. An appropriate needle must be chosen regarding the fabric type, followed by a tight knot.
Now, insert the needle into the fabric’s underside, ensuring the thread remains under control. This essential step helps frame a guideline for how long the constant stitching length should be.
Coming to the placement of the knot, it should be invisible and, at the same time, strong enough to hold your work in place
Make Stitches to Left or Right
Once you’ve started with a knot, it’s time to create your stitches.
For a running stitch, move your needle in and out of the fabric, making small, even stitches to the left or right. If you’re basting, use longer stitches to temporarily hold fabric together
Should Look the Same From Both Sides
While making running or basting stitches, make them consistent on both sides of your fabric. This maintains a professional look and structural quality. Here are the things to keep in mind:
- Maintain Consistent Stitch Length
- Maintain a consistent, even tension on the fabric as you sew.
- Check knot strength at both ends
Backstitch
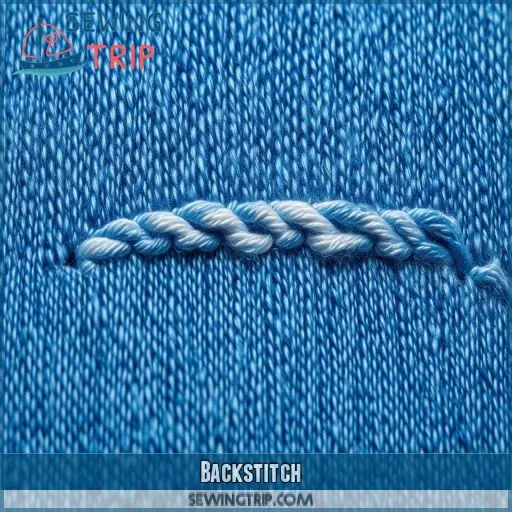
To create a strong, durable seam, you’ll want to master the backstitch technique. Start by poking your needle through the marked line and pulling the thread through, then poke down 1/8" away and up 1/8" further, finally inserting the needle down through the end of your first stitch
Full Backstitch:
The full backstitch is your go-to stitch for strong, durable seams. It’s versatile, perfect for straight lines, curves, and edges. You’ll create a continuous line of stitches that interlock, reinforcing the seam. Here’s a quick guide to backstitch variations:
| Variation | Use Case | Strength |
|---|---|---|
| Standard | Straight seams | High |
| Curved | Necklines, armholes | High |
| Edge | Hems, facings | Medium |
| Decorative | Visible stitching | Medium |
Master this stitch, and you’ll conquer any sewing project with confidence!
Poke Needle Through Marked Line and Pull Thread Through
To start your backstitch, follow these key steps:
- Position your fabric with the marked line facing up.
- Hold the needle at a 45-degree angle to the fabric.
- Insert the needle through the marked line from the underside.
- Pull the thread through until it’s taut, but not too tight
Poke Needle Down 1/8 Away and Up 1/8 Further
Now that the thread has been pulled through, a backstitch can be formed.
Measure 1/8 inch from where you first went in and down through the fabric. Bring the needle up 1/8 inch further along the seam line. The distance between needle points is 1/8 inch for continuous measurement of the stitches, which also adapts to the thickness of the fabric.
While working, leave the thread under medium tension, and then a variation of the heavy backstitch will hold the seam firmly
Poke Needle Down Through End of First Stitch
Now, having poked down 1/8" away and gone back up 1/8", you’re ready to do a backstitch.
In the backstitch, one needle is taken back up to the length of the stitch away from the end of the last stitch on the opposite side of the seam line. This results in a strong, interlocking stitch perfect for seams.
This is backtracking with your needle, hence the name backstitch.
A good backstitching will secure your stitches so your fabric won’t wiggle on you
Pull Thread Through and Repeat Process
Once you’ve completed the first stitch, pull the thread through firmly. Now, you’re ready to repeat the process, mastering the full backstitch technique. This versatile stitch has various applications and variations:
- Reinforces seams for durability
- Works well on most fabric types
- Can be adapted for decorative purposes
- Uses different thread types for various effects
- Offers both full and half backstitch options
Keep practicing to perfect your backstitch skills and create strong, professional-looking seams
Half Backstitch:
The half backstitch is a versatile technique that combines strength and efficiency. You’ll create half stitches by working at half the length of a full backstitch. This method is perfect for areas requiring less reinforcement. Here’s a quick comparison:
| Aspect | Full Backstitch | Half Backstitch |
|---|---|---|
| Stitch Length | Full | Half |
| Strength | Very Strong | Strong |
| Speed | Slower | Faster |
| Thread Usage | More | Less |
| Ideal for | Heavy fabrics | Light fabrics |
Master this technique to add flexibility to your sewing arsenal
Follow Steps for Full Backstitch
For the half backstitch, follow the same steps as the full backstitch, but with a slight twist. Instead of poking the needle down at the end of the last stitch, aim for the midpoint of the gap.
This technique creates a stitch that’s less dense but still sturdy.
Remember to adjust your needle direction and stitch length based on your fabric type and desired seam allowance.
Maintain consistent thread tension for clean results
Slipstitching
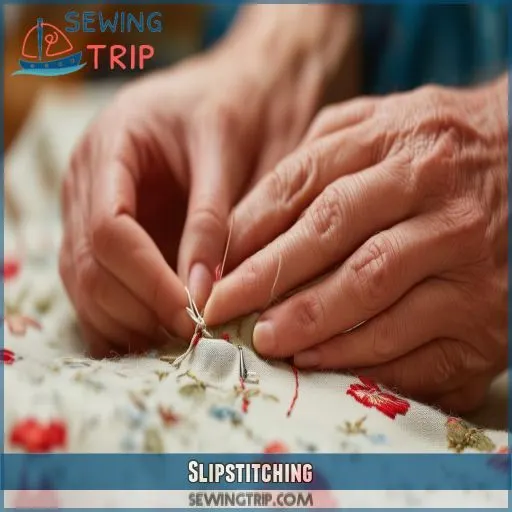
Now that you’ve mastered the backstitch, let’s move on to a more discreet technique: slipstitching. This versatile method is your secret weapon for creating nearly invisible seams in various projects.
To execute a slipstitch, start by folding under the raw edge of your fabric. Then, catch a few threads from the folded edge and the underlying fabric alternately. Your needle should move in a zigzag pattern, creating a hidden seam. This technique is perfect for hemming garments, attaching facings, or closing openings in stuffed items.
Slipstitching shines in home decor projects too. Use it to create seamless pillow closures or attach delicate trims. It’s also invaluable for repairs, allowing you to mend tears without visible stitches
Decorative Stitches
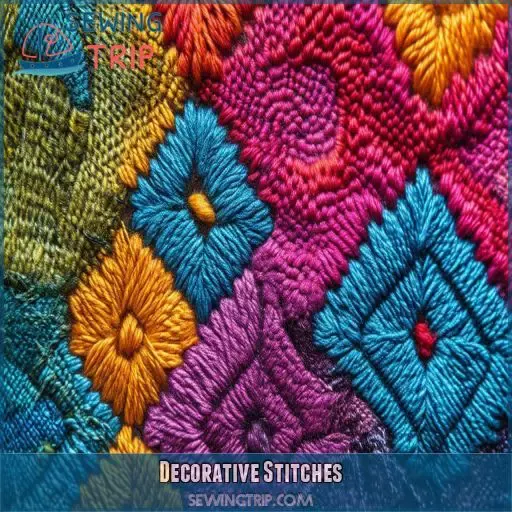
These stitches possibly may be used to piece fabric together or make some very exciting edgings. In both cases, you’ll use embroidery floss or thread, and your work must be finished with a strong knot to avoid losing your decorative work.
Used to Connect Fabric or as Edging
When you’ve mastered slipstitching, it’s time to explore decorative stitches. These versatile techniques are perfect for connecting fabric or creating eye-catching edging. Here are four popular decorative stitches you can use:
- Whip stitch
- Blanket stitch
- Feather stitch
- Herringbone stitch
Each of these stitches adds a unique flair to your projects while serving functional purposes. They’re ideal for joining fabrics or adding a professional finish to edges, elevating your sewing skills to new heights
Can Use Embroidery Floss or Thread
For decorative stitches, you can use embroidery floss or various thread types for added texture and color. These stitches, like the blanket stitch and whip stitch, are great for connecting fabric or adding stylish edging. Experimenting with different threads enhances your sewing creativity, allowing you to personalize your projects with unique and intricate designs
Finish With a Knot
To finish your decorative stitch, make a secure knotting. Loop your needle under the last stitch to form a loop and pull through to tighten. Use these tips for beautiful endings:
Conclusion: finish ▸ Keep the thread tension even.
- Select the right size of needle.
- Try to maintain a consistent stitch length.
- Trim off extra finishing thread.
- Test different knot types
Frequently Asked Questions (FAQs)
What is the best stitch for sewing a seam?
The best for sewing a seam, indeed, is the backstitch. In this one, you get strength and durability. All use tiny stitches, close to make the seam hold—not so crucial in regular areas but critical in those under stress.
How do you sew a seam line?
Sewing a seam is like painting a masterpiece. First, pin your fabric for precision. Backstitch the beginning. Sew along the seam line, using small continuous stitches. Finish with a backstitch and press the seam
How to stitch a seam by hand?
Pin your fabric layers. Use a small needle and polyester thread, starting with a knot. Perform a backstitch: up through fabric, down 1/8 inch away, repeat, ensuring tightness. Knot off at the end
How do you make a seamless seam?
Want a seamless seam? Use a French seam: sew fabric wrong sides together with a narrow seam, trim edges, turn right sides together, press, then stitch again. This encases raw edges, producing a professional, clean finish
Is sewing a seam easy?
Yes, it’s easy to sew a seam. Pin your fabric, backstitch when you start and stop, and sew tiny consistent stitches with your machine. This will just take a little practice to build confidence and better control of what you sew.
How do you sew a plain seam?
Imagine the fabric gliding under your fingers, ready to transform. Align edges, pin vertically. Backstitch at ends. Sew with machine or by hand using small, close stitches. Finally, press seams for a crisp finish
How do you make a seam?
To make a seam, align fabric edges, pin securely, then use a sewing machine or hand stitch with a backstitch. Don’t forget to backstitch at both ends, ensuring the seam is strong and secure
How do you make a straight seam on a sewing machine?
First, pin the fabric layers together. Place the fabric under the machine needle, lower the presser foot, and sew along the seam line, maintaining consistent speed and guiding the fabric. Backstitch at the ends
How do I prevent fabric from puckering?
To prevent fabric from puckering, use a ballpoint needle for knits, adjust the tension slightly looser, pin frequently, press seams before sewing, and use a walking foot or stabilizer for tricky fabrics
Which seam technique is best for denim?
Your denim should be the base of a solid flat-fell seam. This type of stitch reduces fraying, adds strength, and gives that perfect clean finish that an excellent heavy jeans project deserves. Your denim doesn’t stand a chance!
What is the purpose of a seam allowance?
A seam allowance is the extra space between the fabric edge and the stitching line, allowing for adjustments, preventing fraying, and ensuring the seam’s durability. Typically, it’s 1/4" to 5/8", depending on the project
How do I sew corners accurately?
Did you know that 90% of sewing errors occur at corners? To sew corners accurately, stop stitching ¼" from the edge, pivot with the needle down, and continue sewing along the new seam line
How do I manage bulky seams on heavy fabrics?
To manage bulky seams on heavy fabrics, use a larger needle and stronger thread. Trim seam allowances to reduce bulk, press seams open with a hot iron, and finish edges with pinking shears or a zigzag stitch
Conclusion
Like a master artist with a brush, you now have the skills to create seams with professional quality.
You’ve gained the knowledge on how to sew a seam, using essential tools, threading, tying knots, and mastering running, basting, backstitch, slipstitch, and decorative stitches.
Practice these techniques to enhance your precision and control, ensuring every fabric connection is both strong and beautiful.
Keep improving and innovating in your sewing journey for impeccable results

