This site is supported by our readers. We may earn a commission, at no cost to you, if you purchase through links.
Pin the pieces together and sew using the right stitch, leaving an opening for stuffing. Add details like ears, limbs, and facial features as you go.
Once sewn, turn the animal right-side out and stuff it to your desired firmness. Finally, close the opening and add any finishing touches like clothing or accessories.
Remember to prewash your fabric and iron it for best results. With practice, you’ll be crafting cuddly companions in no time.
Let’s explore the process in more detail to help you create your perfect plush pal.
Table Of Contents
- Key Takeaways
- How to Sew a Stuffed Animal?
- Gathering Materials and Tools
- Creating Your Stuffed Animal Pattern
- Preparing the Fabric
- Sewing the Main Body
- Adding Details and Features
- Turning and Stuffing
- Finishing Touches
- Troubleshooting Common Issues
- Caring for Your Stuffed Animal
- Frequently Asked Questions (FAQs)
- Conclusion
Key Takeaways
- Choosing the right fabric is like picking a dance partner – it’s all about chemistry! Soft, cuddly materials like fleece or minky will have you waltzing through your project with ease.
- Prewashing and ironing your fabric isn’t just busy work – it’s your secret weapon against the dreaded post-wash shrinkage surprise. Nobody wants a stuffed elephant that suddenly looks more like a mouse!
- When it comes to stuffing, channel your inner Goldilocks – not too firm, not too squishy, but just right. Remember, different body parts might need different levels of plumpness, so don’t be afraid to play around.
- Adding those final touches is where your stuffed animal really comes to life. Whether it’s embroidering a cheeky grin or stitching on a tiny top hat, this is your chance to let your creativity run wild and give your plush pal some personality!
How to Sew a Stuffed Animal?
To sew a stuffed animal, you’ll need to gather materials, create or use a pattern, cut fabric pieces, and sew them together, leaving an opening for stuffing. Once you’ve added details like eyes and ears, turn the animal right-side out, stuff it firmly, and close the opening to complete your cuddly creation.
Gathering Materials and Tools
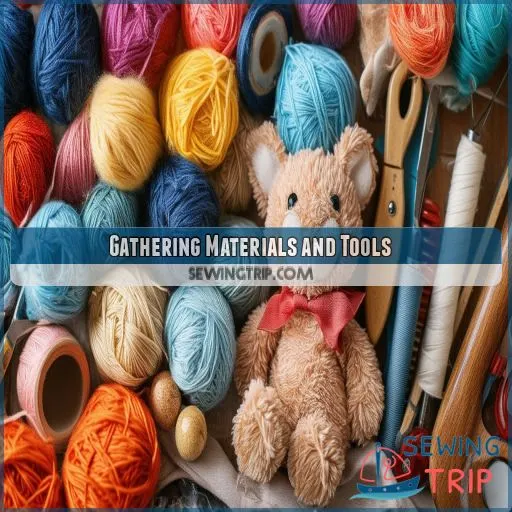
To create your adorable stuffed animal, you’ll need to gather the right materials and tools before you begin. Start by selecting appropriate fabric for your plush toy, then collect essential sewing supplies like thread and needles, and consider optional embellishments to give your creation unique character.
Fabric Selection
Choose your fabric wisely for your stuffed animal project. Consider texture, print, weight, drape, and color. Soft, cuddly fabrics like fleece or minky work well for plush toys. Make certain the fabric’s durability matches your design, and select complementary colors and patterns for a charming finished product.
Essential Sewing Supplies
Now that you’ve chosen your fabric, gather these essential supplies:
- Sharp scissors for precise cutting
- Needles in various sizes for hand and machine sewing
- Sturdy thread matching your fabric
- Pins or clips to hold pieces together
Don’t forget your sewing machine and stuffed animal patterns!
Optional Embellishments
Now that you’ve got the essentials, let’s jazz up your creation! Consider adding embroidery details, ribbon accessories, or unique fabric combinations. For placement, use a glue stick to secure embellishments before sewing. A small rotary cutter can help with intricate designs. Don’t forget glass beads for weight!
Creating Your Stuffed Animal Pattern
To create your stuffed animal pattern, you can either design your own unique shape or use a pre-made pattern for guidance. If you’re designing your own, sketch your animal’s outline on paper, considering proportions and features, while pre-made patterns offer a range of tried-and-tested designs to choose from.
Designing Your Own Pattern
Now that you’ve gathered your materials, it’s time to give free rein to your creativity by designing your own pattern. Start by sketching your stuffed animal’s shape on paper, considering its proportions and unique features. Remember, simplicity is key for beginners. When tracing patterns onto fabric, pay attention to fabric orientation and scale adjustments.
Here are some tips for successful pattern design:
- Use freezer paper for easy tracing and reusability
- Consider the animal’s 3D form when drawing 2D pieces
- Start with basic shapes and refine as you go
Using Pre-made Patterns
When using pre-made patterns, consider their complexity and your skill level. Scale patterns to your desired size and trace them onto fabric using stick n stitch. Make modifications as needed for a unique touch. Store patterns carefully for future use.
| Pattern Aspect | Beginner | Advanced |
|---|---|---|
| Complexity | Simple | Intricate |
| Modifications | Minimal | Extensive |
| Tracing Method | Heat n Bond | Freezer Paper |
| Cutting Tool | Scissors | Pinking Shears |
Remember to press your fabric with Best Press before cutting for crisp, professional results.
Preparing the Fabric
Before you begin cutting your fabric, it’s imperative to prewash and iron it to avoid shrinkage and guarantee a smooth surface for precise cutting. Once your fabric is prepared, meticulously arrange your pattern pieces and cut them out, paying meticulous attention to any grain lines or directional prints to guarantee your stuffed animal has the desired appearance.
Prewashing and Ironing
Before embarking on your stuffed animal project, prewashing and ironing are essential steps. Toss your fabric in the wash to prevent future shrinkage and remove any sizing. Once dry, iron everything to guarantee a smooth surface for cutting and sewing.
Pay attention to the fabric’s nap and grain, as they’ll affect your final product.
Don’t forget to iron seam allowances** before turning right side out, and always check for holes to avoid frustration later.
Cutting Out Pattern Pieces
Now that your fabric’s prepped, it’s time to cut out your pattern pieces. Choose the right fabric type for your stuffed animal and follow these tips:
- Trace your pattern onto the fabric, considering grain direction
- Add seam allowances if not included in the pattern
- Use sharp scissors or a rotary cutter for precision
- Cut slowly around curves and corners
- Double-check all pieces are accounted for
Sewing the Main Body
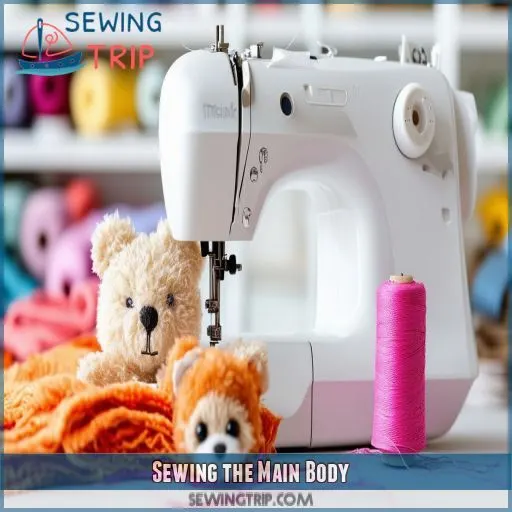
Now that you’ve prepared your fabric pieces, it’s time to start sewing the main body of your stuffed animal. You’ll begin by carefully pinning the fabric pieces together with right sides facing, choosing the appropriate stitch for your project, and remembering to leave an opening for stuffing later on.
Pinning Fabric Pieces Together
With your fabric pieces cut, it’s time to pin them together. Align the edges, matching patterns if necessary. Use sewing pins or binder clips to secure, paying attention to seam allowances. Don’t forget to clip curves and corners for smoother edges. Remember, gentle handling prevents fabric distortion.
Choosing the Right Stitch
Now that you’ve pinned your fabric pieces, it’s time to choose the right stitch. When sewing stuffed animals, consider:
- Needle size: Thicker for sturdy fabrics, thinner for delicates
- Thread weight: Match to fabric thickness
- Stitch length: Shorter for curves, longer for straight seams
- Seam allowance: Typically 1/4 inch for plushies
Leaving an Opening for Stuffing
When sewing your stuffed animal’s main body, leave a 2-3 inch opening for turning and stuffing. Place this gap on a straight edge, avoiding curves or corners. Mark it clearly with pins or fabric chalk to make sure you don’t accidentally sew it shut while stitching the rest.
Adding Details and Features
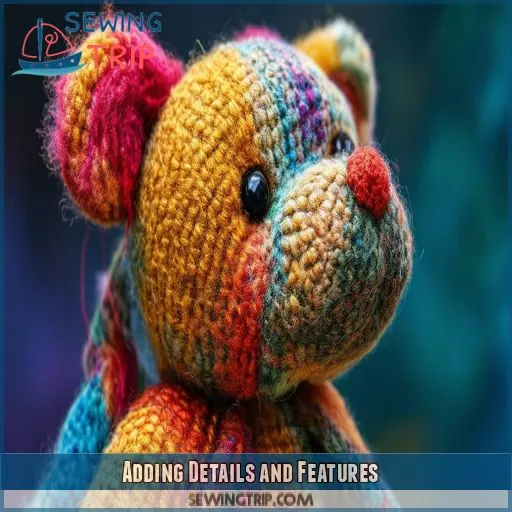
Now that you’ve sewn the main body of your stuffed animal, it’s time to bring it to life with charming details and features. You’ll add personality by carefully attaching ears, limbs, eyes, and a nose, while creating expressive facial features that’ll make your plush toy truly unique.
Sewing Ears and Limbs
Now that you’ve sewn the main body, it’s time to bring your plush pal to life with ears and limbs. Using your sewing machine feet or hand stitching techniques, attach these features securely. Experiment with fabric combinations for unique textures, and don’t forget to stuff them properly for a cuddly finish.
Attaching Eyes and Nose
You’ll bring your stuffed animal to life by adding eyes and a nose. Here are three popular options:
- Safety eyes: Secure plastic eyes with locking washers
- Embroidered details: Stitch intricate designs with thread
- Felt appliqués: Cut and attach fabric shapes for a soft look
Don’t pull too rough through the gap opening!
Creating Facial Expressions
Creating facial expressions brings your stuffed animal to life. Choose fabric colors and patterns that complement your design. Draw patterns for eyes, nose, and mouth, then attach them using various techniques. Here’s a guide to help you evoke different emotions:
| Expression | Eyes | Mouth | Details |
|---|---|---|---|
| Happy | Wide | Curved up | Rosy cheeks |
| Sleepy | Half-closed | Small | Stitched Z’s |
| Surprised | Large | O-shaped | Raised eyebrows |
| Mischievous | Angled | Smirk | Dimples |
Turning and Stuffing
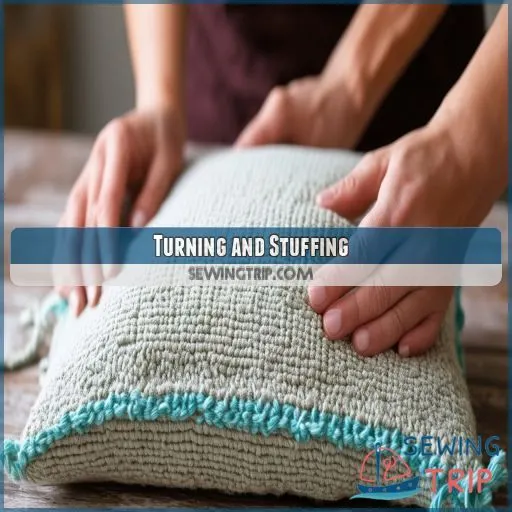
Now that you’ve sewn your stuffed animal’s main body, it’s time to turn it right-side out and fill it with stuffing. You’ll need to carefully push the fabric through the opening you left, using a tool like a chopstick to help with corners and small areas, before gradually filling your plush toy with polyester fiberfill or your chosen stuffing material.
Proper Turning Techniques
After sewing your plush pal’s body, it’s time to invert it. Careful inversion will guarantee your creation looks its best. Here’s how to master this essential step:
- Use a chopstick to gently push out corners
- Turn slowly to avoid distorting seams
- Smooth edges with your fingers for even distribution
Stuffing Methods
When stuffing your plush pal, use small clumps of polyester fiberfill for even distribution. Start with corners and appendages, gradually working to the center. For a firmer toy, pack stuffing densely. Experiment with alternative materials like fabric scraps or plastic pellets for unique textures and weights.
Achieving the Right Firmness
To achieve the right firmness, consider your stuffed animal’s density and fabric thickness. Use stuffing tools to reach tricky spots and evenly distribute materials. Start with small amounts, gradually increasing until you reach the desired plumpness. Remember, different body parts may require varying degrees of firmness.
Finishing Touches
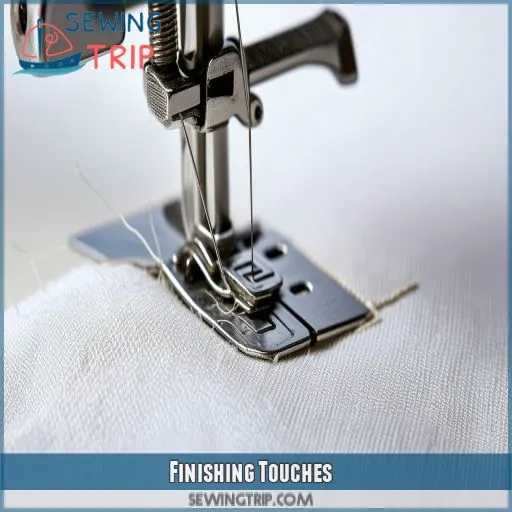
Now that your stuffed animal is fully assembled and stuffed, it’s time to add those final touches that will bring it to life. You’ll want to carefully trim any excess threads or fabric, and consider adding clothing or accessories to give your plush toy extra personality and charm.
Adding Clothing or Accessories
You’ve crafted your adorable plush pal, now let’s dress it up! Choose fabrics that complement your stuffed animal’s design for clothing.
Consider felt for easy-to-make outfits or miniature knits for cozy sweaters. Accessorize with tiny buttons, ribbons, or even a tiny hat.
Use fabric glue for quick fixes or hand-sew details for durability.
Get creative with personalization ideas like embroidered names or themed outfits.
Trimming Excess Fabric and Threads
After you’ve finished sewing, it’s time for those essential finishing touches.
Grab your scissors and start clipping seams, especially around curves and corners. This will help your stuffed animal lie flatter.
Don’t forget to trim those pesky threads hanging about – they’re like unwanted whiskers on your plush pal! For a polished look, hide thread tails by tucking them inside the toy.
Troubleshooting Common Issues
Even with careful planning, you may encounter some common issues when sewing your stuffed animal. Let’s explore how to fix uneven seams, deal with frayed edges, and repair any tears or holes that might occur during the process.
Fixing Uneven Seams
After adding those finishing touches, you might notice some uneven seams. Don’t fret! Check your fabric tension and adjust as needed. Verify that you’re using the right needle size and thread type for your fabric. Carefully rip out wonky stitches and re-sew with steady pressure.
Dealing With Frayed Edges
After fixing uneven seams, tackle frayed edges. Apply fray check to raw edges or use pinking shears for a quick fix. For a more polished look, try a zig-zag stitch or serging. The blanket stitch adds a decorative touch while preventing fraying on visible seams.
Repairing Tears or Holes
- Assess the damage
- Choose the right repair method
- Execute the fix
From darning holes to reattaching limbs, you’ll soon become a pro at fixing rips and repairing seams. Your stuffed friend will thank you!
Caring for Your Stuffed Animal
Your handmade stuffed animal will bring joy for years to come with proper care and maintenance. Let’s explore effective cleaning methods, smart storage tips, and techniques for repairing wear and tear to keep your plush toy looking and feeling its best.
Cleaning Methods
After addressing any issues, it’s imperative to maintain the cleanliness of your stuffed animal. For light soiling, attempt spot cleaning with a damp cloth. Hand washing is most suitable for most plush toys, whereas machine washing is viable for sturdier ones. Always air dry to prevent damage. Dry cleaning is ideal for delicate fabrics.
Storage Tips
Store your stuffed animals in airtight containers to protect them from dust and pests. Vacuum-seal larger toys for space-saving storage. Display cherished plushies on shelves or in shadow boxes. For long-term preservation, wrap toys in acid-free tissue paper before placing them in plastic bins.
Repairing Wear and Tear
When your plush pal shows signs of wear, don’t fret. Patching holes, mending seams, and replacing stuffing can breathe new life into your toy. For furry friends, try restoring fur with a gentle brush. Tackle stains promptly, and your stuffed animal will be good as new.
Frequently Asked Questions (FAQs)
Is it hard to sew a stuffed animal?
Diving into stuffed animals isn’t a bear of a task! You’ll find it’s quite manageable with patience and practice. Start simple, follow patterns, and you’ll be crafting cuddly companions in no time.
What stitch should I use to sew a stuffed animal?
You’ll want to use a straight stitch for most of your stuffed animal. It’s strong and secure. For the final closure, try a ladder stitch – it’s nearly invisible. Don’t forget to backstitch at the beginning and end!
How to make a homemade stuffed animal?
Create a cute, cuddly companion! Choose your fabric, cut two matching pieces, sew them together inside-out leaving a gap. Turn right-side-out, stuff with fluffy filling, then stitch the opening closed. Add eyes and personal touches to finish.
How to sew a ripped stuffed animal?
You’ll need a needle, thread, and scissors. Clean the tear, trim loose threads, and turn the animal inside out if possible. Pinch the edges together and use a ladder stitch to close the rip discreetly.
How do I choose the right fabric for my stuffed animal?
Choose a soft, durable fabric like fleece or cotton for your stuffed animal. Consider the animal’s texture – fuzzy for a bear, smooth for a dolphin. Make sure it’s washable and safe for children. Don’t forget to match the fabric weight to your sewing machine’s capabilities.
Whats the best way to create unique facial expressions?
You can create unique facial expressions by embroidering different eye and mouth shapes. Try various stitch techniques, like French knots or satin stitches. Experiment with button placement and sizes. Don’t forget to add that groovy personality with fabric paint accents.
Can I machine wash my homemade stuffed animal?
You can machine wash your homemade stuffed animal, but take precautions. Use a gentle cycle with cold water and mild detergent. Place it in a mesh bag to protect delicate features. Air dry or tumble dry on low heat.
How do I add weighted elements for sensory purposes?
Like adding a pinch of magic dust, incorporate weighted elements for sensory purposes. You’ll need poly pellets or glass beads. Sew small pouches, fill them with weights, and securely stitch them inside your stuffed animal’s limbs or body.
What are some creative alternatives to traditional stuffing materials?
You can get creative with stuffing alternatives! Try using rice for weight, dried lavender for scent, or old clothing scraps for texture. Plastic bags add crinkle sounds, while beads or buttons create interesting tactile experiences when sewn into compartments.
Conclusion
Crafting a stuffed animal is like breathing life into fabric, transforming simple materials into a cherished companion. As you’ve learned how to sew a stuffed animal, remember that practice makes perfect. Each stitch brings you closer to mastering this rewarding craft.
Don’t be discouraged by initial challenges; they’re stepping stones to improvement. Embrace your creativity, experiment with designs, and soon you’ll be creating unique plush toys that bring joy to others.
Your handmade creations will become treasured keepsakes, carrying your love and skill in every seam.

