This site is supported by our readers. We may earn a commission, at no cost to you, if you purchase through links.
 Good news! Sewing perfect corners is easier than you think. Over 115 million Americans sew as a hobby – and getting those corners just right is a must for any sewing project.
You’ll be amazed at how a few simple techniques take your sewing skills up a level. With the right tips, you’ll achieve professional-looking results on every garment. Don’t let tricky corners slow you down. Stay focused on that key phrase – perfect corners – and you’ll be sewing beautifully in no time.
Table Of Contents
Key Takeaways
- Carefully measure and mark seam allowances before sewing to ensure accuracy
- After stitching, trim seam allowances close to the stitching and make small diagonal clips into the corners
- Utilize tools such as tape guides and rotary cutters to cut precisely along the marked lines
- Be sure to replicate the process uniformly on all corners for consistency
Fold and Press Hem
Don’t panic over releasing those raw edges – simply seal ’em in with some folds and finger pressing before you sew! Staying calm helps your hands and mind craft those perfect corners.
To start, take your time carefully folding under a 1/4-inch hem along the vent and bottom edge of your garment, gently creasing it with your fingers.
Next, make another larger fold that fully encloses the raw edge inside. Use your fabric marking pen to precisely mark those soon-to-be-perfect corners about 2 inches from the point.
Double check all your corner measurements before trimming any excess fabric. Precision and patience are key to nailing those flawless mitered corners for all your chic home decor projects.
Just breathe and press on. You’ve got this!
Mark and Sew Corner
To mark and sew perfect corners, start by carefully measuring and marking your seam allowance using a fabric marker, especially at the corners. Precision is key! Align the edges at the corner point, pinning to secure. Then stitch from the top edge to the first corner point.
Stop with your needle down in the corner. Lift the presser foot and pivot your fabric so the next edge aligns with your original stitching line. Lower the foot and stitch to the next corner. Repeat this pivoting at each corner for clean, mitered results.
Your precise corner marking and stitching creates sharp, professional results on your sewing projects!
Trim Seam Allowance
When trimming corner seam allowances, carefully cut close to the stitching line with fabric shears for tidy finished results.
- Snip diagonally across the corner near the stitches.
- If needed, trim each side of the corner with small angled cuts to reduce bulk in multiple layers.
- Use a rotary cutter and acrylic ruler for straight seam allowance trimming.
Avoid blunt scissors, as they distort the fabric edge. Sharp shears allow clean trims. Corner trimming techniques take practice, but mastering them creates flawless garments with crisp edges.
Repeat on All Corners
Now you must tick those boxes by repeating this process on all corners, darling, so you can sail through the seas to your finished project. Don’t stop halfway, my dears. Each corner deserves the same love and attention as the last, so take your time.
Revisit those steps for precision and care—aligning edges, pinning, stitching, pressing, and trimming.
Let repetition bring perfection as your hands learn this intimate dance. Embrace the journey, as handmade creations cannot be rushed. With each stitch, you draw nearer to revealing your fabric’s hidden potential. Soon you’ll reap the fruits of patience in the tailored drape and crisp shape of boxed corners.
So persistence pays, my loves. Onward to the final touches!
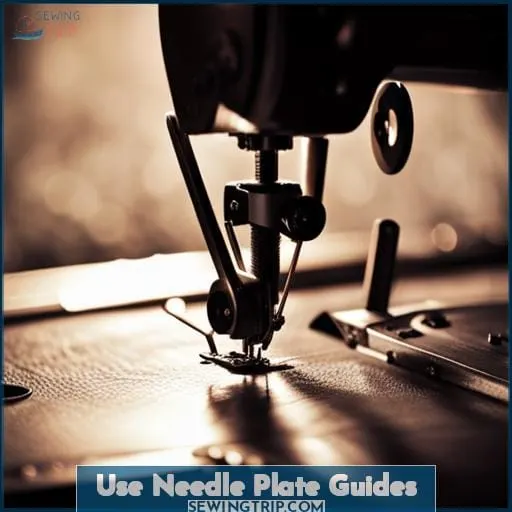
Use Needle Plate Guides
You’re utilizing those etched needle plate guides for straighter seams and precise corner pivots. Align your fabric edge along the appropriate stitch guide for your desired seam allowance.
- Sewing consistent seam widths
- Keeping fabric straight when sewing long seams
- Pivoting corners without shifting fabric
Continue stitching, using the lines to pivot corners. Stop sewing 1/4 before the corner. Raise the presser foot and needle and rotate the fabric. Lower the foot and stitch along the next line to the next corner.
Repeat for all corners, keeping your seam allowance even. With practice, those handy needle plate guides will have you effortlessly sewing precise corners on all your projects.
Make Your Own Seam Guides
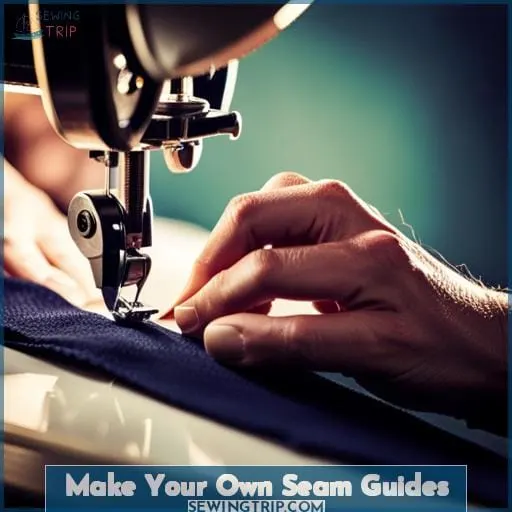
Gather supplies like a seam gauge and tape for creating your own seam guides. Use washi tape, painter’s tape, or masking tape paired with a seam gauge to make custom guides. Align tape on your machine with desired seam width. Use the guide when sewing to ensure consistent seam allowance.
| Tape Options | Benefits |
|---|---|
| Washi Tape | Removable, fun patterns |
| Painter’s Tape | Easy to remove, multiple widths |
| Masking Tape | Readily available, strong hold |
Mark your seams using fabric pens or chalk. Measure the seam allowance with an acrylic ruler. Follow the tape guides for accuracy, especially at corners. Master precise stitching and seam guides for quality results.
Measure and Cut Fabric
Ensure precision by first measuring and cutting your fabric according to the project’s dimensions, allowing for hem and seam allowances. An acrylic ruler, rotary cutter, and cutting mat will help achieve straight edges when measuring fabric yardage.
Refer to your pattern pieces or calculate the fabric needed based on the finished measurements of your project. Mark the dimensions on the wrong side of the fabric using a fabric-safe pen or tailor’s chalk.
Cut along the marked lines using sharp fabric scissors or a rotary cutter for straight cuts. Precise measuring and cutting’s the foundation for achieving well-sewn corners on your home décor, clothing, or craft projects.
With the right tools, patience, and attention to detail, you’ll have beautifully cut fabric ready for stitching.
Sew Boxed Corners – Two Methods
When sewing boxed corners, over 90% of makers prefer Method 2 because it fully encloses the raw edges for a clean finish.
- Sew wrong sides together with 1⁄4 seam allowance.
- Trim the seam allowance to 1⁄8.
- Turn right sides together.
- Press flat.
- Sew again at 1⁄4 to enclose raw edges.
This method creates a tidy finish for tailored home decor projects like slipcovers and cushion covers. With precise measuring, cutting, and sewing, you’ll master sewing boxed corners in no time. This versatile technique opens up endless possibilities for fabric items. Learn it today to elevate your sewing skills.
Conclusion
Like an eager sponge soaking up techniques, you now grasp the steps to sew flawless corners. Simply fold, mark, and evenly trim each corner. Then repeat the process on all four to achieve professional, precise results.
Whether mitered or boxed, perfectly sewn corners are within your grasp by following these straightforward how to sew corners tips. Let your creativity flow into tailored projects with the confidence strong skills provide.

