This site is supported by our readers. We may earn a commission, at no cost to you, if you purchase through links.
- First, align your fabric strips, ensuring straight and even edges.
- Place the strips right sides together and secure with pins.
- Sew along the edge to create a seam, then press it open with an iron.
- When joining two lengths, maintain a consistent seam allowance and alternate the seam direction to prevent bowing.
- Press seams in one direction and trim selvage edges for a neat finish.
- Use a hot, dry iron to flatten seams and remove bulk for a professional look.
Follow these tips and you’ll be a fabric-strip-sewing pro in no time.
Table Of Contents
Key Takeaways
- Sewing long fabric strips is easy-peasy when you know how to align, pin, and stitch them like a pro. Pressing those seams gives your quilt a sharp look.
- Get those fabric strips in line like a boss. Squaring up edges, matching selvages, and trimming with scissors and a ruler are key.
- Pinning and stitching? No sweat. Place those strips right sides together, sew, and press. Alternate the seam direction to avoid warping.
- Press seams flat with a hot iron, trim selvage edges, and you’re golden. This gives your quilt a polished, pro finish.
How to Join Fabric Strips
Joining fabric strips is a breeze when you know a few tricks. We’ll show you how to align, pin, and stitch those strips like a pro, and share tips for pressing seams that’ll make your quilt look sharp.
Aligning Fabric Strips
Aligning fabric strips in quilting is kind of like getting everyone to face the same direction for a group photo. You want those straight edges and accurate seams, so take a few extra seconds to get it right.
Here’s how to line up those strips like a pro:
- Get Straight to the Point: Start by squaring up those fabric edges. No one wants V-shaped strips messing with their quilt’s flow.
- Selvage Savvy: Match and re-press those selvage edges. Think of it like a secret code that helps you line up the goods.
- Trim Team: Don’t be shy with the scissors. Chop off those uneven edges to create a straight, squared-off edge that’s ready to rock.
- Ruler Rules: Use a ruler to guide your cutting hand. This dynamic duo makes sure you have accuracy and straight lines that’ll make your quilt sing.
Pinning and Stitching
Now it’s time for some action! Place your fabric strips right sides together and secure them with pins at key points.
Sew along the edge, creating a seam, and then press it open with an iron. Remember, you’re not done yet!
To prevent warping, alternate the seam direction by placing new strips underneath. Keep sewing, ironing, and flipping until your quilt reaches the desired size.
Pressing Seams
Pressing seams is an essential step in joining fabric strips and achieving a flat, polished finish. Here are three key tips to master this technique:
- Iron seams flat: Use a hot, dry iron to press seams open or to one side, following the direction of the arrows in your pattern. Avoid ironing back and forth, as this can stretch and distort the fabric.
- Alternate seam direction: Prevent "bowing" or an arc in your fabric by alternating the direction of seams when joining new strips. This helps your quilt lay flat and reduces the risk of warping.
- Trim selvage edges: For a neat and professional finish, remember to trim those selvage edges before and after piecing strips.
Joining Two Lengths of Fabric
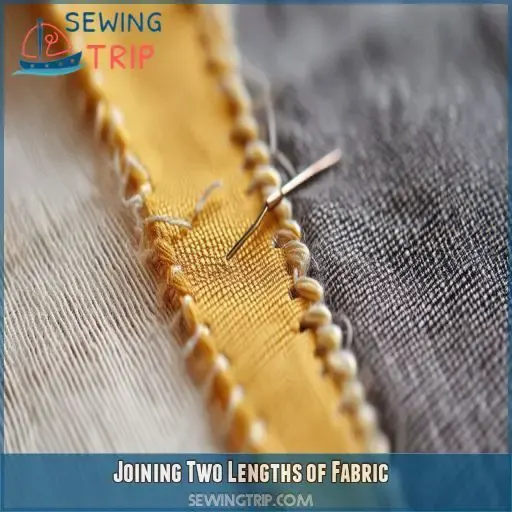
Joining two lengths of fabric is a breeze with the right techniques. We’ll show you how to establish a consistent seam allowance, alternate seam directions, and trim those selvage edges for a pro finish.
Establishing Seam Allowance
When joining two fabric lengths, maintaining a consistent seam allowance is important. Go for a scant 1/4" allowance, especially with narrower strips. Use your quilting ruler to make sure you’re accurate. A consistent seam allowance is important for multi-unit blocks, so take your time and measure twice.
Alternating Seams Direction
When joining two lengths of fabric, it’s important to alternate the direction of your seams to avoid "bowing." This simple trick helps your fabric lay flat and prevents that annoying arc.
Always press seams in the same direction, using a hot, dry iron. This keeps your fabric distortion-free and creates neat, nested seams when you join rows.
Trimming Selvage Edges
Trimming selvage edges is a quilting basic that gives your work a neat finish.
When joining two lengths of fabric, trim those selvage edges.
Selvage edges are the tightly woven, slightly thicker borders on either side of the fabric.
You can trim them with scissors or a rotary cutter.
This step helps your fabric strips line up perfectly and creates a crisp, professional look.
It’s like giving your quilt a little haircut to tidy it up!
Attaching Long Sashing Strips
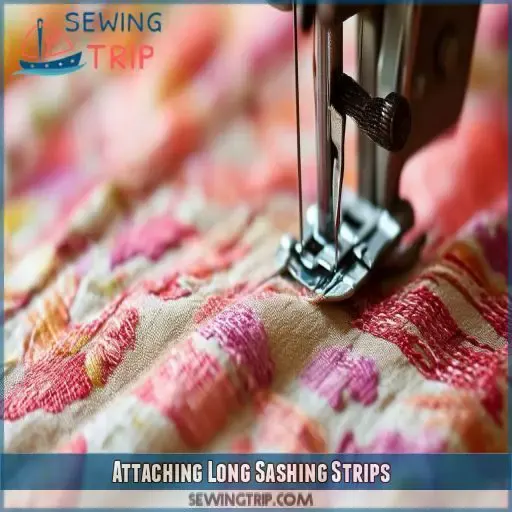
When sewing long sashing strips, it’s really important to square and cut your strips accurately. Maintaining a consistent seam allowance is key to a polished finish.
Squaring and Cutting Strips
- Line up those selvage edges like soldiers and give ’em a good press.
- Trim any uneven bits to get a straight, squared edge.
- Bust out your ruler and cut those strips to the width you’re after. Keep it straight and keep it accurate!
Maintaining Consistent Seam Allowance
Maintaining a consistent seam allowance is key to achieving a neat and accurate finish when attaching long sashing strips. Here are some tips to help you master this technique:
- Use a scant 1/4" seam allowance for precision.
- Alternate seam direction to prevent "bowing."
- Press seams flat with a hot, dry iron to avoid distortion.
- Trim selvage edges for a polished look.
Pressing and Joining Seams
Pressing and joining seams, especially for long sashing strips, can be a bit tricky. Here’s the thing:
- Follow the pressing direction: Always check your pattern for nested seams when joining rows. This helps your seams lay flat.
- Accuracy is key: When cutting units, make sure your ruler’s straight line is aligned with the seam for a precise cut. If you notice any "bowing" after multiple cuts, just square off the edge to fix it.
- Press in the same direction: Pressing seams in the same direction creates those neat, nested seams when joining rows.
Sewing Techniques for Fabric Strips
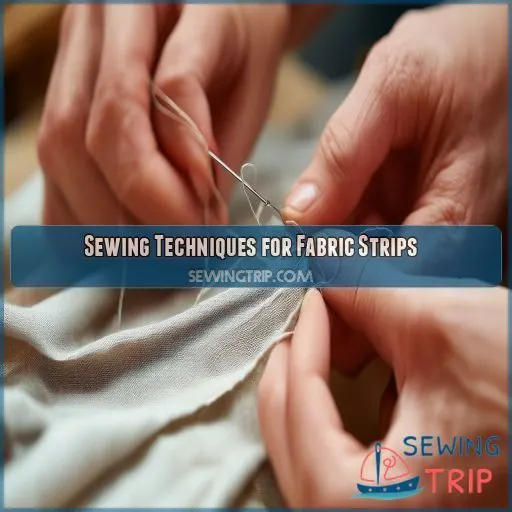
Whether you’re a quilting newbie or a seasoned pro, mastering the art of sewing fabric strips together is a must. In this section, we’ll get into the details of stitching those strips like a pro, sharing tips and tricks to help your seams be straight and your fabric lie flat.
Strip Piecing Basics
Strip piecing is a quilting technique that can speed up your sewing and create unique designs. Here are the basics:
- Join two or more long strips along their lengthwise sides.
- Cut across the joined strips to create smaller pieced units.
- Sew, iron, and flip fabric strips to create your desired quilt size.
Accuracy Tips and Techniques
Accuracy is key to getting a polished look in your strip piecing projects. Here are some essential tips to keep in mind:
- Finger Press and Measure: After adding each strip, finger press and measure to make sure everything lines up. This simple step helps you catch any inconsistencies early on.
- Planning is Key: Design your block and cut segments accordingly. Planning ahead saves you time and helps create a seamless final product.
- Grain Lines Matter: Always pay attention to grain lines when cutting strips. Accurate alignment makes sure your strips lie flat and your quilt hangs properly.
Creating Block Designs
Let’s talk about creating block designs with your fabric strips.
There are tons of block and quilt ideas online, but here are some to get you started.
The Four-Patch is simple—just use segments from two strips.
For the Nine-Patch, you’ll need two strip sets with specific segment cuts.
Try the Churn Dash or Country Dance patterns for something unique.
Piano key or checkerboard borders? Yep, you can design those with strip sets, too.
Experiment with different strip widths and fabric combos to create one-of-a-kind designs.
Tips for Strip Piecing Quilting
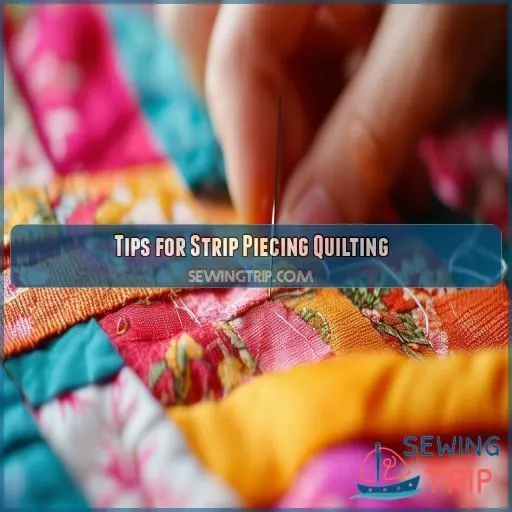
Whether you’re a quilting newbie or a seasoned pro, strip piecing is a versatile technique to add to your sewing arsenal. It’s a time-saving method that lets you create one-of-a-kind designs with ease, and it’s perfect for using up those pre-cut jelly rolls or scrap fabrics lurking in your stash.
Preparing Strip Set
Preparing a strip set is key to successful strip piecing. Here are some tips to help you:
- Cut fabric strips in half to reduce distortion.
- Pin strips right sides together, using a 1/4" seam allowance.
- Alternate the direction of each new strip to prevent warping.
- Keep your strip sets short to minimize distortion.
Block Designs and Techniques
Now that you’ve mastered the basics of strip piecing, let’s move on to some block designs to make your quilting even better. With a few simple techniques, you can create eye-catching patterns that will make your quilts stand out.
For a classic look, try the Nine-Patch design. This pattern requires two strip sets with specific segment cuts, creating a neat, symmetrical design.
If you’re feeling adventurous, explore Churn Dash and Country Dance block patterns. These unique designs offer a fun twist to your quilting repertoire.
For a playful touch, use your strip sets to create piano key or checkerboard borders. This technique adds a fun frame to your quilt and is a great way to showcase your strip piecing skills.
Don’t be afraid to experiment with different strip widths and fabric combinations to create truly unique designs. There are endless possibilities in quilting, so let your creativity flow!
Pressing and Planning
Now that you’ve mastered the basics of block designs and techniques, it’s time to focus on pressing and planning for your strip piecing quilting projects. Here are some tips to help you achieve accurate and efficient results:
- Understand the difference between pressing and ironing: Pressing involves lifting and lowering your iron with minimal movement, while ironing involves pushing and gliding. For quilting, pressing is key.
- Plan your quilt layout first: Design your quilt before sewing to efficiently plan your strip set usage and create a cohesive look.
- Press seams in one direction: Follow the arrows in the pattern for nested seams when joining rows.
- Finger press and measure: Check accuracy and catch distortions early by finger pressing and measuring after adding each strip.
Frequently Asked Questions (FAQs)
What type of fabric is best for strip piecing?
You can use any fabric for strip piecing, but some types may need a little extra prep. If you’re using a looser weave, starch your fabric first. For a woven design, like plaid, cut strips following the pattern.
How do I fix fabric distortion?
Avoid thin or delicate fabrics that stretch easily. Reduce distortion by cutting fabric strips in half. Alternate seam direction to prevent warping.
How do I stop my fabric from warping?
To stop your fabric from warping, avoid pulling it too taut and use a stabiliser or starch to flatten the edges. You can also try a fabric stiffening agent like Terial Magic or a DIY water-soluble stabiliser solution.
Whats the best way to cut strips?
First, square up your fabric edges to avoid V-shaped strips. Use a large cutting mat to avoid moving your fabric mid-cut. Line up your fabric with the mat’s straight lines. Use a sharp rotary cutter to cut strips, and a ruler to make sure your lines are straight.
How do I know if my strips are the right size?
Before you sew, measure pre-cut strips. Sizes vary, so keep your seam allowance consistent, especially with multi-unit blocks. Square up the strip-pieced set with a ruler before cutting units for accuracy.
Conclusion
Mastering these simple steps and techniques is key. From aligning fabric strips to pressing seams, it’s all about creating seamless connections.
Remember to maintain consistency in your seam allowance. This is crucial. Also, alternate seam directions to prevent bowing.
With these tips and a little practice, you’ll be a pro at sewing long strips of fabric together.


