This site is supported by our readers. We may earn a commission, at no cost to you, if you purchase through links.
You’re about to embark on a journey that marries tradition with personal expression, transforming raw materials into wearable art.
This guide will walk you through the intricate process of sewing shoes by hand, from the initial pattern creation to the final polish.
Whether you’re a seasoned crafter or a curious novice, this step-by-step guide is designed to satisfy your craving for mastery, innovation, and a deeper understanding of the shoemaking craft.
Let’s dive into the world of hand-sewn shoes, where every detail matters and every creation is a testament to your artistic flair and dedication.
Yes, you can sew shoes by hand using simple tools like a needle and thread, following steps that include making a pattern, cutting materials, and stitching pieces together. This process allows for custom-fitted, handcrafted shoes, emphasizing the importance of precision and skill.
Table Of Contents
Key Takeaways
- Precision in cutting and stitching leather pieces is crucial for the final fit and appearance of the shoe; any inaccuracies can significantly affect the outcome.
- The hand-sewing process creates a stronger, more durable seam compared to machine-sewn shoes, which is less likely to fail over time.
- Hand-sewn shoes offer a unique and personalized fit, allowing for intricate styles and customization that machine processes cannot replicate.
- The finishing touches, such as polishing the leather and adding decorative elements, are essential for enhancing the shoe’s appearance and durability.
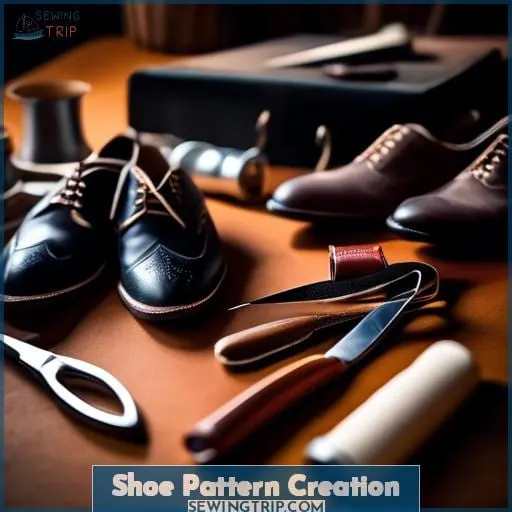
Shoe Pattern Creation
When embarking on the journey of sewing shoes by hand, the initial step is to transfer your unique design onto paper, creating a tangible blueprint for your vision.
This meticulous process involves crafting a mockup to test the fit and style, ensuring that the final product not only looks good but feels comfortable too.
With your pattern details finalized, including seam allowances and intricate cuts, you’re ready to bring the artistic flair of the 1920s to life with your own hands.
Design Transfer Techniques
To transfer your shoe design onto a pattern, you’ll start with tracing techniques that capture the contours of your foot. Masking tape tracing is a popular method, allowing you to outline your foot directly onto the tape for a precise guide.
Once you’ve got your foot’s shape, you’ll move onto paper pattern creation, where you’ll transfer and refine your design. For those embracing technology, digital design transfer can streamline the process, translating your vision into a pattern ready for hand sewing.
This approach isn’t just about crafting footwear; it’s an expression of leather craft and a testament to the meticulous nature of sewing projects. Your shoe pattern is the blueprint of your footwear design, a testament to your dedication to the art of shoemaking.
Mockup and Testing
When crafting shoes by hand, the mockup and testing phase is crucial. It’s your chance to experiment with style, ensuring the fit and durability meet your expectations.
Start with a slipper pattern or your own design, using materials at hand for a test run. This step allows for necessary pattern modifications and fit adjustments before committing to your final materials.
It’s not just about how to sew shoes by hand; it’s about refining your craft. Testing materials, making adjustments, and evaluating durability are key to creating house shoes that not only look good but are comfortable and long-lasting.
This phase is where your artistic flair shines, blending innovation with traditional techniques to perfect your design.
Finalizing Pattern Details
After your mockup has confirmed the fit and style, it’s time to refine your shoe pattern with precision and creativity.
- Pattern Drafting: Carefully adjust your pattern based on the mockup feedback. This is where your artistic flair shines, ensuring every curve and line contributes to both beauty and comfort.
- Pattern Marking: Add all necessary markings, including grain lines and alignment cues. These details are crucial for the next steps, guiding you with dependability through the construction process.
- Pattern Grading and Alterations: If you’re creating multiple sizes or making final adjustments, now’s the time. This step requires a deep understanding of foot anatomy and pattern dynamics, pushing you towards mastery.
Embrace this phase with attention to detail and innovation, as it sets the foundation for the exquisite shoes you’re about to craft.
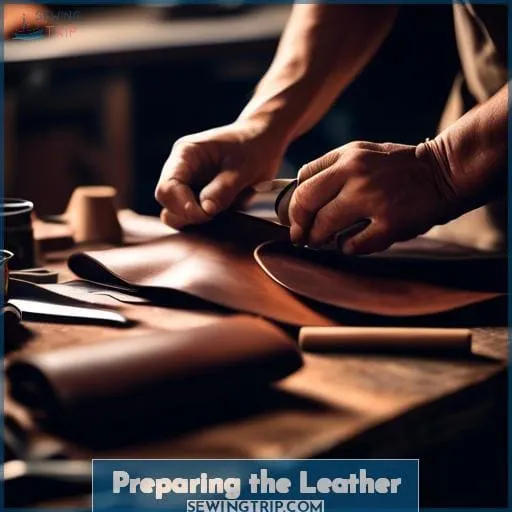
Preparing the Leather
When preparing leather for hand-sewing shoes, meticulous attention to detail is paramount.
You’ll begin by cutting and skiving the leather, ensuring edges are thinned and folded for a polished look.
As you assemble the uppers, precise stitching is key to both durability and aesthetics, with hardware and eyelets adding a functional yet artistic touch.
Cutting and Skiving
Once you’ve crafted your shoe pattern, it’s time to prepare the leather. Selecting the right leather type is crucial; calfskin is a popular choice due to its smooth grain and versatility for both casual and formal shoes.
When considering leather thickness, aim for 1.5 – 3mm to ensure manageability and appropriate stretch. For skiving, which thins the leather’s edges for a cleaner finish, you’ll need the right skiving tools.
A hand skiver or a skiving machine can be used, depending on your preference and the project’s scale.
Here’s a quick reference table for your leather preparation:
| Leather Type | Ideal Thickness (mm) | Skiving Tool |
|---|---|---|
| Calfskin | 1.5 – 3 | Hand Skiver |
| Veg-Tanned | 4 – 5.5 | Skiving Machine |
| Chrome-Tanned | 1.2 – 2.0 | Either |
Skiving tips include maintaining a sharp blade and practicing on scrap leather to perfect your technique. If you’re using a skiving machine, ensure it’s properly calibrated for the leather thickness. Remember, the artistic flair comes from how you manipulate the leather’s natural properties to create a shoe that’s not only functional but also aesthetically pleasing.
Stitching and Assembling Uppers
Once you’ve cut and prepared your leather, it’s time to bring your shoe’s upper to life.
- Use double-sided tape or glue to position and hold the leather pieces together before stitching. This ensures precision and stability.
- Carefully stitch the uppers, incorporating any design elements like antique buckles for that touch of historical authenticity.
- Insert a damp heel counter to provide shape and support before lasting, ensuring a snug fit around the last.
As you work, imagine the satisfaction of threading bristle through leather, the scent of beeswax as you wax your thread, and the feel of the bicycle inner tube as you mold the insole to perfection. Your attention to detail will result in a shoe that not only looks exquisite but feels robust and comfortable.
Adding Hardware and Eyelets
After stitching and assembling your uppers, it’s time to add those final touches that truly make your shoes stand out.
Selecting the right hardware and eyelets is crucial, not just for functionality but also for adding a dash of decorative flair. When placing eyelets, ensure they’re evenly spaced and reinforced with stitches to prevent tearing.
This step is your chance to infuse personal style into your creation. Whether it’s antique buckles or modern, decorative clips, these elements add character.
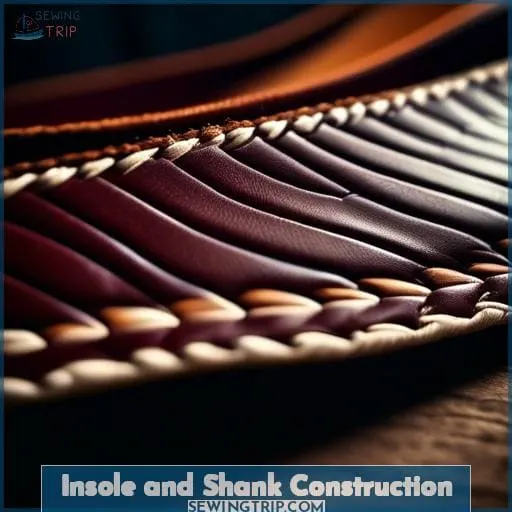
Insole and Shank Construction
In the intricate world of hand-sewn shoemaking, constructing the insole and shank is akin to laying the foundation of a building.
You’ll start by molding the insole leather to the last, ensuring it perfectly conforms to the desired shape.
This process, coupled with the careful construction of the shank, provides the necessary support and structure, acting as the backbone of your shoe.
Moulding the Insole
To masterfully mold your insole, you’ll need to embrace the art of wet conditioning and precise shaping.
- Begin by selecting the right leather for your insole, considering thickness and quality for durability and comfort.
- Wet the leather to make it pliable, then wrap it around your shaping last, ensuring it conforms snugly to every contour.
- Secure the leather onto the last with lasting tools, like tacks or a bicycle tire inner tube, to maintain the shape as it dries.
Building the Shank
After molding your insole leather to the perfect last shape, it’s time to reinforce the foundation of your shoe with a sturdy shank.
Selecting the right leather and cardboard materials is crucial for this step. You’ll need to wet mold these components to ensure they snugly fit the contours of your last.
Gradually building up the shank with layered cardboard, each piece slightly smaller than the last, creates a solid base that supports the arch of the foot.
This meticulous process not only enhances the shoe’s durability but also ensures comfort and stability with every step.
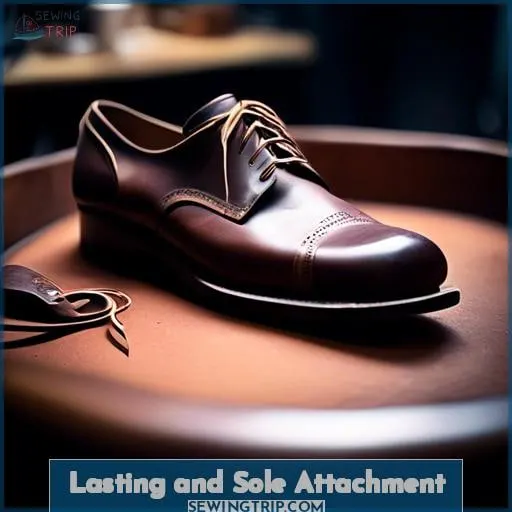
Lasting and Sole Attachment
When it comes to handcrafting shoes, the lasting and sole attachment stages are crucial for ensuring durability and comfort.
You’ll draw the upper over the last, securing it to the insole, and prepare the outsole for attachment, paying close attention to detail for a professional finish.
Mastering the stitching techniques by hand not only adds an artistic touch but also reinforces the shoe’s structure, making your handmade shoes stand out with a bespoke quality.
Lasting the Shoe
Once you’ve prepared your insole and shank, it’s time to give your shoe its shape through lasting.
- Begin by drawing the upper down over the last, securing it to the insole’s bottom. This step is crucial for shaping the shoe to the last’s contours.
- Insert a damp heel counter into the uppers before lasting to ensure the heel’s shape is maintained and stabilized.
- Complete the lasting process by adding a toe puff for structure at the front of the shoe, and use a stitching awl for precision in attaching the upper to the insole.
Preparing and Attaching the Outsole
When preparing and attaching the outsole, you’ll dive into a world where precision meets creativity.
Start by selecting your outsole materials, ensuring they complement the overall design and functionality of your shoe.
Next, sketch out your stitching patterns, a crucial step that not only secures the outsole to the shoe but also adds an artistic touch.
Fudging techniques come into play here, using a heated fudging wheel to create uniform indentations along the welt, enhancing both the shoe’s durability and aesthetic appeal.
Channeling methods follow, requiring a steady hand to cut a groove in the outsole, preparing it for stitching.
Finally, apply the finishing touches with meticulous attention to detail, ensuring every element, from the welt dye to the compacted outsole edges, showcases your commitment to craftsmanship and quality.
Stitching Techniques
In the art of hand-sewing shoes, mastering stitching techniques is crucial for both lasting and sole attachment. This process is where your patience, precision, and passion for craftsmanship truly shine.
Needle Selection: Choose the right needle for your material. Leather requires a cutting point needle, while textiles may need a round or ball point. The needle size should match the thread size to avoid breakage or unsightly seams.
Thread Tension and Stitch Length: Maintain consistent thread tension for strong, even stitches. Adjust stitch length according to material thickness; tighter stitches for thinner materials and looser for thicker ones. This balance is key to durability and aesthetics.
Hole Spacing and Stitch Pattern: Precise hole spacing ensures a uniform stitch pattern, enhancing the shoe’s strength and visual appeal. Use a stitching awl or a heavy-duty sewing tool like the Speedy Stitcher for manual sole stitching, ensuring each stitch is meticulously placed and secured.
By focusing on these elements, you’re not just making shoes; you’re crafting wearable art that stands the test of time.
Finishing Touches
As you near the completion of your hand-sewn shoes, the final touches are crucial for both aesthetics and durability.
Fudging and channeling add intricate details and prepare the shoe for final stitching, ensuring that every stitch is precisely placed for both form and function.
The process concludes with dyeing and polishing, which not only enhances the shoe’s appearance but also protects the material, ensuring your creation stands the test of time and wear.
Fudging and Channeling
When it comes to fudging and channeling, you’re delving into the artistry of shoemaking. Fudging techniques involve creating decorative ridges on the welt, a subtle yet sophisticated touch.
Channeling tools, like the channel groover, are used to prepare the outsole for stitching, ensuring a clean, professional finish. Your stitching methods must be precise, as they’re a testament to your craftsmanship.
Outsole preparation is crucial; it must be roughened and glued properly for durability. Finally, finishing techniques like hammering and dyeing the edges of the sole bring your creation to life, showcasing your attention to detail and dedication to excellence.
Final Stitching and Compacting
After mastering fudging techniques and channeling methods, you’re ready for the final stitching and compacting of your shoe.
With your outsole preparation complete, carefully tighten each stitch, ensuring half-thread visibility for a polished look. As you stitch, remember to periodically moisten the outsole to maintain pliability.
Once stitching is complete, fold the leather over the channel and compact the outsole by hammering the edges. This not only secures the stitches but also gives a refined finish to your handcrafted shoe.
Dyeing and Polishing
After compacting the outsole and ensuring a smooth finish, it’s time to elevate your hand-sewn shoes with dyeing and polishing. This final step not only enhances the aesthetic appeal but also extends the life of your shoes.
- Dye Depth: Achieve rich, even color by applying dye in thin, consistent layers, allowing each to dry thoroughly before the next. This method ensures deep penetration and vibrant hues.
- Leather Protection: After dyeing, apply a high-quality leather conditioner. This not only protects the leather from future wear but also enhances the dye’s longevity and vibrancy.
- Color Matching and Sheen Enhancement: For scratch repair and sheen enhancement, carefully select a polish that matches your shoe’s color. Apply in small, circular motions to build up a protective layer that also boosts the shoe’s shine.
These steps not only restore your shoes to their former glory but also infuse them with your personal touch, making each pair uniquely yours.
Frequently Asked Questions (FAQs)
How do I choose the right type of thread for hand-sewing shoes?
Opt for waxed linen or bonded nylon thread. Both are strong, durable, and resist moisture, ideal for the demands of shoe construction.
Avoid cotton as it may degrade with the tannins in leather.
Can I repurpose materials from other items, like old purses, for making shoes?
Yes, you can absolutely repurpose materials from old purses and other items for making shoes.
In a world where your grandma’s vintage handbag morphs into a chic pair of boots, the line between fashion and recycling blurs.
Imagine slicing through the rich leather of a forgotten clutch to craft the perfect shoe upper, or transforming a belt into a sturdy shoe strap.
It’s not just about making do; it’s about innovating with what’s already there, turning the old into something not just new, but better.
Your creativity isn’t just saving the planet one stylish step at a time; it’s setting the runway on fire with designs that tell a story, all while giving a nod to the past.
What are the best practices for ensuring durability in hand-sewn shoes?
Choose high-quality materials like full-grain leather for strength and a good fit to prevent strain on seams.
Skilled craftsmanship ensures precise, durable stitching.
Proper soles contribute to longevity.
How can I make my hand-sewn shoes water-resistant?
Like a well-oiled machine, you’ll want to select leathers like Chromexcel, which are naturally water-resistant.
Apply a waterproofing treatment to keep your hand-sewn shoes dry.
Are there any specific ergonomic considerations when hand-sewing shoes to prevent hand fatigue or injury?
To prevent hand fatigue or injury while hand-sewing shoes, ensure you’re using ergonomically designed tools and take regular breaks.
Adjust your workspace for comfort, and practice proper hand exercises to maintain flexibility and strength.
Conclusion
Congratulations! You’ve just embarked on a remarkable journey, transforming simple materials into a masterpiece that cradles your feet.
Sewing shoes by hand isn’t just a craft; it’s an art form where every stitch tells a story of dedication, precision, and your unique artistic flair. You’ve meticulously followed each step, from drafting the initial pattern to the final polish, ensuring every detail is a testament to your skill and passion.
Now, as you stand back and admire your handcrafted shoes, remember this: you’ve not just made a pair of shoes; you’ve woven a piece of your soul into something tangible. Wear them with pride, knowing they’re a true reflection of your craftsmanship and the timeless art of shoemaking.

