This site is supported by our readers. We may earn a commission, at no cost to you, if you purchase through links.

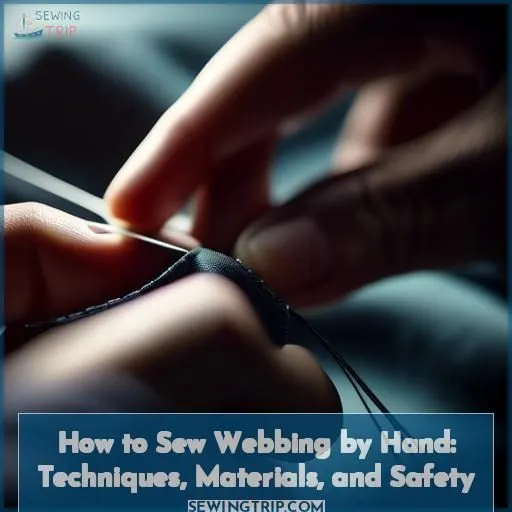
To sew webbing by hand, begin with a sailmaker’s needle for its versatility and sturdiness. Shield your hands with a sailor’s palm and heavy-duty needles. Utilize doubled 40- to 50-pound polyester whipping twine for its knot strength and resistance to abrasion. Your stitches should be close together to enhance strength.
Choose polyester twine or heavy-duty threads like V-92 or V-138 for outdoor projects, and consider carpet thread for extra strength. For added durability, apply contact cement or marine-grade adhesives to the webbing.
Table Of Contents
Key Takeaways
- Use a sailmaker’s needle for its versatility and durability.
- Utilize doubled 40- to 50-pound polyester whipping twine for knot strength and resistance to abrasion.
- Choose polyester twine or heavy-duty threads like V-92 or V-138 for outdoor projects.
- Apply contact cement or marine-grade adhesives to the webbing for added durability.
How to Sew Webbing by Hand?
To sew webbing by hand, you’ll need a heavy needle and durable thread, such as nylon or polyester, and you should use a box stitch or backstitch for strength. It’s also important to finish the webbing’s edge with a flame to prevent fraying before you start sewing.
Hand-Sewing Techniques
To sew webbing by hand, you’ll need to select the right needle for the task.
A sailmaker’s needle is recommended for adaptability and durability.
It’s also essential to use robust needles and a sailor’s palm to safeguard your hands.
For knot strength and abrasion resistance, use doubled 40- to 50-pound polyester whipping twine.
Stitching should be compact for improved strength, and the stitching pattern isn’t critical except at the ends.
Bear in mind to inspect your equipment routinely for deterioration, as safety should always be a priority.
Thread Options
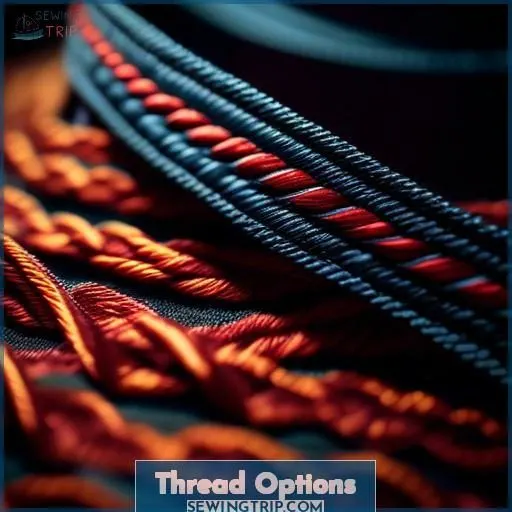
Regarding the sewing of webbing, thread selection is essential for maintaining its integrity. Here are some potential options:
- Polyester twine: This robust and adaptable thread works well for hand-sewing webbing. It’s suitable for various projects, including webbing applications, and is recognized for its strength and resistance to wear.
- V-92 or V-138 thread: These are outdoor-rated synthetic threads compatible with webbing sewing. They surpass the strength of general-purpose threads and are frequently employed in outdoor or marine environments.
- Carpet thread: This heavy-duty thread provides additional strength for webbing sewing. It’s often utilized in high-wear areas and is appropriate for both hand and machine sewing.
- Industrial needles: Designed for heavy-duty sewing, these needles are commonly used for sewing webbing. They’ve a round Ø 2mm shank and are suitable for both hand and machine sewing.
- Polyester thread: Commonly used in machine sewing, this thread is suitable for webbing sewing. Its strength and durability make it a good choice for high-wear applications.
- Marine thread: This specialized thread is suitable for sewing webbing in marine environments. It’s designed to withstand harsh sea conditions and is often used in sailing and boating applications.
- Upholstery thread: This strong thread is suitable for sewing webbing in upholstery applications. It’s often used for sewing straps and other heavy-duty webbing applications.
- Decorative thread: This thread is used for decorative purposes in sewing webbing. It’s often used for hand-sewing hems and whip stitched seams.
When selecting a thread for webbing sewing, consider the necessary strength and durability for the application, as well as the type of needle and sewing machine you’ll be using.
Adhesive Options
For webbing adhesives, durability is crucial.
Consider contact cement or industrial adhesives designed for marine environments or strenuous applications.
These adhesives can improve the strength and longevity of your webbing, especially in harsh conditions.
Use them in combination with robust stitching and multiple webbing layers.
Additionally, follow the manufacturer’s guidelines meticulously for optimal results.
Strength Considerations
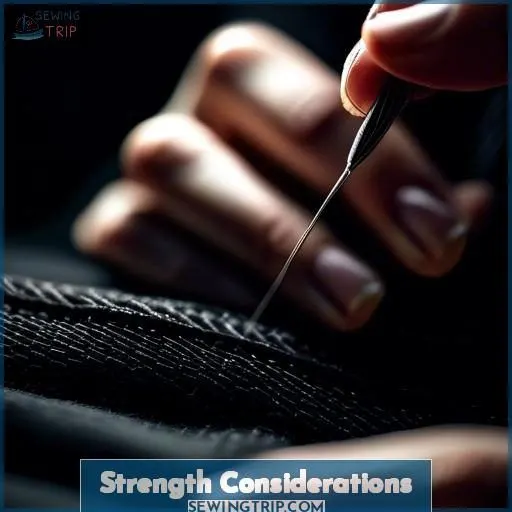
When sewing webbing by hand, consider the saddle stitch as it has 2.7 times the breaking strength of a lock stitch. You can also increase strength by using multiple layers of webbing, but ultimately machine-sewn seams provide greater durability and reliability for critical applications.
Saddle stitch strength
Saddle stitch with double thread and two needles is a strong hand-sewing technique.
It has a breaking strength 2.7 times that of a lock stitch, making it ideal for heavy webbing.
Use heavy thread for strength and wear resistance.
Needle durability is essential; grind off the point edges of needles used on fabric.
Stitch density and thread type affect strength.
Always maintain a safety margin when working with heavy webbing.
Multiple webbing layers
To increase the strength of your webbing, consider using reinforcement techniques such as sandwiching an additional layer inside the join. This can help to withstand high-load applications.
Additionally, synthetic materials like nylon and polyester can offer improved abrasion resistance when used in stitching patterns like the W pattern or d-ring.
A sailor’s palm can be useful for hand-stitching thick material, while doubled 40- to 50-pound polyester whipping twine provides extra strength.
Remember to inspect your equipment regularly for wear and tear, and always use a sacrificial webbing layer for abrasion protection.
Machine-sewn seams
To create machine-sewn seams, adjust the tension and select the appropriate needle for your industrial sewing machine. Choose the right stitch length and consider seam reinforcement. For safety harnesses, use a lock stitch or diamond pattern with heavy thread like carpet thread. Remember, machine-sewn seams are stronger and more durable than hand-stitched ones, making them ideal for critical applications.
Safety Considerations
Essential safety considerations demand that you refrain from relying on untried equipment for the protection of your life or limbs. Consistently employ equipment equipped with indispensable safety margins**, and conduct routine inspections for signs of deterioration.
Adhere to the manufacturer’s guidelines for proper use and maintenance of your hammock suspension system. For manual sewing techniques, utilize robust needles such as sailmaker’s needles and doubled 40- to 50-pound polyester whipping twine. Note that even in manual stitching, densely packed stitches enhance strength.
Whether utilizing a Speedy Stitcher or a Meyer Sewing Awl, prioritize safety above all else.
Frequently Asked Questions (FAQs)
How to tie a figure-8 loop?
To tie a figure-8 loop, follow these steps:
- Start with a loose Figure 8 knot.
- Pass the tail around the attachment point.
- Follow the original Figure 8 around the entire knot in reverse.
- Dress the knot by bringing the two outermost turns in snug against the ropes they enclose.
- Pull the knot and observe that it tightens neatly.
When tying a figure-8 loop, it’s important to tie it neatly and with the loaded strand going for an outer bend for maximum strength.
What is the best needle for hand-stitching?
Just like a knight needs his sword, you’ll need a sailmaker’s needle for hand-stitching webbing. It’s versatile, strong, and, paired with heavy thread, makes your stitching as tough as old boots.
How to attach webbing to hardware?
To attach webbing to hardware, you can use a variety of methods. One option is to use a riveting procedure, which is the easiest, fastest, and most commonly used way to join two lengths of waterproof webbing.
Another method is to melt a hole through both pieces of webbing and use a screw with a fender and reg washer.
Additionally, you can use a snap hook that locks to an attachment point on the railing or a webbing loop.
When attaching webbing to hardware, it’s imperative to make sure the webbing is kept at a 90-degree angle to the rail to prevent it from sliding along the boat frame or rail.
Can I use contact cement on nylon webbing?
Contact cement may not be the most effective option for gluing nylon webbing. Contact cement is a neoprene rubber adhesive that creates a fast, flexible, permanent bond, and is especially useful for nonporous materials like plastics, veneers, rubber, glass, metal, and leather. However, some users have reported that contact cement did not work well for attaching nylon straps to plastic armor pieces.
Two-part epoxy is another option, but it may not be as flexible as contact cement. Gorilla glue is also mentioned as a viable option, but its effectiveness for nylon webbing isn’t explicitly stated.
Ultimately, the best adhesive for nylon webbing may depend on the specific application and the strength required.
What is the process for inspecting webbing?
To inspect webbing, follow these steps:
- Check for cuts, tears, frays, or broken stitches.
- Avoid exposing the webbing to extreme temperatures, chemicals, or direct sunlight.
- Regularly inspect the webbing for any signs of wear or damage and replace it if it doesn’t meet safety standards.
- Clean the webbing using mild soap and water, avoiding harsh solvents or abrasive materials that could weaken the fabric.
- Thoroughly dry the webbing before storing it in a clean, dry environment, away from direct sunlight and extreme temperatures.
- Store the webbing in a dedicated storage area.
- Conduct periodic inspections by a professional service provider or a Qualified Person every 12 months (at a minimum) and monthly to quarterly in more severe service conditions.
- Maintain records of inspections and retain them for reference.
- Make sure that the webbing meets the specific job requirements and adheres to safety guidelines.
- Remove the webbing from service if the identification tag is missing or illegible.
Conclusion
Sewing webbing by hand is a skill that requires patience and precision. With the right tools and materials, you can create strong and durable seams that will withstand the test of time. Use a sailmaker’s needle and doubled polyester whipping twine for superior knot strength and resistance to abrasion.
Consider applying contact cement or marine-grade adhesive to enhance the strength of your webbing. Remember to sew close together for increased durability. By following these techniques and safety considerations, you’ll be able to sew webbing by hand with ease and confidence.


