This site is supported by our readers. We may earn a commission, at no cost to you, if you purchase through links.
 You’ve got a project in mind and the right materials, now reach for that trusty awl. As you thread the sharp implement and aim it toward the fabric, questions bubble up. How far apart should stitches be? Where do I insert and remove the needle? Take a deep breath—you’ve got this.
With a few guiding tips, you’ll hand sew leather and fabric like a pro in no time. Let the awl become an extension of your hand as you learn to leverage its unique benefits.
Dive in as we cover prepping, stitching, and tying off with an awl from start to finish. You’ll gain confidence with each poke and pull, stitching your way to beautiful creations.
Table Of Contents
Key Takeaways
- Prepare materials and your hands properly before stitching with the awl for best results.
- Grip the awl firmly and thread it carefully to begin your stitches.
- Keep the fabric taut and complete stitches with secure knots when sewing.
- Master knot techniques and trim threads to finish awl sewing projects neatly.
Sewing Awl Basics
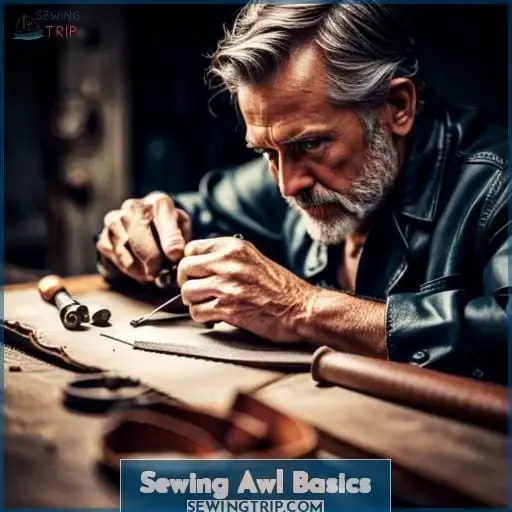
You need a firm hold on your Speedy Stitcher before stabbin’ through thick layers with its awl. That first stitch secures your scrapbook pages so move the awl slowly and carefully for clean holes. Select your material wisely, as the awl easily punctures most fabrics and leather but struggles with hard plastics or wood.
Use a foam base or thick glove underneath to protect your hands, and pull the thread gently to avoid tangles. Give those dusty old jeans new life with decorative stitching, or design a durable custom canvas tote as a gift.
With some practice controllin’ the awl’s precision tip, you’ll crank out sturdy stitches in no time. For best results, keep your Speedy Stitcher properly maintained – replace dull needles, rethread regularly, and oil the joints monthly.
Let your awl unleash your creativity as you stab, pull, and tie scores of stitches for your crafty projects.
Prep Your Materials
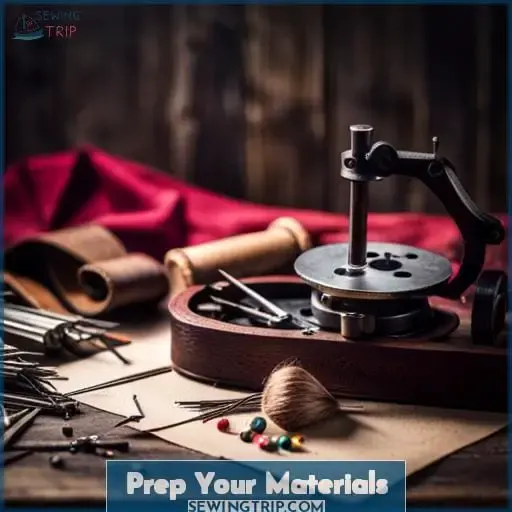
Gather the materials you’ll be stitching through before loading the awl. Select a sturdy fabric or leather, aligning the layers smoothly. Prepare the awl by inserting the needle and threading it fully with a waxed thread, leaving some slack.
Tighten the chuck and test the needle’s alignment. If sewing layers like a book, crease them neatly with a bone folder first.
With material ready, grip the awl handle firmly and angle the needle for easy insertion. Take care not to stab yourself as you pierce through the fabric. Use a scrap wood block behind if you need extra force or support.
Thread the Awl
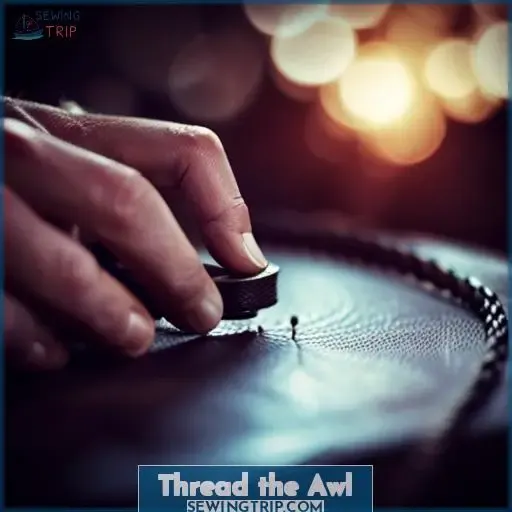
Carefully pierce the awl’s eye with waxed thread, then neatly pull the end through before starting your stitching project.
Insert the needle firmly in the awl’s chuck, making sure the eye faces outward. Grasp a few inches of sturdy, waxed thread and gently guide it through the eye. Rub the thread between your fingers to straighten any kinks. Pull just enough thread through to work with.
Maintain gentle tension while stitching to keep even stitches. Avoid yanking or loosening the thread mid-project. Mastering proper threading technique ensures efficient awl use for your sewing and crafting endeavors, whether you’re hand-stitching leather or repairing tarps and tents.
With practice, you’ll intuitively thread an awl to start any project with ease.
Start Your Stitch
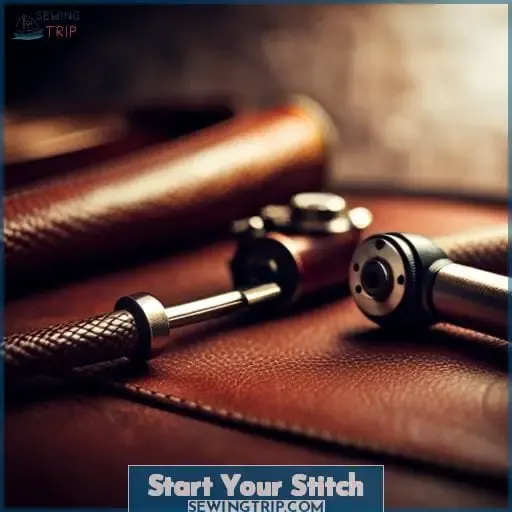
Gentlemen, poke the needle through those layers lest you botch your fancy project and join the ranks of the unskilled masses. With an easy hand and a steadfast grip, start your stitch by driving the point through the prepared fabric.
Mind the thickness, take care not to bend the metal. Once pierced, draw out a tidy tail of thread and make ready to pull back.
Stitching Tips here – keep your material taut. As you extract the awl, hold fast to the thread’s end, fashioning a sturdy loop ideal for binding pages into a journal or leather strips into a satchel.
Thus proceeds the dance of needle and thread, each plunge securing the last in Awl Techniques for the ages. Forward then, let leather, linen and love wait not on idle hands. Yours is a craft ancient and honest.
Complete the Stitching
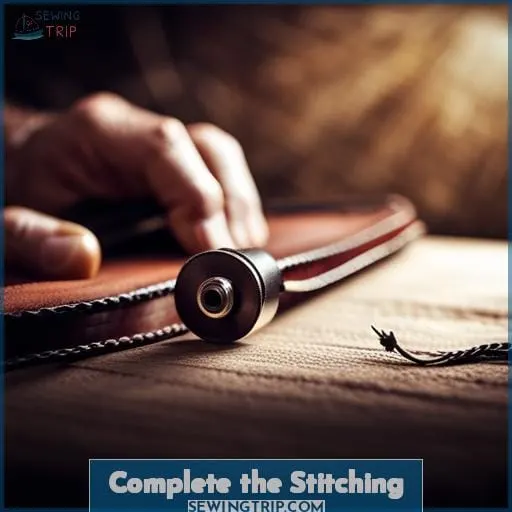
You’ll want to slide the thread all through that loop for a secure stitch. After repeating those core stitching steps across your material, you’ll be at the home stretch. Take an extra hole at the end to finish off. Draw the thread out and clip it near the eye of the needle.
You should have two loose ends now outside the fabric. Tie those ends together in a simple overhand knot, snug against the last hole. Add a second knot on top for good measure to lock in those final stitches. Secure knots’ll keep the stitching taut and sturdy even under stress.
One tip to prevent loosening with regular use or washing is dabbing the knots with superglue. Once those knots’re set, trim the thread tails down flush. Voilà, your stitching’s complete! Admire your handiwork and remember these techniques for your next awl sewing project.
Tie Off and Finish
After completing the stitching on your project, you’re ready for the final steps to tie off and finish with your sewing awl. Take the last stitch at the end of the material, then clip the thread end still through the awl’s needle, leaving enough length for knots.
Tie an overhand knot with the two thread ends and firmly cinch it down. Adding one or two more knots ensures your stitching stays secure. With the Binding Tips shared here, the awl’s Thread Management becomes intuitive.
Your Awl Finale involves neatly clipping the threads and admiring your handiwork. With practice, these Finishing Touches become second nature. Soon you’ll expertly apply knot techniques for any awl project.
Your skills continue improving as you gain confidence stitching leather, canvas, denim, and beyond.
Conclusion
Learning how to sew with an awl can open up a world of possibilities for crafting and repairing leather and fabric items. An awl’s a unique tool that allows for a strong and durable stitch, even in challenging conditions.
With a few simple steps and the right supplies, you can sew leather and fabric just like the pros.
To start, gather your materials, load the awl with thread, and begin your stitch. To complete your hand stitching, pull the thread tight, tie off the ends, and cut away the excess.
With practice, you can become an expert in using the awl and create beautiful and functional items. Whether you’re stitching up a patch on your backpack or making a quilt from scratch, learning how to sew with an awl’s an invaluable skill.

