This site is supported by our readers. We may earn a commission, at no cost to you, if you purchase through links.
Listen for odd noises or vibrations, and check if those stitches are pulling a disappearing act. These hiccups might mean your machine’s timing is off.
Dive deeper to master the art of timing adjustments and keep your sewing serenade sweet and smooth!
Table Of Contents
- Key Takeaways
- Common Signs of Timing Issues
- Recognizing Sewing Machine Timing Issues
- Causes of Sewing Machine Timing Issues
- Assessing Sewing Machine Timing
- Fixing Timing Issues in Sewing Machines
- Maintaining Your Sewing Machine
- Troubleshooting and Adjusting Timing
- Preparing for Timing Adjustment
- Adjusting the Timing and Fine-Tuning
- Preventing Timing Issues in the Future
- Frequently Asked Questions (FAQs)
- Conclusion
Key Takeaways
- Is your sewing machine acting like a rebellious teenager? Skipped stitches and mysterious thread breaks might be a sign that it’s out of sync. Check for needle and bobbin alignment to keep your machine running smoothly.
- Ever feel like your sewing machine’s got two left feet? Listen for unusual noises or vibrations. If it’s squeaking or clunking like a rusty old car, the timing might be off. A little TLC and proper adjustments can bring back the harmony.
- Say goodbye to fabric bunching and uneven stitch lengths! Ensure your needle is properly aligned and not bent, like making sure your socks aren’t on backward. This simple check can prevent chaos in your sewing projects.
- Don’t pull your hair out over thread shredding! Check thread tension and quality—think of it like finding the perfect dance partner for your needle. A balanced setup creates a smooth sewing experience.
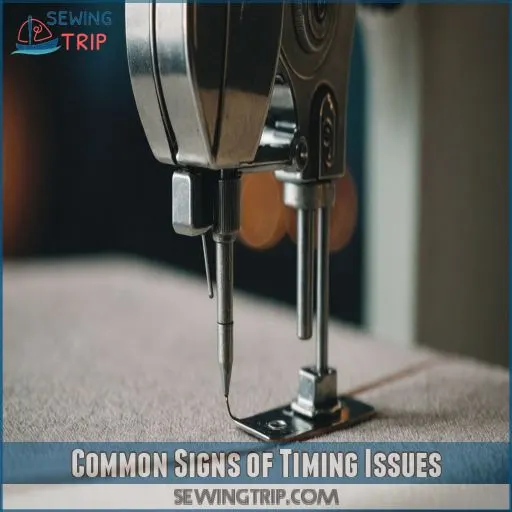
Common Signs of Timing Issues
You’re working on that new outfit and suddenly notice your sewing machine is acting up—bummer, right?
If you spot skipped stitches, uneven lengths, or hear your needle playing rock ‘n’ roll with the bobbin case, it’s time to check if your machine’s timing is off.
Skipped Stitches and Their Causes
Skipping stitches can make your sewing project look more like abstract art than a finished product. When the needle and bobbin aren’t in sync, your machine skips stitches like it’s dodging chores.
- Needle’s too high or low – Impacts the hook’s ability to catch thread.
- Incorrect threading – Leads to skipped stitches.
- Bad tension settings – Messes with stitch formation.
Uneven Stitch Length and Fabric Bunching
Notice your sewing machine sewing uneven stitch lengths or fabric bunching? That might be a timing issue! Just like a car with a flat tire, your stitches can get wobbly or jammed.
Check your fabric tension, thread quality, needle size, and presser foot settings.
Sometimes, a simple bobbin tension tweak is all it takes for a smooth sewing experience!
Needle Hitting the Bobbin Case or Hook
If your needle keeps hitting the bobbin case or hook, it’s a clear sign your sewing machine’s timing is off.
This can lead to skipped stitches, needle breakage, and even fabric damage.
Check the needle alignment, hook movement, and timing marks to identify the issue.
If you’re unsure, consult a professional for a proper adjustment.
- Needle misalignment
- Incorrect hook timing
- Worn or damaged parts
- Improper machine setup
Thread Breaking or Shredding
When your sewing machine’s needle doesn’t just tap dance with the bobbin case but also leaves a path of shredded thread, it’s like a sewing break-up in slow motion, and it could be a sign of needle timing issues.
Check thread tension and quality, as they might be causing thread breaking.
Consider needle type and bobbin tension, too.
Balancing the right fabric type with thread quality often patches things up!
Fabric Puckering and Tension Problems
Ever feel like your fabric’s having a bad hair day? That might be fabric puckering! It’s often due to mismatched needle sizes, wrong thread type, or unbalanced bobbin tension.
Make sure your sewing machine needle plate isn’t adding to the drama, and double-check sewing machine thread tension for crisp, smooth stitches.
Your sewing machine stitch quality will thank you!
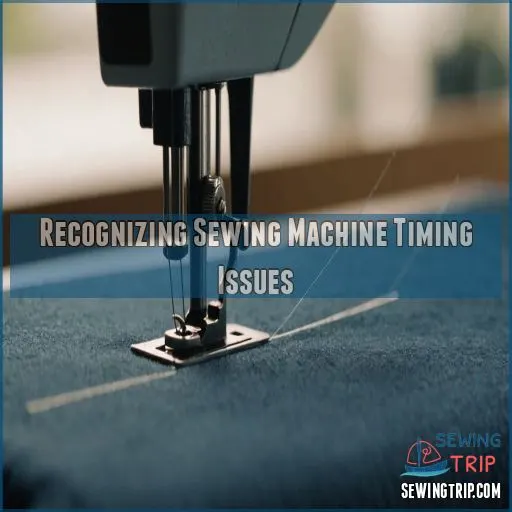
Recognizing Sewing Machine Timing Issues
Is your sewing machine misbehaving like it has a mind of its own? Don’t worry, spotting timing issues is easier than threading a needle after your third cup of coffee!
Visual Inspection of the Needle and Bobbin
Start by visually inspecting your sewing machine’s needle and bobbin area.
Check the needle for any bends, breaks, or misalignment.
Make sure the bobbin is properly installed and the thread is running smoothly through the tension discs.
Look for any signs of lint, debris, or thread tangles that could be interfering with the machine’s operation.
Manual Needle Test and Hook Movement
To make sure your sewing machine’s needle and hook are in sync, try a manual needle test.
Remove the presser foot and plate, then rotate the handwheel.
As the needle rises, watch if it meets the hook precisely.
With timing akin to catching your coffee just before it spills, this simple check aids in preventing stitch chaos.
Checking for Needle Alignment and Damage
Is your needle causing mischief? Check for needle alignment and wear to keep things running smoothly. A bent needle or the wrong size can lead to chaos and needle breakage.
- Look for bends or breaks
- Make sure you have the proper needle type for fabric
- Use the right needle size
- Regularly replace needles
- Incorporate sewing machine care into routine
Identifying Unusual Noises and Vibration
After examining needle alignment and damage, tune into strange noises and vibrations your sewing machine might make.
Like a grumbling tummy, these sounds signal trouble.
Grinding, clunking, or excessive vibrations suggest timing hiccups.
Troubleshoot by cleaning and oiling the machine.
If the racket continues, there may be internal issues.
Call a sewing machine expert if needed.
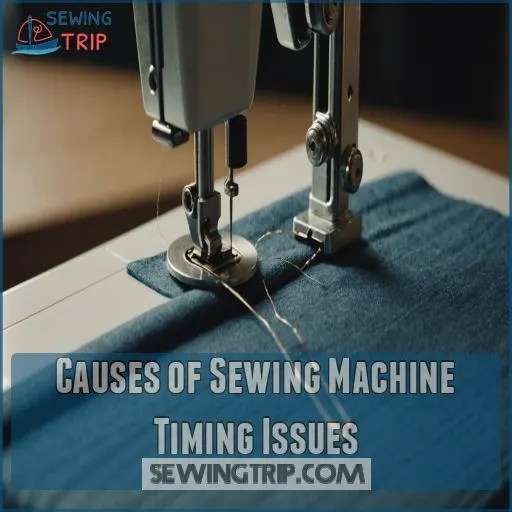
Causes of Sewing Machine Timing Issues
If your sewing machine is acting up, it could be due to timing issues.
From incorrect threading to worn-out parts, there are several common culprits that can throw off your machine’s rhythm and leave you with a tangled mess.
Incorrect Threading and Tension
Sometimes, it’s the small things that trip us up! Incorrect threading or tension can throw your sewing machine into a tizzy, affecting stitch quality.
Make sure you’ve got the right thread type and needle size.
Double-check bobbin tension and top tension settings too.
If your vintage sewing machine‘s still giving you grief, consult a sewing machine professional—warranties may cover it!
Worn or Damaged Parts and Needles
Sometimes, sewing machines throw a wrench in your plans due to worn or damaged parts. Bent needles or broken bobbins can make the timing go haywire! Watch out for:
- Needle wear: Swapping needles often can prevent damage.
- Damaged hooks: Regular checks keep hooks from wreaking havoc.
- Worn bobbins: Replace them before they start acting up.
Poor Maintenance and Lack of Oiling
In the absence of regular upkeep, your sewing machine may screech for some TLC like a rusty old hinge.
Establishing an oiling schedule is really important—not just any oil, but specifically recommended lubricant types.
Without proper cleaning, fabric fibers and lint clog gears, causing common mistakes like skipped stitches.
Keep your machine happy and sewing smoothly with some basic care.
Fabric Type and Weight Mismatch
Choosing the wrong fabric weight and needle size can really mess up your machine’s timing.
If you’re sewing lightweight fabrics with a heavy needle, the thread tension will be all over the place, causing skipped stitches and puckering.
Pair the right needle and thread for your fabric to keep everything running smoothly.
Incorrect Stitch Length and Width
Adjusting stitch length and width like a pro can save you from sewing headaches.
If the fabric bunches or tangles like a rebellious teenager, it might not be just tension issues.
Examine your settings; an improper stitch length for your fabric type could throw timing off, leading to a misaligned bobbin case.
Right needle size? Double-check. Your machine craves attention!
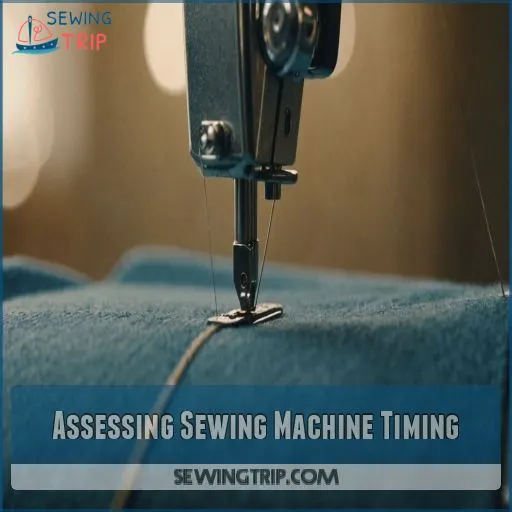
Assessing Sewing Machine Timing
To figure out if your sewing machine’s timing is off, you have some simple checks up your sleeve.
Start by watching how the hook grabs the thread, making sure your needle isn’t playing hooky.
Test it at different speeds like you’re trying out a new car.
Checking the Hook Movement and Timing
When it comes to checking hook movement and timing, don’t let it spin your wheels!
Start with a visual check for timing marks.
Your goal? Spot perfect hook alignment and smooth needle interaction.
Perform a manual test, rotating the handwheel to make sure everything syncs like a well-conducted orchestra.
Tweak until your stitches sing in harmony—no skipped beats here!
Verifying the Needle Alignment and Damage
To verify the needle alignment, give it a good once-over.
Check that the needle is fully inserted and the flat side is facing the back – if not, you may be in for some needle breakage down the line.
A visual inspection can reveal any bends or cracks that could be throwing off the timing.
Testing the Machine at Different Speeds
Test your sewing machine at different speeds to catch sneaky timing issues.
Like a car’s engine, variations in speed can affect performance.
Listen for noise changes or irregular vibrations: they’re your machine’s SOS signals.
Inconsistent stitch quality? That’s a speed impact warning!
Remember, analyzing speed consistency is like tuning a musical instrument—crucial for harmony.
Fixing Timing Issues in Sewing Machines
Fixing timing issues in your sewing machine can save you from endless frustration and needle breakage blues like those described here.
Needle bar height and hook timing are just two examples of adjustments that can be made.
These easy tips will help keep your sewing machine running as smoothly as a well-oiled bobbin.
Manual Inspection and Adjustment
Feeling like you’re stitching in the dark?
Start by manually inspecting the machine.
Grab the handwheel, and check if the needle and hook are like two peas in a pod.
Make sure they’re dancing in sync.
Use your eyes, not just your instincts.
With the right tools and a bit of patience, timing adjustments are doable!
Adjusting the Needle Bar Height
Alright, let’s get into adjusting that needle bar height.
First, loosen the screws holding the needle bar in place.
Then, gently slide the needle bar up or down until it’s at the specified height.
Finally, retighten those screws to secure the bar.
Easy peasy! With a properly aligned needle bar, your machine will be humming along in no time.
Adjusting the Hook Timing and Movement
Now that you’ve sorted the needle bar, let’s tackle hook timing and movement.
Picture a dance between the needle and hook—one misstep and the stitches go haywire!
Rotate the handwheel slowly and check that the hook catches the thread loop precisely.
If they’re out of sync, adjust the hook’s position.
Persistence pays off!
Consulting a Professional Technician
When your sewing machine’s timing feels off and you’ve tried everything but can’t fix it, it’s time to call in the cavalry: a professional technician. Here’s why:
- Expertise: Technicians bring specialized know-how.
- Recommendations: They’ll offer specific solutions.
They might suggest simpler fixes or maintenance.
- Cost: Consider initial costs versus potential damage costs.
- Alternatives: They might suggest simpler fixes or maintenance.
Maintaining Your Sewing Machine
To keep your sewing machine running smoothly and avoid those hair-pulling timing issues, a little TLC goes a long way.
Regular cleaning, proper threading, and using the right needle and thread can make your machine happy and keep you sewing without a hitch.
Regular Cleaning and Dusting
Keeping your sewing machine spic and span is key to its longevity.
Give it a quick brush-down after each use to remove pesky lint and thread bits.
Use a small, soft-bristle brush to gently sweep away debris from the feed dogs, bobbin area, and other nooks and crannies.
A clean machine runs like a dream!
| Area to Clean | Cleaning Tool |
|---|---|
| Bobbin Case | Small Brush |
| Feed Dogs | Soft Cloth |
| Needle Plate | Toothpick |
| Exterior | Damp Cloth |
Lubricating the Machine and Its Parts
You’ve cleared the dust, let’s slick those gears! Regular lubrication keeps your sewing machine humming happily.
Follow these steps:
- Check your manual for oiling frequency.
- Use only sewing machine oil—no frying pans here!
- Apply sparingly at designated lubrication points.
- Wipe excess to prevent oil build-up.
You’ll notice smoother stitches, like butter on warm toast.
Checking the Needle Regularly
Your trusty sewing machine needle‘s like a scout leading the charge.
Regularly check for needle wear or damage to avoid sneaky stitching mishaps.
Change needles after 8-10 hours of use, and make sure the needle type and size match your project.
This keeps your sewing humming smoothly, preventing needle damage or fabric frustration.
Your machine will thank you!
Proper Setup and Threading
Get your sewing machine humming smoothly with proper setup and threading.
Needle selection matters; make sure it suits the fabric weight for seamless stitches.
Tackle thread tension like a boss by adjusting it until it’s just right.
Bobbin winding should be flawless, avoiding snarls.
Go through proper threading like a pro, transforming your machine’s potential into sewing magic!
Using the Right Thread and Needle
Don’t forget to match your thread weight and needle size to the fabric you’re working with.
Using the wrong combo can lead to skipped stitches, thread breakage, or even needle snaps.
Check your manual for recommendations, and experiment to find the perfect pairing for a smooth, professional-looking finish every time.
Troubleshooting and Adjusting Timing
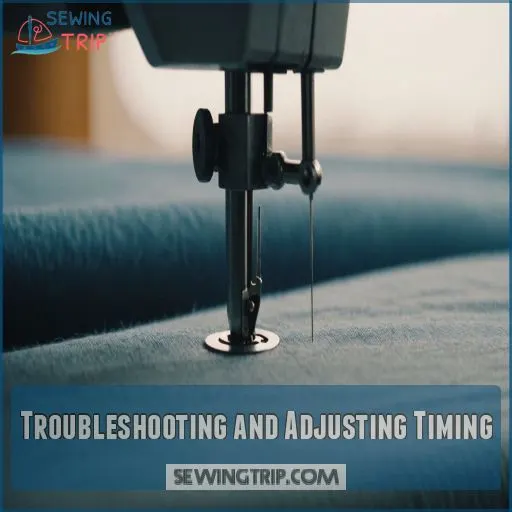
You know your sewing machine can be stubborn, but recognizing timing issues doesn’t have to be a guessing game.
Bent needles and making sure everything is installed correctly can help you get back to stitching smoothly in no time.
Checking the Needle for Bends or Breaks
Imagine this: A pencil that’s lost its point won’t write well, just like a needle that’s bent won’t sew smoothly.
Inspect your needle for any bends or breaks—it’s like checking shoes before a marathon!
Proper needle condition and alignment prevent frustrating needle breakage.
Match needle size and type with fabric for flawless stitching.
You’ll be sewing smoother soon!
Verifying the Bobbin Installation
After checking the needle, it’s time to peek under the hood at that sneaky little bobbin.
Make sure the bobbin’s snug as a bug in its case and that the bobbin thread path is smooth and tangle-free.
If bobbin tension feels fishy or the bobbin winding’s wonky, you’ll want to adjust it to prevent timing tantrums!
Ensuring Needle, Thread, and Fabric Compatibility
Making sure your needle, thread, and fabric are compatible is really important for smooth sewing.
Match the needle size to your fabric weight – lightweight fabrics need smaller needles, while heavier materials require larger ones.
Use the right thread type too, as it affects tension and stitch quality.
Experiment with stitch length and width adjustments until you find the perfect balance.
Testing the Needle and Shuttle Hook Alignment
Let’s jump into testing your needle and shuttle hook alignment.
First, give your sewing machine a visual inspection to spot any misalignment issues.
A manual test can reveal if the needle-hook interaction is spot-on.
Watch for timing marks to confirm everything’s aligned.
If there’s an alignment issue, don’t panic—your needle might just need a minor adjustment.
Easy peasy!
Preparing for Timing Adjustment
Getting ready to adjust your sewing machine’s timing can feel like preparing for a mini science experiment, but don’t worry, you’ve got this!
Start by grabbing the trusty user manual, some basic tools, and get ready to carefully remove a few parts while making sure your machine is spick and span.
Consulting the User Manual
Your sewing machine’s user manual is like a trusty sidekick in troubleshooting.
It contains timing diagrams, maintenance schedules, and parts identification tips.
Check it out for safety precautions and guidance on adjustments.
The manual demystifies your machine’s secrets, ensuring timing adjustments won’t feel like threading a camel through a needle’s eye.
It’s your ultimate companion!
Gathering Necessary Tools and Materials
Gather up a small screwdriver, some sewing machine oil, and a bright work light – these are the essential tools you’ll need to tackle that tricky timing adjustment.
With these handy helpers by your side, you’ll be well on your way to getting your machine back in sync and sewing like a pro.
- Small Screwdriver
- Sewing Machine Oil
- Bright Work Light
Disassembling the Machine and Removing Parts
Diving into your sewing machine’s disassembly can feel like performing a delicate operation.
Safety precautions are your trusty sidekick here, ensuring you and your machine stay unharmed.
Begin by identifying which parts to remove—like the needle, bobbin case, and plate.
Keep track of each piece, maybe with a few imaginative names, to make reassembly a breeze later.
Inspecting and Cleaning the Machine
Let’s roll up those sleeves! Grab a small brush for lint removal, and make sure no dust bunnies are hiding.
You’ll want to clear out the bobbin case and check every nook and cranny.
A clean slate makes it easier to spot issues.
While you’re at it, look for oiling points.
Remember — a smooth machine hums happily.
Adjusting the Timing and Fine-Tuning
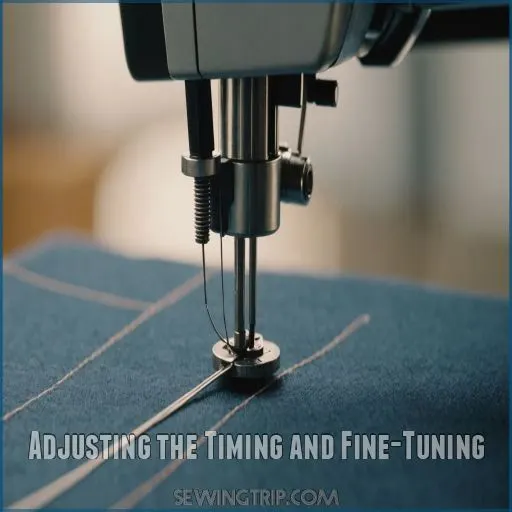
If your sewing machine’s out of whack and you’re ready to roll up your sleeves, it’s time to adjust the timing.
Fear not—you’ll feel like a mechanical genius as you tweak the needle bar and fine-tune the hook for smooth, hassle-free sewing.
Adjusting the Needle Bar Timing
First, loosen the screws holding the needle bar and adjust its height until the timing marks align.
This makes sure the needle descends at the precise moment it needs to meet the hook.
Rotate the handwheel slowly and watch the needle’s movement – it should intersect the hook perfectly at its lowest point.
Fine-Tuning the Hook Timing and Movement
To fine-tune your sewing machine’s hook movement, take a good look from above, ensuring the hook aligns with the needle’s eye for perfect stitch quality.
Keep timing marks visible, then make manual adjustments.
Like dancing partners, the needle and hook must be in sync.
A slight tweak often does the trick without breaking a sweat!
Reassembling the Machine and Testing
You’ve nailed the fine-tuning; now it’s time to put Humpty Dumpty back together!
As you tackle reassembly, try these steps:
- Securely fit every screw and cover.
- Conduct a test stitch on scrap fabric.
- Keep an ear out for any odd noises.
Smooth sailing? You’re golden! If not, a smidge of troubleshooting might be your next stop.
Making Final Adjustments and Verifying
After reassembling, it’s time for the final stitch test. Tighten any remaining screws like you’re twisting the lid on a pickle jar, then re-thread your machine. Clean out lint, and you’ll avoid those "cobwebs" in your stitches. If issues linger, a professional check-up might be in order. Trust your instincts; your machine’s timing should sing now.
| Task | Importance |
|---|---|
| Tighten screws | High |
| Clean lint | High |
| Re-thread | Medium |
| Final stitch test | Essential |
| Professional check-up | Optional |
Preventing Timing Issues in the Future
Keeping your sewing machine in top shape is key to preventing timing issues down the line.
By sticking to a regular maintenance routine and using the right needles and threads, you can avoid frustrating problems and keep your projects running smoothly.
Regular Maintenance and Oiling
Got your sewing machine running like a dream after adjustments? Keep it smooth as butter with regular maintenance and oiling. Nobody likes a squeaky sew!
- Use the right sewing machine oil types and lubricate key points.
- Frequency matters—oiling every few weeks keeps it moving.
- Cleaning tools help remove gunk. An ounce of prevention beats costly repairs!
Correct Needle and Thread Usage
Choosing the right needle size and thread weight is like picking the perfect dance partner.
Match them using fabric type for a seamless performance!
Select stitch settings wisely—each fabric sings a different tune.
Keep tension balance in check, preventing those skipped stitches and frayed threads.
Remember, your sewing machine isn’t a mind reader—it needs a bit of guidance!
Proper Use and Handling of the Machine
Proper machine use prevents timing issues, like a well-oiled friendship.
Always use the correct thread and needle pair, check bobbin winding, and maintain foot pressure.
Keep your machine sparkling inside with regular cleaning.
When handled with care, your sewing machine will sing happily and sew smoothly, avoiding unnecessary drama—it’s all about that perfect harmony in stitches!
Scheduling Regular Check-Ups and Servicing
Regular sewing machine check-ups and servicing are really important to preventing timing issues down the line. After all, your trusty machine deserves a little TLC just like any other tool. Schedule an annual tune-up with a pro – it’ll cost you, but it’s a small price to pay for a lifetime of smooth stitching.
- Extend your machine’s lifespan
- Catch problems before they escalate
- Maintain warranty coverage
- Avoid costly DIY mistakes
- Enjoy peace of mind with preventative care
Frequently Asked Questions (FAQs)
When does timing go out in a sewing machine?
Think of sewing like a dance, and when timing goes awry, the needle and hook step on each other’s toes, causing skipped stitches, needle breaks, or tangles.
It happens from wear or misalignment during use.
What to do if your sewing machine timing is off?
If your sewing machine’s timing’s off, don’t fret!
First, check the needle and bobbin – they could be misaligned.
Then, try adjusting the needle bar and hook timing.
With a little tinkering, you’ll have that machine humming like new in no time!
How do I know if my sewing machine is off?
When your sewing machine’s performance resembles a hiccuping rhythm, it could be out of sync.
Look for signs like skipping stitches, clunking noises, thread tangles, or bobbin tension woes to confirm timing troubles.
What causes a sewing machine to go out of timing?
Your sewing machine goes out of timing from hard knocks, jams, or wear and tear, like a dancer tripping over shoelaces.
Misaligned parts cause skipped stitches, needle breaks, and thread havoc—a recipe for sewing chaos.
What is the lifespan of a sewing machine?
Stitch by stitch, your sewing machine can last 5 to 25 years, depending on care.
Regular cleanings, lubricant love, and gentle handling will help it keep humming through generations of creativity.
Treat it like a cherished heirloom.
How do I know if my sewing machine is worn out?
Uh oh, sounds like your sewing machine might be on its last legs!
Keep an eye out for telltale signs like skipped stitches, thread tangles, and frequent needle breakage – those could mean it’s time for a tune-up or replacement.
How do I know when I need a new sewing machine?
When your machine’s stutter sounds like a coffee grinder’s tune, produces more tangled webs than a spider, or sputters despite TLC, it’s probably time.
Machines wear out eventually, and yours may need a well-deserved retirement.
How often should you replace a sewing machine?
Timing for replacing a sewing machine isn’t set in stone.
If repairs cost more than a new one or the machine can’t handle your projects, it might be time to bid adieu to the old sewing companion.
What tools are needed for timing adjustments?
Did you know 70% of sewing issues come from poor timing?
You’ll need a small screwdriver, sewing machine oil, and a bright light.
These tools are your trusty sidekicks in getting those stitches back on track!
How does timing impact stitch quality?
Proper timing is the key to stitch perfection.
Get it wrong, and you’ll see skipped stitches, fabric puckering, and even needle breakage.
But nail that timing, and your sewing will flow like a dream.
Can all sewing machines be timed manually?
Imagine your sewing machine as a dance partner; sometimes, it’s not in sync.
Most sewing machines can be manually timed, but just like dance routines, each machine has its quirks.
Always check your manual for specific instructions.
How often should timing be checked?
Check your sewing machine’s timing every six months or after 100 hours of use.
Frequent sewers should check monthly, as unusual noises or skipped stitches are your machine’s way of crying for help! (Source).
Are there digital machines with auto-timing features?
Just like magic, some digital sewing machines have built-in auto-timing features.
These clever machines adjust themselves for precise stitching, making your sewing life smoother.
It’s like having an invisible sewing assistant always at your side!
Conclusion
Ironically, the key to keeping your sewing machine in tip-top shape lies in mastering the art of timing adjustments.
By staying vigilant for common signs of timing issues and following the easy steps outlined here, you’ll be able to diagnose and fix any timing problems that arise.
Remember, a well-timed sewing machine is the secret to crafting flawless projects – so don’t hesitate to learn how to tell if your sewing machine is out of time.

