This site is supported by our readers. We may earn a commission, at no cost to you, if you purchase through links.
With this guide, you’ll discover essential techniques for hand sewing, machine stitching, and embroidery knotting. Whether you’re crafting with felt or perfecting machine stitches, you’ll develop the skill and understanding needed to confidently secure your seams with accuracy and simplicity.
Table Of Contents
Key Takeaways
- Remember to leave a generous thread length for tying off, just like leaving a long tail on a kite for a steady flight!
- Master the art of creating a secure knot by passing the needle through a loop. It’s like turning a simple twist into a strong bond.
- Test the knot’s strength by giving it a gentle tug, akin to checking if your sandcastle can withstand the incoming tide.
- Trim excess thread close to the knot for a tidy finish, similar to pruning a plant to encourage healthy growth.
How to Tie Off a Stitch?
Tying off a stitch is essential for maintaining your sewing’s integrity. When hand sewing, leave a 6-inch thread, pass the needle under the last stitch, create a loop, and pull your needle through to form a knot. Repeat for security and trim any excess thread close to the knot.
For machine stitching, use the reverse button to create a few backstitches, then forward-stitch over them to secure them in place. For a discreet finish when working with felt, hide knots between layers. Ensuring tight knots and trimming any excess thread will give your work a neat appearance. Stay tuned if you’re keen to learn more about mastering your stitch technique!
Hand Sewing Techniques
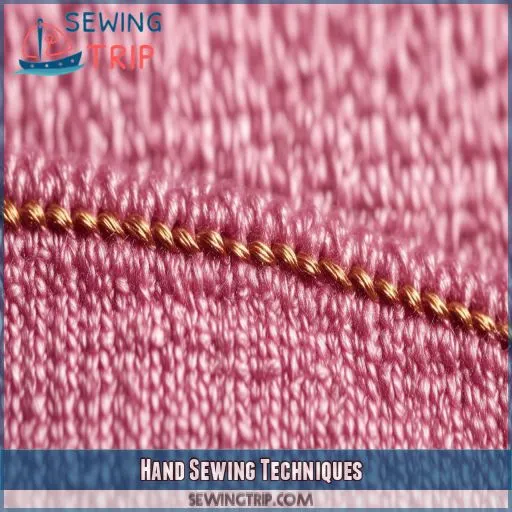
About hand sewing, there are essential techniques for a secure and efficient process. Begin by focusing on hand-eye coordination, ensuring your needle grip is comfortable, and allows for precise control. Maintain even thread tension as you work, steering clear of overly tight or loose stitches. Adapt your stitch length as needed, depending on the fabric and sewing purpose. Think about utilizing a thimble, protecting your finger and improving needle control.
For tying off, leave a generous thread length. Create a loop and pass the needle through, forming a secure knot. Test the knot’s strength by gently tugging on the fabric. Strive for invisible stitch security, ensuring no loose ends are visible from the fabric’s right side. Finally, trim any excess thread close to the knot for a tidy finish.
Machine Stitching Methods
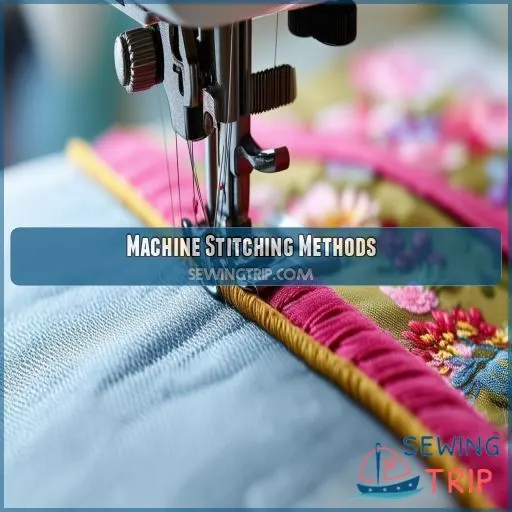
Machine stitching success relies on practice and familiarity with your sewing machine. Here are tips to help you conquer this technique:
- Practice is key: Before starting a project, warm up on scrap fabric. This lets you get a feel for the machine and boosts your control over stitching.
- Find the reverse button: All modern sewing machines have a reverse button, vital for securing your stitches. Know where it’s and how to use it.
- Backstitching brilliance: Engaging the reverse button makes the machine stitch backward, creating strong backstitches. Adjust stitch length for added strength where needed.
- Complete with forward stitching: After making 3-5 backstitches, release the reverse button and stitch forward to secure those backstitches, preventing them from loosening.
Extra tips to enhance your stitching journey:
- Stitch with boldness: When beginning a new project, select fabrics that are beginner-friendly. As your skills grow, you can experiment with different fabric types.
- Safety remains a priority: Always adhere to sewing safety guidelines, like using the handwheel for needle control and maintaining thread length when cutting.
- Test with practice runs: Before your final project, experiment with various fabrics and threads to understand how they work with your machine, allowing you to adapt your techniques.
- Discover stitch varieties: Explore the stitch patterns and lengths your machine offers to add interest and texture to your sewing projects.
Embroidery Knotting Basics
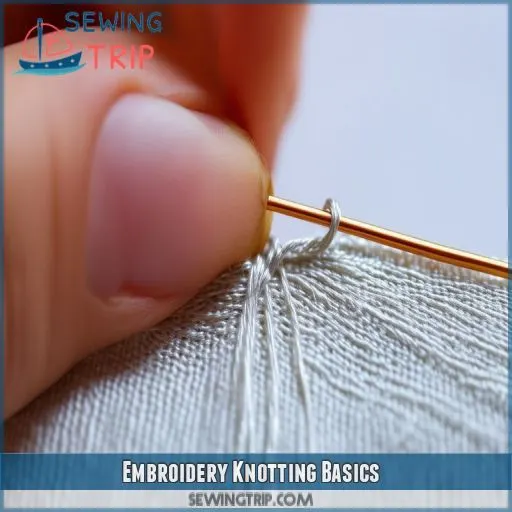
Embroidery demands precision, and knotting is a fundamental skill to master. In the world of embroidery knotting, there are several key techniques to remember.
First, always strive for secure knots. You don’t want your hard work undone by a simple tug, so take care to tie tight, strong knots.
Second, pay attention to thread tension and stitch length. Excessive tension can cause thread breakage, while too little can result in loose, untidy stitches. Strive for balance, allowing your embroidery floss to move smoothly through the fabric.
Third, be conscious of the fabric grain. Its direction can influence the security of your knots and the overall look of your embroidery.
Tying Off Tips for Felt Projects
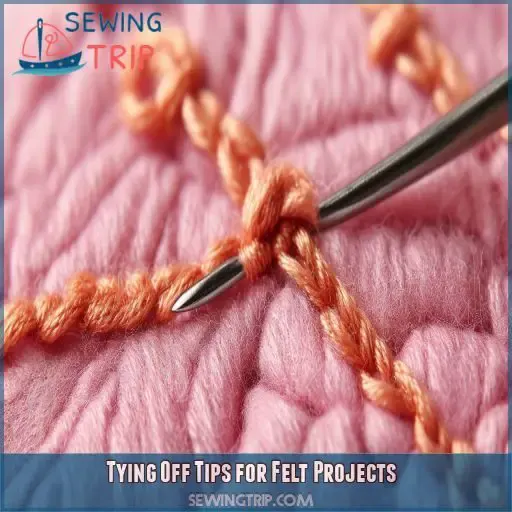
Tying off stitches on felt requires a slight adjustment for a tidy and secure finish. Here’s how to do it:
- Begin by tying a single thread knot close to the felt’s surface, creating a sturdy anchor point for your stitches.
- Insert the needle directly next to the knot, passing it through the felt layers. This technique cleverly hides the knot between the layers, giving it a seamless look.
- Pull the thread tight so that the knot sits snugly against the fabric.
- Trim the thread carefully with sharp scissors as close to the fabric as you can. The felt’s texture will naturally conceal the thread end, resulting in a neat appearance.
This method is perfect for felt creations as it effectively secures the stitches while keeping thread ends nicely out of sight.
Securing Hand Stitch Closures
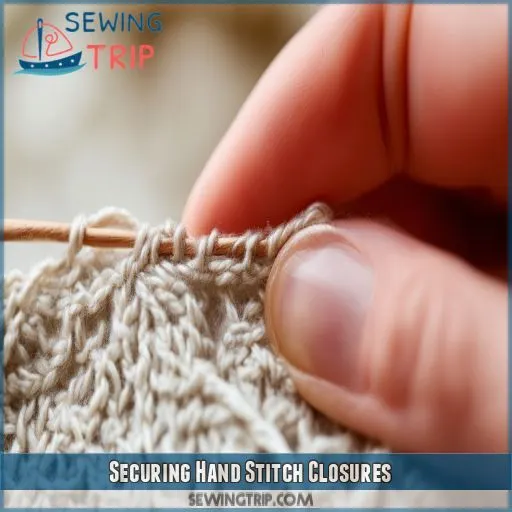
- Always see to it that no loose ends are visible from the right side of the fabric. This is a simple yet effective way to achieve a neat and professional finish.
- Cut any excess thread close to the knot. This presents a tidier appearance and also lessens the chance of loose threads getting caught and undoing your work.
- Examine your stitches by looking at the other side of the fabric and checking for any visible knots or loose ends. Taking this extra step can prevent future problems!
Finalizing Machine Stitches
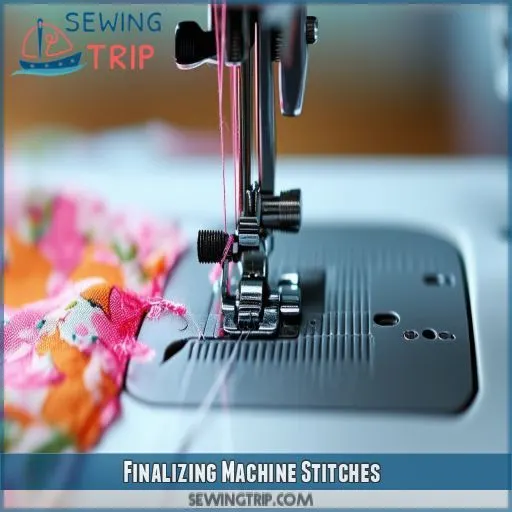
Now that you’ve mastered securing hand stitches, let’s change directions and focus on perfecting those machine stitches with expertise. This is where your sewing machine truly excels, providing speed and precision to firmly secure those stitches. Here are some key considerations to guide you:
- Stitch Security and Longevity: Always remember to backstitch first. Hold the reverse button and then stitch forward to firmly secure those stitches in place. This simple technique guarantees your stitches won’t come loose with regular use and wear.
- Machine Handling and Control: Get familiar with the sewing machine’s components like the presser foot lever and hand wheel. These parts offer you control over the stitching process, enabling you to lift the needle at the perfect moment and adjust the stitch length as needed.
- Stitching Techniques and Seam Finishing: Experiment with different stitching techniques, such as the straight stitch and zigzag stitch, to suit a variety of projects. When concluding a seam, carry on stitching past the fabric edge to prevent fraying, and then neatly trim any excess thread.
With these suggestions in mind, you’ll confidently perfect your machine stitches, making your creations both durable and visually appealing.
Frequently Asked Questions (FAQs)
How to tie the end of a stitch?
To tie off a stitch, you can use a double-threaded or single-threaded method. For double, tie three knots and tighten against the fabric. For single, loop the thread, pull tight, then trim excess.
How do you lock off a stitch?
When hand sewing, leave a 6-inch thread to work with. Insert the needle under the nearest stitch, pull through, and pass it through the loop. Pull tight to create a secure knot.
How do you tie off a button on a stitch?
To tie off a button, push the needle through the fabric and make three or four stitches to secure the thread. Tie the thread off and cut the excess with scissors.
How do you run off a stitch?
If you get a stitch while running, slow down, walk, and take deep breaths. Stretch your arms overhead, lean forward, or stretch the affected side. Stay hydrated by drinking at least 64 ounces of water a day.
What is the ideal thread length for hand-sewing?
When hand-sewing, aim for a thread length of around 100 yards. This provides ample length for comfortable knotting and precision.
How do you finish a machine stitch?
To finish a machine stitch, sew until you’re near the edge of the fabric. Then, press the reverse button to backstitch over your existing stitches. Return to forward stitching, and finish with the needle raised.
How do you prepare threads for embroidery?
Before embroidering, cut a 50-70cm thread length, then separate and snip two strands, each with six smaller strands. For linen, prepare fabric by soaking in hot and cold water, then ironing.
Can you use a machine stitch on felt?
Yes, you can use a machine stitch on felt. It’s versatile and suitable for whichever method you prefer. Straight stitch is best for machine sewing felt, and you can use a zig-zag stitch or tricot stitch if you like.
What are the best tools for cutting fabric?
Oh, the irony! You want to cut fabric, not cut corners. Well, you’ve got options: shears, scissors, snips, rotary cutters, and even fabric-cutting machines. Time to get snippy!
Conclusion
All’s well that ends well."
With these tips and techniques, you’re now prepared to securely fasten your seams and tie off stitches with precision and ease. Whether you’re hand sewing, machine stitching, or embroidering, these essential knotting methods will guarantee the longevity of your creations.

