This site is supported by our readers. We may earn a commission, at no cost to you, if you purchase through links.
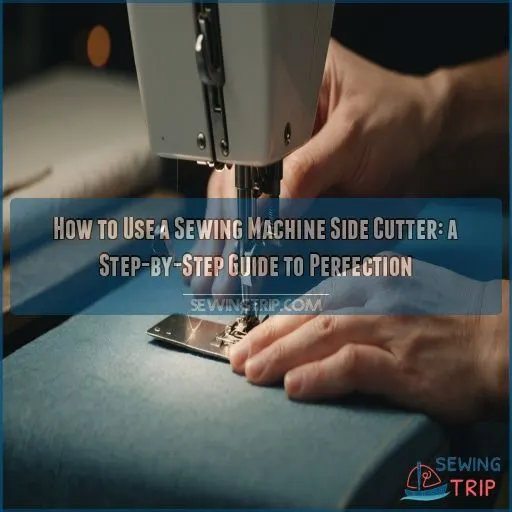
First, attach the foot by aligning the prong with the needle screw.
Choose a stable fabric and adjust your tension to about 3.
Create a small slit in the seam allowance for the blade, then position your fabric under the presser foot.
Start sewing slowly, guiding the fabric gently as the side cutter trims and finishes the edge simultaneously.
It’s like magic – you’ll get clean, professional-looking seams in no time! Just remember, practice makes perfect, and soon you’ll be side-cutting like a pro.
But what if you encounter some hiccups along the way?
Table Of Contents
Key Takeaways
- Practice makes perfect. Don’t worry if your first attempts with the side cutter foot are a bit wonky. Like riding a bike—or trying to fold a fitted sheet—it gets easier with time and patience.
- Choose stable fabrics for the best results. Trying to tame slippery or stretchy materials with a side cutter foot can feel like dressing an octopus in a tuxedo. Instead, stick to woven fabrics for a smooth sewing experience.
- Align that foot like a pro. Properly positioning the side cutter foot is like finding the sweet spot in a game of darts. Get it just right, and your fabric will have beautiful, serger-like edges in no time.
- Adjust your machine settings for a perfect stitch. Think of it like tuning up your car before a road trip, and checking for timing issues is a key part of that
. Set the tension to around 3, and make sure those feed dogs are doing their job to avoid fabric-feeding drama.
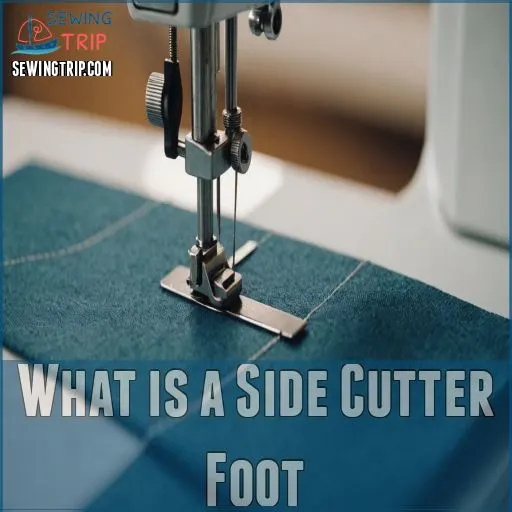
What is a Side Cutter Foot
You’re about to discover the magic of the side cutter foot, a sewing machine attachment that’ll revolutionize your crafting game.
This nifty gadget trims your fabric as you sew, giving you that professional serger-like finish without breaking the bank.
How a Side Cutter Foot Works
Mastering the side cutter foot can be a game-changer for your sewing projects.
This nifty attachment works by:
- Trimming excess fabric with a built-in blade
- Creating a neat overcast stitch simultaneously
- Folding the edge slightly for a professional finish
As you guide the fabric, the side cutter foot trims and stitches in one smooth motion, giving you that coveted serger-like result on your regular sewing machine . It’s like having a tiny tailor right at your fingertips!
Features and Benefits of a Side Cutter Foot
The side cutter foot is your secret weapon for achieving clean, professional-looking seams.
This nifty attachment offers a range of features and benefits that’ll make your sewing projects a breeze:
| Feature | Benefit | Sewing Impact |
|---|---|---|
| Built-in blade | Trims excess fabric | Neat, even edges |
| Overlock-style stitching | Prevents fraying | Durable seams |
| Time-saving design | Cuts and finishes in one step | Increased efficiency |
You’ll love how this versatile tool gives your projects a polished look, rivaling store-bought garments.
Common Uses for a Side Cutter Foot
You’ll love the versatility of a side cutter foot! It’s perfect for hemming your favorite jeans or finishing seams on a new dress.
Think of it as your sewing Swiss Army knife. Whether you’re tackling appliqué, binding, or patchwork, this nifty attachment has got you covered.
It’s like having a mini-overlocker right on your machine, giving your projects that professional edge without breaking a sweat.
Difference Between a Side Cutter Foot and a Serger
Sewing enthusiasts, let’s talk about the serger vs. side cutter foot debate! While both can finish seams, they’ve distinct differences:
- Stitch quality: Sergers often produce more professional results
- Cost: Side cutter feet are more budget-friendly attachments
- Project suitability: Sergers excel at knits, while side cutters work better on wovens
- Sewing speed: Side cutters can be painfully slow compared to zippy sergers
Remember, your trusty sewing machine with sewing machine feet can be a jack-of-all-trades, but a serger is the master of seam finishing
.
Choosing the Right Fabric
Choosing the right fabric for your side cutter foot can make or break your sewing project.
Let’s explore how to select the perfect material and prep it for flawless results, ensuring you’ll be stitching like a pro in no time.
Avoiding Slippery and Stretchy Fabrics
When using a side cutter foot, steer clear of slippery and stretchy fabrics. They’re like trying to wrangle a greased pig – frustrating and messy!
Instead, opt for stable, woven fabrics that won’t slip and slide under your needle.
If you’re dead set on using that silky or stretchy material, try this trick: place a layer of tissue paper under your fabric as you sew . It’ll stabilize the fabric and give your feed dogs something to grip.
Importance of Even Fabric Length
Even fabric length is the secret sauce for side cutter success. Think of it as the foundation of your sewing masterpiece.
Uneven edges can throw a wrench in your plans, causing fabric-feeding issues and wonky seam allowances.
By keeping your fabric trim and tidy, you’ll avoid the headache of adjusting tension settings mid-project. Remember, a smooth start leads to a picture-perfect finish – it’s like giving your side cutter foot the red-carpet treatment!
Preparing Fabric for Use With a Side Cutter Foot
Before you start using your side cutter foot, let’s get your fabric ready.
First things first, pre-wash your chosen woven fabric to prevent any surprises later.
Now, grab your rotary cutter and self-healing mat – they’re your best friends for achieving clean, even edges.
Remember, your side cutter foot isn’t a fan of slippery or stretchy fabrics, so stick to stable wovens for best results.
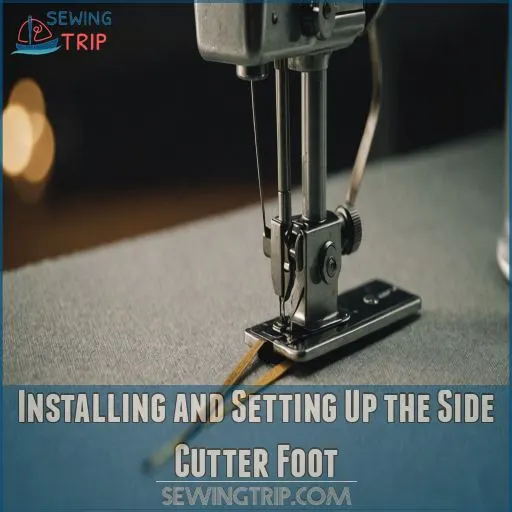
Installing and Setting Up the Side Cutter Foot
Ready to use the power of your side cutter foot? Let’s get it set up on your sewing machine so you can start creating those professional-looking finished edges in no time.
We’ll walk you through attaching the foot, adjusting your machine’s settings, and making sure everything’s aligned perfectly for smooth sailing (or should we say, smooth sewing?).
Attaching the Side Cutter Foot to the Sewing Machine
Now that you’ve chosen your fabric, let’s get that side cutter foot attached! It’s like giving your sewing machine a new superpower. First, unscrew your standard foot – it’s time for an upgrade.
- Line up the prong with your needle screw
- Pivot the foot to align the claw with the screw hole
- Secure it in place, but don’t overtighten
Remember, approach from behind – it’s easier to sneak up on your machine that way!
Adjusting the Tension Setting and Feed Dogs
Adjusting tension and feed dogs can feel like a balancing act, but it’s really important for perfect side cutting.
Start by setting your tension to 3 . If you notice the top thread peeking through on the bottom, crank it up a notch.
For feed dogs, remember they’re your fabric’s dance partners – too low and you’ll get a sluggish tango, too high and you’re in for a wild jitterbug. Finding the right balance is key to achieving a smooth movement, much like a perfect tango.
Ensuring Proper Needle Plate Alignment
While setting up your side cutter foot, ensuring proper needle plate alignment is important for smooth sewing. Think of it as giving your machine a mini-makeover!
- Needle plate height: Should be level with the feed dogs
- Needle position: Centered in the plate’s hole
- Screw tightness: Firm but not overtightened
- Plate surface: Free from scratches or burrs
Remember, a well-aligned plate is like a perfectly ironed shirt – it sets you up for success!
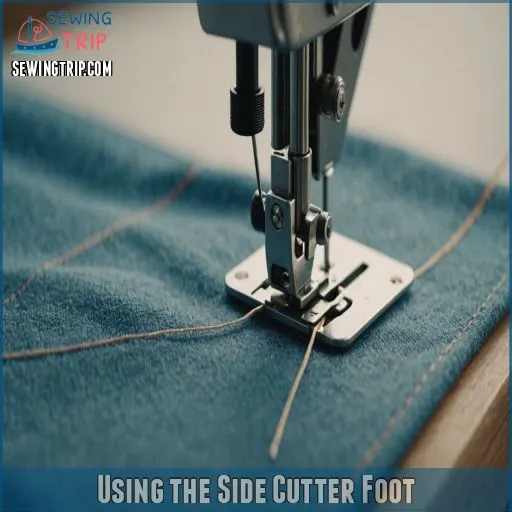
Using the Side Cutter Foot
Now that you’ve got your side cutter foot installed, it’s time to put it to work!
In this section, we’ll walk you through the step-by-step process of using this nifty attachment,
from choosing the right stitch to making that first cut –
you’ll be sewing like a pro in no time.
Selecting the Right Stitch Options
With your side cutter foot securely attached, it’s time to choose the right stitch.
Your sewing machine likely offers several options that work well with this nifty attachment. Let’s explore some common stitches and their uses:
| Stitch Type | Best For | Width | Length | Foot Pressure |
|---|---|---|---|---|
| Zigzag | Knits | 5-7mm | 2-3mm | Medium |
| Overcast | Wovens | 3-5mm | 2-3mm | Light |
| Straight | Seams | N/A | 2.5mm | Medium |
| Stretch | Lycra | 5mm | 1-2mm | Light |
| Blind Hem | Hems | 3-5mm | 2-3mm | Medium |
Remember, these are just starting points. You’ll want to test on scrap fabric first.
Creating a Small Slit in the Seam Allowance
Now that you’ve chosen your stitch, let’s make that small slit in the seam allowance. It’s like giving your fabric a tiny haircut!
- Measure 1/4 inch from the fabric edge
- Use a marking tool to draw a line
- Carefully snip along the line with sharp scissors
- Make sure the slit is just long enough for the blade
Remember, precision is key here. You’re not aiming for a Grand Canyon, just a little runway for your side cutter to take off!
Positioning the Side Cutter Foot Correctly
Positioning your side cutter foot correctly is like finding the sweet spot on a tennis racket – it’s really important for achieving those professional-looking results.
Align the blade with your fabric’s edge, ensuring the guide plate sits snugly against it (Source). Keep an eye on that seam allowance – it should be about 5 mm when stitching in a straight line.
Remember, proper alignment is your ticket to flawless cuts and stitches!
Placing Fabric Under the Presser Foot
Once you’ve got your side cutter foot ready, it’s time to place your fabric like a pro.
Start by making a small snip in your fabric – about two centimeters should do the trick.
Now, feed the fabric over the plate closest to you, but under the part that looks like a standard foot.
Watch out for that black blade in the center – it’s not your finger’s friend!
Starting to Sew With the Side Cutter Foot
Start your side cutter journey with confidence!
Lower the presser foot lever and gently guide the fabric as you begin stitching . Let the fabric feed through naturally, only providing a light touch to keep it aligned.
As you sew, you’ll hear the satisfying snip of the blade trimming excess fabric.
Remember, slow and steady wins the race – take your time to achieve a professional finish.
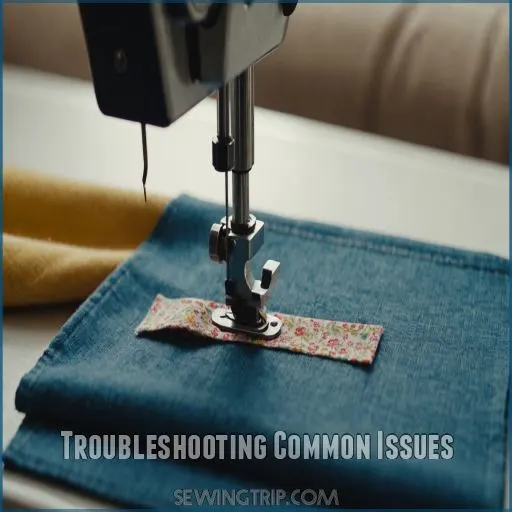
Troubleshooting Common Issues
Even with the best preparation, you might encounter some hiccups when using your side cutter foot.
Don’t worry – we’ve got solutions to common issues that’ll have you back to smooth sewing in no time.
Adjusting the Cutting Blade and Tension Setting
Now that you’ve got your side cutter foot up and running, let’s tackle some common hiccups. If you’re not getting that perfect cut, it’s time to fine-tune your setup. Think of it like adjusting your hair clippers – too loose, and you’ll miss spots; too tight, and you might snag.
Hands-free operation is one of the key benefits of using a side cutter, so you want to make sure that the blade is sharp and the tension is set correctly. Here’s what to check:
- Blade sharpness: Is it slicing through butter or struggling with paper?
- Tension setting: Too tight or too loose can cause headaches
- Needle position: Make sure it’s playing nice with the blade
Remember, different fabrics might need different settings, so don’t be afraid to experiment!
Resolving Fabric Feed Issues
Fabric feed issues can turn your sewing project into a real head-scratcher. But don’t worry, we’ve got your back! Let’s tackle these pesky problems head-on.
| Issue | Cause | Solution |
|---|---|---|
| Fabric bunching | Short stitch length | Increase stitch length |
| Uneven feeding | Dirty feed dogs | Clean with soft brush |
| Fabric not moving | Low presser foot pressure | Adjust pressure for fabric thickness |
| Skipped stitches | Improper threading | Recheck thread path |
| Slow feed | Worn-out feed dogs | Consider professional repair |
Fixing Common Problems With the Side Cutter Foot
You’ve mastered fabric feeding, but your side cutter foot is still acting up?
Let’s tackle those pesky problems head-on!
First, check your blade alignment – a misaligned blade is like a dull chef’s knife, it just won’t cut it.
If you’re facing tension issues, remember: it’s all about balance.
Too tight, and you’ll end up with puckered seams; too loose, and you’ll have a bird’s nest on your hands.
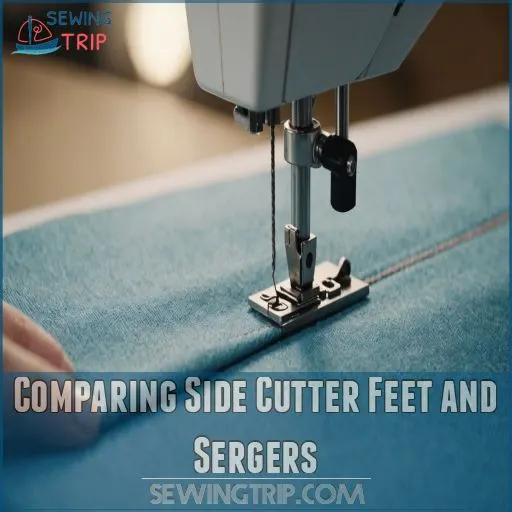
Comparing Side Cutter Feet and Sergers
If you’re looking to finish seams, you’re faced with a choice: side cutter foot or serger? Let’s break it down. While both options can give you professional-looking results, they each have their strengths.
A side cutter foot attaches to your regular sewing machine, making it a budget-friendly option . It’s perfect for occasional use and small projects, like home goods.
On the flip side, sergers are speedier and offer superior stitch quality, especially on tricky fabrics like silk organza .
But don’t write off the side cutter foot just yet! It’s surprisingly versatile and can handle a variety of fabric types. Plus, there’s no need to switch machines mid-project . However, keep in mind that some sewers find the side cutter foot slow and finicky .
Ultimately, your choice depends on your project needs, budget, and how often you’ll use it.
Frequently Asked Questions (FAQs)
How do you use a side Cutter on a sewing machine?
Ready to cut through the confusion? First, attach the side cutter foot to your machine.
Snip a small slit in your fabric, position it correctly under the foot, and start sewing slowly.
You’ll be trimming and stitching simultaneously!
How do you use a side Cutter foot on a sewing machine?
Attach the side cutter foot to your sewing machine, ensuring it is aligned with the needle .
Then, place the fabric with a small slit over the guide plate .
How do you use a side cutter presser foot?
Don’t be intimidated by that blade! You’ll love using a side cutter presser foot.
First, make a small slit in your fabric . Then, position the fabric over the guide plate and under the foot.
Start sewing slowly, and watch the magic happen!
How do you attach a side Cutter?
First, unscrew your current presser foot holder .
Then, approach from behind and align the side cutter’s prong with the needle screw (Source).
How to use a side cutter on a sewing machine?
You’ve got your side cutter attached? Great! Now, line up your fabric’s edge with the guide plate, snip a small slit to start .
Feed it through slowly, letting the blade trim as you stitch .
Voila! Neat, overlocked edges.
What does a side cutter do?
Imagine this: you’re sewing and trimming in one swift motion. That’s what a side cutter does.
It’s like having a tiny tailor on your machine, neatly trimming fabric edges while you stitch, giving your seams a professional finish .
How do you sew sideways on a sewing machine?
To sew sideways on your sewing machine, switch to a walking foot – it’ll keep the fabric moving evenly on top and bottom so you avoid bunching or gaps.
Just take it slow and steady, and you’ll be stitching like a pro in no time!
Can sewing machines cut fabric?
Sewing machines can’t directly cut fabric, but some models have side cutters that neatly trim fabric edges as you sew, eliminating common jamming issues
.
It’s like having a tiny, efficient scissor companion that follows your stitching path perfectly.
Can I use decorative stitches with a side cutter?
You can’t use decorative stitches with a side cutter since it works best with straight stitches.
Side cutters trim the fabric as you sew, focusing on clean, straight edges – it’s more a practical tool than a decorative one.
How do I maintain and clean my side cutter foot?
Keeping your side cutter foot clean is a breeze!
Gently brush away lint and threads using a small brush or compressed air.
Avoid harsh cleaners; a damp cloth will do.
Regular upkeep helps your side cutter run smoothly and last longer, due to good regular upkeep.
Is a side cutter suitable for delicate fabrics?
Curious if a side cutter works for delicate fabrics?
It can, with great finesse! Adjust settings carefully, use sharp needles, and test on scraps first.
This foot mimics a serger, giving a professional finish without added bulk.
The side cutter is denoted as , and when used correctly can produce the desired results with great finesse.
Can I adjust the cutting width of a side cutter?
Adjusting a sewing machine side cutter’s cutting width isn’t directly possible, but you can alter stitch width settings on your machine to influence the cut indirectly.
Check your machine’s manual for specific instructions on settings adjustments.
Are there alternatives to using a side cutter foot?
Think of sewing as a dance; a side cutter foot leads, but you can explore alternatives.
like using an overcasting foot, pinking shears, or zigzag stitches for edge finishing without breaking the budget.
Conclusion
Mastering the sewing machine side cutter might seem tricky at first, but with a little practice, and understanding thread tension secrets, you’ll be side-cutting like a pro in no time
!
Don’t get discouraged if you encounter a few hiccups – that’s all part of the learning process.
Soon, you’ll be creating clean, professional-looking seams with ease, all thanks to this handy little tool. So go ahead, start using that side cutter – your sewing projects will thank you!

