This site is supported by our readers. We may earn a commission, at no cost to you, if you purchase through links.

You’ll take control of your material, making sure your projects fit perfectly and last longer.
In just five easy steps, you’ll learn how to tame wool’s natural tendency to shrink, giving you the confidence to create anything you want.
Whether you’re working with delicate cashmere or sturdy tweed, these techniques will help you achieve professional results.
Let’s get started and learn how to preshrink wool fabric.
Table Of Contents
- Key Takeaways
- Understanding Wool Shrinkage
- Best Pre-Shrinking Techniques
- The Importance of Pre-Shrinking Wool
- Proper Pre-Shrinking Technique
- Benefits of Pre-Shrinking
- Considerations for Cashmere
- Types of Wool Fabric & Selection
- Sewing Wool: Essential Tools
- Sewing Wool: Preparation and Cutting
- Sewing and Pressing Wool Fabric
- Frequently Asked Questions (FAQs)
- Conclusion
Key Takeaways
- Say goodbye to sweaters that could double as doll clothes! Pre-shrinking wool is your secret weapon against unexpected "honey, I shrunk the cardigan" moments.
- From the classic damp-sheet technique to professional steam shrinking, you’ve got options galore. Pick your pre-shrinking poison and watch your woolens behave like well-trained puppies.
- Cashmere may be the diva of the wool world, but with a little TLC, you’ll have it eating out of the palm of your hand. Just remember: gentle is the name of the game here, folks.
- Armed with the right tools and techniques, you’ll be whipping up wool wonders faster than you can say "baaa-dazzling!" Just don’t forget to press with care – no one wants a scorched sheep situation on their hands.
Understanding Wool Shrinkage
You’ve got your hands on some beautiful wool fabric, but before you start your project, let’s talk about why it shrinks.
Wool fibers are like tiny, coiled springs made of protein. When exposed to heat, moisture, or agitation, these springs can tighten up, causing the fabric to shrink.
This process, called felting, is what gives wool its unique properties.
But it’s also why your favorite sweater might come out of the wash looking like it belongs to your kid sister!
Preshrinking is your secret weapon against unwanted shrinkage. By controlling the process before you start sewing, you’ll make sure your finished garment keeps its shape.
Whether you’re dealing with a lightweight wool crepe or a hefty coating fabric, understanding how wool behaves is key to mastering the art of preshrinking.
Best Pre-Shrinking Techniques
You’ve got several effective options for pre-shrinking wool fabric at home. The traditional blanket method, machine washing on gentle, or hand washing in cool water can all work well, but for delicate or expensive wools, professional pre-shrinking at a dry cleaner might be your best bet.
Traditional Blanket Method
Ready to tame your wool fabric? The traditional blanket method is your go-to technique. Wrap your precious wool in a damp cloth and let time work its magic. This gentle approach reduces shrinkage without harsh treatments. Here’s why it’s a fan favorite:
- Mimics nature’s way of relaxing fibers
- Perfect for delicate wools that can’t handle steam shrinking
- Avoids the expense of dry cleaning
- Gives you control without risking tumble drying mishaps
You’ll master preshrinking in no time!
Other Pre-Shrinking Techniques
While the blanket method’s great, there are other tricks up your sleeve for preshrinking wool.
Try a gentle cold water machine wash or hand wash to tame that fabric shrinkage.
Feeling bold? Steam shrinking’s your friend – just don’t go overboard!
These techniques give you control over your fabric’s destiny, ensuring a perfect fit every time.
Professional Pre-Shrinking
If you’re unsure about preshrinking wool fabric yourself, consider professional dry cleaning.
Tailors and dry cleaners offer expert steam shrinking services, ensuring even results without damage.
While fees vary, the process guarantees precision and peace of mind.
They’ll use specialized equipment to control temperature and moisture, eliminating guesswork.
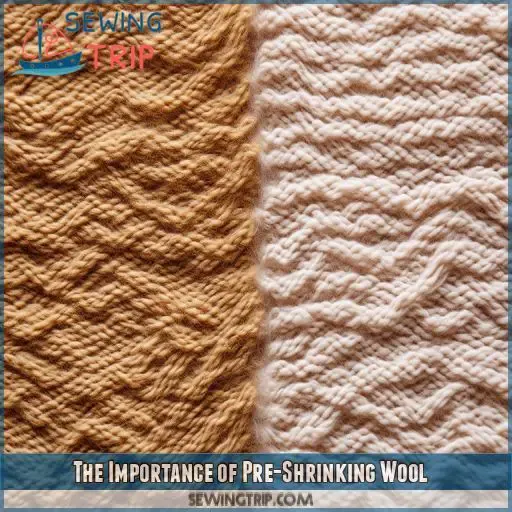
The Importance of Pre-Shrinking Wool
You’ve learned about different pre-shrinking techniques, but why bother?
Well, pre-shrinking wool isn’t just a fancy extra step – it’s your secret weapon against future fabric frustrations.
When you wash or steam your woolen masterpiece, it’ll thank you for taking the time to prep it properly.
Imagine pouring your heart into a cozy sweater, only to have it shrink to doll-size after its first wash.
Talk about a woolly nightmare!
By pre-shrinking, you’re giving your fabric a head start, letting it settle into its true size and shape before you even cut into it.
It’s like giving your wool a spa day – relaxing those fibers and ensuring they won’t throw a fit later on.
Trust us, your future self (and your perfectly fitted garments) will be eternally grateful for this bit of fabric foresight.
Proper Pre-Shrinking Technique
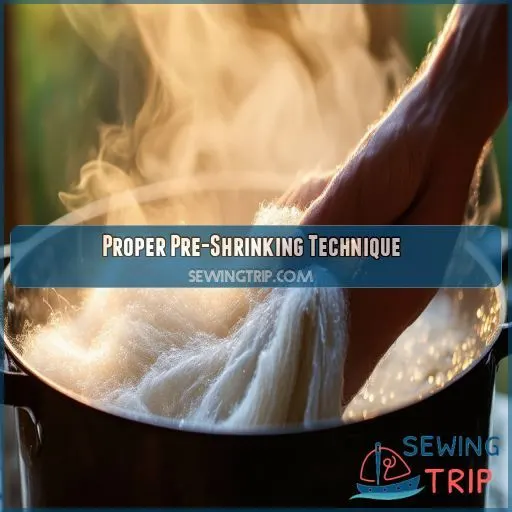
Now that you know why pre-shrinking wool is important, let’s take a closer look at the right way to do it. You’ll want to master this method so your fabric behaves as expected when you sew and wash it. Here’s Pam’s tried-and-true approach:
- Soak a 100% cotton sheet in your washing machine’s rinse cycle
- Spin the sheet to remove excess water
- Wrap your wool fabric in the damp sheet
Next, toss the bundle into your dryer on high heat for 40 minutes. Keep an eye on it to make sure the sheet stays damp throughout the process. This method uses steam to gently relax the wool fibers, mimicking the effects of dry cleaning or washing.
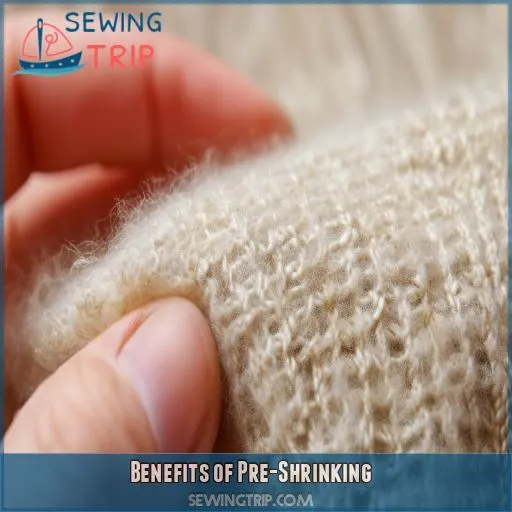
Benefits of Pre-Shrinking
Pre-shrinking wool fabric offers several key benefits that’ll enhance your sewing projects. You’ll achieve a better fit, improve durability, reduce cleaning complications, and enhance the fabric’s overall performance when you take the time to pre-shrink properly.
Improved Fit And Durability
Pre-shrinking your wool fabric is like giving your garments a superpower.
You’ll enjoy a perfect fit that won’t catch you off guard after washing.
Your clothes will stand the test of time, maintaining their shape and quality wash after wash.
It’s not just about durability; it’s about comfort too.
Reduced Cleaning Complications
You’ll face fewer cleaning headaches when you preshrink your wool fabric.
By taking this step, you’ll minimize shrinkage during future washes or dry cleaning sessions.
No more surprises after tumble drying or steam shrinking!
Your garments will maintain their shape and fit, saving you time and money on alterations.
Plus, you’ll have the freedom to clean your wool items without constantly worrying about ruining them.
It’s a game-changer for your wardrobe maintenance routine.
Enhanced Fabric Performance
Pre-shrinking wool fabric doesn’t just make cleaning easier; it boosts your fabric’s overall performance. By taking this step, you’re opening up a world of benefits:
- Improved drape and feel
- Enhanced durability for longer-lasting garments
- Better color retention, even after multiple washes
- Increased resistance to pilling and wear
- Smoother, more professional-looking finished products
You’ll notice the difference in quality immediately. Your preshrunk wool will behave more predictably during sewing and maintain its shape beautifully, giving you the freedom to create with confidence.
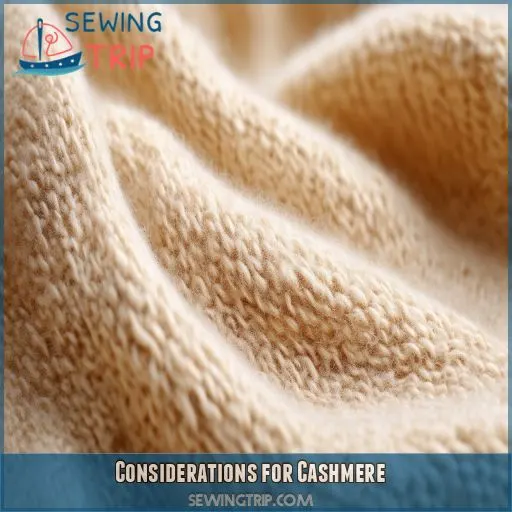
Considerations for Cashmere
When preshrinking cashmere, you’ll need to use extra caution due to its delicate nature. Consider seeking professional cleaning services for your cashmere garments, as they’ve specialized techniques to maintain the fabric’s soft texture and unique properties.
Gentle Pre-Shrinking Methods
While pre-shrinking wool yields benefits, you’ll want to tread lightly with cashmere. This luxurious fabric demands gentle care. Consider steam as your secret weapon – it’s a kinder method that’ll help you avoid unwanted shrinkage. Alternatively, professional dry cleaning can work wonders. Remember, with cashmere, less is more. Your goal? Preserve that heavenly softness while ensuring a perfect fit.
Cashmeres Unique Properties
You’ll find cashmere’s unique properties make it a standout among wool fabrics.
This luxurious fiber boasts exceptional softness, warmth, and durability.
Unlike other wools, cashmere rarely needs preshrinking due to its natural resistance to shrinkage.
However, its delicate nature demands extra care.
When working with cashmere, avoid steam shrinking or tumble drying.
Instead, opt for gentle hand washing or dry cleaning to preserve its exquisite qualities and extend its lifespan.
Professional Cleaning Recommendations
Cashmere is delicate. Find a dry cleaner who knows wool. They’ll know all about testing and shrinking the fabric. Some might suggest steam shrinking or gentle tumble drying, others might prefer traditional dry cleaning. A skilled tailor can also give you advice on how to care for wool, keeping your cashmere looking its best.
Types of Wool Fabric & Selection
When selecting wool fabric for pre-shrinking, consider its characteristics, properties, and weight. You’ll need to choose the right pre-shrinking method based on the wool type, whether it’s a lightweight merino or a heavy tweed, to get the best results for your project.
Wool Characteristics And Properties
While cashmere requires special care, let’s talk about wool’s unique characteristics.
As you explore different types of wool fabric, you’ll notice they all share a common protein structure.
This gives wool its remarkable properties, like elasticity and moisture-wicking.
When preshrinking, remember that worsted fabrics may react differently than woolen ones.
Steam shrinking can be effective, but for some delicate wools, dry cleaning might be your best bet.
Fabric Weight Considerations
When selecting wool fabric for preshrinking, consider its weight. Heavier fabrics may require more intense steam shrinking methods, while lighter ones need gentler care. The fabric’s weight affects its drape, but it also influences how it’ll respond to preshrinking techniques. You’ll want to gauge the density and yardage carefully to make sure you’re using the right approach for your wool.
- Lightweight wools (under 5 oz/yd²): Perfect for summer garments
- Medium-weight wools (5-12 oz/yd²): Versatile for year-round wear
- Heavyweight wools (over 12 oz/yd²): Ideal for coats and outerwear
- Gauze-weight wools: Delicate and require extra care
- Boiled wool: Dense and may need minimal preshrinking
Recommended Pre-Shrinking Methods
Want to shrink wool fabric?
You’ve got a few options. Steam shrinking works wonders for lightweight wools, while dry cleaning’s your go-to for delicates.
For sturdier types, tumble drying can do the trick.
Don’t be afraid to experiment – mastering these techniques will give you the upper hand in your wool-working adventures!
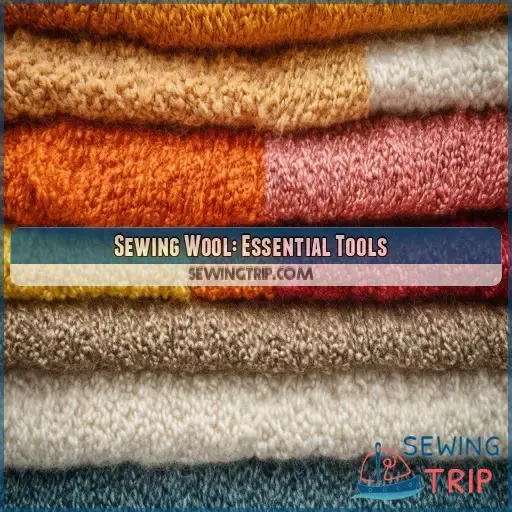
Sewing Wool: Essential Tools
When sewing wool, you’ll need the right tools to get a professional finish. Choose sharp needles and fine pins to prevent snagging, and opt for strong polyester thread along with a walking foot or Teflon presser foot to handle the fabric’s texture.
Needles and Pins
Now that you’ve selected your wool fabric, let’s talk about the essential tools for sewing: needles and pins. When working with wool, you’ll need the right equipment to make things easier. Here are three must-have items:
- Sharp, fine needles (size 70/10 or 80/12)
- Glass-head pins or silk pins
- Sewing clips for delicate wools
Thread and Machine Feet
You’ll need the right thread and machine feet to conquer wool fabric.
Opt for a sturdy polyester or silk thread that matches your wool’s weight.
For your sewing machine, a walking foot is your secret weapon.
It’ll help you tame those slippery layers and prevent puckering.
With these tools, you’ll be stitching like a pro in no time!
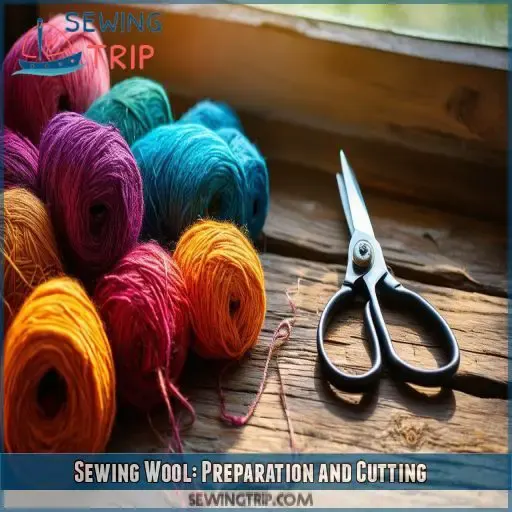
Sewing Wool: Preparation and Cutting
When preparing to cut your pre-shrunk wool fabric, carefully arrange your pattern pieces to maximize fabric usage and align with the grain. Use sharp fabric scissors or a rotary cutter to make clean, precise cuts, and don’t forget to transfer any necessary markings to your wool pieces.
Pattern Piece Placement
When placing pattern pieces on your preshrunk wool fabric, attention to detail is key.
Align the grain lines precisely with the fabric’s weave for a smooth drape.
Arrange pieces efficiently, considering nap direction if present.
Use tailor’s chalk to mark seam allowances and transfer pattern markings accurately.
Don’t rush this step – your patience will pay off in the final product!
Cutting Techniques
Now that you’ve placed your pattern pieces, it’s time to cut your preshrunk wool fabric.
Use sharp fabric shears or a rotary cutter for clean edges.
If you’re working with multiple layers, secure them with weights to prevent shifting.
Don’t forget to transfer pattern markings carefully – they’re important for precise sizing and assembly.
Sewing and Pressing Wool Fabric
When sewing wool fabric, use a sharp needle and adjust your machine’s tension for the best results. Press wool carefully with a pressing cloth and low heat, moving the iron in smooth, even strokes to avoid leaving imprints or scorching the fabric.
Machine Sewing and Hemming
When machine sewing wool, you’re in for a treat! This luxurious fabric responds beautifully to your machine’s touch. Here’s your game plan:
- Choose the right needle (universal or ballpoint)
- Set your stitch length slightly longer (3-3.5mm)
- Use a walking foot for even feed
- Opt for a medium-weight polyester thread
Tips for Pressing Wool Fabric
Now that you’ve mastered machine sewing and hemming, let’s tackle pressing wool fabric. Proper pressing is really important for a polished finish. Here’s a handy guide to help you:
| Technique | Temperature | Steam |
|---|---|---|
| Light Wool | Low-Medium | Minimal |
| Heavy Wool | Medium-High | Moderate |
| Delicate Wool | Low | Light |
Always use a pressing cloth to protect your wool from direct heat. Remember, press don’t iron – lift and lower the iron to avoid stretching the fabric.
Frequently Asked Questions (FAQs)
How to pre-shrink wool fabric?
You’ll want to wrap your wool fabric in a damp cotton sheet, then tumble dry on high heat for 40 minutes. This method effectively pre-shrinks the wool, ensuring your finished garment retains its shape after washing.
Does boiling water shrink wool?
Did you know that wool can shrink up to 30% in boiling water? You’ll want to avoid this extreme heat. Instead, use lukewarm water and gentle handling to pre-shrink your wool fabric safely at home.
Do I need to prewash wool?
You’ll want to prewash wool to prevent future shrinkage. It’s really important for keeping your garment’s shape and fit. Use cool water and gentle detergent, or try the damp sheet method for best results. Don’t skip this step!
Does steam shrink wool?
Yes, steam can shrink wool. You’ll want to be careful when using steam on wool garments. It’s best to use a gentle, low-heat setting and keep the steam iron moving to avoid damaging the fibers.
Can wool fabric be pre-shrunk more than once?
You can pre-shrink wool fabric multiple times, but it’s not usually necessary. Once is typically enough to stabilize the fibers. Repeated pre-shrinking may weaken the fabric, so it’s best to do it right the first time.
How long should wool fabric dry after pre-shrinking?
You’d think wool would dry quickly, but patience is key. After pre-shrinking, let your fabric air dry for 24-48 hours. Lay it flat, away from direct heat or sunlight. This will help your fabric dry evenly and prevent any unwanted stretching.
Does pre-shrinking affect wools texture or appearance?
Pre-shrinking can slightly affect wool’s texture, making it softer and less prone to itching. You’ll notice minimal changes in appearance, but the fabric might feel denser. It’s a trade-off for stability and longevity in your finished garment.
Can pre-shrinking be done on already-sewn wool garments?
Like a tailor’s magic touch, you can pre-shrink sewn wool garments. Gently soak them in cool water, then lay flat to dry. It’s a tightrope walk, but you’ll prevent future shrinkage while preserving your garment’s shape.
Are there any eco-friendly alternatives to chemical pre-shrinking treatments?
You’ll find eco-friendly alternatives to chemical treatments for pre-shrinking wool. Try natural methods like the damp sheet technique or gentle hand-washing with mild, biodegradable soap. These approaches are kinder to the environment and your fabric.
Conclusion
Just as a skilled tailor transforms fabric into a masterpiece, you’ve now mastered the art of preshrinking wool fabric at home.
Armed with these five steps, you’re ready to tackle your next wool project with confidence.
Whether you’re working with delicate cashmere or sturdy tweed, you’ve got the knowledge to handle it all.
So, embrace your newfound skills and let your creativity soar.
Your wool creations will now stand the test of time, just like a well-tailored suit.

