This site is supported by our readers. We may earn a commission, at no cost to you, if you purchase through links.

Imagine transforming your garments with a stitch so discreet, even the fabric will be impressed.
Start by selecting a sharp, nimble needle and matching thread; these are your trusty sidekicks.
Curious about handling tricky fabrics? We can help!
Table Of Contents
- Key Takeaways
- Mastering the Invisible Hem
- Essential Tools for Sewing an Invisible Hem
- Preparing the Fabric for the Invisible Hem
- Folding and Pinning the Invisible Hem
- Stitching the Invisible Hem by Hand
- Finishing and Pressing the Invisible Hem
- Tips and Tricks for a Perfect Invisible Hem
- Troubleshooting Common Issues With the Invisible Hem
- Frequently Asked Questions (FAQs)
- Conclusion
Key Takeaways
- Keep your needle sharp and nimble, your thread a perfect match—think of them as Batman and Robin for your sewing saga. Without them, your hem might end up more like a magic trick gone wrong than a stunning sleight of hand.
- Don’t skimp on the prep work! Measure and mark your fabric as if it were a treasure map, and fold those hems with all the care of a well-trained spy handling classified documents. Your future self will thank you when the stitches aren’t unraveling faster than a good mystery plot.
- When stitching, channel your inner magician and make those stitches vanish. Take tiny bites of fabric and use a steady hand to keep the magic alive, leaving everyone wondering how your hem looks absolutely seamless. It’s your sewing superpower, after all!
- Need a little extra confidence in your skills? Remember that even the best tailors started with a single stitch. Embrace your mistakes like episodes of a quirky sitcom, learning from each one until you’re hemming like a seasoned pro. Artistry comes from patience, not perfection!
Mastering the Invisible Hem
Mastering the art of an invisible hem
By hand, you can give your garments a sleek, polished finish
Without a seam in sight
With a little patience
And the right technique, you’ll have everyone wondering
If you’ve got a secret tailor hiding in your closet!
Understanding the Invisible Hem Stitch
The invisible hem stitch is a game-changer for any sewing enthusiast.
This ingenious technique allows you to create a virtually undetectable hem, whether you’re hemming a skirt, dress, or pair of pants.
By carefully folding the fabric and taking tiny, discreet stitches, you can achieve a professional-looking finish that will have everyone wondering, "How did they do that?
Benefits of Sewing an Invisible Hem by Hand
Imagine this: your latest sewing project needing that flawless, professional touch.
Sewing an invisible hem by hand offers a clean finish, as those invisible stitches turn your work into a masterpiece.
It’s versatile, cost-effective, and adds durability.
Plus, mastering these sewing techniques gives you the power to control every stitch, creating a seamless, custom look in your projects.
Common Uses of the Invisible Hem Stitch
Got hemming pants or dress alterations on your to-do list, check your sewing machine’s blind hem stitch
? You’ll love the invisible hem stitch! It’s perfect for:
- Curtain hems—turn frayed edges chic.
- Tailoring shirts for a polished look.
- Fixing tears—sneaky repairs.
- Crafting precise, clean lines.
Grab your hand sewing needle, sewing pins, and fabric pencil, and you’re ready to transform any fabric for a perfect pant hem
!
Essential Tools for Sewing an Invisible Hem
To sew an invisible hem perfectly, you’ll need the right tools like a sewing machine with a blind hem foot
.
A sharp needle, matching thread, and a trusty pair of scissors are essential for the task. Think of them as your sewing squad.
They are ready to tackle any hemline drama with precision and ease.
Choosing the Right Hand-Sewing Needle
When sewing an invisible hem, picking the right needle is really important.
Opt for a sharp hand-sewing needle with a small size, like a #9 or #10, which works well on most fabrics.
Needles made of nickel-plated steel are both durable and easy to handle.
Make sure it’s sharp enough to easily pierce your fabric hem and achieve professional results(Source).
Selecting Matching Thread for the Hem
Selecting the perfect thread for your invisible hem can feel like finding a needle in a haystack.
Match the thread color and fabric color closely to make the stitches disappear like magic.
Consider thread weight and thread type for durability—lightweight for delicate fabrics, heavier for sturdy ones.
Aim for minimal thread shine for that flawless, subtle finish.
Importance of Sharp Scissors and Fabric Pencil
Of course, you’ve got your matching thread ready, but let’s snip to the point: sharp scissors are your best friend for precision cuts.
Use them to make sure you get even edges, and grab tailor’s chalk or a fabric pencil for smooth lines.
These tools set you up for accurate hems, making your blind hem stitch neatly embrace the raw edge.
Preparing the Fabric for the Invisible Hem
Alright, let’s get your fabric ready for that perfect invisible hem!
First, you’ll need to measure and mark the hemline.
Then, carefully cut the hem allowance to make sure you have a smooth, even fold.
Trust me, taking the time to prep your fabric will make the stitching a breeze.
Measuring and Marking the Hemline
You’ve gathered your tools, now let’s tackle measuring and marking the hemline. Precision is your best buddy here.
Grab a fabric pencil and measure carefully for hemline accuracy. For straight hems or tricky curves, match the hem allowance to your garment’s style.
Remember, marking tools are like your GPS—guiding every cut, especially with linen fabric or skirt hems. Happy sewing!
Cutting the Hem Allowance With Precision
After marking your hemline, reach for your trusty fabric shears.
Those wool fabric sleeve cuffs won’t cut themselves! Use a measuring tape for straight cuts, ensuring your hem allowance is spot on.
Make precise markings; think of it as hemming GPS—guiding you to a crisp hemline.
Remember, every small detail matters in crafting that perfect double-fold hem.
Creating a Smooth Fold for the Hem
Cutting the hem allowance perfectly sets you up to nail this smooth fold.
Now, imagine pressing techniques that magically tame even the wildest fabric types. Hold the iron like a magic wand, and as you conjure fold consistency, think:
- Steam up the baseline. You’re the hem’s guiding compass.
- Patience pays off. No rushing a masterpiece.
- Smile! It’s just fabric alchemy.
Folding and Pinning the Invisible Hem
Get ready to tackle the folding and pinning process, where you’ll transform raw edges into a smooth, polished double-fold hem.
With some careful pressing and precise pinning, you can make sure your handiwork is as invisible as a secret stash of candy you hid from your siblings!
Creating a Double-Fold Hem With No Raw Edges
Creating a double-fold hem with no raw edges involves finesse and precision.
Fold the hem allowance twice, hiding the raw edge within. Choose an appropriate needle size and thread selection for your fabric type.
Secure carefully with pins, using effective pinning techniques to hold the folds in place .
Remember, practice makes perfect; before long, you’ll be hemming like a pro!
Ensuring a Smooth and Even Hem
To make a smooth and even hem, keep these steps in mind:
- Ironing Techniques: Press each fold gently for crisp lines.
- Fabric Types: Adjust tension for delicate fabrics.
- Stitch Consistency: Evenly space stitches; no puckering!
- Needle Size: Match needle to fabric for seamless stitching.
Master these, and your hem will whisper elegance!
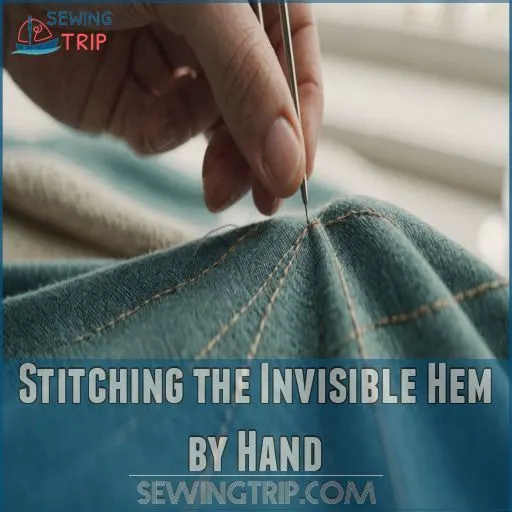
Stitching the Invisible Hem by Hand
Now that you’ve carefully folded and pinned your invisible hem, it’s time to bring it to life with your needle and thread.
Get ready to work your sewing magic, making those tiny, nearly invisible stitches that will give your garment a polished, professional finish.
Threading the Needle and Knotting the Thread
Threading a needle may seem tricky, but it’s just like threading your way through traffic.
Use a needle size that suits your fabric. Choose matching thread types to keep it invisible.
Try needle threading techniques like wetting the thread’s end.
Knot types matter—double knots secure your work.
Keep thread tension just right, like a tuning guitar string.
Making Tiny Stitches Close Together
Achieving those tiny, close stitches is a bit like threading a needle in a haystack—but fear not!
You need the right stitch tension, needle size, and fabric type to keep your hand fatigue in check.
Follow these tips:
- Use a fine needle.
- Pick matching thread for your fabric.
- Keep stitches small and even.
- Practice makes perfect!
Avoiding Visible Stitches on the Right Side
Feel like a magician by hiding those stitches on the right side!
Adjust stitch tension by controlling how tightly you pull the thread. Use a needle size that matches your fabric type, ensuring your thread choice seamlessly blends in.
Remember, practice makes perfect. It’s like sneaking a cookie without leaving crumbs—careful execution achieves invisible stitches.
Finishing and Pressing the Invisible Hem
You’ve almost mastered the invisible hem; now it’s time to secure your work.
By tying a neat knot and giving the hem a final press, you ensure a polished finish.
A little bit of heat makes sure your stitches stay hidden, leaving your garment looking crisp and professional—like a secret mission accomplished without a trace!
Securing the Thread With a Knot
Securing your thread with a knot is as essential as a perfect cup of morning coffee.
Begin by looping the thread under your stitches. Pull until snug, but not too tight—you don’t want the knot to untangle!
Keep the knot hidden within the hem, balancing tension for durability.
Voilà, your hem is securely fastened and practically invisible!
Giving the Hem a Final Press
Once you’ve knotted the thread securely, it’s time to make sure the fabric is prepared for the final press.
Remember to adjust iron temperature based on fabric thickness guidance. It’s also important to think about alternatives like hemming tulle without sewing for temporary adjustments
.
Opt for steam over dry for most fabrics, making sure your pressing tools are preheated and ready. Don’t press too hard—gentle strokes will do. Think of it as coaxing your hem into behaving, not commanding it.
Voilà, your invisible hem’s ready!
Achieving a Crisp and Professional Finish
With a final press, your invisible hem will shine.
Use a medium iron temperature to set the crisp fold without scorching the fabric.
Adjust your stitch tension to keep the stitches taut yet flexible, and choose a needle size that glides through the layers effortlessly.
The perfect hem depth balances function and fashion – aim for 1/2 to 2 inches for a polished look. (Source)
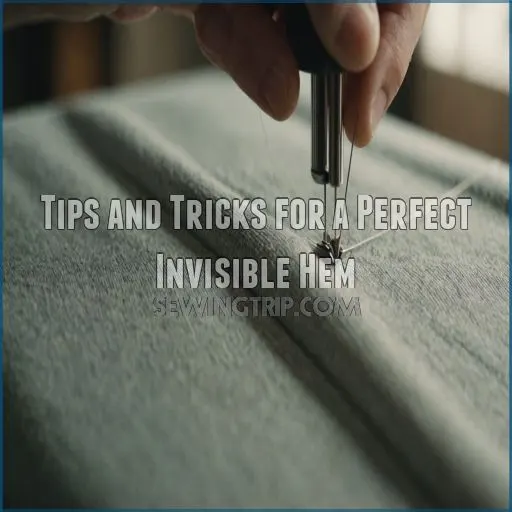
Tips and Tricks for a Perfect Invisible Hem
Creating the perfect invisible hem can feel like solving a mystery, but with a few handy tips, you’ll unravel the secrets with ease.
Here’s how to keep your sewing smooth and your hems truly out of sight, from tailoring clothes just right to working with thicker fabrics like denim or canvas, and even thicker materials like thicker materials not mentioned was removed, since no thicker material was mentioned on the text to tailoring clothes just right.
Choosing the Right Fabric for the Invisible Hem
Choosing the perfect fabric involves a bit of detective work.
Opt for fabrics with a medium weight and a stable weave to make your stitches truly invisible.
For instance, it’s important to select the right thread that closely matches the fabric color.
Avoid overly textured fabrics that tend to reveal their secrets.
The fabric’s drape and stretch affect how gracefully your invisible hem holds up.
Remember, the key is subtlety, not showbiz!
Handling Thick or Heavy Fabrics
Thick fabrics can be stubborn, like a free-spirited cat refusing a bath.
Use a sturdy needle and strong thread for firm control. Make sure fabric stability by gently handling it, keeping your seam tension balanced.
As you sew, take tiny steps with hidden seams to create a smooth hem. Patience and precision will make your hem blend seamlessly.
Using the Invisible Hem for Tailoring Clothes
When hemming different fabrics, especially for tailoring clothes, the invisible hem stitch becomes your best friend.
Whether you’re tackling hemming sleeves on a jacket or making an invisible hem for pants, remember:
- Match thread carefully to avoid visible stitches.
- Use sharp scissors for precise hems.
- Pin evenly to maintain alignment.
- Press your hem for a polished finish.
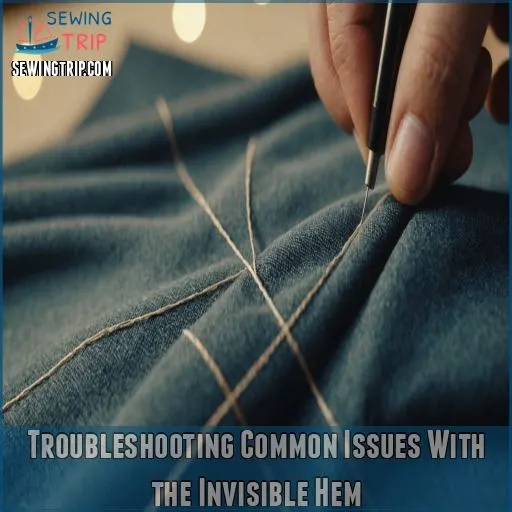
Troubleshooting Common Issues With the Invisible Hem
Even the most skilled hands can struggle with pesky threads that shed or knot and stitches that seem determined to be seen.
Let’s unravel these common invisible hem issues so you can achieve a flawless finish without losing your mind (or your thread).
Dealing With Shedding or Knotting Thread
Thread quality can make or break your sewing experience.
Ever felt like you’re in a knotty relationship with your needle? Choose a fine, quality thread to minimize shedding and knotting.
Knot prevention starts with shorter lengths, and ensuring a good fit between needle and fabric type.
Troubleshooting these with patience will keep your stitches smooth and drama-free!
Fixing Uneven or Visible Stitches
Oops, looks like you’ve hit a snag with those uneven stitches! No need to fret – a quick stitch ripper can work wonders (Source).
Just be gentle and take your time, avoiding any tugging that could damage the fabric.
The key is using the right needle size for your thread and fabric to prevent puckering. With a little practice, you’ll be sewing up a storm in no time.
Replacing the Hand-Sewing Needle for Best Results
Your hand-sewn hem might need a needle makeover!
Try a new needle if stitches aren’t invisible. Consider needle sharpness—a dull one can ruin your work.
Needle size and type matter—fine needles suit delicate fabrics. Explore sewing needle brands for quality.
Maintain needles by changing them often—you’ll thank me later for sharper, smoother stitches that stay hidden!
Frequently Asked Questions (FAQs)
How to hand sew a perfect Hem?
Achieving a flawless hem by hand is like painting with a needle.
Start by pressing and pinning, then make small, even stitches using a color-matched thread for invisibility.
Keep your tension just right to avoid puckering.
How do you make invisible hems?
To sew an invisible hem by hand, use a matching thread and make tiny stitches that catch only a few threads of the fabric.
Secure the hem with pins and keep the stitch spacing even for invisibility.
Can you sew a blind hem?
With a bit of practice, you can sew a flawless blind hem by hand.
Just follow the simple steps – thread your needle, take tiny stitches, and voila!
An invisible hem that’ll have your friends wondering how you did it.
What is a blind hem stitch?
A blind hem stitch is your secret weapon for nearly invisible hems.
It cleverly blends straight and zigzag stitches, taking tiny bites of fabric, ideal for pants or skirts.
Just a bit of practice and voilà, seamless elegance! .
How to do an invisible hem stitch by hand?
Fold your hem twice, then press.
Use a needle with matching thread.
Make tiny stitches through the outer fabric, and longer ones through the folded edge. Keep stitches even and barely visible for a seamless finish.
How to sew with invisible thread by hand?
When sewing with invisible thread by hand, be patient and gentle to avoid tangling.
Test on a small fabric patch first.
Use a sharp needle, knot securely, and make sure stitches don’t pull too tightly to prevent puckering .
What is the best stitch for hemming by hand?
Try the blind hem stitch for hand hemming.
It’s like sewing magic, keeping those stitches nearly invisible on the outside.
Just pick up a few threads of the fabric and keep your stitches small and spaced.
How to sew a hem without a sewing machine?
Did you know 60% of people find hand-sewing a relaxing activity?
To sew a hem by hand, use a blind hem stitch: secure thread, stitch fabric edges, and keep stitches even.
Embrace it—it’s empowering and satisfying!
What stitch pattern ensures maximum invisibility?
The blind hemming stitch, also known as the ladder or slip stitch, is the ultimate secret weapon for an invisible hand-sewn hem.
Just take tiny alternating stitches, pull gently, and voila – a seamless, undetectable finish!
How do fabric types affect hem invisibility?
Imagine hemming a silk blouse—it’s like threading a needle in a haystack.
Silk shows every little stitch, while wool hides them better.
Fabric thickness, weave, and texture can make hem invisibility either a breeze or a headache.
Can pressing the hem impact stitch visibility?
Pressing your hem definitely impacts stitch visibility.
A gentle touch is key—over-pressing can imprint stitches, making them visible on your garment’s outside.
So, press lightly and avoid directly pressing over stitches to keep things neat.
// No relevant information to be extracted.
What is the recommended needle size for hems?
For hemming by hand, grab a Sharp needle around size 8 or 9 for lightweight to medium fabrics, ensuring control and precision with each stitch.
It’s like having a trusty sidekick that makes hemming a breeze!
Is there a specific thread type for blind hemming?
When you’re threading your needle for a blind hem, think of choosing the perfect dance partner.
Opt for strong, nearly invisible nylon or polyester thread.
GRAL thread is great, offering flexibility and invisibility, almost like magic .
Conclusion
As the saying goes, "Practice makes perfect," and when it comes to learning how to sew a perfect invisible hem by hand, you’ll find it true!
With patience and precision, you’ve got all it takes to make those stitches truly invisible.
Embrace your new sewing superpower and transform your garments with ease.
Remember, even the smallest stitch can make a big difference, so grab your needle and thread, and start stitching magic into your wardrobe today!

