This site is supported by our readers. We may earn a commission, at no cost to you, if you purchase through links.
First, check your feed dogs—they might be lowered or clogged with lint. Adjust the stitch length; shorter stitches can cause feeding issues. Make sure your presser foot is down and the pressure is correct for your fabric.
Inspect your needle—a bent or dull one can hinder fabric movement. Thread tension matters too; if it’s off, your fabric may not feed smoothly.
Clean and oil your machine regularly to keep things running smoothly.
If you’re still stuck, check your manual for machine-specific troubleshooting. With these quick fixes, you’ll be back to creating in no time.
But there’s more to explore for foolproof stitching.
Table Of Contents
Key Takeaways
- Don’t panic when your sewing machine refuses to feed fabric; follow these quick fixes to get back to creating in no time.
- Check the feed dogs, adjust the stitch length, and ensure the presser foot is down and the pressure is correct for your fabric.
- Inspect the needle; a bent or dull one can hinder fabric movement.
- Seek professional assistance if you’ve tried all the troubleshooting steps and your machine still won’t feed fabric.
Troubleshoot Feed Dog Issues
When your sewing machine isn’t feeding fabric, start by checking the stitch length setting to verify it’s not set to zero. If that’s not the issue, inspect your feed dogs to make sure they’re at the proper height and all components are intact and functioning correctly.
Check Stitch Length Setting
To troubleshoot feed dog issues, first check the stitch length setting. If it’s set to zero, your fabric won’t move, causing formation problems. Make sure the stitch length is set above zero for proper fabric movement and proper stitch formation. A higher stitch length can improve sewing speed.
- Set stitch length above zero
- Make sure proper stitch formation
- Optimize fabric movement
- Avoid tension problems with correct settings
Adjust Feed Dog Height
If adjusting the stitch length didn’t solve your fabric feeding issue, it’s time to check your feed dog height. These little teeth are vital for moving fabric through your machine. Here’s what you need to do:
- Locate the feed dog adjustment mechanism
- Raise the feed dogs if they’re too low
- Ensure proper alignment with the needle plate
- Lubricate if necessary for smooth movement
Inspect Feed Dog Components
Inspect your feed dog components to guarantee smooth operation:
- Feed Dog Alignment: Misaligned feed dogs won’t push fabric correctly. Realign if necessary.
- Feed Dog Screws: Tighten any loose screws to maintain proper tension and pressure.
- Broken Parts: Look for and replace any broken feed dog parts to avoid issues with fabric movement, especially when working with thick or slippery fabrics.
These checks guarantee feed dog movement remains ideal.
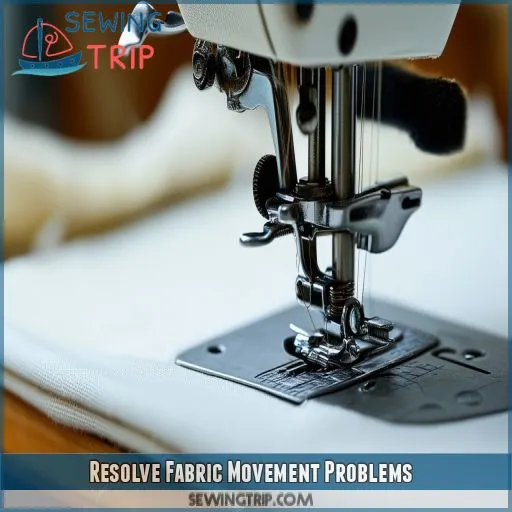
Resolve Fabric Movement Problems
If your sewing machine isn’t feeding fabric, you’ll need to identify the common symptoms and adjust your machine settings accordingly. Check for issues like fabric bunching, uneven stitches, or the fabric not moving at all, then make necessary adjustments to your stitch length, feed dog height, and presser foot pressure.
Identify Common Symptoms
Is your sewing machine refusing to feed fabric? Look out for these common symptoms:
- Fabric stays put or moves erratically
- Unintended tucks form in your material
- Thread bunches up or breaks frequently
- Machine makes unusual noises or vibrations
These issues often stem from feed dog problems, incorrect settings, or incompatible fabric-needle-thread combinations. Check your feed dog screws, parts, and gear for any visible damage. Inspect your needle for bluntness and make sure it’s appropriate for your fabric’s thickness. Identifying these symptoms is the first step to smooth sewing.
Adjust Sewing Machine Settings
Adjusting your sewing machine settings can resolve many fabric feeding issues. Start by checking these key areas:
- Thread tension: Check that it’s balanced for smooth stitching
- Bobbin winding: Verify it’s wound evenly and inserted correctly
- Presser foot pressure: Adjust for fabric thickness
- Stitch length: Set it above zero for proper fabric movement
Don’t forget to inspect your presser foot for damage and consider using a walking foot for thick layers. Regular cleaning and component checks can prevent skipped stitches and needle breaking. If problems persist, consult a sewing machine repair expert.
Prepare Fabric for Sewing
To prepare fabric for sewing, verify it’s properly oriented and suited for the task:
- Fabric Thickness and Layers: Choose appropriate fabrics and check if thick layers need a walking foot. This helps prevent thread breakage, bobbin issues, and birds’ nests.
- Fabric Selection: Match your fabric with the appropriate needle and thread.
- Fabric Orientation: Align the fabric correctly, avoiding pleats that can cause feeding problems. Re-thread if necessary.
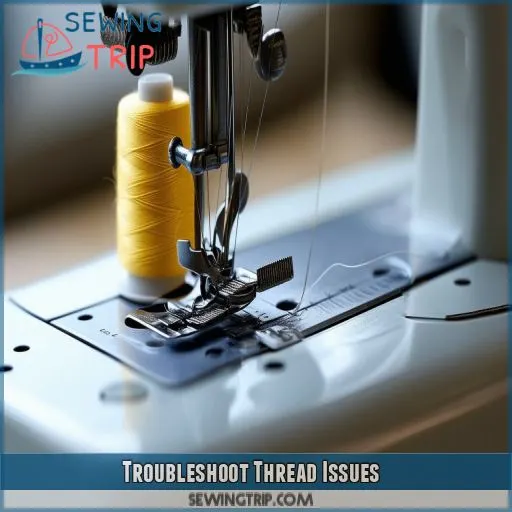
Troubleshoot Thread Issues
Check your thread path for any obstructions or improper threading that could be causing feeding issues. If you find tangled thread, remove the bobbin cover and needle plate to clear it, ensuring smooth thread flow through the machine.
Inspect Thread Path
Inspect your thread path to guarantee smooth fabric feeding. Check the tension settings, as incorrect tension can cause feeding issues. Observe how the fabric moves through the machine, paying attention to any hesitation or bunching. Don’t forget to check your presser foot and bobbin for proper installation.
Here are key areas to inspect:
- Tension discs: Make certain thread is properly seated
- Thread guides: Look for obstructions or bent guides
- Take-up lever: Verify thread is correctly threaded
- Bobbin area: Check for lint or tangled thread
If you notice bird’s nests forming under your fabric, it’s a sign of tension problems. The reverse button shouldn’t affect thread path, but make certain it’s not stuck. By thoroughly inspecting your thread path, you’ll be one step closer to smooth sewing.
Resolve Thread Tangles
After inspecting the thread path, it’s time to tackle those pesky thread tangles. If your fabric still won’t feed, thread issues might be the culprit. Here’s how to resolve them:
- Remove the bobbin cover and needle plate
- Clear out any tangled thread you find
- Rethread your machine, ensuring proper tension
Don’t let thread tangles trip you up! Check that your presser foot is appropriate for the selected stitch. Sometimes, a simple foot change can work wonders. Remember, patience is key when dealing with stubborn tangles. If you’re still struggling, take a deep breath and consider seeking help from a more experienced sewer. With these tips, you’ll be back to smooth stitching in no time.
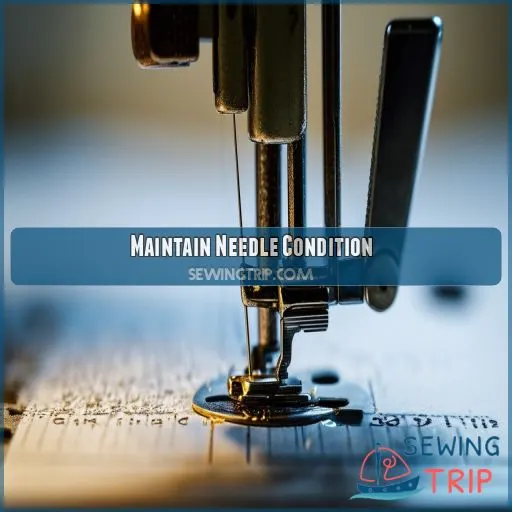
Maintain Needle Condition
Check your needle for signs of damage or wear, such as bending or bluntness, as a faulty needle can prevent proper fabric feeding. If you notice any issues, replace the needle with a new one appropriate for your fabric type and thread weight to guarantee smooth stitching and proper fabric movement.
Inspect Needle
Your needle’s condition can make or break your sewing project. To guarantee smooth fabric feeding, inspect your needle regularly. Check for any signs of bending or bluntness, as these can cause fabric snags and skipped stitches. Verify that you’ve inserted the needle correctly, with the flat side facing the back. Remember, different fabrics require different needle types, so choose wisely.
- Look for a slight curve in the needle shaft
- Run your fingertip along the needle to feel for burrs
- Hold the needle up to a light to check for a dull point
- Make sure the needle size matches your fabric weight
- Verify the needle’s compatibility with your machine model
Replace Needle if Needed
If your needle’s showing signs of wear, it’s time for a replacement. A bent or blunt needle can wreak havoc on your sewing project. Here’s why you should swap it out:
- Prevents fabric damage and skipped stitches
- Ensures smooth fabric feeding
- Reduces thread breakage and tension issues
- Improves stitch quality and consistency
- Extends the life of your sewing machine
Check your needle’s sharpness and straightness regularly. Ensure proper insertion, with the flat side facing back. Choose a needle compatible with your fabric type and thread weight. Replace needles after 8-10 hours of use or when you notice issues. Don’t forget, a fresh needle can make a world of difference in your sewing experience!
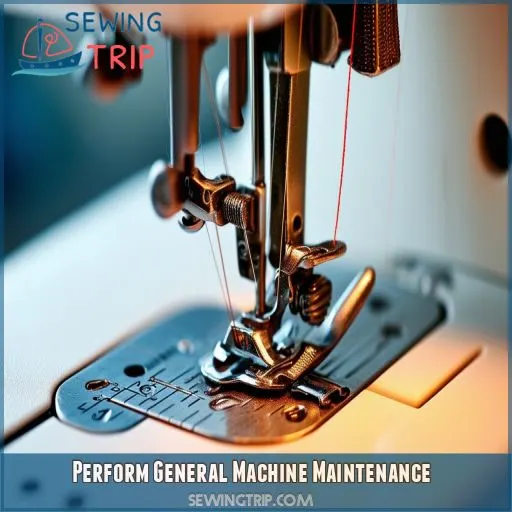
Perform General Machine Maintenance
Regular maintenance is essential for your sewing machine’s performance. Clean and oil your machine as recommended by the manufacturer, and inspect all components for wear or damage to guarantee smooth operation.
Clean and Lubricate
Regular cleaning and lubrication are essential for your sewing machine’s performance. Focus on the feed dog area, as it’s prone to lint buildup. Adjust the feed dog height if necessary to guarantee smooth fabric movement. Here’s a quick guide:
- Unplug your machine and remove the needle plate.
- Brush away lint and debris from the feed dogs and surrounding areas.
- Apply a drop of sewing machine oil to moving parts, following your manual’s instructions.
- Reassemble and test on scrap fabric.
- Extend your machine’s lifespan
- Improve stitch quality
- Reduce frustrating fabric feeding issues
- Boost your sewing confidence
Inspect Components
After cleaning, it’s imperative to inspect your machine’s components. This step verifies that everything is in optimal condition and operating seamlessly. Here’s what you should do:
- Check all screws and tighten any that are loose
- Inspect settings, confirming they’re appropriately adjusted
- Examine gears for cracks or wear, replacing if necessary
Pay close attention to the feed dog gear and throat plate. Verify that they’re properly positioned and securely attached. Adjust components as required, and don’t forget to check the bobbin area for any hidden debris. If you spot any worn or damaged parts, it’s advisable to replace them promptly. Regular inspections will keep your machine running smoothly, preventing future fabric feeding issues and ensuring your sewing projects proceed without hindrance.
Seek Professional Assistance
If you’ve tried all the troubleshooting steps and your machine still won’t feed fabric, it’s time to seek professional help. Don’t let frustration get the best of you. Contact Brother Customer Support for expert assistance. They can help you:
- Assess your machine’s capability for handling specific fabric thicknesses
- Diagnose complex issues like bobbin winding problems or needle sharpness concerns
- Determine if your machine needs professional servicing
Prevent Future Issues
To prevent future issues, establish a regular maintenance schedule for your sewing machine. This will keep it running smoothly and help you catch potential problems early. Here are three key preventive measures:
- Check fabric compatibility before starting a project
- Replace needles regularly to maintain sharpness
- Select appropriate presser feet for different fabrics
Always make certain your work area is well-lit to spot any irregularities in your machine’s performance. By staying proactive, you’ll minimize downtime and keep your sewing projects on track. Remember, a little prevention goes a long way in maintaining your machine’s health and your sewing productivity.
Frequently Asked Questions (FAQs)
Why is my sewing machine not pulling my fabric?
Your fabric’s not moving? Check your feed dogs first. They might be lowered or clogged. Next, verify your stitch length isn’t set to zero. Don’t forget to inspect your needle – it could be bent or blunt.
Why is my sewing machine not feeding properly?
Like a stubborn mule, your machine’s refusing to budge. Check your feed dogs; they might be lowered or clogged. Make certain your stitch length isn’t zero, and verify the needle’s straight. Clean thoroughly and re-thread if issues persist.
Why is my sewing machine not feeding thick fabric?
Your machine may struggle with thick fabric due to low feed dog height or incorrect stitch length. Check these settings, use a walking foot, and verify that you’re using the appropriate needle and thread for heavy materials.
What remedies for a fabric not feeding?
Like a stubborn mule, your fabric’s not budging? Check your feed dogs’ height and stitch length. You’ll want to clean the area, adjust tension, and use the right presser foot. Don’t forget to inspect your needle for any issues.
Why is my sewing machine not feeding fabric through the treadle?
Your treadle may not be feeding fabric due to several issues. Check if the feed dogs are lowered or clogged with lint. Verify the stitch length isn’t set to zero and inspect the needle for damage or incorrect insertion.
Why is my sewing machine not moving fabric through?
Ever feel like your sewing machine’s on strike? Check your feed dogs first. They might be lowered or clogged. Make sure your stitch length isn’t set to zero. If problems persist, inspect your needle and thread for compatibility issues.
Can sewing machine problems cause fabric feed problems?
Yes, your sewing machine can cause fabric feed issues. Common culprits include incorrect stitch length, lowered feed dogs, or worn parts. Check these settings and components first. If problems persist, it’s time to consult a professional or your machine’s manual.
What causes fabric feed problems?
Your fabric feed issues often stem from improper stitch length, lowered feed dogs, or a dull needle. Check your machine’s settings, confirm the feed dogs are raised, and replace the needle if it’s worn out.
Why is my fabric not feeding properly?
Whoa, Nelly! Your fabric’s not feeding properly? Check if your feed dogs are lowered or dirty. Verify that your stitch length isn’t set to zero. Inspect for a bent needle or incorrect threading. You might need to adjust presser foot pressure too.
Why is my sewing machine not feeding?
Your sewing machine mightn’t be feeding fabric due to lowered feed dogs, a stitch length set to 0, loose or broken feed dog parts, or an incorrectly inserted needle. Check and adjust these components accordingly.
Can feed dog issues affect stitch quality?
Imagine your fabric as a stubborn mule. Yes, feed dog issues can impact stitch quality. They’re like your mule’s hooves – when they’re not gripping properly, you’ll see uneven stitches, puckering, or skipped stitches. Don’t let your sewing go wild!
How often should I oil my sewing machine?
You should oil your sewing machine every 3-4 months or after 50-60 hours of use. Don’t overdo it; a few drops in key areas suffice. Regular oiling keeps your machine running smoothly and extends its lifespan.
Are certain fabrics more prone to feeding problems?
About 30% of feeding problems occur with fabrics like satin or velvet. They tend to slip or bunch. Use a walking foot or adjust the presser foot pressure to improve feeding and guarantee smooth fabric movement.
Whats the lifespan of a typical sewing machine?
You’ll typically get 15-25 years from a well-maintained sewing machine. Quality models can last even longer. Regular cleaning, oiling, and professional servicing will extend its lifespan. Don’t forget to replace worn parts when needed.
Can using the wrong presser foot cause feeding issues?
Ever wondered if your presser foot choice matters? You bet it does! Using the wrong presser foot can indeed cause feeding issues. It’s essential to match the foot to your fabric and stitch type for smooth sewing.
Conclusion
Imagine you’re halfway through a quilt project when your sewing machine stops feeding fabric. Don’t let it derail your creativity.
By following these six fixes, you’ll troubleshoot common issues like feed dog problems, fabric movement hiccups, and thread tangles.
Remember to maintain your needle and perform regular machine upkeep. If you’re still stumped, don’t hesitate to seek professional help.
With these strategies, you’ll prevent future feeding issues and keep your sewing projects running smoothly. Your sewing machine not feeding fabric will be a thing of the past.


