This site is supported by our readers. We may earn a commission, at no cost to you, if you purchase through links.
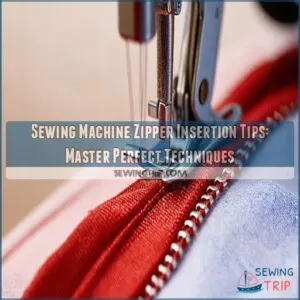
First, don’t rush—take your time to avoid mishaps like ripping your seam.
Pin the zipper thoroughly; the more pins, the merrier!
A stubborn zipper? Try a dab of wax or zipper lubricant for a smooth slide.
Use your iron to press those seams crisp and flat.
Always start each side from the same end for symmetry.
And here’s a quirky tip: long zippers are less finicky.
There’s a universe of zipper knowledge awaiting—a few tweaks can make all the difference in that professional touch!
Curious about invisible zippers? Stay tuned!
Table Of Contents
Key Takeaways
- Don’t rush zipper insertion—take your time to avoid ripping seams, and use plenty of pins for a secure fit.
- Use wax or zipper lubricant to tackle stubborn zippers, ensuring they slide smoothly during insertion.
- Master the invisible zipper technique by aligning zipper teeth with seam allowances carefully, and use a zipper foot to maintain a seamless finish.
- Choose the right zipper type and foot for your fabric to prevent puckering, and add stabilizing tape for stretchy fabrics.
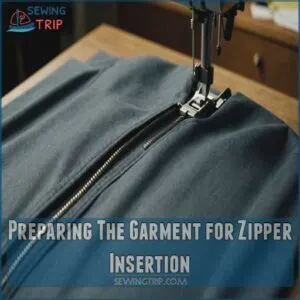
Preparing The Garment for Zipper Insertion
Getting your garment ready for zipper insertion, which includes troubleshooting common issues like wavy fabric and zipper alignment, might feel like managing a sewing circus, but trust me, it’s easier than taming lions!
By neatly stitching shoulder seams and applying interfacing, you’ll set the stage for a flawless zipper finish, leaving you only one step away from sewing glory.
Stitching Shoulder Seams and Interfacing
Before you start working on zipper insertion, first tackle those shoulder seams.
Stitch ’em up neatly, like a well-tailored suit.
When choosing an interfacing, consider selecting the right interfacing weight, as it makes all the difference in giving your garment the right amount of structure and stability.
Fusible interfacing is your secret ally here—adding strength without bulk.
It’s like giving your garment a firm handshake.
Then, with a wink to ease, press it all smooth.
It’s the unsung hero behind every perfect neckline.
Aligning and Stitching The Neckline Facing
Let’s snugly align that neckline facing with the garment—it’s like fitting puzzle pieces together!
Match those notches, then:
- Pin right sides together.
- Stitch the facing to the neckline.
- Understitch to keep it in line.
- Press seam allowances in the direction of the facing.
Your zipper insertion could soon feel as smooth as butter with these steps!
Grading and Pressing Seam Allowances
Now that your facing’s stitched, it’s time to trim those seam allowances!
Grading—carefully trimming one seam allowance shorter than the other—prevents bulk.
Then, press those seams toward the facing; a good press is key to a neat seam finish.
Avoid puckering by using a tailor’s ham or a rolled-up towel for support.
Perfect pressing techniques make all the difference!
Remember, seam allowance tips are your secret weapon for a flawless zipper insertion.
Understitching The Seam Allowances
Understitching might seem like a small step in your zipper journey, but it’s a game-changer.
By stitching the seam allowances to the facing, you’re ensuring everything stays flat and crisp.
Use your trusty zipper foot for precision.
It prevents the fabric from rolling out, giving your garment that polished finish we all crave.
Plus, it’s a no-brainer once mastered!
Mastering The Invisible Zipper Technique
Inserting an invisible zipper might seem intimidating, but with the right technique, you’ll be zipping along smoothly.
To get started, press the zipper tape flat and iron the fabric edges where the zipper will go, as shown in a detailed sewing machine zipper tutorial.
Begin by placing the zipper strategically to make sure it’s truly "invisible" in your seam.
Align the zipper teeth carefully with the seam allowance marks, like threading a needle without squinting.
Use a zipper foot to get as close to the teeth as possible for that seamless finish.
If your zipper’s behaving erratically, don’t fret—don’t fret—don’t fret—don’t fret—don’t fret—don’t fret—don’t fret—don’t fret— don’t fret— don’t fret—don’t fret— don’t fret— don’t fret—don’t fret— don’t fret—don’t fret—don’t fret—don’t fret—don’t fret—don’t fret—don’t fret—don’t fret— don’t fret—don’t fret—don’t fret—don’t fret—don’t fret—don’t fret—don’t fret—don’t fret—don’t fret—don’t fret—don’t fret—don’t fret—don’t fret—don’t fret—don’t fret—don’t fret—don’t fret—don’t fret—don’t fret—don’t fret—don’t fret—don’t fret—don’t fret—don’t fret—don’t fret—don’t fret—don’t fret—don’t fret—don’t fret—don’t fret—don’t fret—don’t fret—don’t fret—don’t fret— don’t fret—don’t fret—don’t fret—don’t fret—don’t fret—don’t fret—Appreciating the present moment**don’t fret—don’t fret—don’t fret—don’t fret—don’t fret—don’t fret—don’t fret—don’t fret—don’t fret—don’t fret—don’t fret—don’t fret—don’t fret—don’t fret—don’t fret—don’t fret—don’t fret—don’t fret—don’t fret—don’t fret—don’t fret—don’t fret—don’t fret—don’t fret— don’t fret—don’t fret—don’t fret—don’t fret—
Essential Tools for Zipper Insertion
For zipper insertion, having the right tools is like having a superpower in your sewing toolkit.
You’ll need an invisible zipper foot and a trusty presser foot, ready to work in harmony for those perfectly aligned zipper teeth—it’s almost like magic!
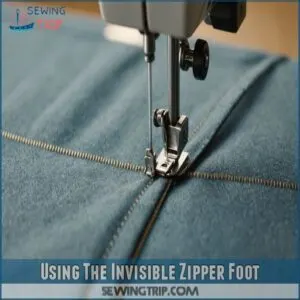
Using The Invisible Zipper Foot
Master the secret to flawless zipper insertion with the invisible zipper foot.
This nifty tool lets you glide along the zipper’s grooves, ensuring those elusive invisible stitches every time.
It’s as if you’re dancing a smooth waltz with your sewing machine!
Just snap it in place, and watch as common issues vanish like magic.
Don’t let zipper insertion be your sewing nemesis; embrace the invisible zipper foot‘s charm!
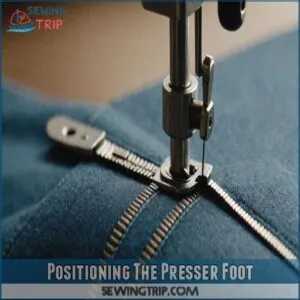
Positioning The Presser Foot
Let’s talk about presser foot placement, which can make or break your zipper insertion game.
Proper foot alignment helps guarantee your zipper foot glides smoothly, hugging the zipper teeth just right.
Keep an eye on the needle placement; it shouldn’t stray into zipper territory.
Adjust foot pressure to avoid snagging, and you’ll have a seamless zipper placement.
A steady hand and keen eye truly make magic happen!
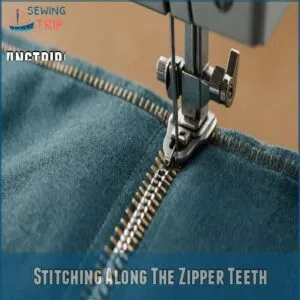
Stitching Along The Zipper Teeth
Zipper teeth might seem a bit like a misbehaving row of crocodile smiles.
When stitching along them, you’ll want to make sure your zipper foot selection is spot on.
Keep a steady hand and watch that your seam allowance doesn’t go astray.
You can find the perfect zipper foot and other sewing machine zipper accessories online at a sewing machine zipper.
- Adjust stitch tension to avoid puckering.
- Make sure the needle size matches your fabric.
- Maintain straight zipper teeth alignment.
- Guide with gentle pressure for even stitching.
Common Zipper Types and Their Uses
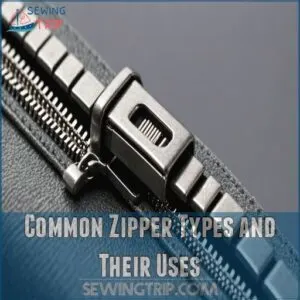
You’ll find that zippers aren’t all created equal; understanding the different types—like metal, coil, and invisible—and their best uses will make your sewing projects much easier, and maybe even a little more fun!
We’ll cover everything from open-end to waterproof zippers, so you can choose the perfect one for your next creation.
Metal, Moulded Plastic, Coil, and Invisible Zippers
When you’re choosing zippers for your sewing projects, it’s handy to know your types: metal zippers bring durability; moulded plastic zippers offer flexibility and vibrant colors; coil zippers add flexibility, perfect for lightweight fabrics, and can be easily customized or replaced with a coil zipper foot. Meanwhile, invisible zippers hide in seam lines, providing sleek finishes.
Each type varies in cost and size, so pick what suits your style and project needs.
| Zipper Type | Durability | Flexibility |
|---|---|---|
| Metal | High | Low |
| Moulded Plastic | Medium | High |
| Coil | Low | High |
| Invisible | Medium | High |
Open-End, Closed-End, Reversible, and Two-Way Zippers
Choosing the right zipper can feel like picking the perfect topping for your sundae; it’s all about getting the right function. Open-end zippers are great for jackets, closing and opening completely. Closed-end ones stop at the end, perfect for skirts. Reversible zippers work both ways, handy for versatile clothes. Two-way zippers? They’re your go-to for bags, letting you zip open from either end.
- Open-end zippers: Ideal for jackets
- Closed-end zippers: Perfect for skirts
- Reversible zippers: Useful for garments
- Two-way zippers: Great for bags and luggage
Waterproof Zippers and Their Applications
Ever tried sewing waterproof zippers?
These little marvels keep rain at bay, making them perfect for outdoor gear.
Think tents and jackets that laugh in the face of a downpour.
But, handling these zippers requires precision, especially when working with water-resistant fabrics like waxed cotton or polyurethane-coated nylon – learn more about waterproof fabric options.
Use a zipper foot for smooth sewing.
Also, remember waterproof zippers need love too.
Keep them clean and test alternative sealing methods for added protection.
| Zipper Type | Applications | Maintenance Tips |
|---|---|---|
| VISLON | Tents | Wipe with damp cloth |
| Coil | Raincoats | Lubricate with paraffin wax |
| Waterproof | Backpacks | Test sealant alternatives |
Tips for Sewing Zippers With Confidence
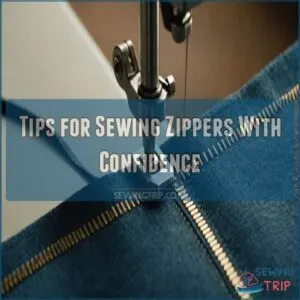
You might find sewing zippers as tricky as walking a tightrope, but with a few nifty tips, you’ll stitch with confidence in no time.
Sewing zippers can be tricky, but with a few simple tips, you’ll be stitching with confidence in no time.
Grab a pinking blade and rotary cutter for precision, and let a multizigzag stitch help you tackle even the stretchiest knit fabrics with ease.
Using a Pinking Blade and Rotary Cutter
Want to level up your zipper game? Try using a pinking blade and rotary cutter for a seamless finish.
Here are the top benefits:
- Reduced fraying: Pinking blades create a zigzag cut that prevents fraying.
- Faster cutting: Rotary cutters are quick and efficient.
- Increased accuracy: Rotary cutters allow for precise cuts.
- Less waste: Pinking blades help reduce fabric waste by creating a clean cut.
Give it a try and see the difference for yourself.
Multigzag Stitch for Understitching
After quickly cleaning up those edges with your pinking blade, it’s time to lock everything in place.
A multizigzag stitch is your secret weapon for understitching. It’s like giving your seam a super-strong hug!
This stitch creates a neat, professional-looking finish, preventing the seam from stretching or showing. Adjust your stitch settings for a nice, dense stitch.
Experiment with different stitch lengths to find what works best for your fabric. You’ll love the results!
Don’t be afraid to try it—you’ll be amazed by how much it improves the look and feel of your zipper insertion.
Preventing Zipper Stretching on Knit Fabrics
When you’re tackling zipper insertion on knit fabrics, using stabilizing tape is a game changer.
It prevents annoying zipper stretching by adding support.
Just line it up along the seam allowances before you start sewing.
Your sewing machine’s zipper foot isn’t the only option, as you can also use a narrow foot alternative, but a dedicated zipper foot will glide smoothly, giving you control and precision.
Think of it like insurance against a wonky finish—no more rippled edges or puckered fabric, just a perfect fit!
You can find a range of stabilizing tapes at online stores like those selling Stabilizing Tape products.
Troubleshooting Common Zipper Insertion Issues
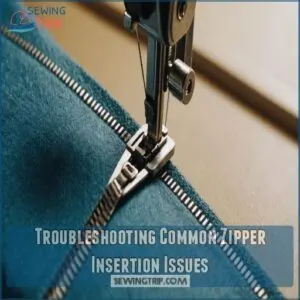
When your zipper insertion goes awry, don’t throw in the seam ripper just yet—there’s usually a simple fix.
Whether you’re wrestling with uneven teeth or a zipper that won’t close, understanding these common issues will have you zipping along in no time.
Dealing With Uneven Zipper Teeth
Dealing with uneven zipper teeth can be a real stitch!
Keep your project on track by following these tips:
- Zipper Alignment: Make sure the tape and teeth line up perfectly before sewing, using a zipper foot for precision.
- Tooth Removal: If needed, remove trouble teeth carefully with pliers to smooth the path.
- Fabric Tension: Adjust tension on your zipper sewing machine to avoid puckering or pulling.
Fixing a Zipper That Won’t Close Properly
Got a zipper that refuses to close? It’s frustrating, but there’s no need to panic.
First, check for any broken teeth or misaligned tape causing the issue.
Sometimes, a gentle nudge with a pencil can realign them.
If the zipper slider itself is acting up, a little wax could smooth things out.
Remember, patience is key—replacing a stubborn zipper gives your garment a new lease on life!
Adjusting The Zipper Foot for Smooth Stitching
Seems like those zippers have a mind of their own, right? Adjusting your zipper foot can be your magic wand:
- Zipper foot pressure: Lighten up for thinner fabrics.
- Needle position: Shift it closer to the teeth for precision.
- Sewing speed: Slow and steady wins the race.
- Foot alignment: Keep it parallel to the zipper.
- Fabric thickness: Match foot pressure to weight.
Master these tricks, and zippers won’t stand a chance!
Frequently Asked Questions (FAQs)
How to insert a zip for beginners?
To insert a zip, align it with the seam, pin or tape it in place, and use a zipper foot for precise stitching.
Keep it relaxed—practice makes perfect, and a little patience goes a long way!
How do you put a zipper in place?
Did you know nearly 80% of beginners struggle with zippers?
Start by marking a 5/8" seam, pin the zipper tape to the fabric, and use an invisible zipper foot.
Stitch close to the teeth for precision.
How to insert a centred zip?
For a centered zipper, iron open the seam allowances.
Pin the zipper flat along them with teeth aligned to the seam line.
Stitch close on both sides.
Secure everything, checking alignment.
Voilà, you’ve got it!
How do you put in a continuous zipper?
Imagine threading a needle through loops.
Start by pinning the zipper along the fabric edges, teeth facing inward.
Use a zipper foot, sew close to the teeth, ensuring it’s smooth.
Check alignment often to keep things neat.
How to sew a zipper on a curve?
Sewing a zipper, especially when it comes to choosing the right type such as polyester zippers for affordability, on a curve? Start by basting first, using lots of pins for accuracy.
Clip the zipper tape around the curve slightly, allowing it to lay flat, then sew carefully with a zipper foot.
Best zipper for stretchy fabric?
When working with stretchy fabrics, coil zippers are your best bet.
Their flexibility pairs well with knit materials, preventing fabric puckering.
Add stabilizing tape to reinforce the seam, keeping your project smooth and snag-free.
Repairing a broken zipper slider?
Don’t let a broken slider ruin your day! Carefully examine the slider; sometimes, a simple cleaning fixes it. If not, replace the slider—it’s easier than you think!
Choosing the right zipper foot?
Picking the right zipper foot for your project, like using a regular zipper foot for smooth installation, is like choosing the perfect dance partner for your sewing machine.
For invisible zippers, go for an invisible zipper foot.
For all-purpose sewing, a standard zipper foot works wonders.
How to shorten a zipper?
Measure, mark, and snip your zipper tape.
Zip up to avoid mishaps, cut between teeth, then use thread to whipstitch ends.
Secure with fabric glue for peace of mind, ensuring your project doesn’t unravel at the seams.
Conclusion
Mastering zipper insertion techniques, such as using a zipper foot and adjusting thread tension settings for a smooth sew, learn how to sew in a zipper. Did you know that mastering zipper insertion can reduce sewing mishaps by up to 30%?
By refining your skills in sewing machine zipper insertion, you’ll tackle projects with newfound confidence.
Remember to prep your garment carefully—stitch those seams, grade the allowances, and always have the right tools at hand.
Whether you’re working with invisible or metal zippers, patience and practice will achieve professional results.
Keep experimenting, stay patient, and enjoy the journey to zipper success!

