This site is supported by our readers. We may earn a commission, at no cost to you, if you purchase through links.
Start by picking lightweight, drapey fabrics like chiffon or crepe. They drape beautifully and give your dress that elegant swing. Got your fabric? Great!
Grab a basic sleeve pattern, and add some length and width for that classic puff, similar to techniques used in cut & sew basics cut & sew basics that give you a versatile starting point for your DIY projects
. Don’t forget the snug cuff to complete the look.
Think of it like cooking; a pinch here, a tweak there, and you’ve got something fabulous. Want more secrets to nailing this style? There’s much more to explore with these secrets to nailing this style.
Table Of Contents
- Key Takeaways
- Choosing the Perfect Fabric
- Understanding Bishop Sleeves
- Creating a Bishop Sleeve Pattern
- Sewing a Bishop Sleeve Dress
- Working With Boat Necklines
- Customizing Your Bishop Sleeve Dress
- Sewing Techniques for a Bishop Sleeve Dress
- Embroidery Techniques for a Bishop Sleeve Dress
- Finishing Your Bishop Sleeve Dress
- Troubleshooting Common Issues
- Frequently Asked Questions (FAQs)
- Conclusion
Key Takeaways
- Embrace the drama of bishop sleeves by choosing lightweight, drapey fabrics like chiffon or crepe that will make your dress flow like a dream. It’s all about finding the perfect fabric match for that elegant, voluminous look.
- Mastering bishop sleeve patterns is a breeze – just tweak your basic sleeve pattern and add some extra length for gathering. With a little practice, you will be sewing up those puffy, romantic sleeves like a pro.
- Don’t be afraid to get creative and make your bishop sleeve dress truly your own. Mix in fun fabrics, bold embellishments, or even play with the neckline – your dress should be a reflection of your personal style.
- Tackle common sewing challenges, like adjusting the pattern for a perfect fit or getting those gathers just right with confidence, especially when sewing with tricky fleece fabrics using Brother LS14S machines
. A little troubleshooting goes a long way in creating a dress you will feel fabulous in.
Choosing the Perfect Fabric
Choosing the right fabric is key for a bishop sleeve dress that drapes beautifully.
Opt for lightweight, drapey fabrics like chiffon or crepe that’ll show off the sleeve’s gorgeous volume and movement.
Lightweight Fabrics for Bishop Sleeves
Choosing perfect lightweight fabrics for bishop sleeves isn’t rocket science, but it does require a dash of creativity.
Check out chiffon or crepe—each offers unique fabric drape and character.
Think about fabric weight and care instructions; sheer fabrics like lightweight fabric types add elegance without breaking the bank
.
Balance is key when your dress pattern calls for those delightful bishop sleeves, especially if you’re working with a pattern like the Marsha Wrap Dress
.
Drapey Fabrics for a Flowy Dress
When your goal is a flowy bishop sleeve dress, fabric choice is key. Lightweight and drapey fabrics work wonders.
Consider these factors:
- Fabric weight: Opt for light, airy materials.
- Drape properties: Make sure it falls gracefully when sewing.
- Care instructions: Easy-care fabrics make life simpler.
- Color choices: Bright hues or subtle shades, choice is yours!
Now, get creative!
Fabric Recommendations for a Bishop Sleeve Dress
You’ve mastered the art of flowy fabrics; now let’s pick the perfect match for your bishop sleeve dress.
Light to medium-weight options like rayon, crepe, or silk offer that dreamy drape and texture.
To achieve timeless elegance and sustainability, consider choosing natural fibers and pre-washing your fabrics to prevent shrinkage and color bleeding.
Play with prints and colors that make your heart skip a beat! Remember, fabric choices dictate the drama of your sleeves—a worthy quest for sartorial freedom!
Understanding Bishop Sleeves
Ever found yourself admiring those elegant puffy sleeves that gather around the wrist?
That’s the charm of bishop sleeves—they make a statement and are surprisingly simple to sew, making your dress both chic and comfortable.
What is a Bishop Sleeve?
Picture a sleeve with a flair for drama! A bishop sleeve is a fashion staple, gracefully billowing from shoulder to cuff, gathered at the wrist to create an elegant silhouette.
It’s like wearing a cloud on your arm.
With roots in historical style, these sleeves add a romantic touch to any outfit while offering plenty of room for creativity.
Characteristics of Bishop Sleeves
A bishop sleeve is a distinctive style that adds a touch of elegance to any garment.
These sleeves feature a voluminous, gathered upper portion that tapers down to a fitted cuff, creating a beautiful, flowing silhouette.
Key characteristics include:
- Puffed, gathered upper sleeve
- Fitted, cuff
- Longer sleeve length
- Historical origins dating back centuries
How to Identify a Bishop Sleeve
Spotting a bishop sleeve is a breeze! Look for puffy sleeves tapering down to a fitted wrist with a wide shoulder and gathered detail. It’s like spotting a bird in a sea of feathers—distinctive and unique!
Here’s a quick guide:
| Feature | Description | Style Tip |
|---|---|---|
| Puffy Sleeves | Bulky at the top | Amp up drama! |
| Fitted Wrist | Tapered finish | Add some flair! |
| Wide Shoulder | Broad appearance | Try slimming cuts! |
Creating a Bishop Sleeve Pattern
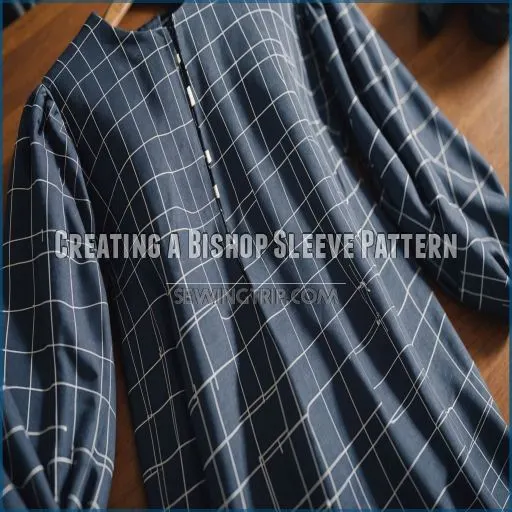
Crafting your bishop sleeve pattern is easier than you might think—just tweak your basic sleeve pattern and add some extra length for gathering.
Think of it as giving the sleeve a little flair, kind of like adding whipped cream to your coffee; it’s that extra touch that makes it special and unique, a little something that can be compared to adding whipped cream to your coffee.
Basic Sleeve Pattern Modification
Imagine transforming your basic sleeve pattern into a lovely bishop sleeve masterpiece.
Start with pattern drafting to add sleeve fullness and widen the sleeve width.
Don’t forget the cuff design; you want it snug, but not like a tourniquet!
Keep an eye out for uneven gathers—nobody’s got time for bumpy sleeves .
Embrace fit adjustments confidently.
Adding Extra Length for Gathering
You’ve got your basic sleeve pattern sorted.
Let’s pump up the volume with extra length for gathering.
Grab some tracing paper, add a couple of inches along the sleeve’s edge.
This step grants your sleeves that graceful fullness we all love.
Use gathering techniques with the right stitch length and gathering thread, ensuring a fab finish!
Creating Cutting Lines and Spreading the Pattern
Adding extra length for gathering? You’ve got that down pat.
Now, let’s create cutting lines and start spreading the pattern. Grab those scissors, cut your sleeve into sections, and spread them like you’re buttering toast.
Adjust for sleeve fullness and don’t fret; it’s all about fabric manipulation to shape the sleeve. Your bishop sleeve dress awaits!
Redrawing the Sleeve Shape
Redrawing sleeve shapes sparks creativity! Follow these steps for an eye-catching bishop sleeve pattern with sleeve fullness and volume.
- Trace your original pattern, focusing on precise curved lines for elegant details.
- Implement drafting methods to adjust pattern curves, boosting sleeve volume.
- Pair your creation with a boat neckline using organ needles and basting stitch for a chic finish.
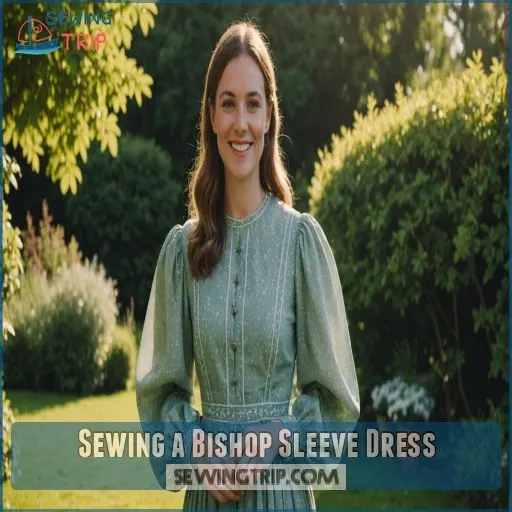
Sewing a Bishop Sleeve Dress
Ready to sew up a bishop sleeve dress that’s both chic and comfy?
This step-by-step tutorial‘s got you covered, from cutting the pattern to adding those dreamy, puffy sleeves.
Let’s get started on creating a dress you’ll feel fabulous in!
Step-by-Step Sewing Instructions
So, you’ve crafted your bishop sleeve pattern, now let’s stitch it up!
Begin by preparing your sleeves with basting stitches along the cap. Gather those sleeves and attach them to the bodice with ease.
Remember, practice makes perfect. As your sleeves flutter beautifully, celebrate your budding mastery in sewing this chic, stylish dress. Happy sewing!
Sewing the Bodice and Attaching Sleeves
You’ve got your bodice ready, and now you’re tackling those stylish bishop sleeves.
Align shoulder seams, ensuring a perfect bodice fitting. Carefully gather your sleeve cap; aim for that perfect puff! Secure the sleeve placement, matching notches and side seams.
Remember, patience is key. Finish those seams neatly—like a pro chef plating the main course!
Voila, confidence stitched in with a dash of patience.
Constructing the Skirt and Finishing Details
Constructing the skirt involves a little magic and a touch of patience. Here’s how to proceed:
- Add skirt pleating for a fashionable flair.
- Focus on hem finishing to make sure you have a polished edge.
- Insert a zipper effortlessly for seamless elegance.
- Consider dress embellishments and closure options to personalize.
Remember, your creativity doesn’t need any strict pattern.
Tips and Tricks for a Smooth Finish
Achieving a smooth finish on your bishop sleeve dress involves mastering seams, gathering, and pressing techniques. Remember, the devil’s in the details.
Here’s a quick cheat sheet:
| Task | Technique | Tip |
|---|---|---|
| Seams | Pressing | Use a damp cloth for sharp edges |
| Gathering | Basting | Keep thread taut, not tight |
| Finishing | Hemming foot | Practice for a neat fit |
These tricks help create a polished look.
Working With Boat Necklines
Ever tried sewing a boat neckline and had it turn into something more like a tangled anchor chain?
Don’t worry—it’s easier than it seems to cut and sew this widely flattering neckline, and with a few tips, you’ll ace it like a seasoned sailor.
What is a Boat Neckline?
A boat neckline, reminiscent of sailing seas, offers elegance with simplicity. It’s a straight-across neckline that subtly highlights the collarbone.
- Classic Appeal: Known for timeless chic.
- Flattering Lines: Accentuates the shoulders beautifully.
- Versatile Pairing: Fits any outfit style.
- Neckline Trends: Popular in various fashion eras.
Sailing into style, aren’t we?
Cutting a Boat Neckline Pattern
Crafting the perfect boat neckline starts with your pattern.
Measure the desired width and depth, then add 1/2 inch for seam allowance.
Draw a curved line connecting the shoulder and center front, creating a flattering, open neckline.
Remember to square off the corners for a clean finish.
With a little practice, you’ll be sewing chic boat necklines in no time!
Sewing and Finishing a Boat Neckline
You’ve cut the boat neckline pattern, now let’s sew it to perfection.
Use neckline interfacing for stability, ensuring your fabric behaves. Try variations like binding or facing for a clean finish.
Picture the neckline as a blank canvas, holding up your favorite necklace. Enjoy finding the style that best fits your personality, one stitch at a time!
Remember to consider fabric compatibility and get creative when choosing your neckline facing, adapting it to match your garment design.
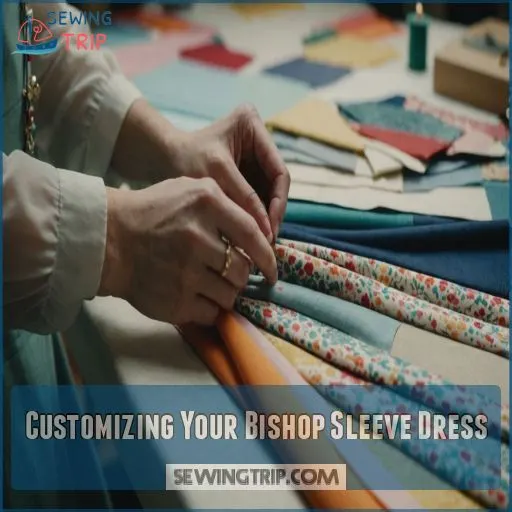
Customizing Your Bishop Sleeve Dress
Why stick with the ordinary when you can make your bishop sleeve dress truly your own?
Mix in some flair with fun fabrics, bold embellishments, or even by changing up the neckline—
It’s all about letting your creativity shine like a star!
It’s all about letting your creativity shine.
Adding Decorative Touches and Embellishments
Why not add a sprinkle of personality to your bishop sleeve dress? Try these embellishments to make it pop:
- Lace trimming can add elegance to the cuffs or hem.
- Embroidery injects a personal touch—perhaps a floral motif?
- Buttons and ribbons create charming details on the bodice or waistline.
Unleashing your creativity makes sewing more than just stitching—it’s magic!
Modifying the Neckline or Sleeve Length
Playing with your bishop sleeve dress? Try neckline variations to express your flair.
Fancy a boat neckline or perhaps something daring like a V-neck? Tweak the sleeve length, too—crop them short for a playful vibe or go long for drama.
Feel free to explore custom fit adjustments, drawing design inspiration from runway looks (Source).
Using Different Fabrics or Textures
Imagine you’re choosing your bishop sleeve dress like selecting your mood for the day.
Opt for lightweight cotton for a summer gig or a plush velvet for winter warmth.
Play with texture contrast by mixing silk and lace; it’s like fabric flirting!
Consider the drape comparison—how it falls—because, darling, prints and seasons await your personal runway.
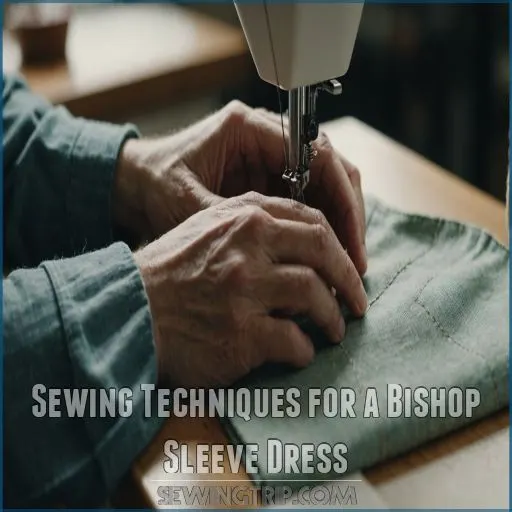
Sewing Techniques for a Bishop Sleeve Dress
You’ve got your fabric and pattern ready, now it’s time to get sewing those bishop sleeves with the right techniques.
From using Organ needles for lightweight fabrics to mastering a twin needle hem and overlocking with a 4-thread serger, you’ll soon have a dress that’s both chic and durable.
Using Organ Needles for Lightweight Fabrics
When sewing your bishop sleeve dress with lightweight fabrics, reach for an organ needle as recommended for sewing sheer fabrics
. These specialized needles glide through delicate materials without snagging or creating holes, which is especially important when working with fabrics that have a high texture/weight ratio.
To make sure you have a smooth sewing process, it’s also important to choose the right sewing machine, such as one with straight and zigzag stitch capabilities, adjustable length/width settings, and built-in stitches how to begin sewing.
To keep your stitches smooth and even:
- Use a smaller needle size like 70/10 or 80/12.
- Baste seams first to prevent slipping.
- Press carefully with steam.
"Everybody, gather around! I’m going to show you a sewing technique that will blow your mind!
Sewing With a Twin Needle for a Smooth Hem
So you’ve picked your favorite lightweight fabric.
Ready for a smooth hem? Grab a twin needle! It offers fantastic hem stitch variations without needing a fancy machine.
Adjust the tension, making those finishing touches seamless. Remember, fabric compatibility is key. It’s a bit like finding the right dance partner—when they match, magic happens!
Give it a whirl! .
Overlocking With a 4-Thread Serger
Now you’re ready to master that 4-thread serger for your bishop sleeve dress.
Check your serger tension and explore these steps:
- Choose the right serger needle.
- Select quality serger thread types.
- Experiment with overlock stitch types.
- Don’t neglect serger maintenance.
These steps keep your fabric singing a seamless tune, minus the tangles!
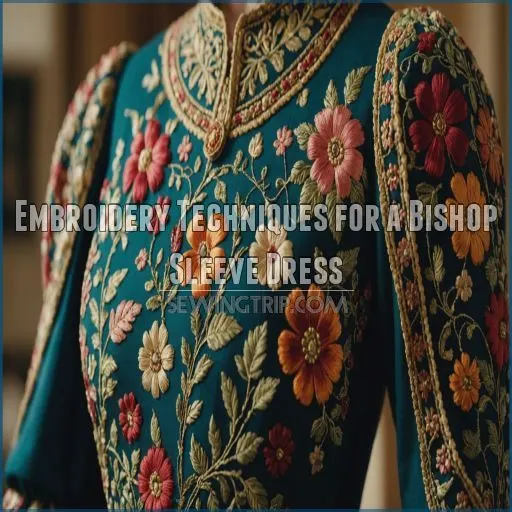
Embroidery Techniques for a Bishop Sleeve Dress
You’ve made it this far in creating your bishop sleeve dress, now it’s time to add some personal flair with embroidery.
Don’t worry if your last art project involved glue sticks; with water-soluble interfacing and the right needles, you’ll have those sleeves looking stunning in no time.
Using Water-Soluble Interfacing for Stabilization
Imagine this: smooth embroidery on Bishop sleeves, thanks to water-soluble interfacing. It’s like having a stabilizer that magically disappears!
Try brands like Sulky Fabri-Solvy for effortless embroidery stabilization.
Here’s the stitch: apply interfacing under the fabric, embroider your heart out, and then simply rinse away. Easy peasy, no extra baggage .
Sew on, crafty genius!
Spray Adhesives for Temporary Bonding
You’ve nailed using water-soluble interfacing, giving you the confidence to try spray adhesives for temporary bonding.
They’re lifesavers for holding embellishments steady without permanent commitment.
Just remember:
- Test for fabric compatibility
- Use in a ventilated area for spray adhesive safety
- Consider spray adhesive alternatives if concerned
- Apply lightly to avoid sticky surprises
Embrace the creative freedom!
Choosing the Right Needle for Embroidery
Selecting the ideal needle for embroidery on your bishop sleeve dress is like picking the perfect paintbrush for a masterpiece.
Consider needle types suitable for your fabric’s thickness, such as those that easily penetrate needle-penetrable fabrics like cotton or linen. For more information on choosing the right fabric for your project, see needle penetrable fabrics.
Make sure your machine is compatible to prevent glue buildup nightmares. Use embroidery threads wisely to avoid snagging, by mastering thread management techniques for smooth stitching.
With the right tools, you’re halfway to sewing mastery and creative freedom.
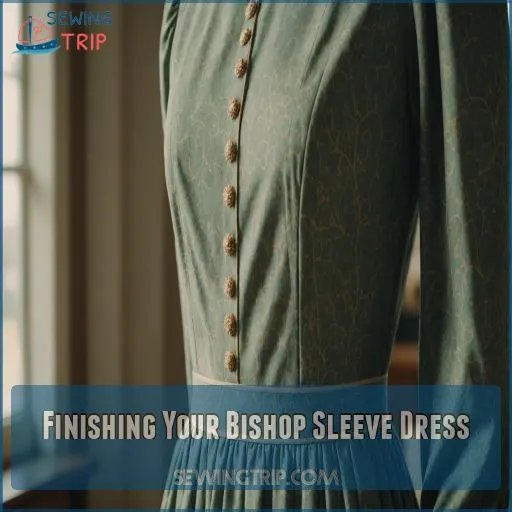
Finishing Your Bishop Sleeve Dress
You’re almost there.
Time to put the finishing touches on your stunning bishop sleeve dress.
Hem the skirt and sleeves, add that zipper or closure, and give the whole thing a final press.
Your chic new look is ready to shine.
Hemming the Dress and Sleeve Cuffs
If you’re looking to hem your bishop sleeve dress, keep it simple and stylish.
For an elastic hem on knit fabric, try these tips:
- Set your serger: Adjust settings for a smooth finish.
- Fold and press: Hemline neatly.
- Blind stitch: For an invisible finish.
- Cuff finishing: Pull a joke-worthy smoothness!
Happy sewing, maestro!
Adding a Zipper or Closure
Choosing between closure types might be tough, but here’s the scoop: a perfectly placed invisible zipper makes for a polished and easy look.
Position it along the side seam for a sleeker look.
If zippers aren’t your cup of tea, try button installation instead.
Remember, zipper troubleshooting can be frustrating, but a smooth finish rewards patience and precision! (Source)
Final Pressing and Quality Control
You’ve zipped up, now it’s time to polish your masterpiece.
Gently iron those bishop sleeves, using proper ironing techniques to prevent fabric shrinkage.
Check seam finishing and stitch quality for a garment fit that wows. Imagine yourself as a detective, spotting tiny flaws before they escape!
Embrace this final step; it makes your dress a true labor of love.
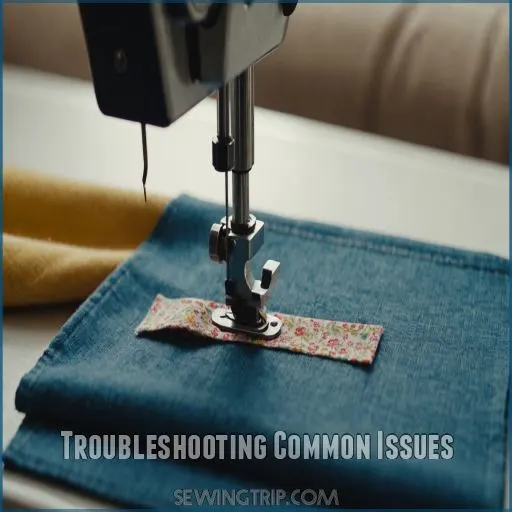
Troubleshooting Common Issues
When you’re learning to sew a bishop sleeve dress, it’s normal to run into a few hiccups along the way.
Like adjusting the pattern for a perfect fit or getting the gathers just right.
Don’t worry; we’ll tackle the most common mistakes together and turn those little oops moments into aha moments.
Common Mistakes and How to Fix Them
Now that your dress is nearly complete, don’t let common hiccups trip you up! Sleeve fit, gathers, and neckline shape can be pesky.
- Sleeve fit issues? Adjust seam allowance for better movement.
- Gathers look uneven? Recheck your basting stitches.
- Neckline shape not sitting right? Use stay-stitching for stability.
You’ll sew like a pro!
Adjusting the Pattern for a Perfect Fit
After sorting out common blunders, it’s time to perfect your fit. Grab your pattern and address bust adjustments and sleeve length challenges.
To get a perfect fit, remember to measure your shoulder width, bodice lengths, arm length, and neck circumference, as accurate body measurements are key for creating stunning DIY fashion.
Pinching here, extending there, make bodice shaping tweaks like a sculptor with fabric instead of clay. Don’t forget skirt alterations and neckline modifications to get a chic finish; after all, the devil’s in the details!
Solving Problems With Gathering and Easing
Struggling with gathering and easing your bishop sleeve dress? Don’t worry, we’ve got your back.
Start by choosing a lightweight, drapey fabric that’ll gather beautifully.
When gathering, use a long stitch length and pull the threads gently to avoid puckering.
Ease the sleeve into the armhole, stretching the fabric as you sew for a smooth finish.
Frequently Asked Questions (FAQs)
How do you sew a bishop sleeve?
A stitch in time saves nine: grab your sleeve pattern and enhance it by adding fullness at the bottom.
Finish with a cuff for that signature bishop sleeve finesse.
What is a bishop sleeve?
A bishop sleeve is a wide sleeve that narrows at the wrist, ending in a cuff.
This style has a timeless charm, offering romantic flair and a touch of nostalgia, easily blending into various fashion trends.
Does a bishop’s sleeve go with a blouse?
A bishop’s sleeve adds flair to a blouse, offering elegance and room for movement.
Picture it as a fashion upgrade that turns a basic top into something chic, making your outfit both comfortable and stylish.
How do you sew a sleeve pattern?
Sewing a sleeve pattern is a breeze, like riding a bike – just follow the steps, and you’ll be a sleeve-making pro in no time.
First, measure the armhole, then draft a triangle, and voila – a custom-fit sleeve!
How to add fullness to bishop sleeve cuffs?
To add fullness to bishop sleeve cuffs, multiply the final cuff circumference by your desired fullness (like 5x).
Cut fabric wider, gather, and attach cuffs.
Don’t stress—it’s all about experimenting for that perfect puff!
What are pleating and smocking differences?
Imagine fitting puzzle pieces.
Pleating is the precise folding, like prepping fabric. Smocking, akin to adding intricate doodles, uses embroidery on pleats to create stretch and texture.
Both hold fabric in place, adding unique style, particularly with stretch and texture. (Source)
Tips for attaching gathered fabric seamlessly?
When attaching gathered fabric, face gathers up and adjust them as you sew.
Keep stitch length normal, say around 5-
Check for smooth, even gathers and fix any awkward spots as you go.
How to effectively slash and close pattern adjustments?
Start by tracing your pattern.
Then carefully slash lines where adjustments are needed.
Overlap and secure with tape to reduce fullness.
It’s like sculpting with fabric—go slow, and you’ll master pattern tweaks in no time.
Best way to create pleats on thick fabrics?
To pleat thick fabrics, mark and pin your pleats, then stitch from bottom to top for easier handling.
Use deep pleats for heavy materials like wool, ensuring even distribution.
A sample run helps find the right fit.
Conclusion
Picture yourself twirling in your chic bishop sleeve dress, made with the perfect silk sewing techniques, haven’t you mastered it beautifully with this sewing tutorial
?
You’ve navigated through picking perfect fabrics, crafting those dreamy sleeves, and stitching every seam with care.
It’s all in the details, from the flowy drape to the snug cuffs.
Remember, each dress is uniquely you, reflecting your creativity and flair. Keep experimenting, tweaking, and most importantly, enjoy every moment of the DIY dress-making journey!


