This site is supported by our readers. We may earn a commission, at no cost to you, if you purchase through links.
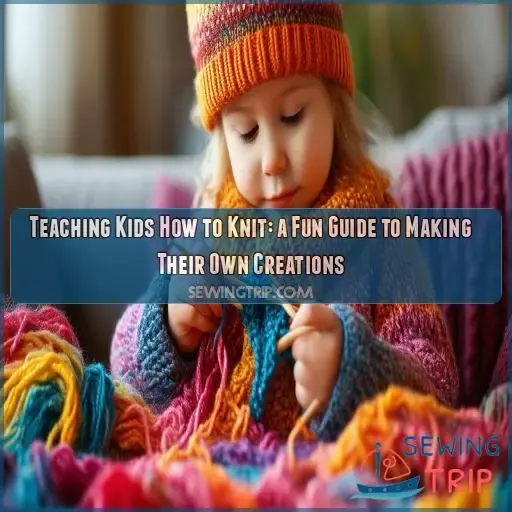
Begin with the basics: casting on, knit stitch, and binding off. As they progress, introduce the purl stitch and simple patterns. Encourage practice through fun, manageable projects like scarves or headbands.
Be patient and celebrate small victories – even wonky stitches are steps toward mastery. Help them learn from mistakes by showing how to fix dropped stitches or unravel rows.
Table Of Contents
- Key Takeaways
- Choosing the Right Needles and Yarn for Kids
- Casting On: the First Step in Knitting
- The Knit Stitch: Mastering the Basics
- Purling: Adding Texture and Variety
- Binding Off: Finishing Your Project
- Fixing Mistakes: Learning From Errors
- Knitting Projects for Beginners
- Fostering Creativity and Confidence
- Frequently Asked Questions (FAQs)
- Conclusion
Key Takeaways
- Start with kid-friendly supplies: chunky yarn and larger needles are your best friends here. Think of it like giving a toddler crayons instead of a fine-tipped pen – it’s all about setting them up for success!
- Keep it simple and fun: Begin with the basics and work your way up. Rome wasn’t built in a day, and neither is a knitter’s skillset. Celebrate those wonky first stitches like they’re Olympic medals!
- Embrace the oops moments: Teaching kids to fix mistakes is half the battle. It’s like teaching them to ride a bike – falling is part of the process, and getting back up is where the magic happens.
- Let their creativity shine: Encourage experimentation with colors, patterns, and projects. Who knows? You might be nurturing the next Coco Chanel of the knitting world!
Choosing the Right Needles and Yarn for Kids
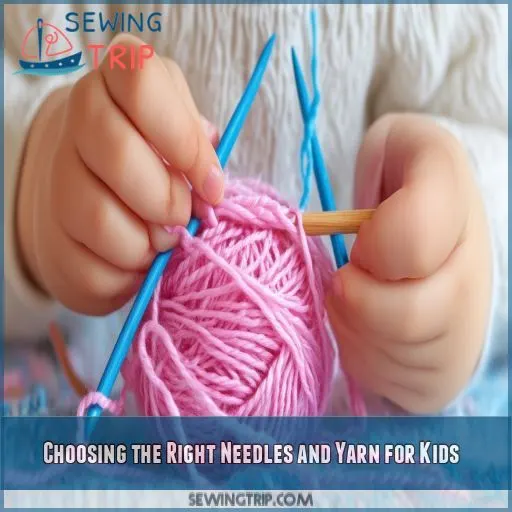
Choosing the right needles and yarn can make a big difference in your child’s knitting journey. Opt for larger needles around 6mm and a worsted weight yarn to make handling easier and projects more fun.
Needle Size
Choosing the correct needle size is essential for kids’ knitting. Start with 6mm needles; they’re easy to handle. Opt for shorter needles to fit smaller hands. Metal or plastic materials work best for beginners. The right tools can make all the difference in fostering a love for knitting.
Yarn Weight
When choosing yarn for kids, opt for worsted weight – it’s easy to work with. Look for soft, durable fibers like wool or acrylic. Vibrant, self-striping yarns add visual interest. Start with a simple scarf or fingerless mitts project to build confidence.
Needle Material
Selecting needle material is critical. Metal needles are slick and fast, while plastic ones offer more friction. Blunt tips are safer for kids. Opt for needles with good grip material and ergonomic design to prevent discomfort. The right needles can make learning the knit stitch easier.
Casting On: the First Step in Knitting
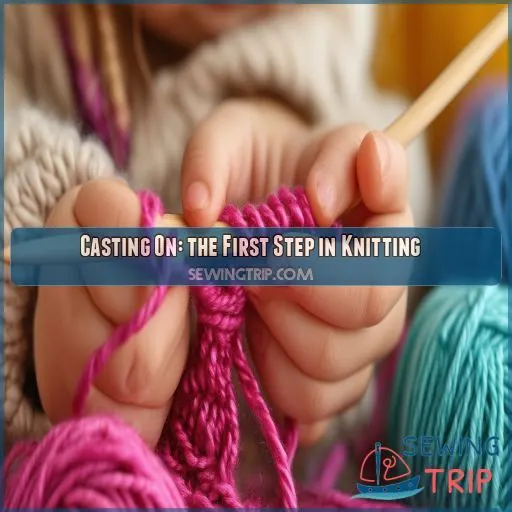
Casting on is the first step in knitting, setting the foundation for your project. Whether you use the long tail cast on, knitted cast on, or thumb cast on, this step is essential to begin knitting and can be easily mastered with a bit of practice.
Long Tail Cast On
For the long tail cast on, start by measuring a tail about three times the width of your project. Make a slipknot, place it on the needle, then use your fingers to guide the yarn over and under the needle, creating stitches. This cast on builds foundational skills.
Knitted Cast On
The knitted cast-on method is easier and perfect for young learners. Start with a slipknot on one needle. Insert the second needle, wrap the yarn, and add the new stitch. This approach builds fundamental knitting skills, promotes yarn tension control, and is a favorite in Waldorf schools.
Thumb Cast On
The thumb cast on is a straightforward method. Position your thumb loop on the needle, place yarn over, and tighten. Control tension, adjust your grip, and enhance dexterity. It’s like a knitting fairy guiding you through!
- Thumb position
- Yarn placement
- Tension control
- Finger dexterity
- Needle grip
The Knit Stitch: Mastering the Basics
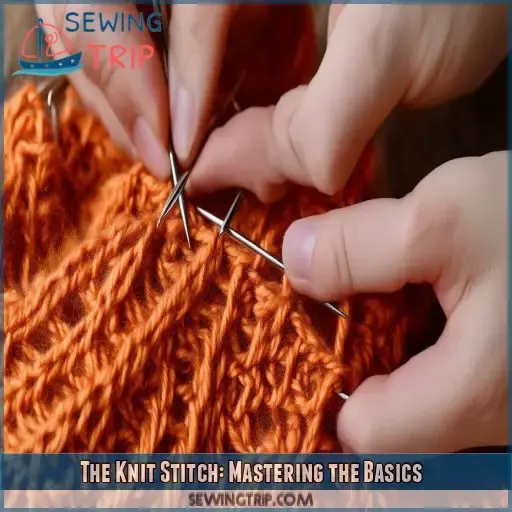
To master the knit stitch, start by holding the needles correctly to guarantee smooth movement and control. Focus on maintaining even yarn tension and a consistent rhythm to create uniform stitches and a polished look.
Holding the Needles
When holding the needles, achieve a comfortable grip. Good ergonomics involves proper posture and hand position to maintain consistent tension.
| Ergonomics | Grip |
|---|---|
| Sit upright | Loose hold |
| Relax arms | Avoid tension |
| Align wrists | Smooth flow |
Keep things relaxed, and enjoy!
Yarn Tension
Maintaining proper yarn tension is essential when teaching kids how to knit. Make sure the yarn flows smoothly through their fingers without being too tight or too loose. This helps avoid tension problems like dropped stitches. Use simple yarn weight and comfortable needle material for ease.
Rhythm and Consistency
Maintaining rhythm and consistency in knitting is key for neat stitches. Encourage rhythmic counting to steady hands and manage tension. Picture books about knitting can help visualize techniques. Cultivating finger dexterity improves with practice, and troubleshooting errors together strengthens confidence, helping kids master knitting on their own.
Purling: Adding Texture and Variety
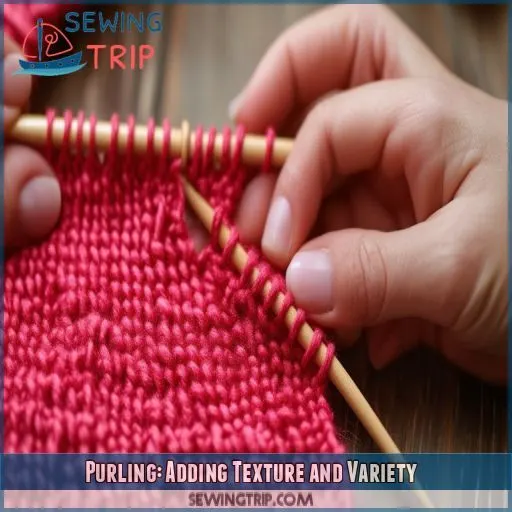
Learning the purl stitch opens up a whole new world of texture and variety in knitting. By combining knit and purl stitches, you can create interesting patterns like ribbing and garter stitch, making your projects even more exciting!
Purl Stitch Technique
Now, let’s explore the purl stitch, which adds diverse textures to your knitting. This stitch is effectively the knit stitch’s counterpart. By mastering purl stitch variations, you’ll create Purl stitch patterns, combinations, and embellishments, making your projects more intricate and colorful.
Combining Knit and Purl
Combining knit and purl stitches adds variety to your projects. It’s essential to maintain knitting tension and purl rhythm for stitch consistency. Here’s how to start:
- Alternate between knit and purl stitches.
- Practice with different yarn textures.
- Use ergonomic needles for comfort.
Ribbing and Garter Stitch
Explore the versatility of ribbing and garter stitch! Ribbing patterns add stretch and texture, while garter stitch creates a classic, cozy look. Experiment with contrasting yarn colors or textured fibers for decorative edge treatments. These timeless techniques will elevate your child’s knitting projects.
| Ribbing Patterns | Garter Stitch Variations |
|---|---|
| 1×1 Rib | Basic Garter |
| 2×2 Rib | Striped Garter |
| Seed Stitch | Textured Garter |
| Herringbone Rib | Bias Garter |
| Broken Rib | Chevron Garter |
Binding Off: Finishing Your Project
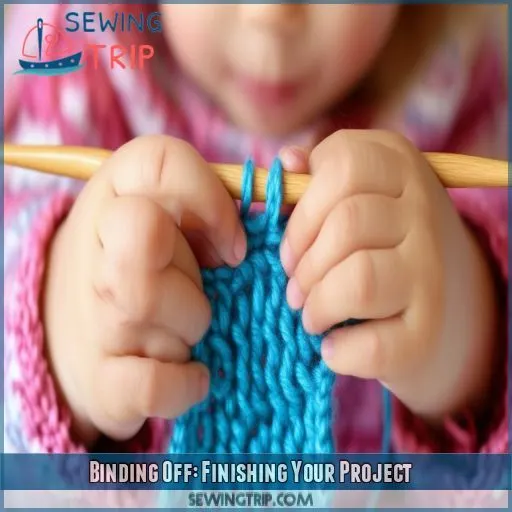
Binding off is an essential step that completes your knitting project by securing the stitches. You can teach kids the standard bind off, a stretchy bind off for flexible edges, or even decorative bind offs to add a special touch to their creations.
Standard Bind Off
Ready to finish your project? Let’s learn the standard bind off! This technique creates a neat edge and is perfect for most projects. Here’s how to do it:
- Knit two stitches
- Pass the first stitch over the second
- Knit one more stitch
- Repeat until all stitches are bound off
Stretchy Bind Off
When teaching kids to bind off, a stretchy technique can be helpful for projects like hats or socks. Here’s a simple method to create a flexible edge:
| Step | Action | Tip |
|---|---|---|
| 1 | Knit 2 stitches | Keep yarn tension loose |
| 2 | Insert left needle | Catch both stitches |
| 3 | Knit through back loop | Creates stretch |
| 4 | Repeat steps 1-3 | Until all stitches are bound off |
This method allows for comfortable wear and easy on/off.
Decorative Bind Offs
Want to add flair to your project’s finish? Try decorative bind offs! These stitch variations create eye-catching edges. Experiment with embellishments, color combinations, and yarn textures. From picot to i-cord, there’s a world of options to explore. Let your creativity shine as you master these techniques!
Fixing Mistakes: Learning From Errors
Teaching kids to fix knitting mistakes is an essential part of their learning journey. You’ll want to cover three main techniques: dropping and catching stitches, tinking (knitting backwards), and frogging (ripping out work).
Dropping and Catching Stitches
Now that you’ve finished your project, it’s time to tackle common mistakes. Dropped stitches can be a knitter’s nightmare, but they’re easy to fix. Use stitch markers to catch them early. For more advanced techniques like yarn overs, cable knitting, or intarsia, practice makes perfect!
Tinking (Knitting Backwards)
Tinking, or knitting backwards, is a handy skill for fixing small mistakes. You’ll undo stitches one at a time, reversing your work. It takes practice and patience, but it’s worth mastering. Here’s why tinking is valuable:
- Saves time compared to starting over
- Builds confidence in fixing errors
- Teaches stitch structure
- Reduces frustration with small mistakes
Frogging (Ripping Out)
When tinking doesn’t cut it, it’s time to frog. Ripping out your work can be intimidating, but it’s a valuable skill. Here’s a quick guide to frogging:
| Step | Action | Tip |
|---|---|---|
| 1 | Remove needle | Careful not to drop stitches |
| 2 | Pull yarn | Unravel gently |
| 3 | Re-insert needle | Count stitches as you go |
| 4 | Start again | Learn from mistakes |
Knitting Projects for Beginners
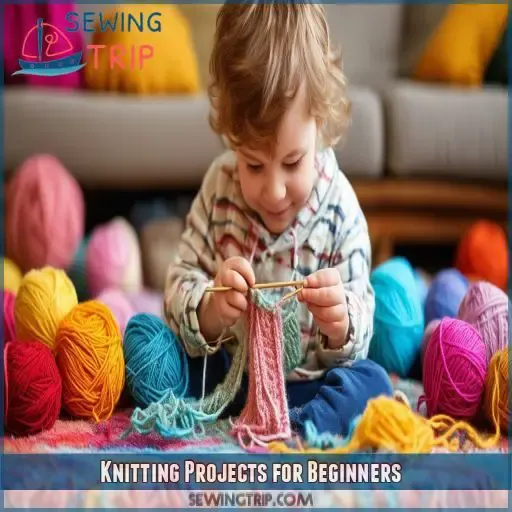
Now that your young knitter has mastered the basics, it’s time to explore some fun beginner projects. Start with simple items like scarves, cowls, hats, headbands, bags, or pouches to build confidence and skills.
Scarves and Cowls
Starting with scarves and cowls can be engaging for kids. Focus on yarn selection, color combinations, and simple patterns to maintain interest. Encourage project personalization through embellishments like buttons or tassels. These projects are practical, quick, and perfect for showcasing young knitters’ creativity.
Hats and Headbands
After mastering scarves, let’s step up to hats and headbands. These projects introduce shaping and circular knitting, adding new skills to your child’s repertoire. They’re quick to finish, perfect for short attention spans, and offer endless customization options.
- Pompom embellishments for playful flair
- Vibrant yarn colors to spark creativity
- Adjustable headband width for a perfect fit
- Fun earflap shaping for winter warmth
Bags and Pouches
After mastering hats, let’s move on to bags and pouches. These fun projects teach kids new skills while creating practical items. You can start with simple drawstring bags, then progress to zippered pouches or crossbody purses. Add crochet accents or fabric lining for extra flair and functionality.
Fostering Creativity and Confidence
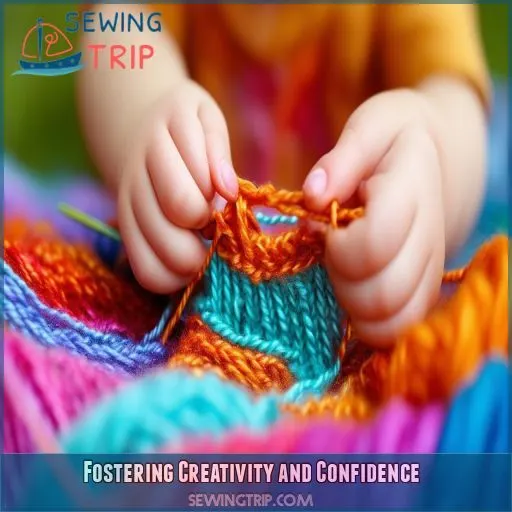
Once your child has grasped the basics of knitting, it’s time to foster their creativity and confidence. Encourage them to experiment with different colors and patterns, celebrate their achievements no matter how small, and inspire them to share or gift their creations to friends and family.
Encouraging Experimentation
Encourage your young knitter’s creativity by fostering experimentation. Let their imagination run wild with color choices, stitch patterns, and project ideas. Give them the freedom to express themselves through their knitting. This self-expression will boost confidence and help develop their unique style as they grow.
Celebrating Achievements
As your young knitter progresses, celebrate their achievements to boost confidence and encourage growth. Rewarding progress keeps them motivated. Here are some ways to mark milestones:
- Create a knitting journal to track projects
- Award "knitting badges" for mastering new skills
- Host a mini fashion show for completed items
Sharing and Gifting Creations
Encourage your young knitters to share their experiences and gift their projects. It’s a great way to celebrate their creations and inspire others. By showcasing their work, they’ll promote their individuality and feel a sense of pride. Who knows? They might even spark a knitting revolution among their friends!
Frequently Asked Questions (FAQs)
At what age can you teach a child to knit?
You can start teaching a child to knit as early as 5 or 6 years old. It’s best to wait until they show interest and have developed basic fine motor skills. Every child’s readiness differs, so follow their lead.
How do I teach my 7 year old to knit?
Picture a garden where skills bloom. You’ll nurture your child’s knitting journey by starting with chunky yarn and big needles. Teach basic stitches step-by-step, using rhymes to remember. Practice together, celebrating small victories along the way.
Can you learn to knit on your own?
Yes, you can learn to knit on your own. With online tutorials, books, and practice, you’ll be crafting in no time. It’s like solving a puzzle – challenging but rewarding. Start simple and you’ll be amazed at your progress.
Is it easier to teach kids to knit or crochet?
Knitting’s loops and crochet’s hooks: two paths to crafting mastery. For kids, crochet often proves easier. You’ll find it’s quicker to learn, requires fewer materials, and offers more immediate gratification. Still, both crafts can spark creativity in young hands.
How do you teach kids to knit?
Start with simple projects using large needles and chunky yarn. Teach basic stitches through rhymes or songs. Let kids choose colorful yarn they love. Be patient, offer plenty of encouragement, and celebrate their progress along the way.
How do I get my kids to start knitting?
Plant the seeds of creativity and watch them bloom! Introduce your kids to knitting by making it fun. Start with colorful yarn, easy projects, and patience. Let them choose patterns that spark their interest and guide them gently.
Can a 6 year old teach a child to knit?
While a 6-year-old can share knitting basics, they might struggle to teach effectively. It’s better to have an adult or older child guide younger learners. You’ll get better results with patience and proper instruction from a more experienced knitter.
Why should I Teach my Children to knit?
You’ll boost your children’s creativity, improve their focus, and enhance their fine motor skills. Knitting teaches patience, problem-solving, and math concepts. It’s a lifelong skill that fosters a sense of accomplishment and can even become a cherished hobby.
Is knitting a good activity for kids?
Did you know that 45% of children who learn to knit show improved focus? It’s a fantastic activity for kids, boosting creativity, problem-solving skills, and fine motor development. You’ll be amazed at how quickly they’ll master this rewarding craft.
Is knitting a good hobby for children?
Yes, knitting is an excellent hobby for children. It enhances creativity, develops fine motor skills, and boosts concentration. You’ll find it teaches patience, problem-solving, and math concepts while providing a sense of accomplishment as they create unique items.
How do I prevent dropped stitches for young knitters?
Prevent pesky problems by practicing patience. Use point protectors on needle tips when not knitting. Teach tight tension techniques and encourage careful counting. For young knitters, start with larger needles and grippy yarns to reduce slippage.
What age is appropriate to start teaching knitting?
You can start teaching knitting as early as 4 or 5 years old. It’s best to wait until a child shows interest and has developed basic fine motor skills. Remember, every kid’s different, so follow their lead.
Are there knitting alternatives for children with motor challenges?
You might think motor challenges limit crafting options, but there’s hope! Try finger knitting, loom knitting, or arm knitting. These alternatives require less fine motor control and can be adapted to suit various abilities. You’ll be creating in no time!
How can I make knitting more engaging for easily distracted kids?
Use colorful yarns, fun-shaped needles, and set mini-goals. Try knitting in short bursts, incorporate storytelling, or turn it into a group activity. Reward progress and let them choose exciting projects they’ll love.
What safety precautions should I consider when teaching kids knitting?
Use child-safe knitting needles with rounded tips. Keep scissors out of reach. Supervise closely, especially with younger kids. Teach proper needle handling. Use non-toxic, hypoallergenic yarn. Create a well-lit, clutter-free workspace. Always have a first-aid kit nearby.
Conclusion
Teaching kids how to knit to make things on their own is a journey filled with delightful challenges and rewarding moments. As you guide them through the basics and watch their skills grow, you’ll see their confidence soar.
With patience and encouragement, you’re not just teaching a craft; you’re nurturing problem-solving skills, fostering perseverance, and opening doors to endless possibilities.
Keep knitting, keep learning, and keep creating together!

