This site is supported by our readers. We may earn a commission, at no cost to you, if you purchase through links.
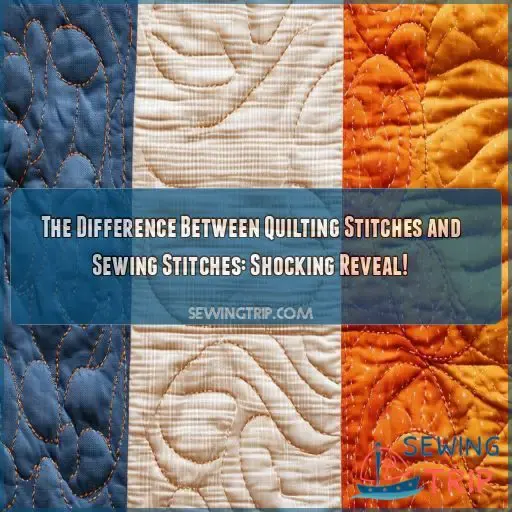 Quilting stitches join layers, while sewing stitches construct garments.
But what’s the real difference between quilting stitches and sewing stitches? You’ll be shocked to discover how these two techniques diverge in purpose, method, and outcome.
Whether you’re a seasoned crafter or a curious beginner, understanding these distinctions will elevate your needlework skills.
From thread types to needle sizes, we’ll unravel the mystery behind these essential stitching techniques.
Get ready to master the art of both quilting and sewing with our detailed guide.
Table Of Contents
- Key Takeaways
- Understanding Quilting Stitches Vs Sewing Stitches
- Exploring Different Quilting Stitches
- Characteristics of Quilting Stitches
- Characteristics of Sewing Stitches
- Needle Types for Quilting and Sewing Stitches
- Stitching Techniques
- Thread Type and Usage
- Choosing the Right Craft for You
- Frequently Asked Questions (FAQs)
- Conclusion
Key Takeaways
- Quilting stitches are the heavyweight champs of the thread world, built to join multiple fabric layers and withstand the test of time. They’re like the trusty old pickup truck that keeps on chugging, while sewing stitches are more like your everyday sedan.
- Sewing stitches are the Swiss Army knife of fabric manipulation – they’re versatile enough to handle everything from basic seams to intricate embellishments. Whether you’re patching up a pair of jeans or creating a couture gown, these stitches have got your back.
- When it comes to needles, quilting and sewing are like apples and oranges. Quilting needles are short and stout, perfect for piercing through layers of fabric, while sewing needles come in more varieties than ice cream flavors at your local parlor.
- Thread choice can make or break your project. Quilting threads are the strong, silent type with a matte finish, while embroidery threads are the flashy attention-seekers with their high sheen. It’s like choosing between a reliable best friend and a glitzy socialite for your fabric party!
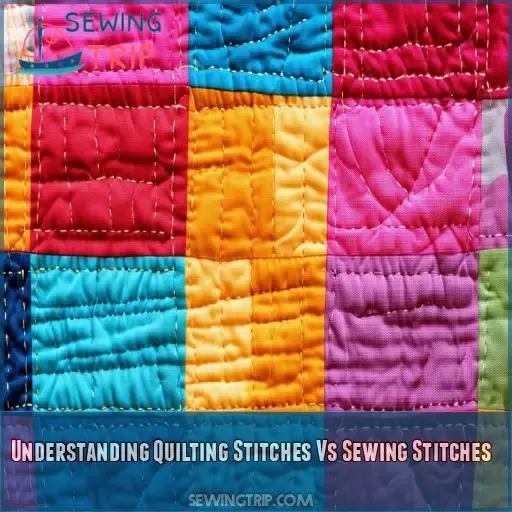
Understanding Quilting Stitches Vs Sewing Stitches
You’ll find that basic sewing stitches form the foundation of both quilting and general sewing, with common types including the straight stitch, back stitch, and whip stitch. These stitches serve various purposes, from joining fabric pieces to creating decorative elements, and understanding their uses will help you choose the right stitch for your project.
Basic Sewing Stitches
You’re about to learn some basic sewing stitches! These fundamental techniques are the building blocks of your sewing journey. Let’s break it down:
- Straight stitch: Your go-to for most projects
- Backstitch: Reinforces seams for added strength
- Basting stitch: Temporary stitches for positioning fabric
- Zigzag stitch: Finishes raw edges and adds stretch
With these basics under your belt, you’ll be stitching up a storm in no time!
Common Sewing Stitches
Now that you’ve got the basics down, let’s check out some common sewing stitches. These stitches are the building blocks of your sewing journey, each with its own unique purpose and flair. Check out this handy table to see how they stack up:
| Stitch Name | Technique | Best Use |
|---|---|---|
| Straight | Forward motion | Seams, hems |
| Backstitch | Reverse every few stitches | Reinforcing |
| Zigzag | Side-to-side motion | Finishing edges |
| Buttonhole | Tight, close stitches | Creating buttonholes |
| Overlock | Wraps thread around edge | Preventing fraying |
These stitches will take your sewing game to the next level!
Purpose of Sewing Stitches
You’ll find sewing stitches are the unsung heroes of fabric manipulation. Their purpose? To join, reinforce, and embellish your creations. Unlike quilting stitches, which focus on layering, sewing stitches serve diverse functions:
- They’re the glue that holds your garments together
- They’re the artist’s brush, adding flair to plain fabric
- They’re the strength behind durable seams that withstand wear and tear
Understanding these purposes will revolutionize your sewing process and elevate your craft.
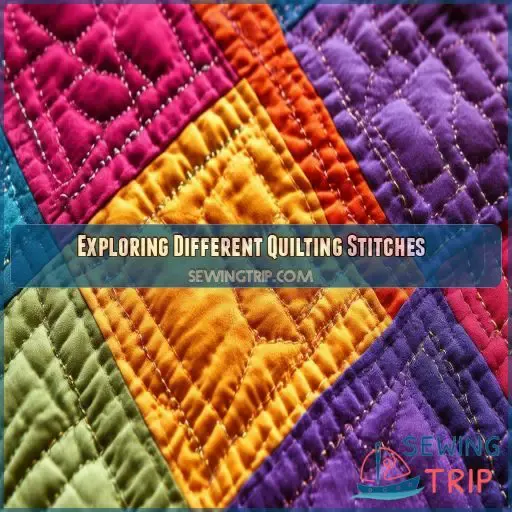
Exploring Different Quilting Stitches
You’ll find two main types of quilting stitches: straight stitch quilting and free motion quilting. Straight stitch quilting uses a simple, uniform pattern, while free motion quilting allows for more creative designs and intricate patterns as you guide the fabric freely under the machine’s needle.
Straight Stitch Quilting
You’ve learned about basic sewing stitches, now let’s get started with straight stitch quilting.
This technique uses your machine’s straight stitch to join layers of fabric.
You’ll set your stitch length to 2.5-3 mm for most projects.
As you quilt, you’ll create patterns by moving the fabric under the needle.
It’s a great way to start your quilting journey and build confidence in your skills.
Free Motion Quilting
While straight stitch quilting keeps you on the straight and narrow, free motion quilting lets your creativity run wild. With a quilting machine and special quilting foot, you’ll create intricate designs and patterns that’ll make your quilt truly unique. You control the stitch density and direction, allowing for endless possibilities. It’s like drawing with thread – your imagination’s the limit!
Techniques for Quilting Stitches
Now that you’ve mastered free motion quilting, let’s explore other techniques for quilting stitches.
You’ll find straight line quilting offers a classic look, perfect for beginners. It’s all about creating parallel lines across your quilt.
For more intricate designs, try echo quilting or stippling. These techniques allow you to create unique patterns and textures, turning your quilt into a true work of art.
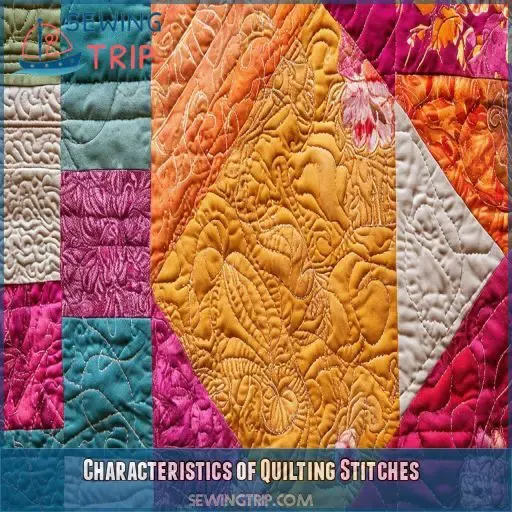
Characteristics of Quilting Stitches
You’ll find that quilting stitches have distinct characteristics that set them apart from regular sewing stitches. These include their strength and durability, the materials used, their weight, and their unique sheen and finish.
Strength and Durability
You’ve seen the beauty of quilting stitches, but did you know they’re tough as nails?
Unlike their sewing counterparts, quilting stitches are built for the long haul. They’re the heavyweight champions of the thread world, designed to withstand the test of time.
When you’re piecing together layers of fabric, you need stitches that won’t quit. That’s where quilting threads shine, offering unparalleled strength and durability.
Materials for Quilting Stitches
When you’re picking out quilting stitches, you’ll want to use materials that can last. Quilting threads are typically made of:
- 100% cotton
- Polyester
- Cotton-polyester blend
These materials offer the strength and durability needed for your quilting projects. Quilting cotton fabric is ideal for your quilt top, while quilting needles are designed to handle multiple layers. Remember, choosing the right materials is key to creating a lasting masterpiece!
Weight of Quilting Stitches
You’ll find that quilting thread weight is really important for your project’s success.
Typically, you’ll want to use a 40-50 weight thread for quilting stitches. This sweet spot offers the perfect balance of strength and durability without adding bulk.
Your quilting needle and material choice will also influence the ideal thread weight for your masterpiece.
Sheen and Finish of Quilting Stitches
You’ve learned about quilting thread weight, but what about its sheen? Quilting stitches typically have a lower sheen than their sewing counterparts. This subtle finish gives your quilt a unique texture and appearance. Here’s what you need to know:
- Quilting stitches often have a matte finish
- Lower sheen enhances the fabric’s natural texture
- Sewing stitches tend to be more visible
- Embroidery techniques can add a glossy touch
- Quilting foot vs. sewing foot affects stitch visibility
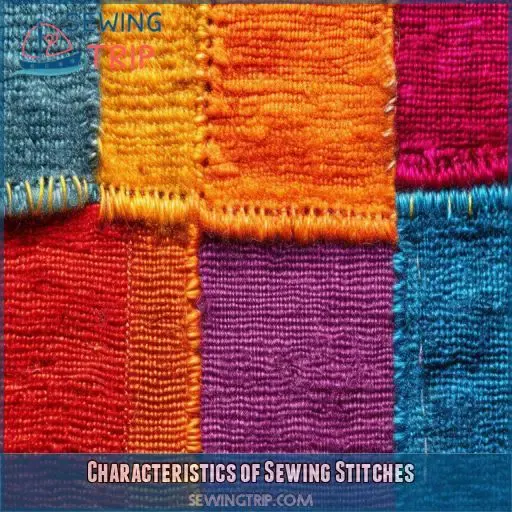
Characteristics of Sewing Stitches
You’ll find that sewing stitches come in various types, each with its own purpose and technique. Common sewing stitches like the straight stitch, backstitch, and zigzag stitch are used for different applications, from basic seams to decorative finishes.
Needle Types for Sewing Stitches
Now that you’re familiar with quilting stitches, let’s take a closer look at sewing needle types. These tiny tools are really important for your sewing success. Unlike quilting needles, sewing needles come in various sizes and types, each designed for specific tasks. Here’s a handy guide to help you choose the right needle for your project:
| Needle Type | Size Range | Best For |
|---|---|---|
| Universal | 60-120 | All-purpose |
| Ballpoint | 70-100 | Knits |
| Sharp | 60-110 | Delicate fabrics |
| Denim | 90-110 | Heavy fabrics |
| Embroidery | 75-90 | Decorative stitching |
Common Sewing Stitch Techniques
You’ll find sewing stitches are your trusty sidekicks in the fabric world.
From the reliable running stitch to the sturdy back stitch, each has its superpower.
Don’t forget the sneaky slip stitch for invisible seams or the temporary basting stitch.
And let’s not overlook the cozy blanket stitch!
These techniques form the backbone of sewing basics, setting them apart from their quilting cousins.
Purpose and Applications of Sewing Stitches
Sewing stitches are the workhorses of fabric manipulation.
They’re not just for joining pieces; they’re your Swiss Army knife for hems, decorations, and repairs.
From the sturdy backstitch for seams to the delicate embroidery stitch for embellishments, each has its purpose.
Whether you’re using a sewing machine or hand-stitching, these techniques are essential for bringing your sewing projects to life, from simple repairs to intricate quilting designs.
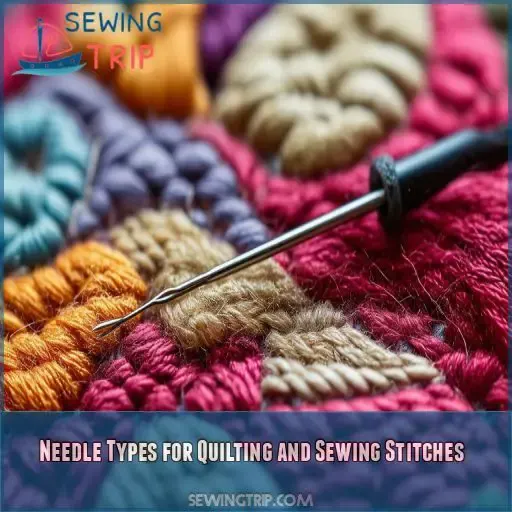
Needle Types for Quilting and Sewing Stitches
You’ll find that quilting and sewing stitches require different needle types to get the best results. For quilting, you’ll want to use betweens or quilting needles, which are shorter and have a rounded eye, while sewing often calls for sharps or universal needles with a longer shaft and sharp point.
Needles for Quilting Stitches
When you’re diving into quilting, you’ll need the right needle for the job.
Quilting needles are typically shorter and sturdier than regular sewing needles.
You’ll want to choose between "betweens" for hand quilting or machine quilting needles for your sewing machine.
The size of your needle matters too – it should match your thread weight and fabric thickness.
Don’t forget, the right needle can make or break your quilting project!
Needles for Sewing Stitches
You’ve mastered quilting needles, now let’s tackle sewing needles.
Unlike their quilting cousins, these come in various types and sizes.
From sharps for general sewing to ballpoints for knits, each serves a unique purpose.
The gauge and length of your needle can make or break your project.
Choose wisely, and you’ll be stitching like a pro in no time!
Stitching Techniques
You’ll find that quilting stitches and sewing stitches differ in their techniques and purposes. While quilting stitches focus on joining multiple layers of fabric with patterns, sewing stitches are used for constructing garments and basic fabric joining.
Quilting Stitching Techniques
You’ll find quilting techniques to be a world of creative possibilities.
Hand quilting offers a personal touch, while machine quilting speeds up the process.
Free motion quilting lets your imagination run wild, creating intricate patterns.
Longarm quilting tackles larger projects with ease.
Each technique has its unique charm, allowing you to express your style through quilting stitches.
It’s all about finding what works best for your project and skill level.
Sewing Stitch Techniques
Sewing stitch techniques are as varied as they’re fascinating.
From the basic straight stitch to intricate outline embroidery, each serves a unique purpose.
Whether you’re using a trusty sewing machine or diving into embroidery machines, mastering these techniques opens up a world of possibilities.
The right tools and practice will have you stitching like a pro in no time!
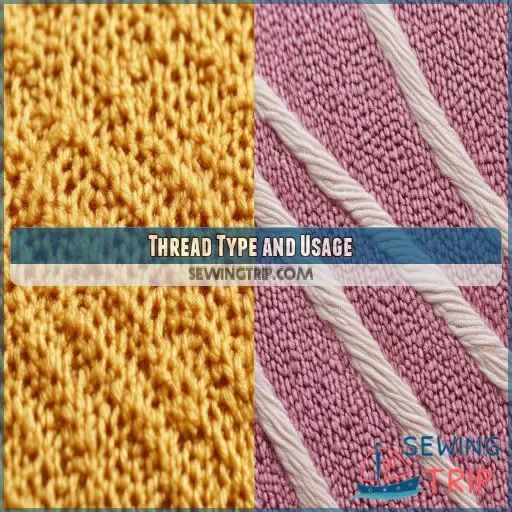
Thread Type and Usage
You’ll find that quilting threads are stronger and more durable than embroidery threads, designed to withstand the rigors of joining multiple fabric layers. In contrast, embroidery threads are finer and have a higher sheen, perfect for creating decorative stitches and intricate designs on fabric surfaces.
Quilting Thread Characteristics
You’ll find quilting thread is a workhorse in your fabric arsenal.
It’s tough as nails, designed to withstand the rigors of joining multiple layers.
Typically made from cotton or polyester, quilting thread comes in various weights, with 40-50 being the sweet spot.
It’s low on sheen but high on durability, perfect for creating those cozy quilts you love.
Embroidery Thread Characteristics
Embroidery threads are a whole different ball game from quilting stitches.
They’re finer, with a higher sheen that’ll make your designs pop.
While not as durable as their quilting cousins, they’re perfect for counted thread embroidery and whitework embroidery.
Embroidery machine users, take note: these threads come in a rainbow of colors and types.
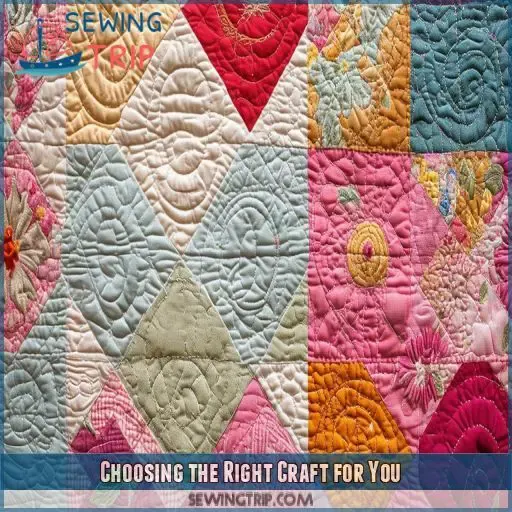
Choosing the Right Craft for You
When choosing between quilting and sewing, consider your creative goals and preferred techniques. Quilting focuses on joining layers for decorative, functional pieces, while sewing offers versatility in creating garments and accessories.
Considerations for Quilting
Thinking about diving into quilting?
You’ll be working with layers of fabric and batting, creating cozy masterpieces. It’s a craft that demands patience and precision, but the results are worth it.
You’ll need quilting supplies like special needles and a sturdy machine.
Don’t forget to explore different patterns and quilting stitches. It’s a bit more complex than basic sewing, but you’ll be crafting heirloom-quality pieces in no time!
Considerations for Sewing
When considering sewing, you’ll need to think about fabric choice, tools, and project scope.
Sewing stitches offer versatility for various projects, from clothing to home decor.
If you’re just starting, sewing classes can be a great way to learn the basics.
Sewing for beginners can be less intimidating than quilting, but both crafts offer unique rewards.
Choose based on your interests and goals.
Frequently Asked Questions (FAQs)
What is the difference between quilting and sewing?
You’ll find quilting‘s a specific type of sewing. While sewing’s about joining fabrics, quilting involves stitching three layers together: top, batting, and backing. It’s like turning a sandwich into a cozy blanket!
What is the difference between quilting and sewing needles?
Choosing the right needle? Quilting needles are shorter and sturdier, built for working with multiple layers. They’ve got rounded eyes for easy threading. Sewing needles are longer, with sharp points for different fabrics. Pick the right one for your project.
What stitch to use for quilting?
You’ll want to use a straight stitch for basic quilting. It’s versatile and secure. For decorative work, try a running stitch or back stitch. If you’re machine quilting, a walking foot helps keep layers aligned.
What makes loading the needle stitch different from other quilting stitches?
You’ve stumbled upon a unique technique! Loading the needle stitch differs as you’ll load multiple stitches onto your needle before pulling it through. This method’s faster and creates a smooth, even line in your quilting project.
Can quilting stitches be used for garment construction?
You can use quilting stitches for garment construction, but they’re not ideal. They’re typically bulkier and more decorative than traditional sewing stitches. For garments, you’ll want to stick with standard sewing techniques for better fit and durability.
How do quilting and sewing stitches affect fabric drape?
Like a sculptor’s chisel, your stitches shape fabric’s flow. Quilting stitches create stiff, structured pieces, while sewing stitches allow more movement. You’ll notice quilted garments have less drape than those with regular seams.
Are there historical differences in quilting vs sewing techniques?
You’ll find historical differences in quilting and sewing techniques. Quilting emerged as a practical craft for warmth, while sewing evolved for clothing production. Over time, quilting became more decorative, and sewing branched into various specialized forms.
Can machine embroidery replace hand quilting or sewing stitches?
Did you know machine embroidery can produce up to 1,000 stitches per minute? While it’s faster and more precise, it can’t fully replace hand quilting or sewing. You’ll still need traditional techniques for certain projects and textures.
Do quilting and sewing stitches have different environmental impacts?
You’ll find quilting stitches often use durable cotton threads, while sewing stitches may involve synthetic materials. Both can have environmental impacts, but choosing eco-friendly threads and fabrics can minimize your crafting footprint. Consider recycled or organic options when possible.
Conclusion
Did you know that quilting dates back to ancient Egypt, with the oldest known quilt being over 5,000 years old?
Knowing the difference between quilting stitches and sewing stitches is really important for anyone who wants to learn needlework.
You’ve learned how these techniques differ in purpose, method, and outcome.
Whether you’re drawn to the decorative nature of quilting or the practical applications of sewing, you’re now equipped to choose the right craft for your needs.

