This site is supported by our readers. We may earn a commission, at no cost to you, if you purchase through links.
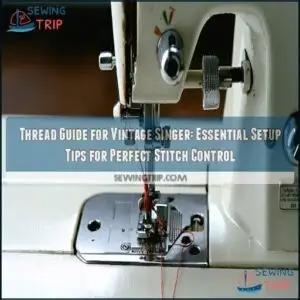
For bobbin winding, use the thread guide spring near the winder. Always check the tension thread bar guide and the lower thread guide for proper alignment.
Each guide guarantees smooth stitching, so don’t skip them. If the thread snags or skips, retrace your steps and rethread carefully.
A clean machine and sharp needle also make a big difference. Ready to stitch like a pro? Let’s get started!
Table Of Contents
Key Takeaways
- Always route the thread through all guides, including the needle clamp, upper thread guide, and bobbin winder guide, to avoid snags and ensure smooth stitching.
- Keep your machine clean, check tension regularly, and replace worn thread guides or springs to maintain consistent stitch quality.
- Use cotton or polyester threads for best results with vintage Singer machines, as they glide smoothly and prevent jams.
- Follow your machine’s manual for threading and guide placement, and double-check alignment to fix issues like skipped stitches or thread breakage.
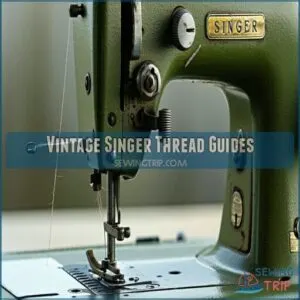
Vintage Singer Thread Guides
Your vintage Singer sewing machine has several thread guides that work together to create perfect stitches.
Understanding each guide’s purpose and proper placement helps you avoid thread breakage and achieve consistent stitch quality, which is crucial for a good sewing experience with your vintage Singer sewing machine.
Needle Clamp Thread Guide
The needle clamp thread guide is a must-have for vintage Singer parts.
It secures the needle and guarantees proper thread tension for smooth stitching.
Installation is simple—just tighten the screw to lock it in place.
This sewing machine thread guide fits various models, offering excellent needle compatibility.
You can find a needle clamp guide online.
Replacement options are available, keeping your needle thread guide in top shape.
Bobbin Winder Thread Guide
The bobbin winder thread guide keeps thread steady while winding. For vintage Singer parts, check compatibility with your model.
Follow these steps for smooth use:
- Confirm bobbin size compatibility.
- Inspect the winder spring tension for proper grip.
- Check material durability on replacement guide sources.
- Reassemble the winder assembly carefully.
A reliable thread guide guarantees flawless bobbin winding! Maintaining proper tension prevents upper thread breakage. This ensures a smooth and reliable winding process, which is critical for sewing.
Upper Thread Guide Three Hole
The upper thread guide three hole is a small but mighty part of vintage Singer sewing machines.
It guarantees smooth threading and proper tension.
Made of durable metal, it fits models like 195K and 251.
Installation is easy—just align the post and secure it.
Common issues include misalignment or wear.
Keep it clean for perfect stitching.
Many users seek a replacement thread guide when these parts are damaged.
| Feature | Details | Importance |
|---|---|---|
| Guide Function | Smooth threading | Prevents tangles |
| Material Composition | Durable metal | Long-lasting |
| Model Compatibility | 195K, 196K, 241, and more | Versatile use |
| Installation Tips | Align and secure | Quick setup |
| Common Issues | Misalignment, wear | Fix for smooth use |
Thread Guide Spring for Bobbin Winder
While the upper thread guide guarantees smooth threading, the thread guide spring for the bobbin winder plays its part in maintaining tension.
This tiny yet essential component keeps your thread steady during winding. A worn spring can cause uneven tension, so check its material quality often.
Proper spring replacement guarantees your vintage Singer sewing machine parts work flawlessly with winder compatibility intact.
Threading Vintage Singer Machines
Threading a vintage Singer machine might seem tricky at first, but it’s all about following the right steps.
Mastering a vintage Singer threading process transforms tricky setups into smooth sewing success with just a little practice.
With a little practice, you’ll have it running smoothly in no time, and following the right steps is key to this process.
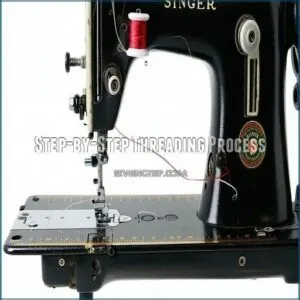
Step-by-Step Threading Process
Start by placing your thread on the spool pin. Follow the singer threading guide to route it through the tension discs and the take-up lever.
For needle threading, guide the thread front to back, leaving a small tail. Use the singer thread path to guarantee accuracy.
Finish by handling bobbin insertion carefully for smooth vintage machine threading.
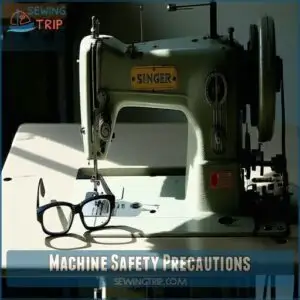
Machine Safety Precautions
Before threading a Singer, always prioritize safety. Keep your workspace tidy to avoid accidents. Make certain the power cord is unplugged to prevent shocks.
Use protective gear, like safety glasses, for injury prevention. Store tools and thread guides securely after use.
Proper tension is key for avoiding uneven stitches. Following these steps guarantees a smooth experience while mastering the vintage sewing guide and singer threading path.
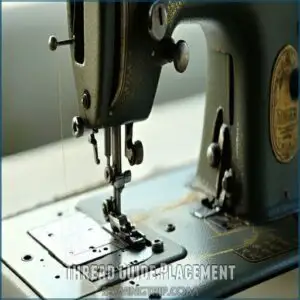
Thread Guide Placement
For ideal placement, align the thread guides carefully to maintain tension balance. Follow the threading guide for your model, ensuring each thread path is correct.
Check the lower thread guide for proper alignment—it prevents snags. Secure all thread guide installations tightly.
These preventative measures keep your vintage sewing guide smooth, ensuring stitches stay even and frustration stays low with proper thread guide installations and preventative measures.
Singer Thread Guide Components
Thread guides keep your machine running smoothly by directing the thread along its proper path.
You’ll find components like the needle bar, top cover, tension bar, and lower thread guides working together for consistent stitching.
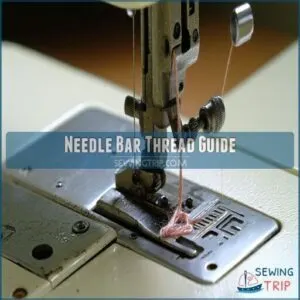
Needle Bar Thread Guide
The needle bar thread guide is a small but essential part of Singer sewing machines.
It keeps the thread aligned and prevents skips during stitching.
For proper thread guide installation, verify it fits your compatibility models like the 27 or 128.
Check material quality to avoid wear.
A replacement needle bar guide can resolve alignment problems.
Adjustment techniques help fix common issues like thread jams in vintage sewing machine parts, which can be caused by poor thread guide installation or low material quality.
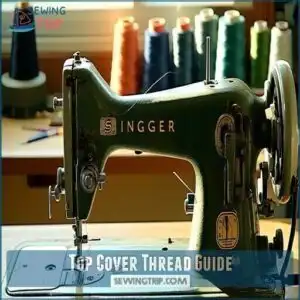
Top Cover Thread Guide
The top cover thread guide keeps your thread on track while sewing.
Made from durable materials, it guarantees smooth threading and fits various models listed in the Singer parts diagram.
Check the compatibility chart for your vintage sewing machine.
Installation is simple—just follow the sewing machine parts list.
Replacement options are available if yours shows wear.
The top cover thread guide is designed to provide a simple installation process, making it easy to replace when necessary.
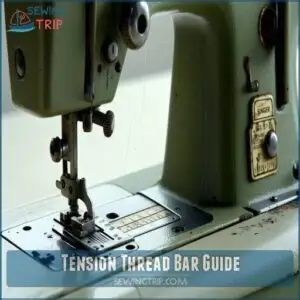
Tension Thread Bar Guide
The tension thread bar is key to balanced stitches on a vintage Singer sewing machine.
It prevents thread slippage by maintaining proper tension. Check its compatibility with your model before replacing.
Adjusting the bar slightly can fix tension issues.
Quality guide materials guarantee durability, so always choose reliable replacement options for your sewing machine thread guides when threading machine vintage setups, ensuring proper tension and balanced stitches with a vintage Singer sewing machine.
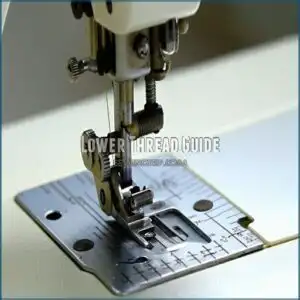
Lower Thread Guide
The lower thread guide is essential for smooth stitching. It directs thread from the bobbin case to the needle.
- Function and Purpose: Keeps thread tension balanced for clean stitches.
- Material Composition: Often metal for durability.
- Installation Tips: Check your sewing machine parts diagram for exact placement.
Always verify compatibility with your Singer model to avoid common problems.
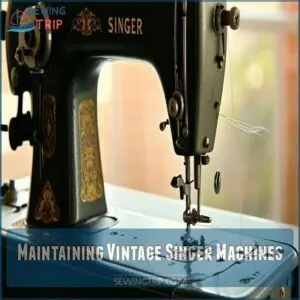
Maintaining Vintage Singer Machines
You’ll keep your vintage Singer running smoothly by giving it regular care. Simple steps like cleaning, checking the bobbin, and inspecting the needle can prevent common issues.
Cleaning The Machine
Before threading, give your Singer sewing machine some love.
Start with surface cleaning to tackle dust and lint buildup. Use a soft brush for lint removal around sewing machine parts.
Don’t forget oiling mechanisms—just a drop of sewing machine oil keeps things smooth.
Regular sewing machine maintenance prevents wear and tear, ensuring your vintage sewing machine stays a reliable companion, providing reliable service.
Checking The Bobbin
A well-prepped bobbin is key for smooth sewing.
Check these steps:
- Verify bobbin winding is even, with no loose thread loops.
- Insert the bobbin into the bobbin case, following the correct thread direction.
- Pull the bobbin thread through the tension spring for proper sewing machine tension.
- Test the sewing machine bobbin winder for smooth operation.
The goal is to ensure the bobbin is properly set up for sewing, following the provided steps to achieve optimal results.
Verifying Needle Condition
Before sewing, check your needle’s straightness by rolling it on a flat surface.
Inspect the eye for burrs or rust that could snag thread. Verify the point sharpness suits your fabric and that the size compatibility matches your project.
A bent needle can damage the sewing machine needle bar, so replace it if needed. Regular replacement is vital for preventing fabric damage, which involves preventing issues, using the correct needle size, and ensuring regular maintenance.
Raising The Presser Foot
Raising the presser foot is key for smooth fabric clearance and proper threading access.
It also releases tension on the thread for easier setup.
Follow these steps:
- Lift the presser foot lever gently.
- Check the feed dog to verify it’s not raised.
- Align material handling for even stitching.
- Inspect sewing machine parts for smooth operation.
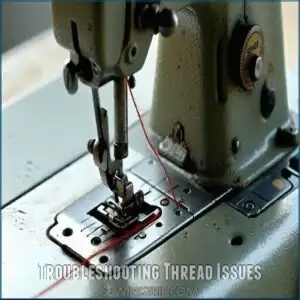
Troubleshooting Thread Issues
Thread issues can stop your sewing project in its tracks, but they’re often simple to fix.
Thread problems may pause your sewing, but quick fixes like adjusting tension or rethreading can get you stitching smoothly again.
By checking tension, threading, and the bobbin, you’ll keep your machine running smoothly.
Checking Thread Tension
Sometimes, thread tension feels like a balancing act.
Start by adjusting the Tension Dial to suit your fabric type.
Test stitching helps spot issues with sewing machine stitch quality.
If loops appear, tweak the bobbin tension slightly.
Sewing machine troubleshooting is key—small adjustments lead to perfect thread tension and better vintage sewing results.
Keep experimenting for smooth stitches, achieving perfect thread tension is essential for good results.
Identifying Incorrect Threading
Incorrect threading can cause big headaches like looping stitches or broken thread.
To spot issues, check for:
- Skipped guides: Make sure the thread follows every path in the sewing machine diagram.
- Thread twisting: Verify that it flows smoothly without tangles.
- Tension problems: Verify the thread sits correctly in the tension discs.
Proper threading avoids sewing machine troubleshooting later; hence, engaging thread guides is vital for smooth thread flow.
Resolving Bobbin Thread Problems
Bobbin thread issues can cause sewing machine jamming and uneven stitches.
Start by checking bobbin tension and ensuring correct insertion. Inspect for lint buildup or bobbin damage.
Poor thread quality or improper bobbin winding may also create problems. Clean the bobbin case regularly, and replace worn parts if needed.
These simple sewing machine troubleshooting steps keep your stitches smooth.
Adjusting The Take-Up Lever
If your stitch quality is off, the take-up lever might need attention.
It controls thread slack and timing adjustment for smooth stitches.
Here’s how:
- Check lever height—it should align with your Singer model’s specs.
- Verify tension balance by adjusting the sewing machine tension adjustment knob.
- Inspect for wear; damaged sewing machine parts affect performance.
Frequently Asked Questions (FAQs)
How to identify original vintage thread guides?
Look for part numbers etched on the guide or compare it with Singer manuals.
Original vintage guides often have solid metal construction, precise threading paths, and fit specific models like a glove.
Check for authenticity markings.
What thread types work best with vintage guides?
Did you know cotton thread makes up 60% of sewing uses?
For vintage guides, stick to cotton or polyester threads.
They’re smooth, durable, and glide well through older machines without causing jams or tension issues.
Are vintage guides compatible with modern Singer machines?
Vintage thread guides usually don’t fit modern Singer machines due to design differences.
However, some guides might work if the models share similar threading paths.
Always double-check compatibility before mixing vintage and modern parts.
How to replace broken vintage thread guides?
When a vintage thread guide breaks, it’s like losing a puzzle piece.
Find a compatible replacement, unscrew the damaged guide, align the new one, and tighten it securely.
Follow your machine’s manual for exact steps, to ensure you securely complete the replacement process.
Where to find rare vintage Singer thread guides?
You can find rare vintage Singer thread guides on online marketplaces like eBay or Etsy.
Specialty sewing machine repair shops or forums dedicated to vintage sewing machines are also great places to check, with rare vintage Singer thread guides being the focus.
Conclusion
Mastering the thread guide for vintage Singer machines might feel like solving a puzzle, but it’s simpler than it seems.
Each thread guide plays a role in smooth, even stitching. Take your time, follow the steps, and double-check the alignment.
Keep your machine clean, the needle sharp, and the bobbin ready. If something’s off, retrace your threading path.
With practice, you’ll handle your vintage Singer like a pro, creating stitches as timeless as the machine itself.

