This site is supported by our readers. We may earn a commission, at no cost to you, if you purchase through links.
Start by familiarizing yourself with common error codes like EC12, which indicates a stuck main shaft, or EC19, which signifies an abnormal needle position.
Listen for unusual sounds and keep your machine well-oiled to prevent squeaky wheels.
Proper alignment is key, so practice your hooping skills and calibrate your machine regularly.
Clean your embroidery unit often to keep dust bunnies at bay, and don’t forget to update your firmware for best performance.
With these quick fixes in your arsenal, you’ll be stitching like a pro in no time.
Table Of Contents
Key Takeaways
- You’re not alone in the embroidery error maze! Get to know common codes like EC12 (stuck shaft) and EC19 (wonky needle). It’s like learning a new language, but way more fun and less likely to get you lost in Paris.
- Keep your ears peeled for unusual sounds. A squeaky wheel might need more than just grease – it could be crying out for some TLC. Regular oiling and cleaning will keep your machine purring like a contented cat.
- Alignment is key, so hoop it like it’s hot! Practice your fabric-stretching skills and calibrate your machine regularly. It’s like yoga for your embroidery unit – flexibility and balance are everything.
- Don’t let dust bunnies take over your embroidery kingdom. Clean your machine often, update its firmware (think of it as giving your unit a brain boost), and don’t be shy about calling in the pros for regular check-ups. Your embroidery unit will thank you with stitch-perfect designs for years to come.
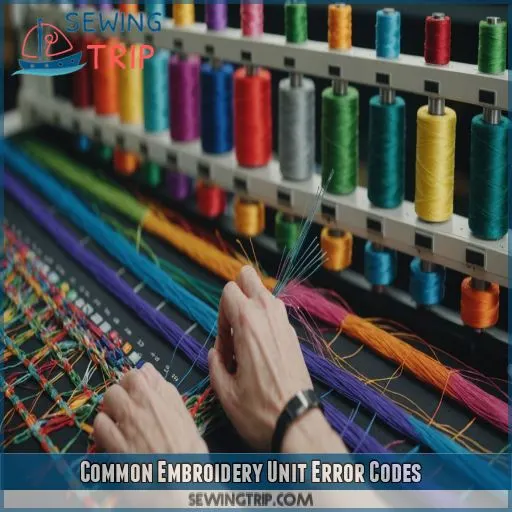
Common Embroidery Unit Error Codes
Encountering error codes on your embroidery unit can be frustrating, but don’t worry – we’re here to help. In this article, we’ll walk you through five common error codes and show you how to quickly fix them, so you can get back to creating beautiful designs in no time.
EC12: Main Shaft Not in Stop Position
Panic sets in when your embroidery machine flashes "EC12." Don’t fret! This error means your main shaft’s stuck. Try powering off, then manually rotating the handwheel to reset it.
EC19: Needle Position Abnormal
You’ve conquered EC12, but now EC19’s got you scratching your head? Don’t worry! This pesky "Needle Position Abnormal" error isn’t as scary as it sounds. Let’s fix it together.
EC20: Main Motor Overtime
- Motor overheating from extended use
- Gear malfunction causing strain
- Fabric resistance slowing things down
Don’t let this error stitch up your day! We’ll get your embroidery machine purring again in no time.
Wrong Size Hoop Error
With a "Wrong Size Hoop" error, your machine’s playing hard to get. Give the sensor some TLC by blasting canned air around the hook race. It’s like a spa day for your embroidery buddy!
Be Sure Lock is Down Error
When faced with a "Be Sure Lock is Down" error, don’t panic! This pesky message often pops up due to sensor issues or a misaligned lock mechanism. Let’s troubleshoot together.
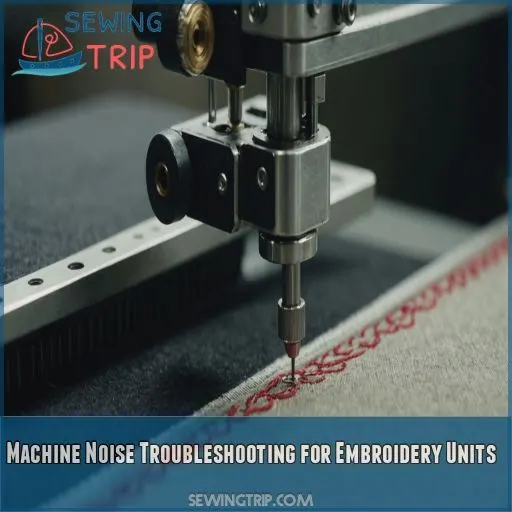
Machine Noise Troubleshooting for Embroidery Units
Is your embroidery machine making strange noises? Don’t panic – unusual sounds often have simple fixes that you can tackle yourself. In this guide, we’ll walk you through five quick troubleshooting steps to quiet your machine and get back to stitching smoothly.
Identifying Unusual Sounds
Your embroidery machine’s chatter can reveal hidden issues. Listen closely for rattling, grinding, clicking, buzzing, or squeaking. These sounds might signal problems like birdnesting, bunching, or skipped stitches. Let’s decode the noise!
Lubricating Moving Parts
Your embroidery unit’s squeaky wheel might need some TLC. Grab the right oil and apply it to moving parts regularly. You’ll keep your machine humming smoothly, avoiding thread fraying headaches.
Checking for Loose Components
Rattles got you rattled? Don’t let loose screws unravel your embroidery dreams. Grab your trusty toolkit and give your machine a once-over. You’ll be stitching smoothly in no time.
Cleaning Dust and Debris
Loose components addressed? Let’s tackle dust and debris. They’re like party crashers in your embroidery machine, causing a ruckus. Time to kick ’em out with some cleaning magic!
Adjusting Timing and Tension
Cleaned your machine? Great! Now let’s tackle those pesky noises. Adjusting timing and tension can work wonders. Here’s your three-step guide to smoother stitching:
- Calibrate tension dials
- Check hook timing
- Reposition thread guides
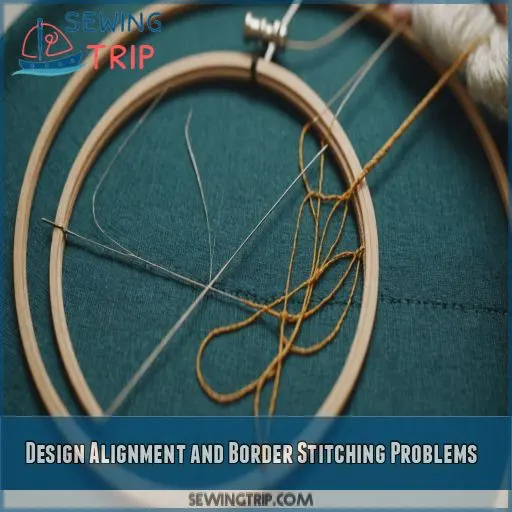
Design Alignment and Border Stitching Problems
When your embroidery masterpiece looks more like abstract art than the design you intended, you’re likely facing alignment or border stitching issues. Let’s tackle these common headaches and get your projects back on track, so you can stop pulling your hair out and start showing off your perfectly stitched creations.
Incorrect Design Placement
Ever found your embroidery design playing hide-and-seek on the fabric? You’re not alone! Incorrect design placement can turn your masterpiece into a head-scratcher. Let’s tackle this pesky problem with some nifty tricks:
| Technique | Benefit | Tool Needed |
|---|---|---|
| Hooping practice | Improves accuracy | Embroidery hoop |
| Design scaling | Guarantees proper fit | Software |
| Machine calibration | Enhances precision | Degree wheel |
| Stabilizer selection | Prevents shifting | Appropriate backing |
Misaligned Border Stitches
You’ve nailed the design placement, but those border stitches still look wonky? Don’t fret! Misaligned borders can be a real head-scratcher, but we’ll get you stitching straight in no time. Let’s troubleshoot!
Hoop Positioning Errors
Misaligned borders got you down? Let’s tackle hoop positioning errors. Your machine’s sensor might be off its game. Give it a quick calibration, and double-check that you’ve attached the hoop correctly. It’s like giving your machine glasses!
Fabric Tension Issues
Fabric tension issues often plague embroiderers. You’re not alone! To conquer this beast, focus on:
- Proper hoop selection
- Appropriate stabilizer types
- Adjusting Thread Tension for fabric thickness
- Choosing the right needle size
Don’t let wonky stitches dampen your creativity!
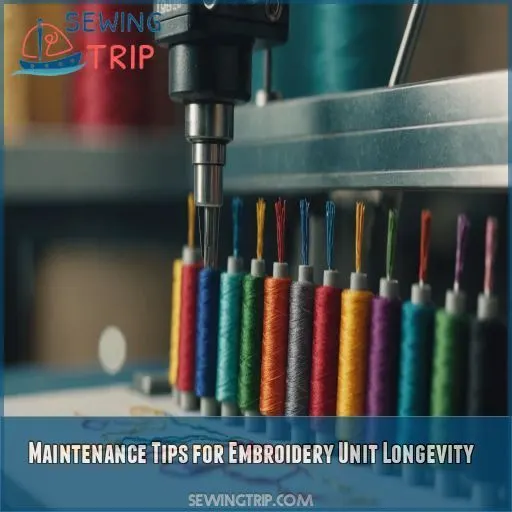
Maintenance Tips for Embroidery Unit Longevity
Your embroidery unit is like a well-oiled machine—literally! Keep it running smoothly with these essential maintenance tips that’ll extend its lifespan and save you from pesky errors down the line.
Regular Cleaning and Oiling
Keeping your embroidery unit spick and span isn’t just about aesthetics; it’s really important for peak performance. You’ll want to establish a regular cleaning and oiling routine to maintain your machine’s mojo.
Proper Storage and Transportation
Your thread-and-needle workhorse deserves royal treatment! Store your embroidery unit in a padded case, use a dust cover, and keep it climate-controlled. Your machine’ll thank you with stitch-perfect designs.
Updating Firmware and Software
It might seem intimidating, updating your embroidery unit’s firmware and software is a game-changer. It’s like giving your trusty machine a brain boost, adding new features and fixing pesky bugs.
Replacing Worn Parts
Don’t let worn parts sabotage your embroidery dreams! Replace needles regularly, check bobbin cases for wear, and keep an eye on tension discs. Your machine’s longevity depends on your vigilance.
Professional Servicing Schedule
While regular DIY maintenance is important, professional servicing keeps your embroidery unit in top shape. Here’s a quick guide to scheduling professional tune-ups:
- Annual check-ups for light users
- Bi-annual servicing for heavy users
- Pre-holiday season inspections
- Post-warranty evaluations
- Emergency repairs as needed
Frequently Asked Questions (FAQs)
How to fix thread tension issues in embroidery?
Tension troubles tormenting you? Check your threading, adjust the dial, and clean your machine. You’ll want to balance top and bottom tensions. Remember, practice makes perfect – soon you’ll be threading the needle with ease!
What causes thread nesting on the underside?
Thread nesting on the underside? You’ve got a classic case of tension trouble! Check your top thread tension, make sure you’re threaded correctly, and double-check that bobbin. It’s like a delicate dance – everything’s gotta be in sync!
Why is my embroidery pattern distorted or puckered?
Ever seen your embroidery go haywire? You’re not alone! Distorted patterns often stem from improper hooping or tension issues. Check your fabric’s tightness and stabilizer. Adjust your machine’s tension if needed. You’ll be stitching like a pro in no time!
How to troubleshoot color-change problems in multi-color designs?
You’re facing a color conundrum? Check your thread tension, make sure you’ve threaded it correctly, and verify the design file. If your machine’s playing rainbow roulette, clean the color change mechanism. Still stumped? Time to call in the embroidery cavalry!
What to do when the embroidery hoop wont attach?
Like a stubborn lock, your embroidery hoop‘s giving you grief? Don’t fret! Check for debris in the attachment mechanism, make sure it’s aligned correctly, and gently wiggle while pressing. If it’s still stuck, consult your machine’s manual for model-specific tips.
Conclusion
Coincidentally, as you’re reading this, your embroidery unit might be experiencing an error right now!
But don’t fret – you’re now armed with the knowledge to tackle troubleshooting embroidery unit errors like a pro.

