This site is supported by our readers. We may earn a commission, at no cost to you, if you purchase through links.
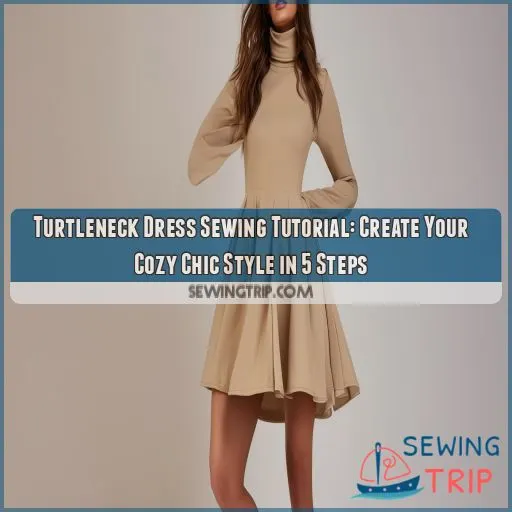 Bring out your inner Audrey Hepburn in this stylish, self-made turtleneck dress. In this 5-step tutorial, you will be guided on how to create such a garment.
You will learn how to download the pattern, choose materials for your piece, and customize your design before finally sewing up the dress.
Using this tutorial on how to sew a turtleneck dress will not only help in making one versatile garment for your wardrobe but will also instill a sense of pride that comes from creation.
Get ready to unleash your creativity and elevate your fashion game
Table Of Contents
Key Takeaways
- Ready to channel your inner Audrey Hepburn? With this tutorial, you’ll be whipping up a chic turtleneck dress faster than you can say "Breakfast at Tiffany’s"!
- From downloading the pattern to choosing fabrics, this guide’s got you covered like a cozy turtleneck on a chilly day. Just remember, picking the right stretch is key – unless you want to end up looking like a sausage in casing!
- Customization is the name of the game here. Want to show a little leg? Add a slit! Feeling the cold? Lengthen those sleeves! It’s your dress, so make it as unique as your signature dance move.
- Once you’ve stitched up your masterpiece, the world is your runway. Pair it with boots for a winter wow, or throw on a belt to cinch that waist. Just be prepared for everyone asking, "Where did you get that fabulous dress?" (Cue your proud smile!)
How to Download Your Turtleneck Dress Pattern
You’ll find your turtleneck dress pattern on Payhip, a user-friendly web store that offers free patterns with an optional contribution. Once you’ve accessed the pattern, print it at home using letter or A4 paper, following the included instructions for easy assembly
Access the Pattern on Payhip
Ready to create your cozy chic turtleneck dress? Let’s start by accessing the pattern on Payhip. It’s a breeze to download, and the best part? It’s free! Head to the Payhip web store and follow these simple steps:
- Navigate to the turtleneck dress pattern page
- Click the download button
- Choose to make an optional contribution or download for free
- Use any credit card if you decide to contribute
- No PayPal account needed – keep it simple!
Once you’ve completed these steps, you’ll have the PDF pattern ready to go. Remember, you’ll need Adobe Reader to open and view your new turtleneck dress pattern
Print the Pattern
Now that you’ve accessed the pattern on Payhip, it’s time to print it. The turtleneck dress pattern comes in a layered PDF format, offering versatile printing options. You’ll find support for both US Letter and A4 paper sizes, making it easy to print at home or at a copy shop. The pattern includes:
- Clear cut lines for precise cutting
- Alignment squares for accurate assembly
- Visible seam allowance for easy sewing
- Detailed assembly instructions
Follow these steps to print your pattern:
- Choose your size in the layered PDF
- Select your preferred paper size
- Print the pattern pages
- Assemble following the included instructions
With your printed pattern in hand, you’re ready to start creating your cozy chic turtleneck dress
Gather Your Materials
To start your turtleneck dress project, you’ll need to gather the right materials. Begin by selecting 1 1/2 to 2 yards of stretch velvet fabric and matching thread, then collect your sewing tools including a tape measure, pins or fabric weights, and a serger or double needle cover stitch machine
Fabric Requirements
To make your cozy chic turtleneck dress, you’ll need 3 yards of 54" wide fabric. Use a medium-weight knit with stretch, the same as in my Neenah Dress pattern. When choosing fabric, take into consideration:
Weight: Medium-weight for some structure and warmth
• Stretch: At least 35% crosswise stretch for comfort
• Availability: Any local fabric store or Online retailers
• Fabric choice: stretch velvet, jersey, or ribbed knit.
But before cutting any fabric, do run a test with your home printer. You want to ensure it prints all of the pattern’s line varieties, cut lines, and alignment squares to enable a great fit. Also, remember that fabric choices can make or break your dress, so choose wisely!
Sewing Notions
You’ll need more than just fabric to make your relaxed-fit turtleneck dress. Put your sewing machine on the table next to these essential notions. First, select a thread that matches your jersey fabric perfectly. But that’s not all: you’ll also want a jersey needle, one that’s sized appropriately for your knit dress material. You won’t want to catch yourself without pins or fabric weights holding your pattern pieces in place while cutting and sewing.
-
A serger or double needle cover stitch machine provides an excellent professional finish to your seams.
• The right needle size ensures smooth stitching without damage to your fabric.
- You want accurate seam allowances to get that perfect fit in your dress.
With these tools at your side, you can tackle a very, very easy-to-sew dress with good positioning.
Customize the Turtleneck Dress Pattern
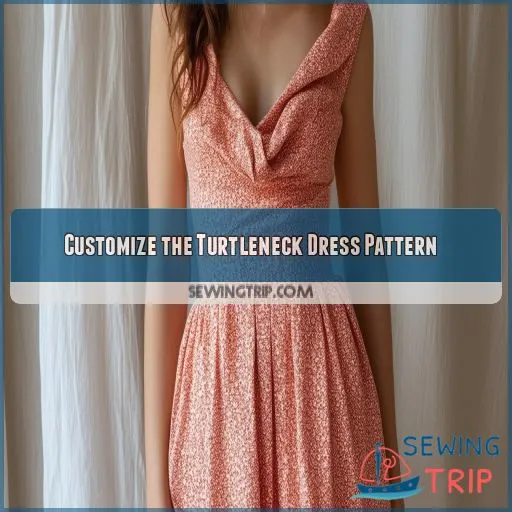
Now that you’ve gathered your materials, it’s time to customize your turtleneck dress pattern. You can adjust the length, modify the sleeves, or make other changes to create your perfect fit and style
Pattern Modifications
Now, make the pattern your own. You’ll want to make some changes so this turtleneck dress fits and flatters your body and personal style. First, here are four essential modifications:
- This dress can be even more dramatic if its length from the hemline is extended by 12 inches.
- Remove the flare using a long, straight line directly from the hip area down.
- Make a Side Slit: End the side seam at a height of your choice.
- Topstitch along the slit for a finished look.
Sleeve Modifications
In modifying the sleeves, the adaptability of style to practicality was considered. You shortened the sleeves because of a lack of fabric, which creates a stylish look. You widened the turtleneck wisely since the stretch of the fabrics is limited. These are changes that provide comfort and result in easy wear.
Here are three ways you can invoke emotion with your sleeve modifications:
- Express your personality by experimenting with various lengths of sleeves.
- Be confident that you have adjusted the pattern to your needs vis-à-vis your fabric’s properties.
- Enjoy the satisfaction of solving a problem and making a garment that fits perfectly.
Sew Your Turtleneck Dress
Now work according to the pattern instructions and let your turtleneck dress come alive. Put it on periodically as you sew and make adjustments according to your body type.
Follow the Pattern Instructions
Now that you’ve got your pattern ready, it’s time to bring your turtleneck dress to life! Follow the detailed instructions provided, paying close attention to the measurement chart and visible seam allowance. Remember, this pattern is beginner-friendly, so don’t worry if you’re new to sewing.
Here are three key steps to focus on:
- Lay out your fabric according to the map for print-at-home version
- Cut your pieces carefully, ensuring accuracy
- Sew each section, following the step-by-step guide
As you work, keep in mind potential styling options. Will you add a side slit for extra flair? Or perhaps pair it with a cozy sweater coat? Let your creativity guide you!
Customize the Fit
Now that you worked through the pattern instructions, it’s time to finesse the fit for your ideal turtleneck dress. As a cold-weather garment, you’d like it to be snug and warm. Emphasize lengthening the collar, but also have a look at the length, waist, sleeves, and hem. Keep in mind that with Seamingly Smitten; you have crosswise stretch, so have that in mind while fitting.
Listed below would be the key areas to focus on:
• Collar: Ensure that it’s neither too tight nor loose.
- Waist: Adjust for a flattering silhouette
Length: Adjust to achieve your required long dress style
Using Adobe Acrobat PDF Reader, print any pattern pieces you may need to make alterations. With these adjustments, you’ll have created a turtleneck dress that’s yours alone.
Enjoy Your Handmade Turtleneck Dress
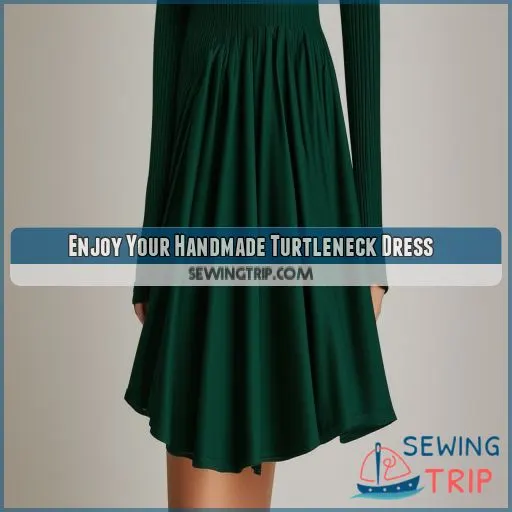
You’ve created a stunning turtleneck dress that’s uniquely yours. Now it’s time to rock your new look. Here are some styling tips to make the most of your handmade masterpiece:
- Pair with high boots and chunky jewelry for a chic winter ensemble
- Layer over a collared shirt for a preppy twist
- Add a statement belt to accentuate your waist
- Experiment with different color palettes for versatile looks
Frequently Asked Questions (FAQs)
How do I prevent the neckline from stretching out?
You’ll want to stabilize your neckline. Use clear elastic or stay tape while sewing, and don’t stretch the fabric. Reinforce with topstitching, and consider interfacing for added structure. Always test on scrap fabric first
Can I use a regular sewing machine instead of a serger?
Yes, you can use a regular sewing machine. Set it to a stretch stitch or narrow zigzag for flexibility. You’ll need to finish raw edges separately, but it’s doable. Just take your time and use a ballpoint needle
Whats the best way to hem stretchy fabric?
To hem stretchy fabric, use a stretch stitch or zigzag stitch on your machine. You’ll want to use a ballpoint needle and stretch thread. Sew with slight tension, allowing the fabric to stretch as you go
How do I adjust the pattern for a fuller bust?
To adjust for a fuller bust, you’ll need to do a full bust adjustment. Trace your pattern, cut and spread the bust area, add extra fabric, and blend the new lines. This’ll give you more room without altering the overall fit
What interfacing should I use for the turtleneck collar?
Like a second skin, lightweight fusible interfacing is your best bet. Apply it to the wrong side of your collar fabric. It’ll provide structure without stiffness, ensuring your turtleneck stands tall and keeps its shape
Conclusion
Yay. You worked through this turtleneck dress sewing tutorial for a really lovely, incredibly flattering, creative piece to add to your closet.
In these five easy steps, you’ve learned the process of downloading patterns, preparing your materials, and designing and sewing confidently.
With your new skills, you can make original, unique pieces that suit your style. And remember, practice does make perfect—so don’t be afraid to give it another shot with a new fabric or your modifications.
Unleash your creativity and delve into the world of fashion design with stitching.
Now, you’re ready to display your handcrafted masterpiece

