This site is supported by our readers. We may earn a commission, at no cost to you, if you purchase through links.

You’ll need the essential tools: a machine, thread, scissors, and an iron.
Determine your desired length, remove the original hem, and precisely mark the new cutting line.
Fold and press the new hem allowance before positioning the pant leg for sewing.
Attach the blind hem foot, align the fold, and sew in place with a straight stitch.
Repeat for the other leg, press the finished hem, and trim any excess.
With practice, you’ll achieve a professional, invisible hem—and see why mastering this tutorial pays off.
Table Of Contents
Key Takeaways
- Gather essential tools such as a sewing machine, thread, sharp scissors, straight pins, measuring tape or ruler, and an iron with an ironing board to prepare for hemming pants.
- Carefully remove the original hem, measure and mark the cutting line, and cut off the excess fabric to prepare for sewing the new hem.
- Use a blind hem foot for an invisible stitch, and set the machine to a straight stitch with medium length while sewing the hem in place.
- Finish by pressing the hem for a crisp, professional look, trimming any excess thread, and trying on the pants with the desired shoes for adjustments.
Preparing to Hem Pants
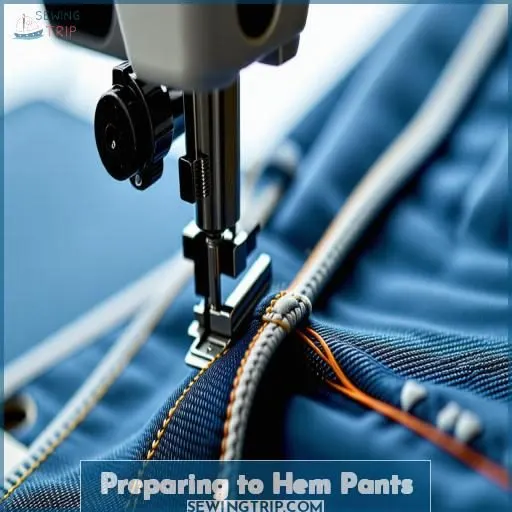
Gather the necessary supplies like scissors, a ruler, pins, an iron and ironing board, and matching thread. Determine your desired hem length – usually 1/2 to 1 inch above the floor when wearing shoes – and remove any existing hem by carefully unpicking the stitches or cutting it off.
Gather Necessary Supplies
To hem pants like a pro, gather these essentials: sewing machine, thread in a matching color, sharp scissors, straight pins, measuring tape or ruler, and an iron with an ironing board. With these tools at hand, you’ll be ready to tackle any hemming project with confidence and precision. Let’s get started!
Determine Desired Hem Length
To determine the desired hem length for your pants:
- Consider the hem width and style you prefer.
- Think about the type of fabric your pants are made from.
- Keep in mind the placement of the hem concerning your shoe type.
- Utilize a hem gauge or tailor’s chalk to mark the hem allowance accurately. (Source)
Remove Original Hem
To begin hemming your pants, carefully remove the existing hem using a seam ripper. Gently pull the threads to avoid damaging the fabric.
Discard the old hem and press the pant leg to remove any creases or folds. This will guarantee a clean, professional finish for your new hem.
With the original hem removed, you’re ready to measure and mark your desired length.
Cutting the Hem
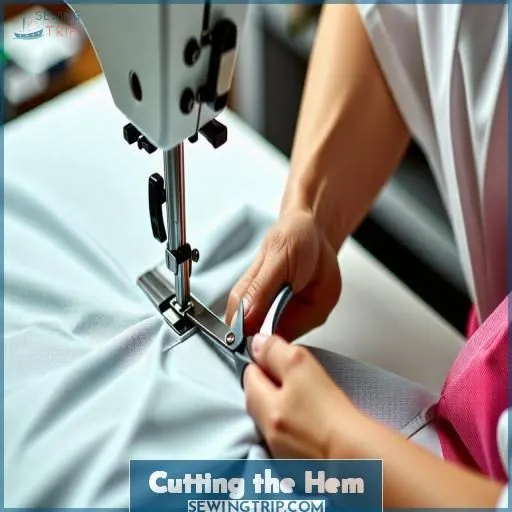
It’s time to measure and mark the cutting line for your new hem length. With the pants laid flat, use a ruler or measuring tape to determine where you’ll need to trim off the excess fabric, marking this line with chalk or a fabric pen.
Measure and Mark Cutting Line
To mark the cutting line, measure 1-2 inches below the pinned hem using a ruler or hem gauge. Use chalk or a fabric marker to draw a straight line around the pant leg, following the curve of the hem. Verify the line is parallel to the original hem for an even cut. Double-check the measurement at the side seams.
- Measure 1-2 inches below pinned hem
- Use ruler or hem gauge
- Draw line with chalk or marker
- Follow curve of original hem
Cut Off Excess Fabric
With the cutting line marked, it’s time to remove the excess fabric. Carefully cut along the chalk line, staying close to the pins. For a clean finish, use sharp scissors and cut through both layers of fabric at once. Avoid cutting too close to the pins to prevent accidentally snipping the pant leg. Discard the trimmed fabric.
Press Hem Allowance
To press the hem allowance, first fold the raw edge under by 1/2 inch and press with a hot iron. Then, fold it under again by 1/2 inch and press to create a crisp, even double-fold hem. Be sure to:
- Use a pressing cloth to avoid shiny marks on delicate fabrics.
- Press each fold firmly to set the crease.
- Check that the hem width is even all around before sewing.
Sewing the Hem
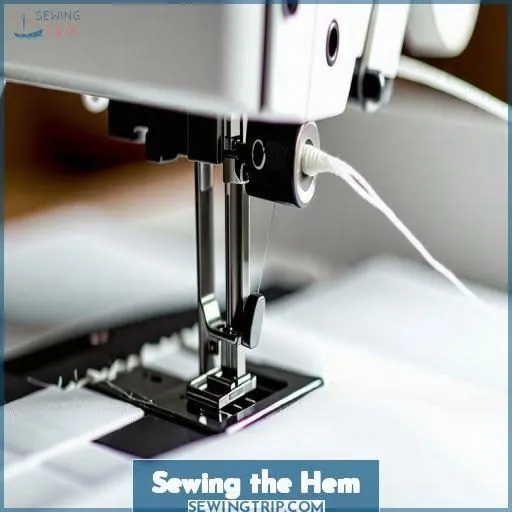
To sew the hem, you’ll first want to mull over attaching a blind hem foot to your sewing machine if you have one, as it helps guide the fabric and create an invisible stitch. Next, position the pant leg around the free arm of your machine, aligning the folded hem with the blind hem foot or sewing machine’s needle.
Attach Blind Hem Foot (Optional)
To sew a blind hem, attach the blind hem foot to your sewing machine. This foot has a guide that helps you sew close to the folded edge for an invisible finish. Use the free arm of your machine for easy access to the pant leg. The zigzag stitch will catch the folded fabric securely.
Position Pants for Sewing
To sew the hem, place the pant leg over the free arm of your sewing machine. Adjust the presser foot to accommodate the fabric thickness. Verify the hem is evenly folded and pinned in place. Use tailors chalk to mark the seam allowance if needed. Position the pant leg with the side seam aligned with the presser foot.
Sew Hem in Place
To sew the hem, set your machine to a straight stitch with medium length.
Start sewing close to the folded edge, backstitching at the beginning.
Sew all the way around the pant leg, keeping stitches close to the fold.
Backstitch at the end to secure stitches.
Adjust thread tension, needle size, and machine speed as needed for your fabric type and desired stitch density.
Repeat for Other Leg
When hemming the other leg of your pants, follow a precise blind stitch process.
First, double fold the hem, making sure the pants length matches the desired measurement.
Then, use a hand stitch or machine stitch to secure the hem in place.
Make certain both legs have an identical finish to achieve a professional look.
This process will result in a perfectly hemmed pair of pants with an invisible seam.
Finishing Touches
Once you’ve finished sewing the hem, give the pants a good pressing to guarantee the fabric lays flat and crisp. Then, carefully trim any excess thread ends close to the fabric to achieve a polished, professional look.
Press Hem
After sewing the hem, it’s time to press it for a crisp, professional look. Adjust your iron to the appropriate heat setting based on your fabric type. Press the hem firmly, focusing on the folded edge. Make sure the hem width is even all around. Pressing helps set the stitches and creates a clean, finished appearance.
Trim Excess Thread
Trim any excess thread from the hem using sharp scissors. Match the thread color to your pants for a seamless look. Use a thread thickness appropriate for your fabric weight and needle size. Adjust your stitch pattern if needed to secure a secure, even hem. Clip threads close to the fabric without cutting into the stitches.
Try on and Adjust if Needed
When finishing the hem of your pants, it’s crucial to try them on with the desired shoes for a perfect fit before finalizing the adjustments. Here’s how:
- Step 1: Wear the pants with your desired shoes for an accurate assessment.
- Step 2: Check the length to make sure it aligns with your preferences and the recommended hem allowance.
- Step 3: Make any necessary adjustments to the length, ensuring the pants drape perfectly with your shoes (Source).
Frequently Asked Questions (FAQs)
How to hem up pants with a sewing machine?
Over 34% of Americans sew for themselves! Iron pants inside-out, fold raw edge up 1, then again. Position presser foot near fold, sew hem – you’ve mastered a life skill.
What is the best stitch for hemming pants?
For hemming pants, you’ll want to use a straight stitch. Set your sewing machine to a medium stitch length and sew close to the folded edge. This strong, durable stitch will secure the hem nicely.
What is the easiest way to hem pants?
Here’s the long and short of it, you’ll kill two birds with one stone by using a blind hem stitch. This professional technique gives a virtually invisible finish without handsewing. Simply fold, pin, and machine stitch around the pant legs for a flawless hem every time.
What stitch to use for hemming on a sewing machine?
For a sturdy, professional hem, you’ll want to use a straight stitch on your sewing machine. Set it to a medium length and sew close to the folded edge.
How do I adjust the hem length for different shoes?
To adjust the pant hem for different shoes, try them on and have someone pin the desired length. Mark it with chalk, then remove pins and adjust the hem accordingly.
Can I use a serger instead of a sewing machine?
While a serger can’t create a blind hem stitch, it’s a great hack. You’ll get a professional-looking overlocked edge by trimming excess fabric, pressing a narrow double hem, then serging the raw edge against the fold. Quick, easy, and no topstitching shows through on the right side.
What if my pants have a lining or cuff?
For pants with a lining, you’ll sew the outer fabric’s hem first, then trim the lining and hand-stitch it. C■ pants require careful measuring before hemming to maintain the cuff’s proportions.
How do I hem pants with a crease or pleat?
Handling creases and pleats requires precision. First, carefully baste them in place before trimming excess fabric. Then, press carefully, ensuring pleats are crisp. Finally, sew the hem, working deftly around those precious folds.
Can I hem pants with a sewing machine if theyre too short?
Yes, you can hem pants that are too short using a sewing machine. Simply turn up the excess fabric to your desired length, press and pin, then sew a new hem line to shorten them.
Conclusion
Mastering this tutorialshow to hem pants with a sewing machine is a total game-changer. You’ve now leveled up your sewing skills by perfecting the invisible hem – the holy grail of professional-looking trousers. With some practice, you’ll be hemming like a boss, saving money and achieving that custom-made look. Rocking those well-fitted pants? Priceless.


