This site is supported by our readers. We may earn a commission, at no cost to you, if you purchase through links.
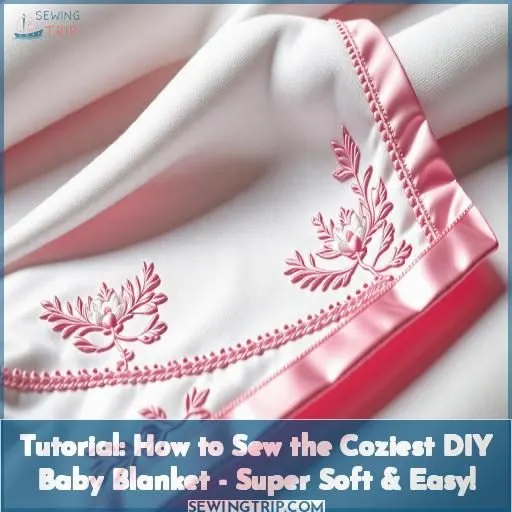 Start by choosing a super soft fabric like flannel, cotton, minky, or fleece.
Cut two same-sized pieces, adding extra for seams.
Place right sides together, pin around three edges, and sew, leaving an opening for turning.
Trim corners, fold and press to create neat miters, and stitch along the folds.
Turn your blanket right-side out, use a chopstick to poke out corners, and press flat.
Add any finishing touches like appliqués or quilting, and you’re done!
Want to learn more pro tips for making your handmade blanket even cozier?
Table Of Contents
Key Takeaways
- Choose a soft and cozy fabric like flannel, cotton, minky, or fleece for your baby blanket.
- Gather essential cutting tools like a rotary cutter, cutting mat, fabric scissors, and ruler to ensure precise cuts.
- Seam allowances are crucial for creating a polished finish, so remember to add extra fabric for this purpose.
- When assembling your baby blanket, pin the fabric pieces with right sides together, sew around three sides, leaving an opening for turning.
Gather Your Supplies
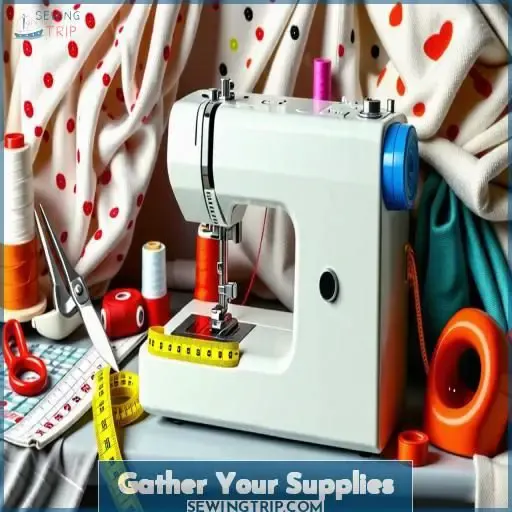
When sewing a cozy baby blanket, start by gathering your fabric options – soft flannel, breathable cotton, or cuddly minky are excellent choices. You’ll also need cutting tools like a rotary cutter and mat, a sewing machine with basic notions like thread, scissors, pins, and an erasable fabric pen.
Fabric Options for Baby Blankets
When choosing fabric for your cozy DIY baby blanket, consider these options:
- Flannel: Incredibly soft and snuggly, perfect for little ones.
- Minky: Ultra-plush and cuddly, but can be slippery to sew.
- Cotton: Lightweight and breathable, durable for everyday use.
- Gauze: Airy and drapey, providing excellent breathability.T
he right fabric will depend on your personal preferences and the intended use of the blanket.
Cutting Tools Needed
To create your cozy baby blanket, gather these essential cutting tools:
| Tool | Use |
|---|---|
| Rotary Cutter | Precisely trim fabric |
| Cutting Mat | Protect surfaces while cutting |
| Fabric Scissors | Cut through multiple layers |
| Ruler | Measure and mark cutting lines |
With these tools, you’ll expertly cut your 1 ¼ yards of backing/binding and ⅛ yard of contrasting fabric, leaving 5 of leftover cotton on each side for a perfect fit. Let’s move on to the sewing machine and notions needed to bring your blanket to life!
Sewing Machine and Notions
When thinking about sewing methods for baby blankets, it’s very important to have the right sewing machine and notions.
For baby sewing patterns like self-binding baby blankets, a dependable sewing machine with different stitch patterns can be useful.
Make sure you pick the correct needle based on the fabric types you’re working with, particularly for flannel sewing tips.
Keep in mind to match the sewing machine’s capabilities with the baby blanket size you plan to create for a seamless sewing process.
Choose Your Fabric
You’ll want to choose a fabric that’s soft and cozy against a baby’s delicate skin – flannel is an excellent option as it’s warm yet breathable, while minky fabric provides an ultra-plush, cuddly feel. For a lightweight alternative, consider cotton which allows for plenty of airflow to prevent overheating.
Flannel: Soft, Cozy, Easy to Sew
Flannel is a fantastic choice for a cozy baby blanket. Its soft, fuzzy texture provides warmth and comfort, while its breathability keeps little ones comfortable. Flannel is also incredibly durable, making it perfect for frequent use and easy care. Sewing with flannel is a breeze, too, creating a beautiful handmade baby gift.
Cotton: Lightweight, Breathable
When choosing cotton for a baby blanket, opt for its lightweight feel and excellent breathability, ensuring comfort for your little one. This natural fabric is ideal for baby quilts of varying sizes. Follow the tutorial to sew a baby blanket that’s both practical and cozy, catering to different needs seamlessly.
Minky: Ultra Soft, Cuddly Texture
Minky fabric is a plush, ultra-soft choice for your DIY baby blanket. Its cozy, cuddly texture provides unparalleled comfort and warmth, making it a popular pick for lovey-size blankets and homemade cuddle blankets. The smooth, velvety feel of minkie fabric creates a luxurious mitered baby blanket your little one will adore.
Fleece: No-sew Option, May Be Bulky
When choosing fleece for a no-sew baby blanket, consider that fleece is a no-sew option but may result in a bulky blanket. It provides a soft, cozy covering for babies and can be used to make easy handmade baby blankets. Remember to mind the potential bulkiness and select the appropriate fleece for the project.
Cut the Fabric Pieces
To determine the finished size of your baby blanket, consider the intended purpose – will it be a swaddling blanket or a larger play mat? Once you’ve settled on dimensions, cut your top and bottom fabric pieces allowing an extra 5-6 inches on each side for seam allowances and binding.
Determine Finished Blanket Size
To determine the finished size of your baby blanket, consider the intended use. A crib-sized blanket is typically 34 x 44, while a stroller blanket may be 32.5 x 42.5. Choose a border width of 2.5 or 1.5 to frame the design. Opt for soft, cozy fabrics like flannel or minky in coordinating colors and patterns for a thoughtful baby shower gift.
Add Extra for Seam Allowances
When cutting your baby blanket fabric, don’t forget to add extra for seam allowances! A standard ¼ seam allowance is ideal. Use your rotary cutter, ruler, and mat for accurate cuts. Mark your fabric with a washable ink pen for perfect mitered corners at a 45 degree angle. With the right tools and a little planning, your cozy blanket will come together seamlessly!
- Seam allowances create a polished finish
- Rotary cutter and ruler provide clean, straight cuts
- Washable ink pen marks fabric for mitered corners
Cut Top and Bottom Fabric Pieces
To cut the top and bottom fabric pieces for your baby blanket, first determine the desired finished size. Add 2-3 inches to each measurement for seam allowances. For a crib-size blanket, cut the top fabric to 34 x 44 inches and the bottom to 36 x 46 inches. For a swaddle blanket, aim for 32 x 42 inches. Cut both pieces from your chosen fabric.
Assemble the Blanket
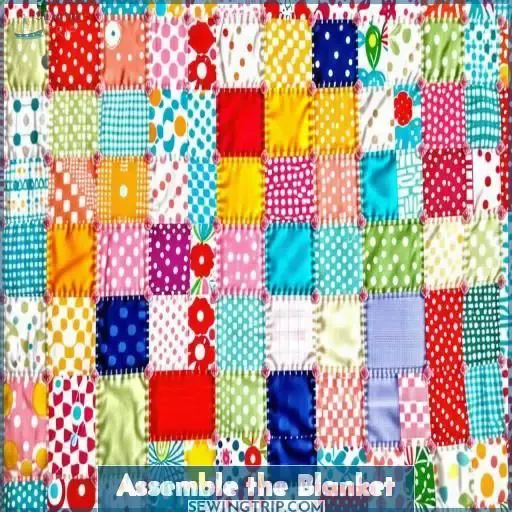
With the fabric pieces cut, place the top fabric right side down on the backing fabric, which should be right side up. Pin them together around three sides, leaving an 8-inch opening on one side to turn the blanket right side out later.
Place Fabrics Right Sides Together
When putting together your self-binding baby blanket, make sure you put your fabric pieces with the good sides facing each other, lining up any designs for a cohesive look.
This step is vital for achieving a clean outside finish when your project is done.
Keep in mind seam allowances while you’re matching up the edges.
Placing the fabrics correctly at this stage sets the stage for a well-made blanket with mitered corners.
Follow this step in your 40 x 40 square tutorial to get a refined result.
Pin and Sew Around 3 Sides
To assemble your cozy baby blanket, start by pinning the top and bottom fabric pieces together, right sides facing.
Sew around three sides, using a 1/4-inch seam allowance.
Be mindful of your fabric choice and sewing skills – a beginner-friendly option like flannel or gauze can make this step a breeze.
Take care to miter the corners neatly as you go.
Leave an Opening for Turning
When you reach the end of the third side, stop sewing 1/4 inch from the edge. This opening will allow you to turn the blanket right-side-out later. Be sure to backstitch at the beginning and end of the seam to secure the stitches. After turning, this opening will be closed with a decorative stitch or hand-stitching.
Finish the Corners
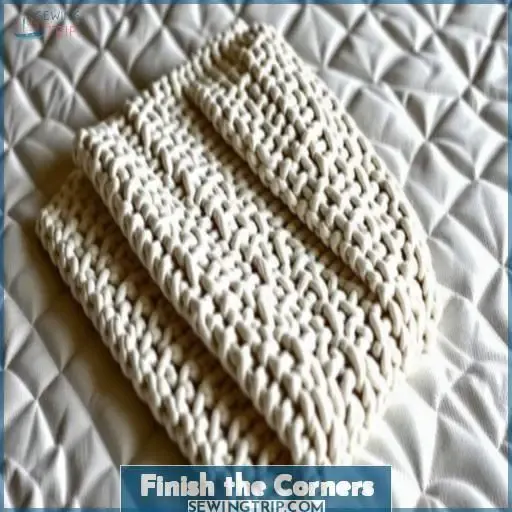
To finish the corners neatly, trim away any excess fabric from the corners after sewing the three sides together. Then, fold and press the remaining corner fabric to form a crisp mitered edge, and stitch along the folded line to secure the mitered corners.
Trim Excess Fabric From Corners
To finish the corners, carefully trim away any excess fabric, leaving about 1/4 inch beyond the stitching line.
This will create a clean, professional look and help the corners lay flat.
Take care not to cut too close to the seam, as this could weaken the structure.
With the corners trimmed, you’re ready to fold and press them for a polished, mitered finish.
Fold and Press to Create Mitered Corners
To create mitered corners on the baby blanket, fold the edges of the blanket to form a point in the corner.
Use an iron to press the folded edges firmly, ensuring crisp and precise corners.
This pressing technique is essential for achieving neat and professional-looking mitered corners.
Proper pressing sets the foundation for the subsequent stitching process and contributes to the overall quality of the finished baby blanket.
Stitch Along Folded Edge
Sew along the folded edge, backstitching at the start and end. Stitch 1/4 inch from the edge, pivoting at each corner. Trim excess fabric close to the stitching. Press the mitered corners flat. Sew all the way around the blanket, catching both the top fabric and the folded edge. This secures the corners and finishes the blanket beautifully.
Turn and Press
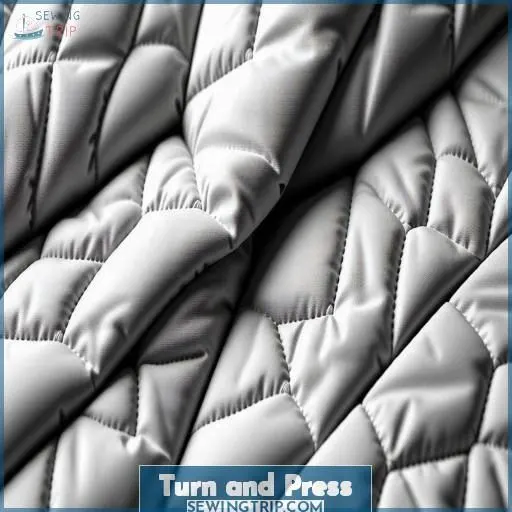
Now it’s time to turn your blanket right side out – carefully reach into the opening and pull the fabric through until it’s fully inverted. Then, use a chopstick or crochet hook to gently push out the corners from the inside, giving your blanket nice crisp edges before pressing it flat with an iron.
Turn Blanket Right Side Out
When turning the blanket right side out, carefully maneuver the fabric through the opening to avoid any tears or misalignment.
Gently pull the fabric through the opening, using your fingers to guide and ease the material into the correct orientation.
Once the blanket is fully turned right side out, take a moment to check the corners and make sure they are fully extended and smoothed out.
Use a Chopstick to Poke Out Corners
Now that your blanket is turned right-side-out, use a chopstick or crochet hook to gently poke out each corner. This will help create crisp, defined edges for your super-soft baby blanket. Take your time and be gentle to avoid tearing the fabric. With the corners properly shaped, your handmade gift is almost ready for gifting at that upcoming baby shower!
Press Blanket Flat
Once the blanket is turned right-side-out, it’s time to flatten it.
Use a hot iron and firmly press along the seams, taking care to avoid making new wrinkles.
Adjust the heat setting based on your fabric type – delicate fabrics like cotton may require a cooler temperature.
Pressing helps solidify the shape and guarantee a clean, flat finish for your comfortable DIY baby blanket.
Add Finishing Touches
With the blanket fully assembled, tie off any remaining threads neatly on the wrong side of the fabric. Once complete, wash and enjoy your handmade, ultra-soft baby blanket!
Tie Off Threads Neatly
When finishing your baby blanket, it’s important to tie off threads neatly for a professional look.
Use coordinating thread colors and consider decorative stitch options to match the overall aesthetic of the blanket.
To tie off the threads securely, change the top thread to match the top of the blanket and the bobbin thread to match the bottom.
Set the zig-zag stitch length appropriately and make sure the stitches are secure.
These tying techniques guarantee a polished finish that complements the cozy and thoughtful baby covering you’ve created.
Wash and Enjoy Your Handmade Baby Blanket!
Congratulations, your cozy baby blanket is complete! Before gifting it or snuggling up with your little one, give it a gentle wash. Use a mild detergent and warm water to maintain the soft texture. Tumble dry on low heat or air dry for best results.
Your handmade blanket makes the perfect baby shower gift, adding a personalized touch that will be cherished for years. The soft, breathable fabric provides comfort and security, aiding in sensory development. Best of all, it’s machine washable, ensuring easy care for busy parents.W
rap your baby in the warmth of your love with this DIY creation. Enjoy watching them snuggle up in the coziness you crafted with your own hands.
| Washing Tips | Drying Tips | Gifting Tips | Snuggling Tips |
|---|---|---|---|
| Use mild detergent | Tumble dry on low heat | Wrap in tissue paper | Lay baby on blanket |
| Wash in warm water | Air dry for best results | Include gift receipt | Tuck edges around |
| Avoid fabric softener | Fluff in dryer for 5 mins | Attach handwritten note | Gently pat baby’s back |
| Check care label | Smooth out wrinkles | Present in gift bag | Sing lullabies |
Frequently Asked Questions (FAQs)
How to stitch a baby blanket?
Pin fabrics right sides together, sew 1⁄4 seams leaving an opening. Clip corners, turn right side out, and poke out corners. Top-stitch entire blanket, catching both layers neatly. Finally, sew decorative ties at each corner with a zigzag stitch for that special touch.
How many yards of fabric for a baby blanket?
Did you know that baby blankets average 36 x 36? For a simple blanket, you’ll need 1 yard of fabric for the top and 1 1/4 yards for the backing. Add extra for borders, batting, or special designs.
How to make a crib size blanket?
For a crib-size blanket, cut your fabric into 1 1/3 – 1 1/2 yard pieces. Pin and sew the top to the bottom, leaving a small opening for turning. Finish by top-stitching around the edge after turning right-side out.
What is a good size for a newborn baby blanket?
Oh, you’re in for a treat! For a newborn, go for a perfectly petite 24×24 inch blanket—just the right size to swaddle that precious bundle of joy. Easy to tote around and cuddle up with, it’s an adorable accessory any new parent will treasure.
How do I care for the finished baby blanket?
Baby blankets typically require delicate care. Hand-wash in cold water or machine-wash on gentle cycle. Avoid fabric softeners, hang or lay flat to dry. For spills, spot clean with mild detergent and cool water.
Can I use a sewing machine or is hand-sewing required?
Oh my, sewing an entire blanket by hand? That’s a Herculean task! You’ll be overjoyed to learn that using a sewing machine is totally acceptable – in fact, recommended for this project. Your machine will be your trusty sidekick, stitching up a cozy bundle of joy in no time!
What are some creative design ideas for the blanket?
Personalize with fun prints, appliques, embroidery, patchwork, or modern shapes. Color blocking adds visual interest. Consider neutrals for longevity or bold hues for a vibrant look.
How do I ensure the blanket is safe for a baby?
Want a cozy yet safe baby blanket? Choose fabrics without loose threads or embellishments that could pose choking risks. Wash before use to remove any chemicals, dyes, or irritants. Keep it soft, breathable, and hazard-free for your little one’s comfort.
Can I make this blanket as a gift for an older child?
Sure, you can easily adjust the size to make a larger blanket for an older child. Simply cut the fabric pieces larger and sew with the same techniques. Consider their favorite colors or patterns to create a personalized, cozy gift they’ll cherish.
Conclusion
Ultimately, creating a snuggly baby blanket is a delightful project that yields a handmade treasure.
By following this tutorial on how to sew a baby blanket, you’ll create a cozy, personalized gift that will be cherished for years.
The key is selecting the softest fabrics, taking precise measurements, and carefully assembling the layers.
With patience and attention to detail, you’ll soon have a cuddly masterpiece to welcome a new little one.

